


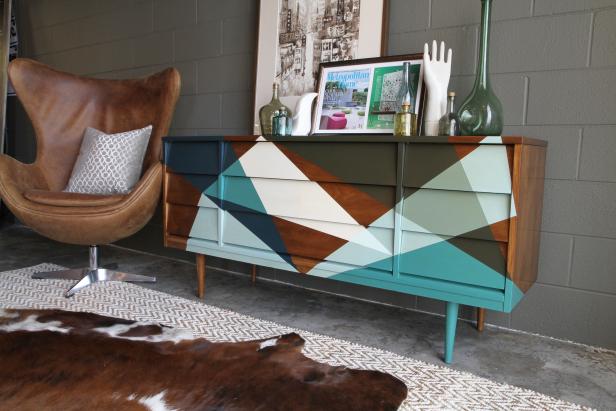
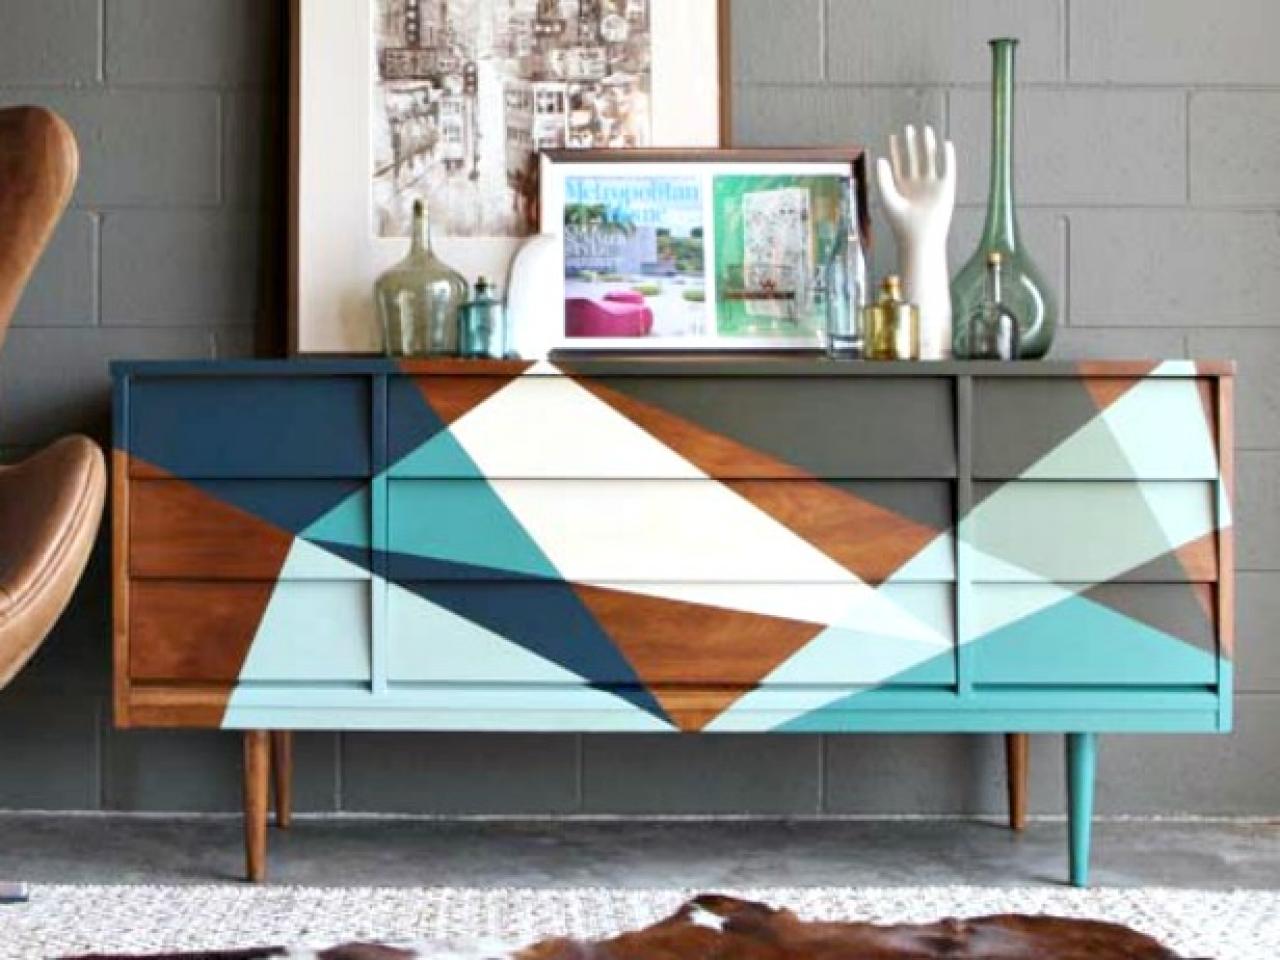
How to Paint a Block Pattern on a Midcentury-Mod Credenza
See how an old beat-up dresser was refinished with a combination of paint and stain to create a bold, one-of-a-kind design.
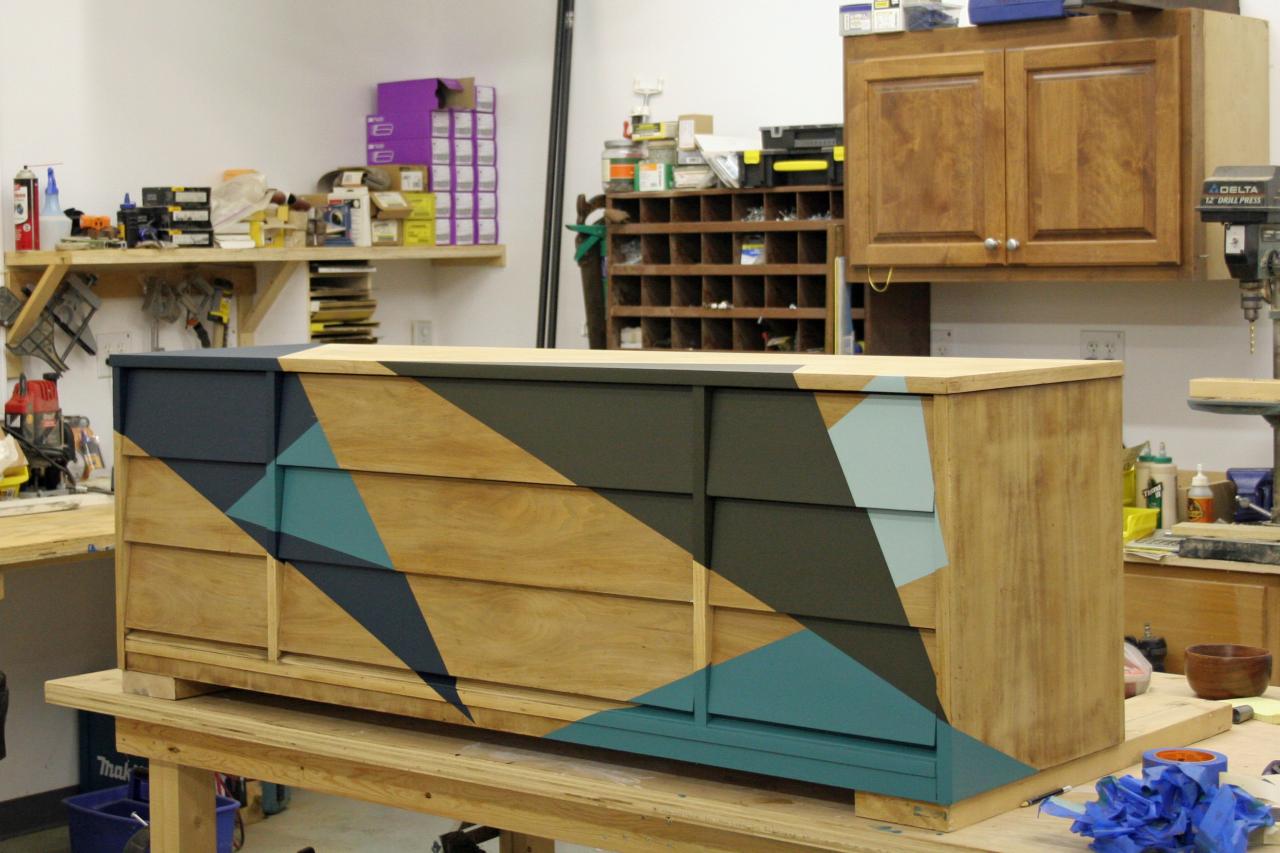
This classic midcentury modern sideboard was found on Craigslist for a mere $45. Parts of it were damaged with some deep gouges and years of rough wear, but it was well-built and structurally sound. So we stripped off the existing finish, patched up the gashes and then did a multi-tone finish using stain and a variety of paint colors. The challenge was to use just enough paint to cover up the damaged spots without covering up the beautiful pecan wood grain.

Tools and Materials
- a paint, stain and varnish remover (we used Dad’s Easy Spray, it comes with a spray bottle)
- paint and primer in one (colors listed below)
- cheap, disposable paintbrush
- foam rollers
- polyurethane
- painter's tape
- wood putty (we used Durham’s Water Putty — it’s strong and easily sanded)
- putty knife (the flatter your surface is, the wider your putty knife should be)
- chemical-grade rubber gloves
- fine-grit steel wool
- flat sanding block
- dust cloth
- paper towels
Step 1: Is It Veneered?
Stripping finishes can be a pain, depending on the detail of the piece, but when you are working with furniture that has a very thin veneer, you can’t just sand it down. Look at the back edge of one of the boards on the furniture to see if it is veneered or not. Only the back or bottom edge will show it since makers use ‘edge banding’ on the fronts to hide it so it looks like solid wood. If the veneer is less than 1/8” thick, you want to sand as little as possible.

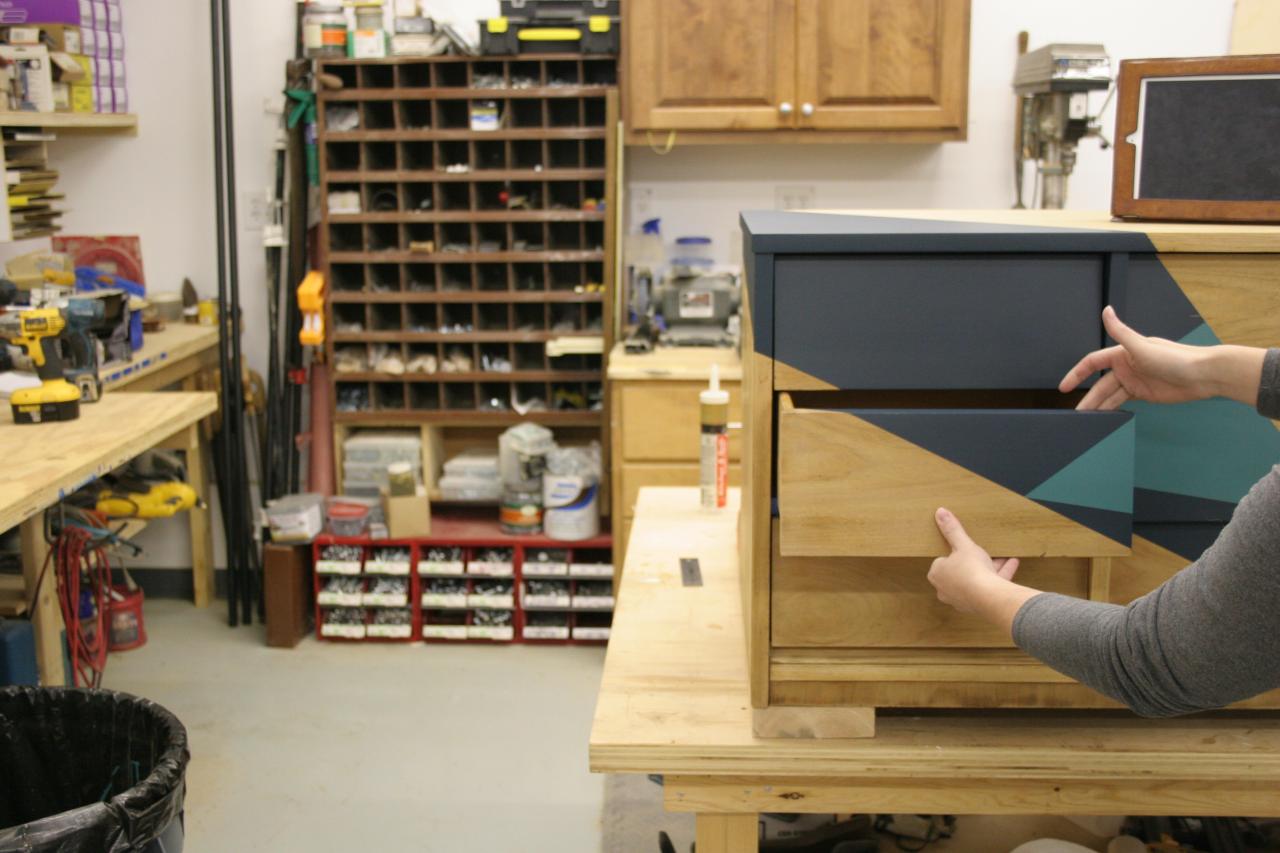
Step 2: Disassemble and Label
Our piece was veneered (with what looked to be pecan wood), so we had to strip off the finish.
Gather materials and tools and remove drawers and legs. You’ll want to strip, stain and paint those pieces separately. Mark the inside of the drawers and legs before removing all of them to start the project (top-right drawer, middle-left drawer, back-left leg, etc.), since they usually are not interchangeable even if they look the same.
Step 3: Apply Stripper
The area around your furniture piece should be clear in case of overspray. Spray one coat over a large area — we did the top and sides of the cabinet all at once. Let stand for 15 minutes (it turns into a gel so it will not drip).
Pro Tip: Make sure to put on your gloves before starting!

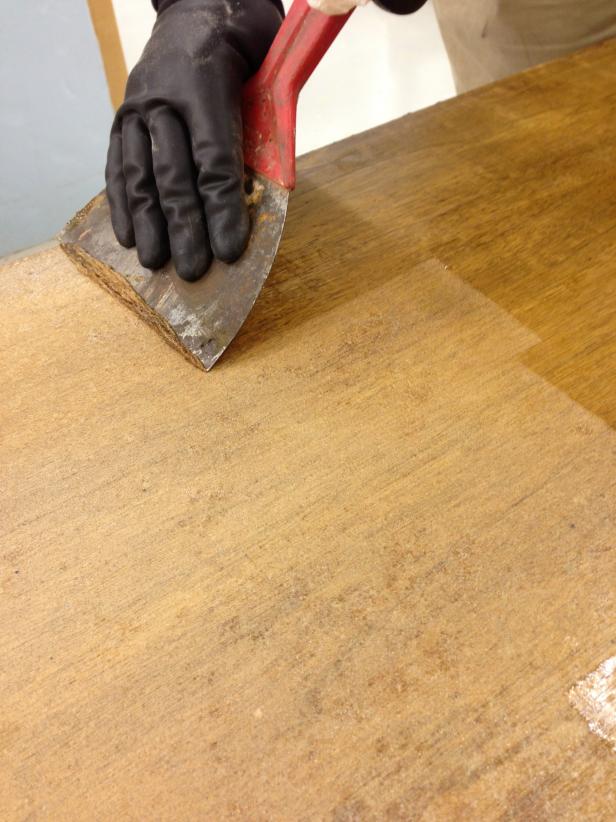
Step 4: Remove Stripper
Scrape off bubbled up finish with a putty knife, being careful not to gouge the wood.
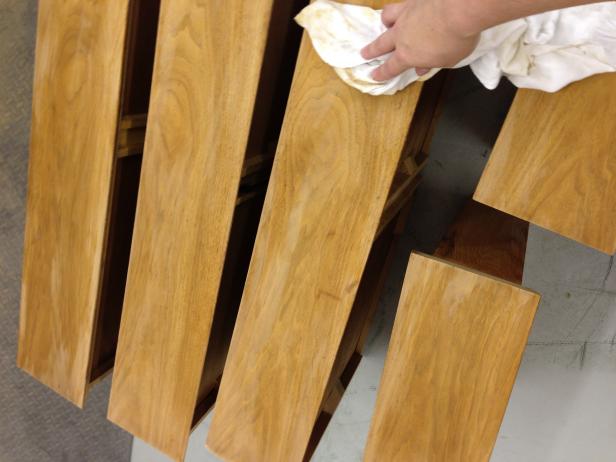
Step 5: Do a Second Pass
Repeat the process, but this time, let it stand for only five minutes. This will take any last residue off the surface. Wipe off the finish with a rag or paper towel. Lightly sand with fine-grit steel wool, which should keep you from having to sand anything down with sandpaper. Below you can see a drawer that has been stripped and sanded next to the ones that haven’t — a big difference!

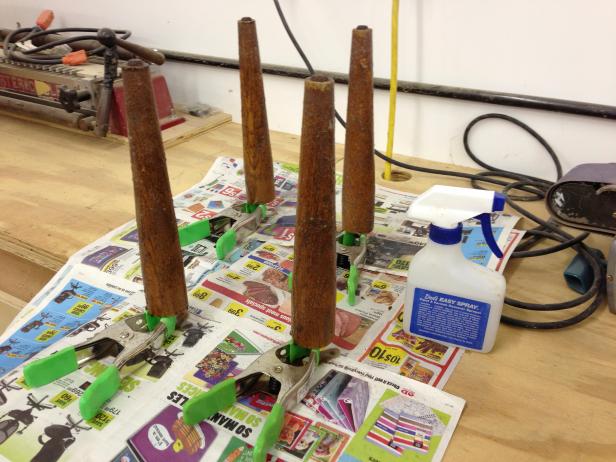
Step 6: Don't Forget the Extras
Repeat steps on all surfaces of the piece that need stripping, like the legs.
Step 7: Fill Holes
Sadly our credenza had some spots that were beyond refinishing, so we needed to fill the holes and paint over them. Make sure the damaged spots are clean and clear of dirt. Fill the holes with putty and let the putty thoroughly dry.

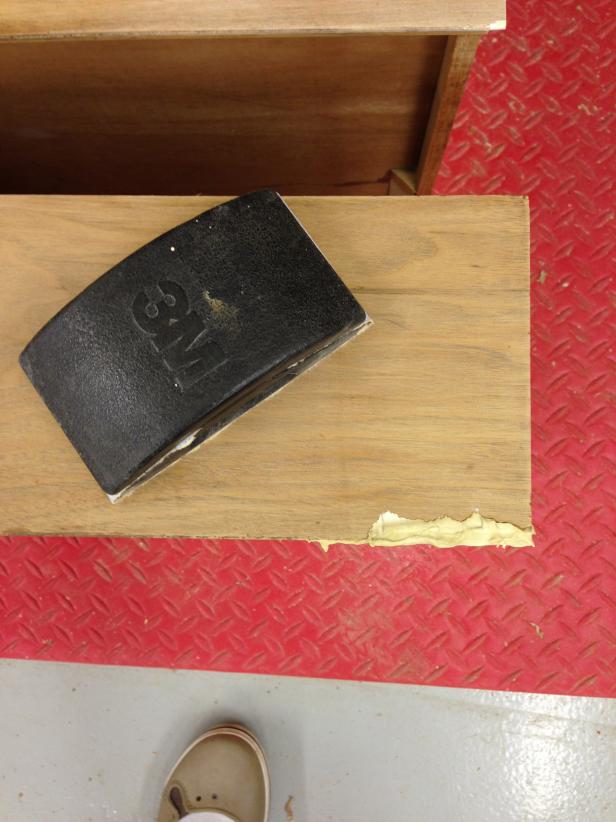
Step 8: Sand Smooth
Using a flat sanding block, sand the putty flush with the surface.
Step 9: Clean the Wood
Wipe down the whole credenza with a dust cloth to remove major dirt, then wipe it clean with a damp towel.
Pro Tip: What about wood conditioners? It is not necessary if you don’t have a lot of nooks and crannies like carvings where stain can get hung up in. Plus it’s just one more step in the process.
Step 10: Lay Out Pattern
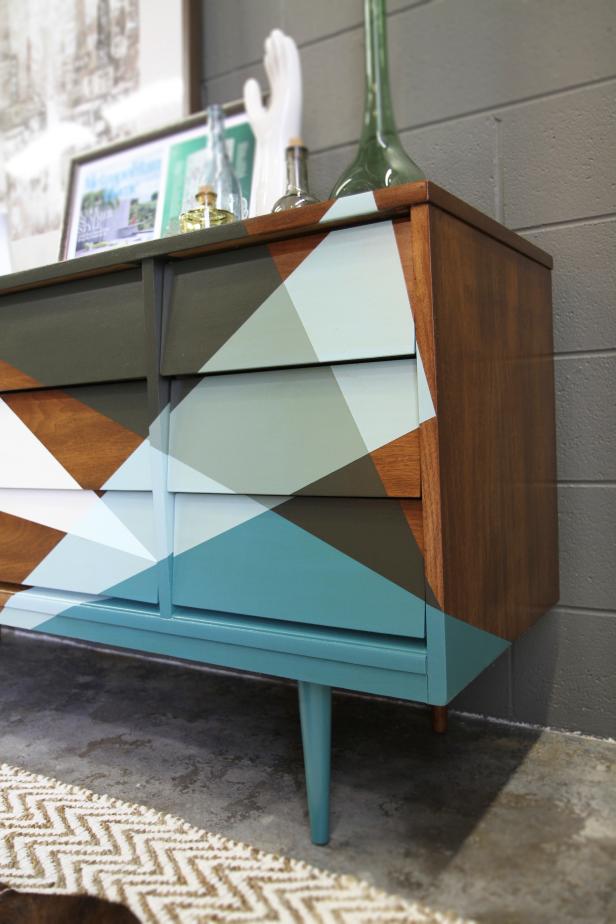
Part of what makes midcentury modern pieces so distinctive is their devotion to warm mid-tone woods. We wanted to keep some of those warm wood tones — so we went a little funky with our design.
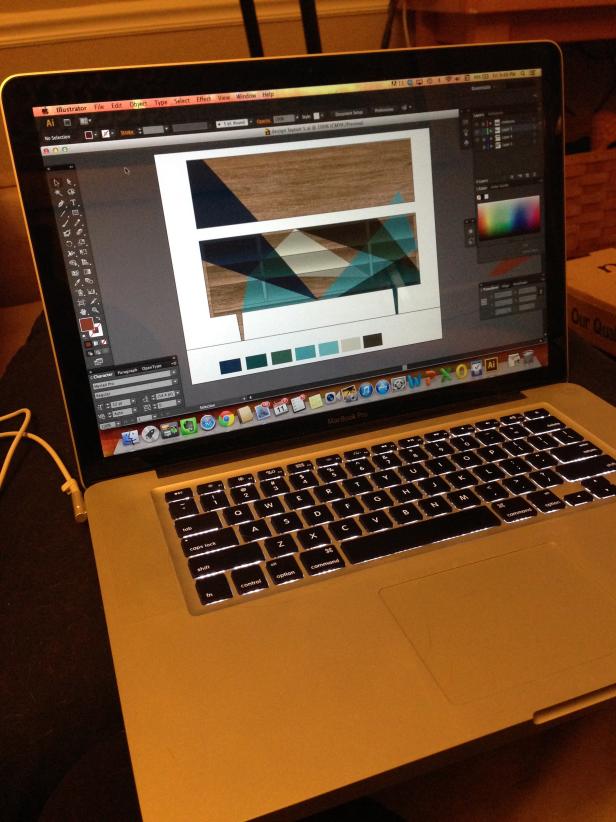
When laying out patterns, start with a quick sketch or take a photo of your piece of furniture then use a drawing program to create your design. Another option is to print a photo of the piece of furniture then lay tracing paper over it to sketch out your design. Doing a sketch or drawing first will help make sure your pattern is to scale and you can get a realistic idea of how it will look when you’re done.
Here are our paint colors, all from Valspar:
- Coconut Milk 2007-10C
- Everglade Deck 5011-3
- Elegant Silk 5010-7
- Woodlawn Valley Haze 5004-5C
- Filoli Ginkgo Tree 5006-4B
- Mystic Sea 5007-7A
- Olive Suede 6010-3
We used latex paint/primer in one, so as not to add more layers by using a separate paint and primer.


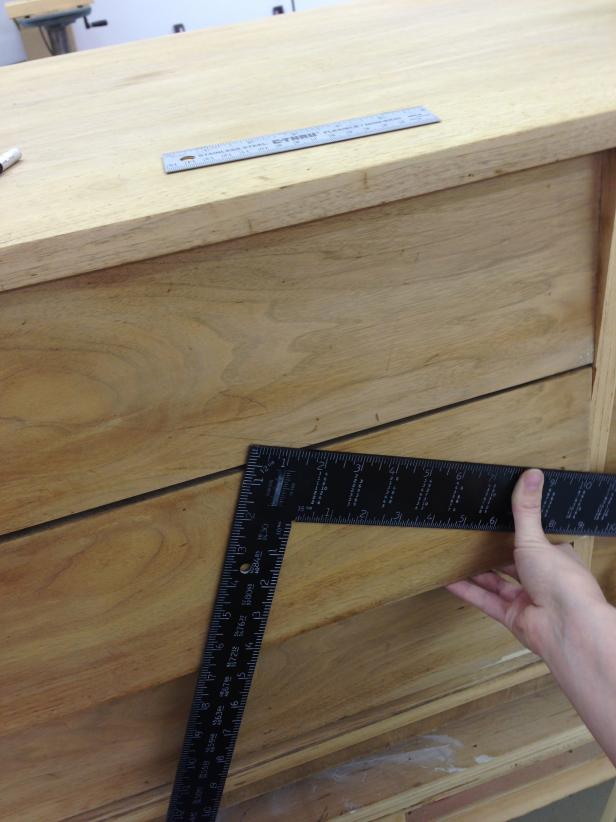
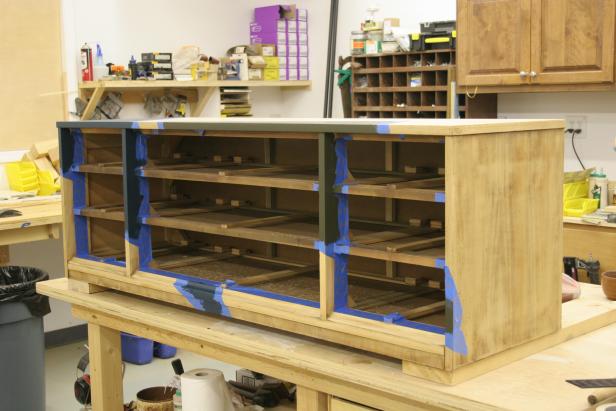
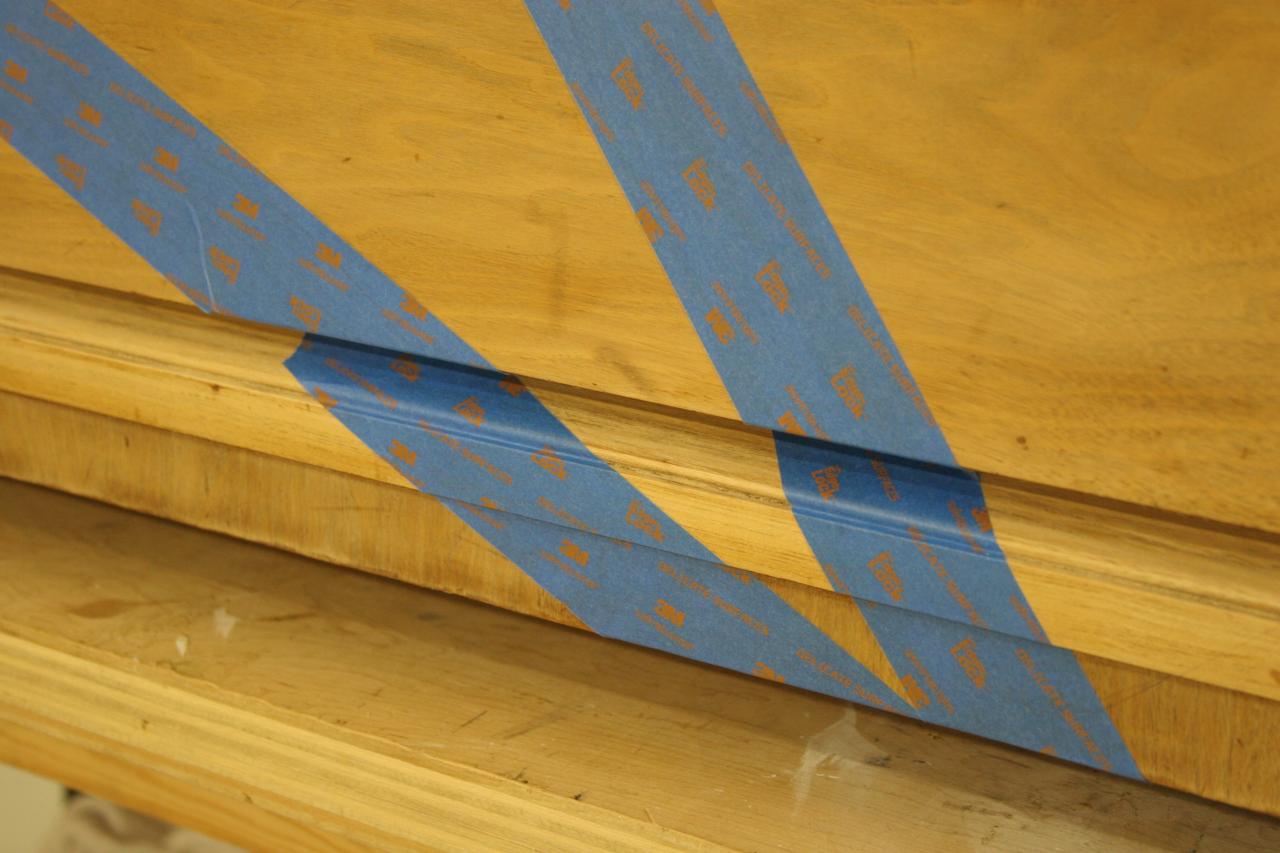
Step 11: Tape on Pattern
Lay out the pattern with a straight edge and masking tape. This process can be tedious if you have a lot of angles, but it's worth it.

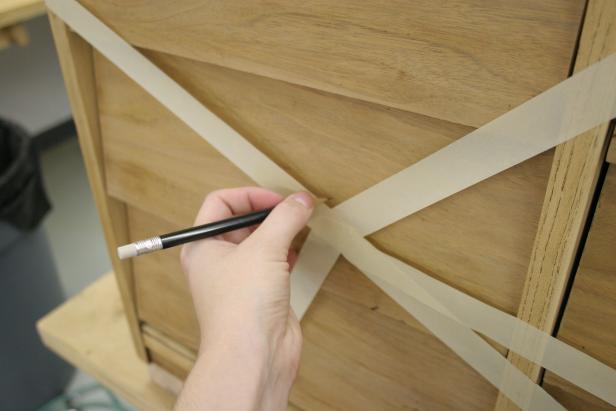
Step 12: Pencil It In
Carefully transfer the pattern onto the dresser using a pencil. Use a straight edge to make sure your lines are exact.
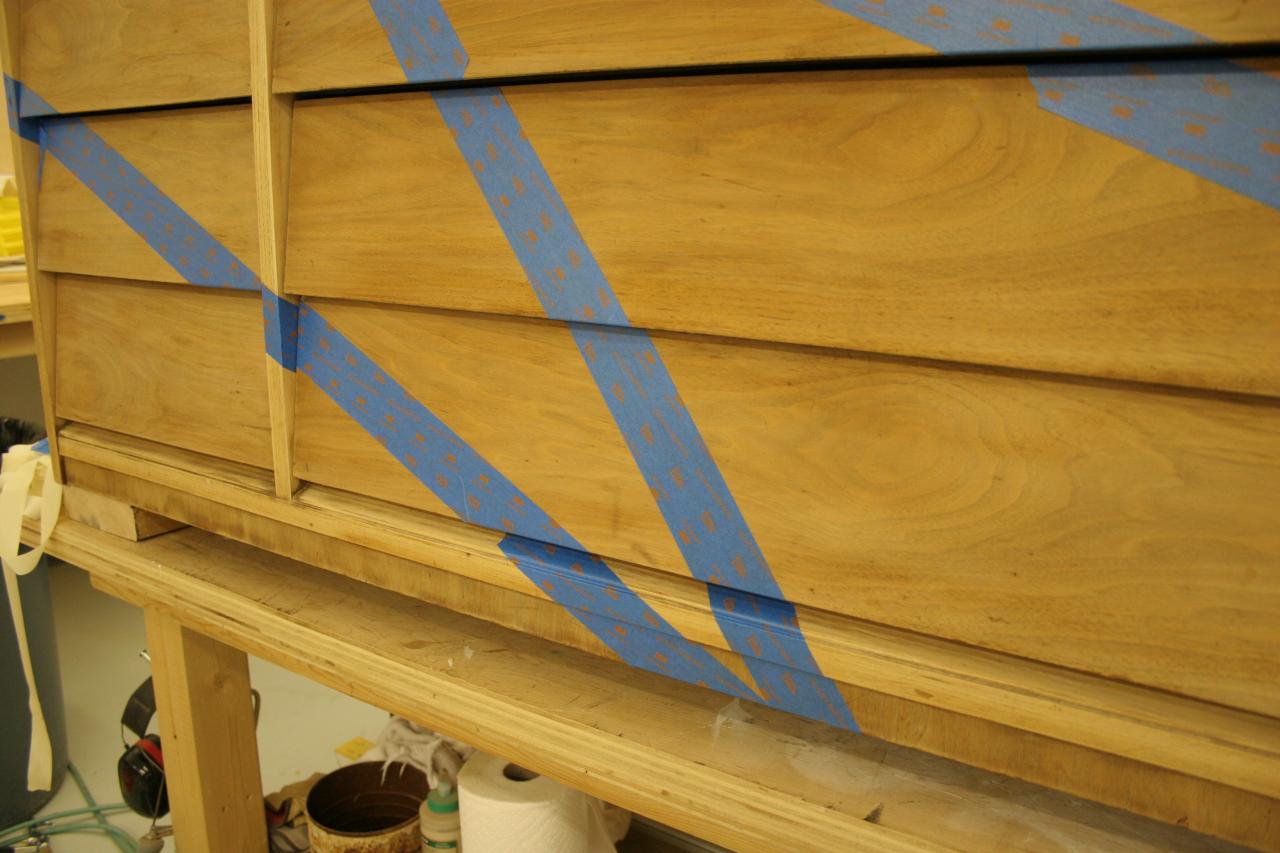
Step 13: Apply Painter's Tape
Planning for the color overlaps is the hardest part. Take your time. With all of the overlapping color blocks, the non-touching sections have to be painted one section at a time. For each color block, tape off the outer edge, and PRESS that tape line down with your fingernail. You don't want any paint bleeding underneath the tape.


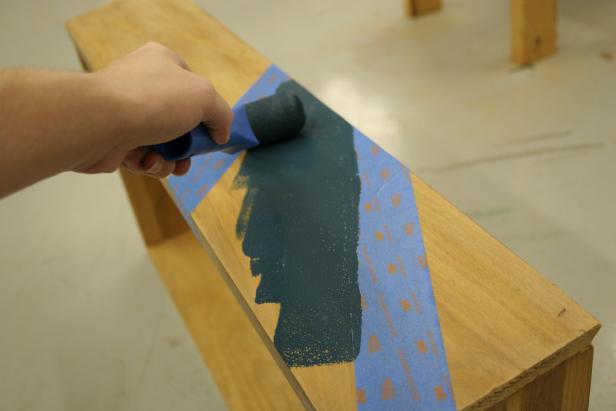
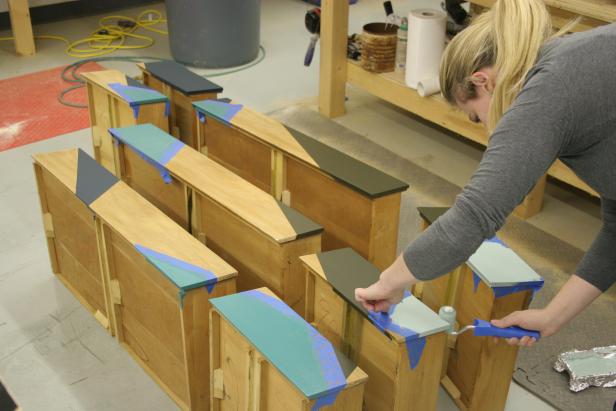
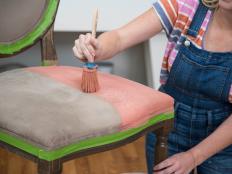
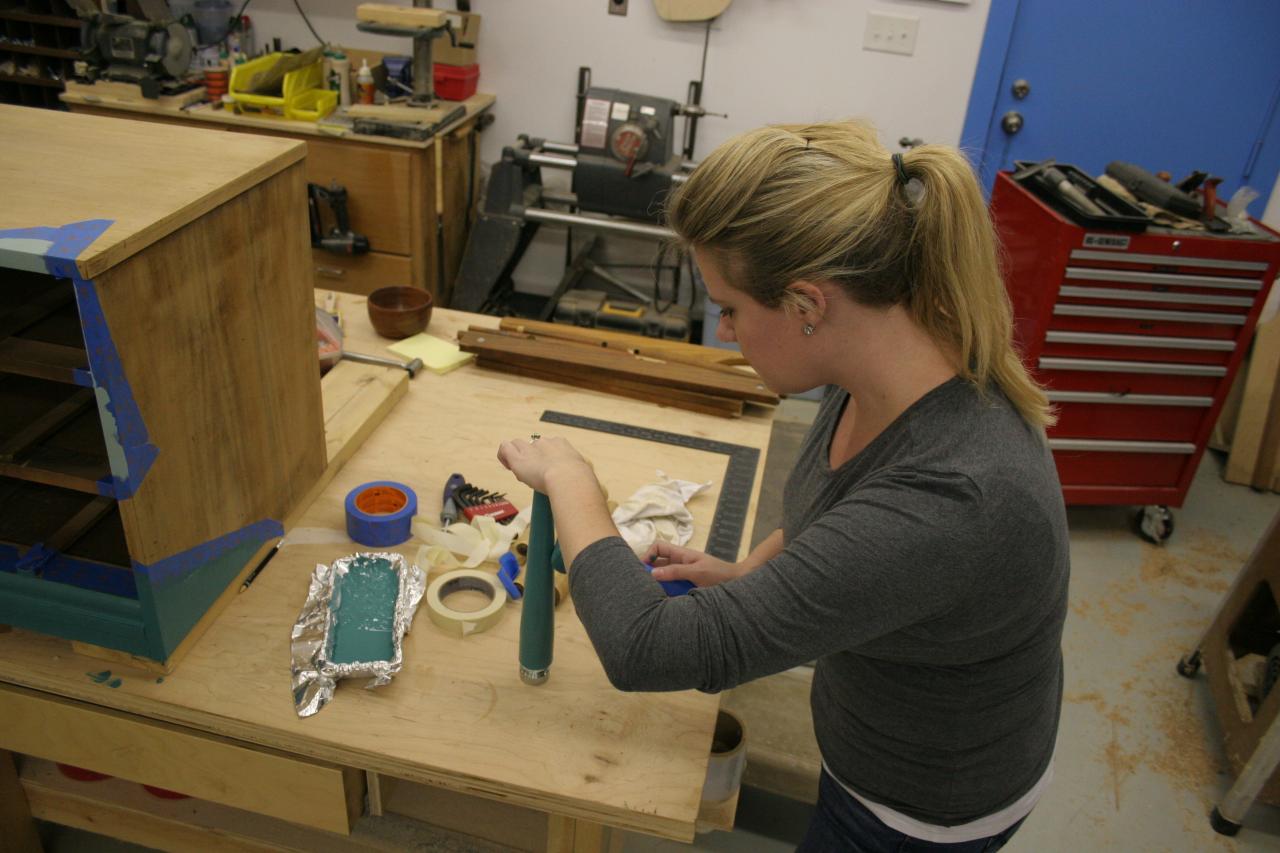
Step 14: Apply First Coat
Roll on paint and allow the first coat to dry for two hours. Apply a second coat, and allow it to dry for 24 hours. Why so long? Since you will be taping over those color blocks to do the next color, you want to MAKE SURE it is dry or you will ruin all you have done so far.

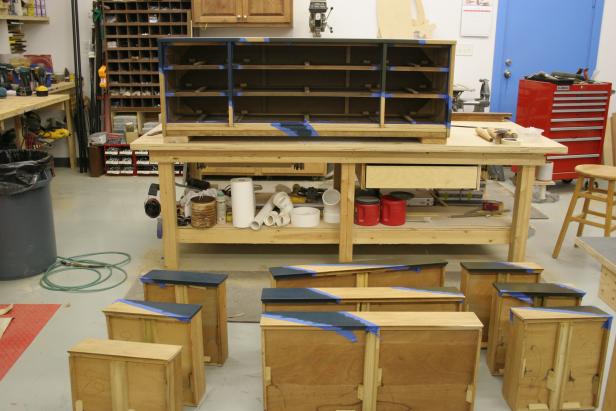

Step 15: Repeat For All Color Blocks
Continue the process making sure to allow plenty of drying time in between coats.


unknown
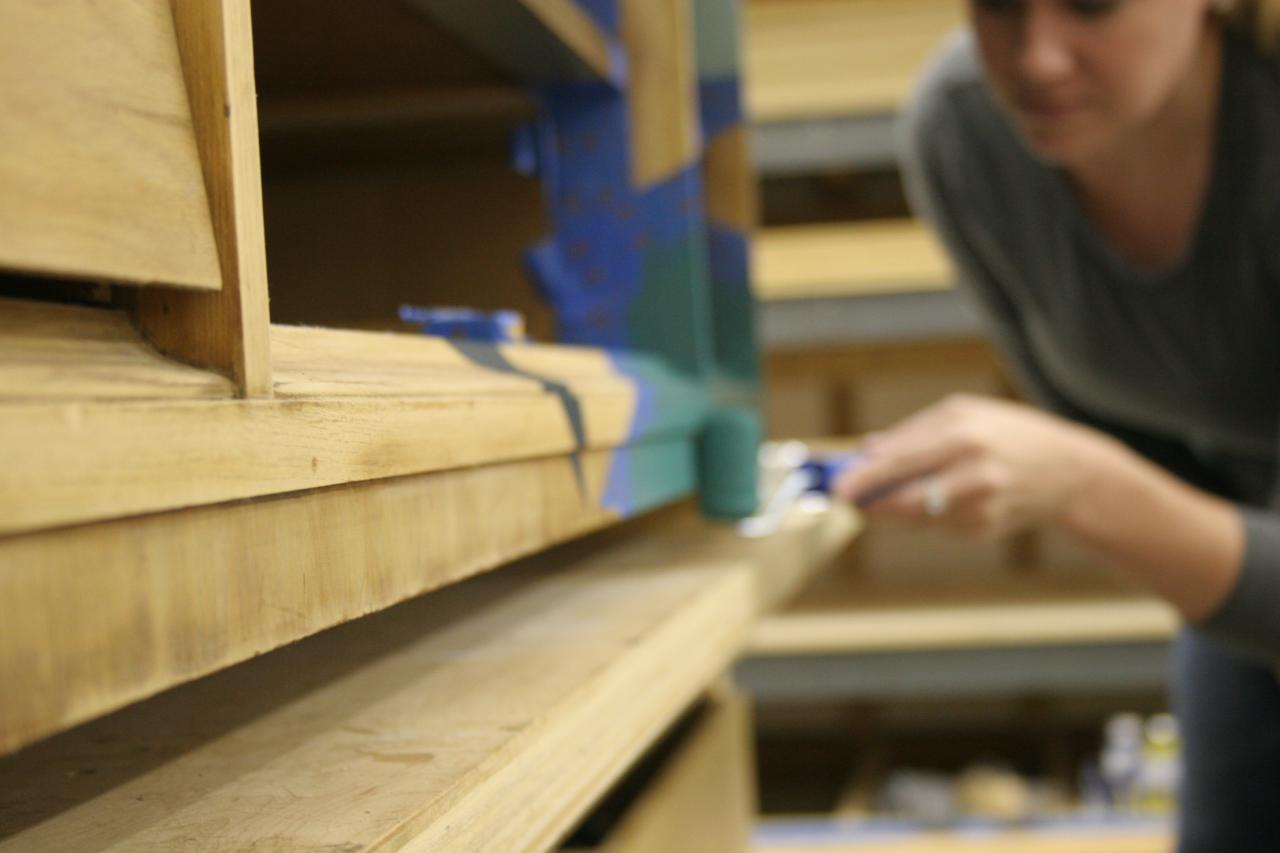
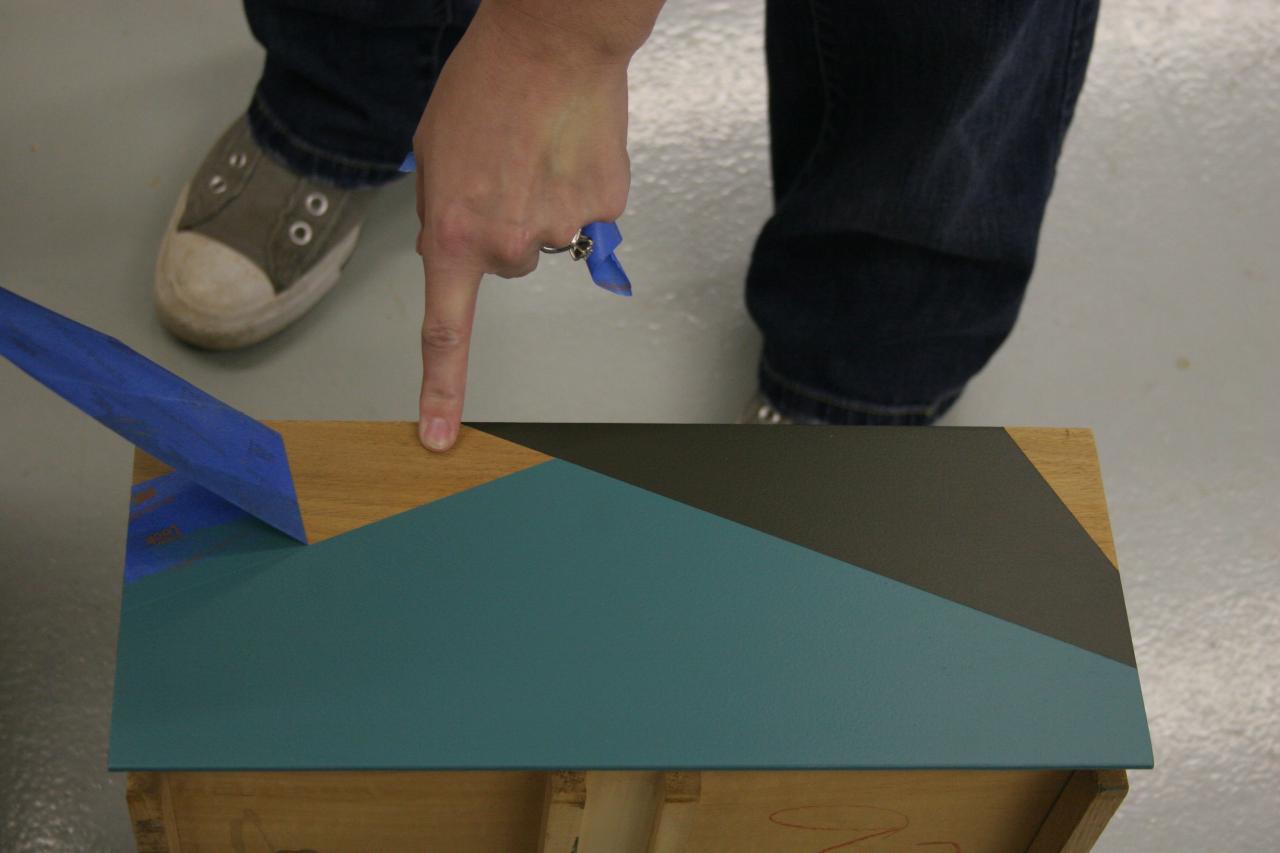
Step 16: Remove Tape
This is one of the most satisfying parts of the project. Peel slowly and at an angle.


Step 17: Painting Complete
Here it is with all the angles painted.

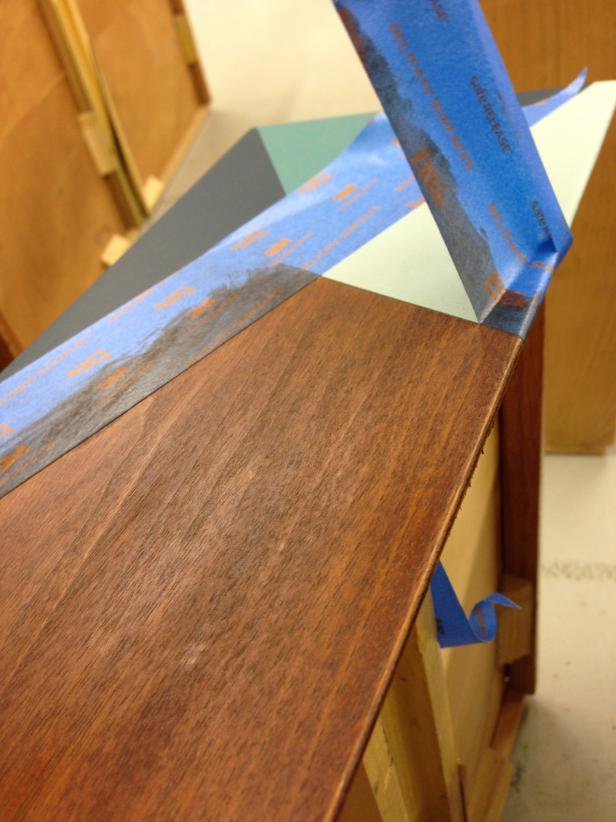
Step 18: Stain Wood
Since there were still some dark discolorations on the wood, we decided the best way to cover them was to stain the credenza. Normally those spots can be sanded out, but when you are working with a veneered piece, you don’t have that luxury. Our veneer was less than 1/16”, so we could only sand enough to smooth the surface before painting.

Step 19: Do a Test
Test the stain on a sample board. You may want to try the stain next to your paint colors to make sure they look good together. Tape one paint section off and leave another exposed to see how/if the stain will affect the paint and if the tape will keep a clean line.

Step 20: Tape Off Painted Sections
Tape off ALL of the paint lines so that the stain will not bleed into those areas. Again, press the tape down really hard.
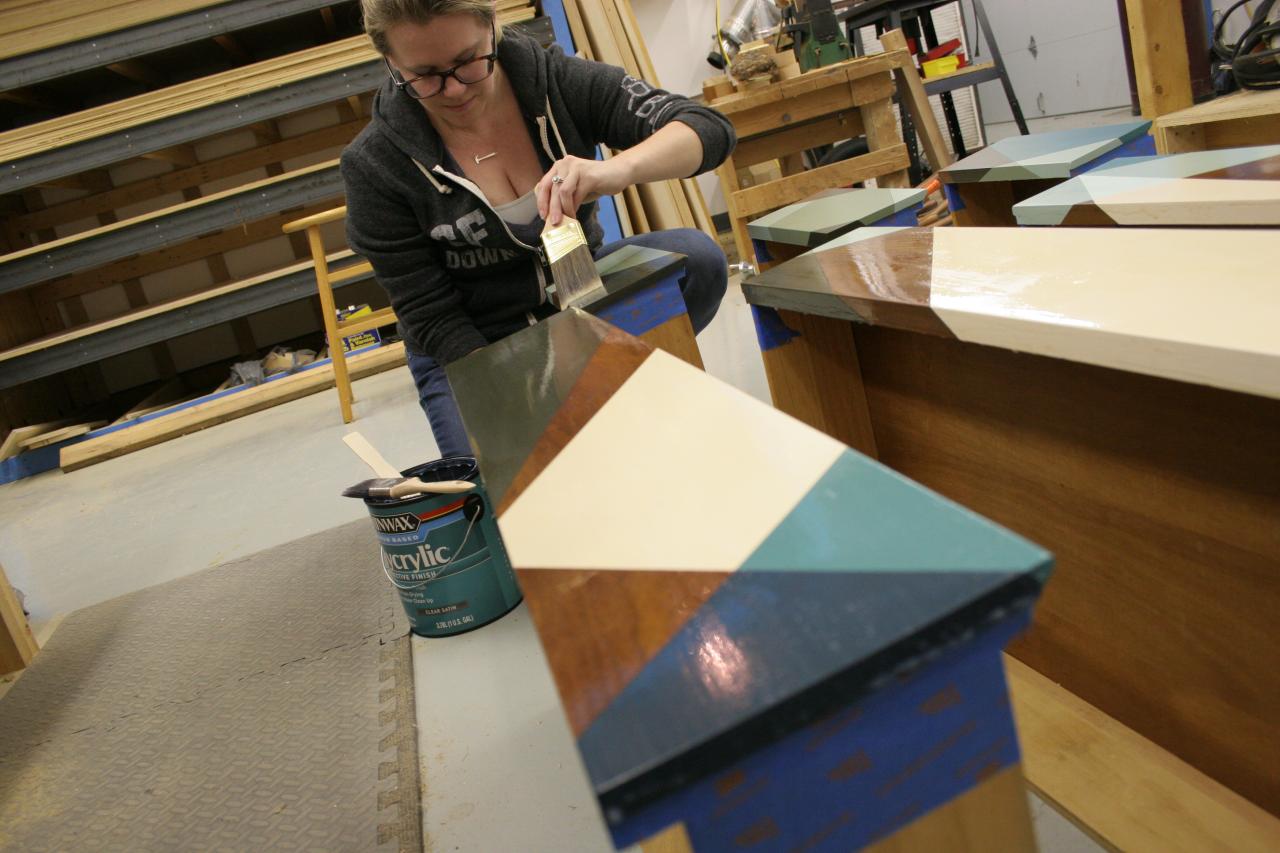
Step 21: Apply Sealer
Now you need to protect all that work you’ve done. Apply a coat of polyurethane using a high-quality synthetic brush over the whole thing, and let it dry for two hours between coats. We did two coats. You can sand between coats with 220-grit sandpaper, but be careful. The sandpaper can scuff up the painted sections.


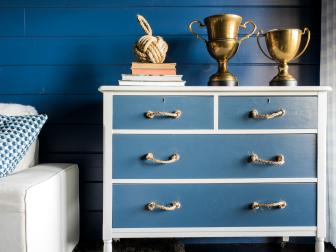
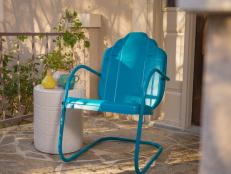
19 Creative Ways to Paint a Dresser 18 Photos
This weekend, turn an old bureau into a work of art. It's easier than you think and doesn't have to cost a lot.


