


Wine Crate Jewelry Display Boxes

Don't have wooden wine crates at home? You can easily get them from wine shops, and they're usually free. Or you can substitute vintage Coca-Cola crates for this project.
Materials Needed:
- 2 wooden wine crates (these are 12" x 12 3/4" x 4 1/4")
- 2 ornate trim pieces for the top
- 5 large wooden spools (about 1 1/2" tall)
- 4 medium wooden spools (about 1 1/4" tall)
- 8 cabinet knobs with bolts (if bolts are too long for thickness of crate, get shorter bolts)
- 7 white cup hooks (7/8")
- 9 wood ball finials (available at craft stores)
- 8 oz. acrylic paint (we used Plaid FolkArt Acrylic Paint in Wicker White #987)
- 1/8 yard white lace
- spray paint (we used Krylon Indoor/Outdoor in White #51508)
- 4 D-ring hangers with screws
- craft glue
- wood glue
- electric drill and bit
- screwdriver
- sandpaper
- 1" - 2" paintbrush (for crate)
- craft paintbrush (for spools)
- ruler
- chalk
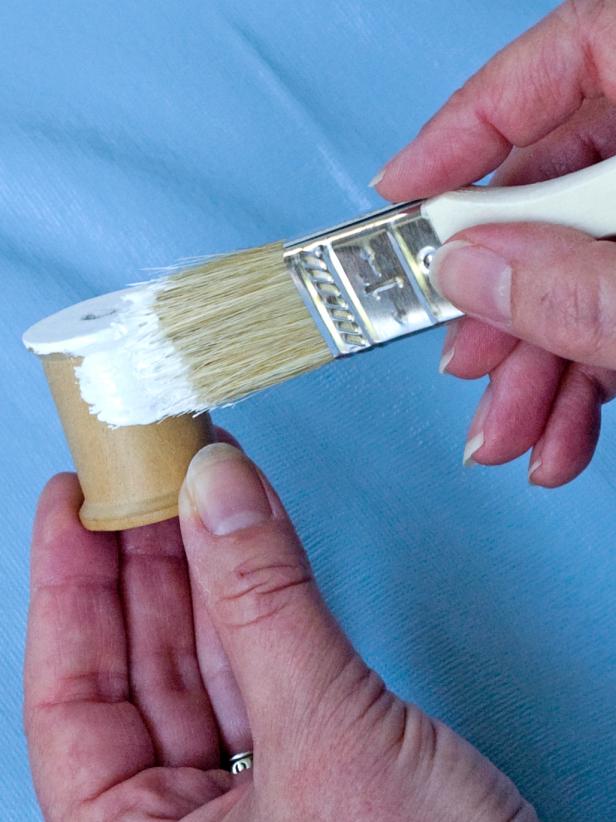
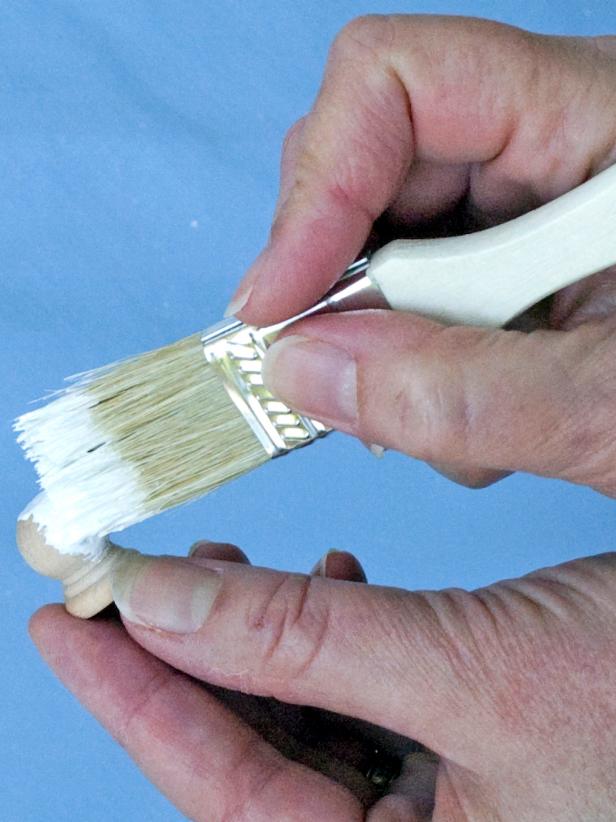
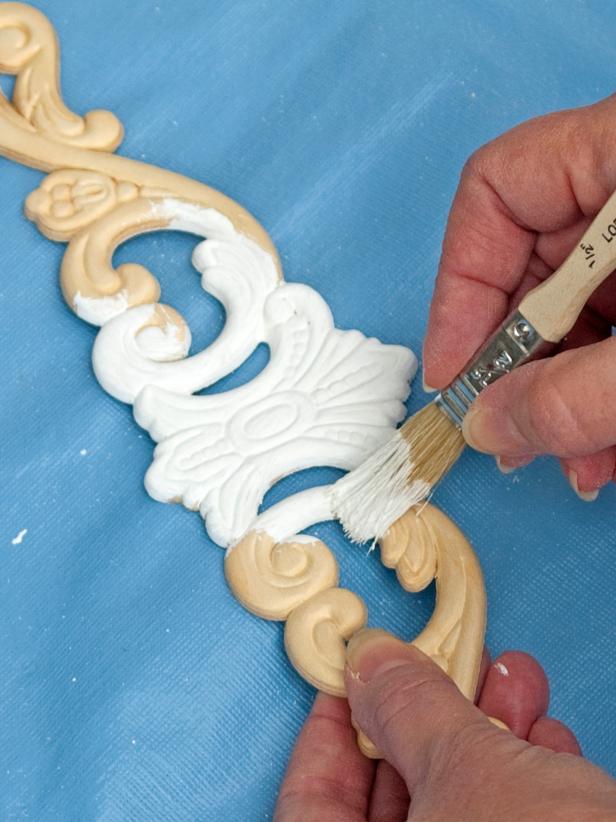
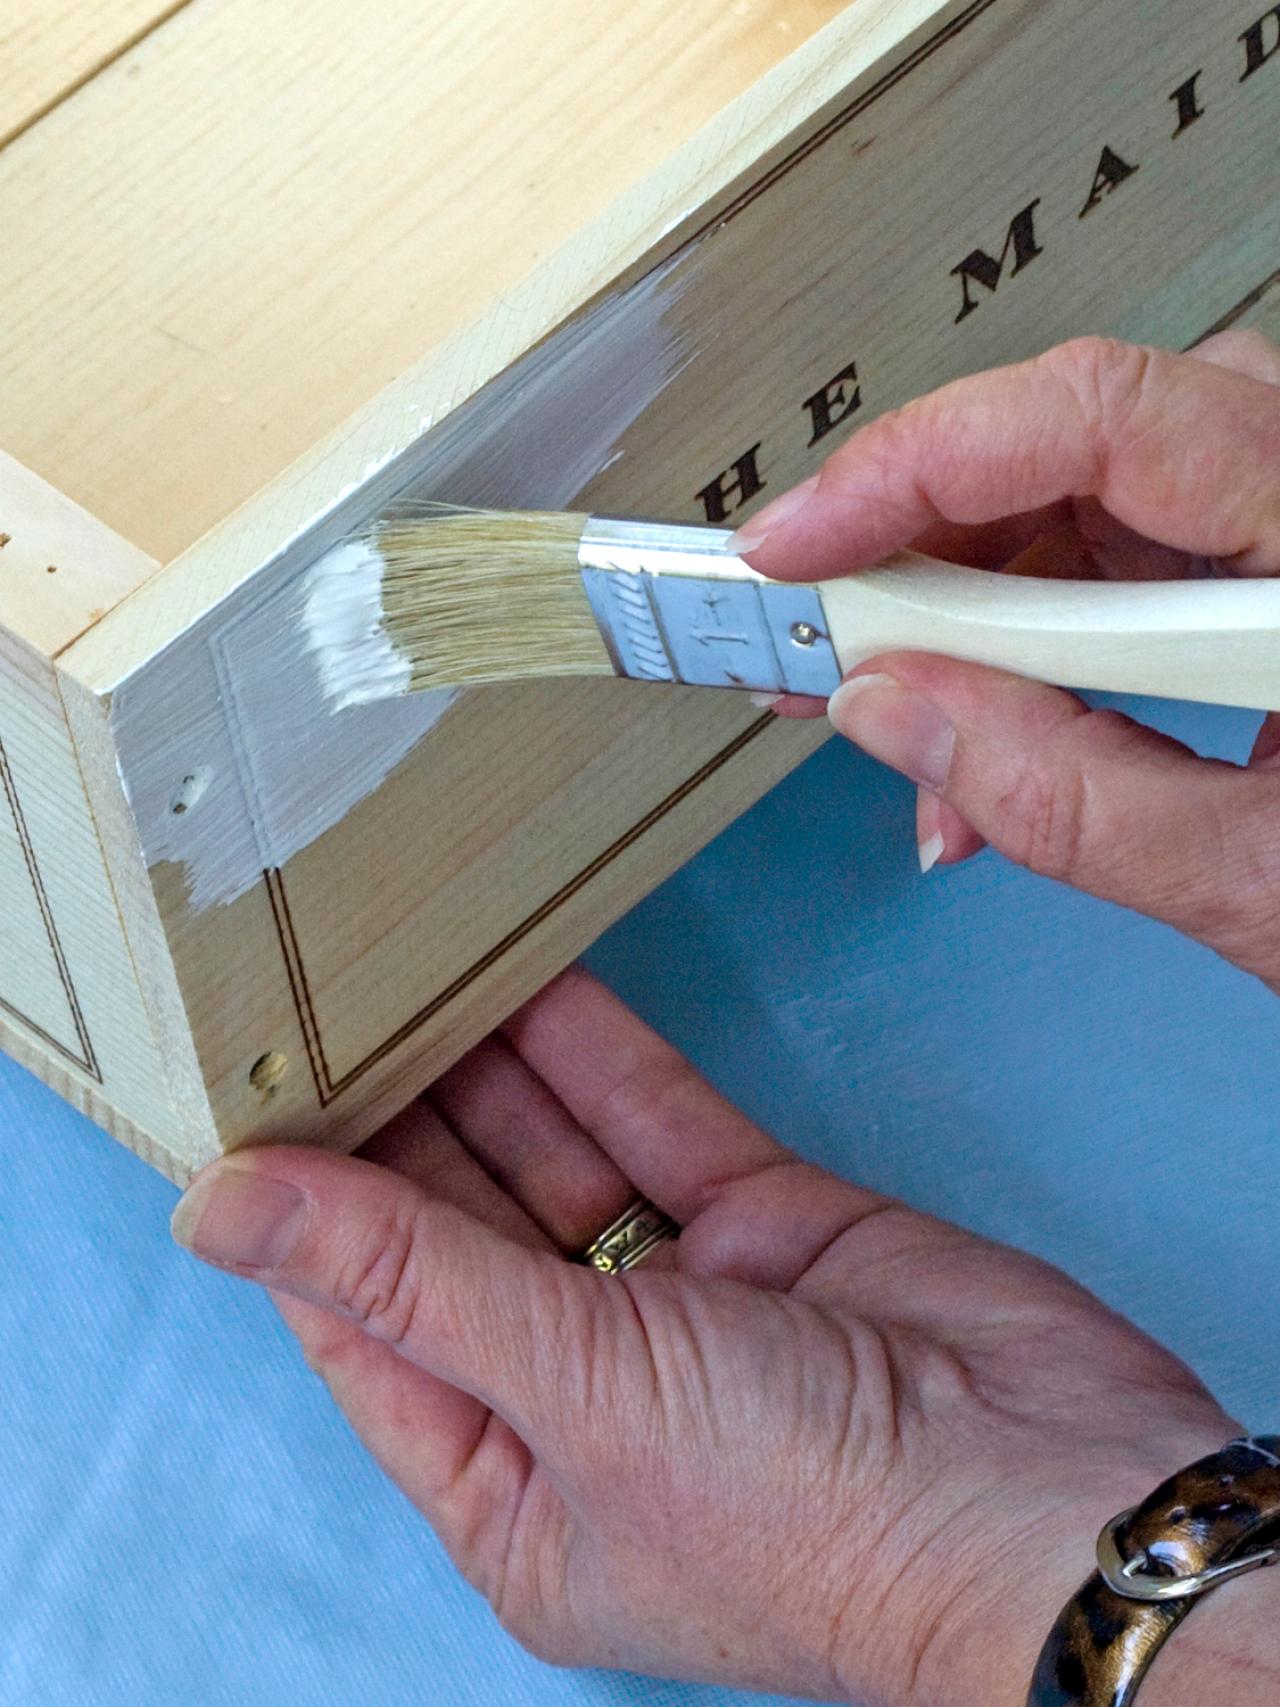
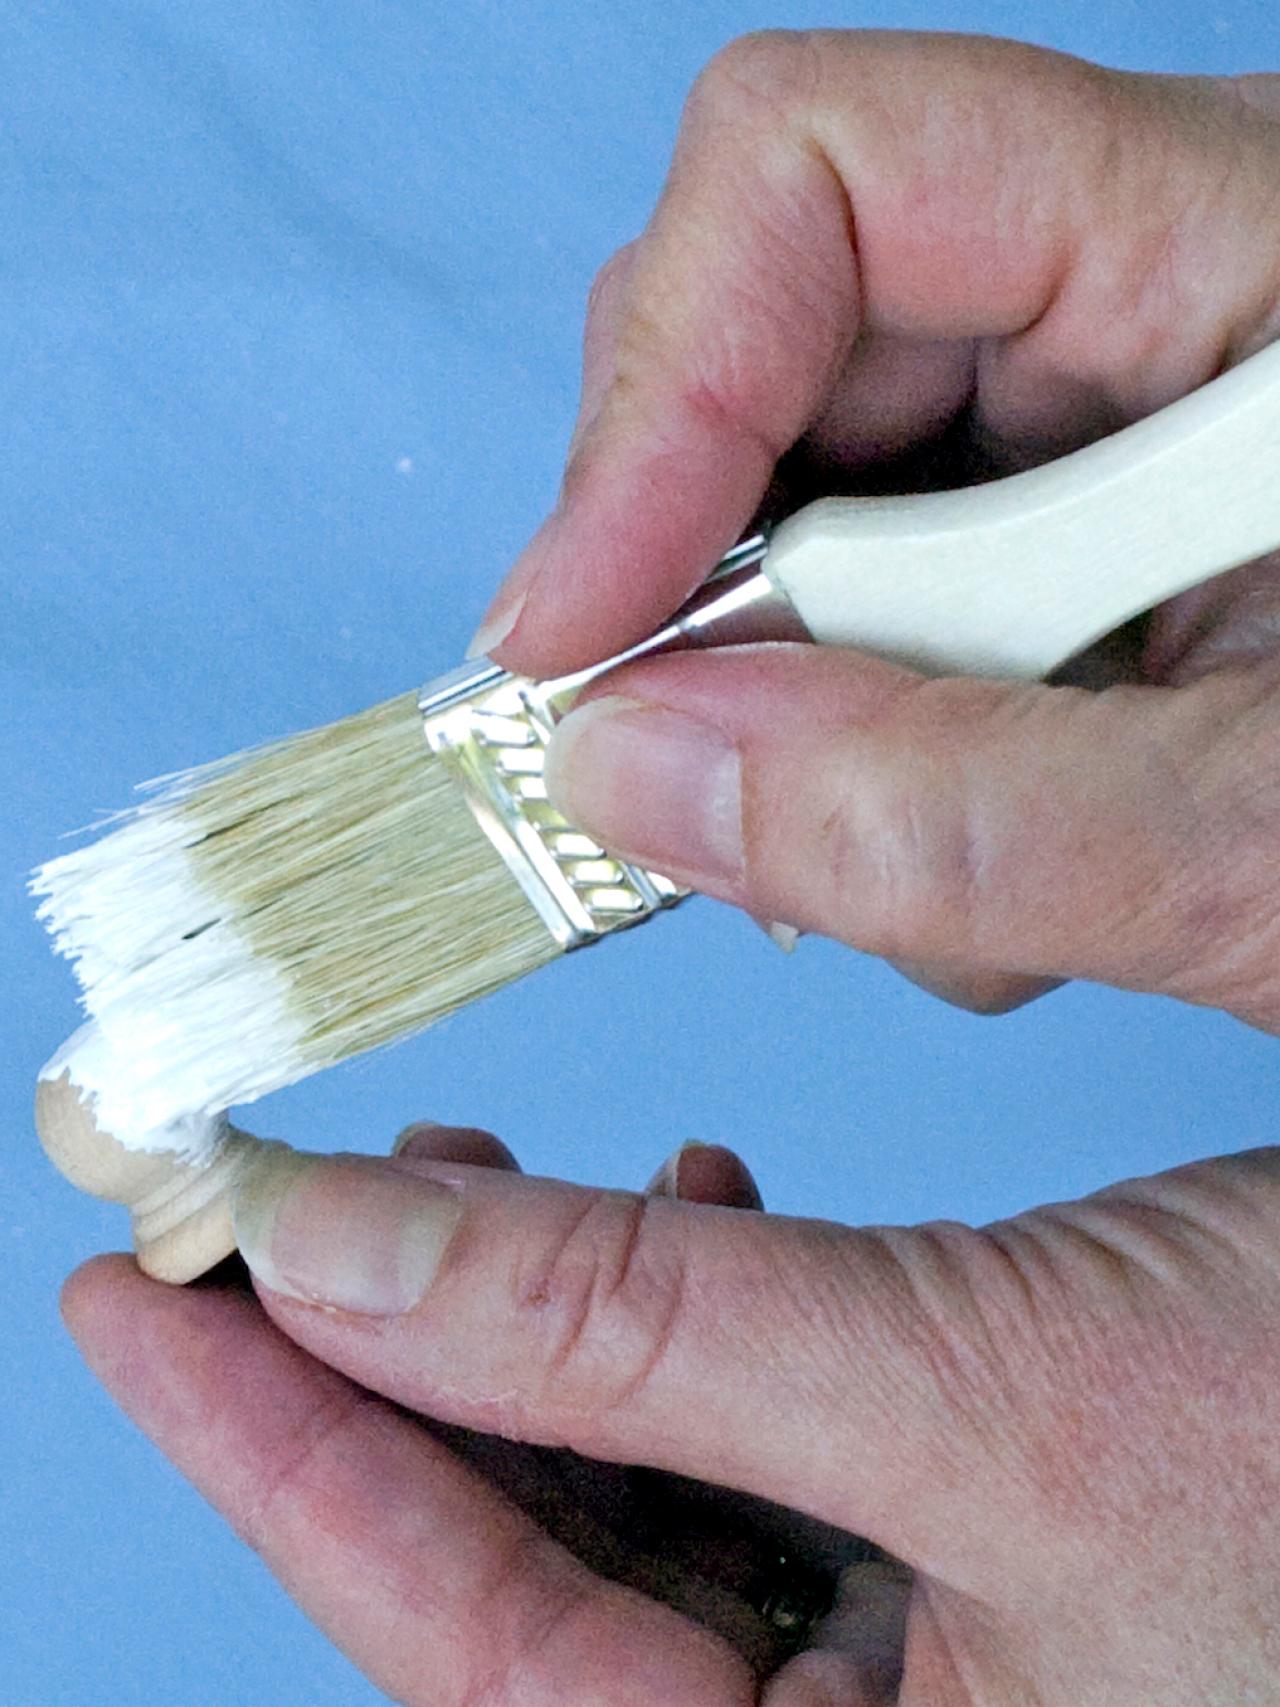
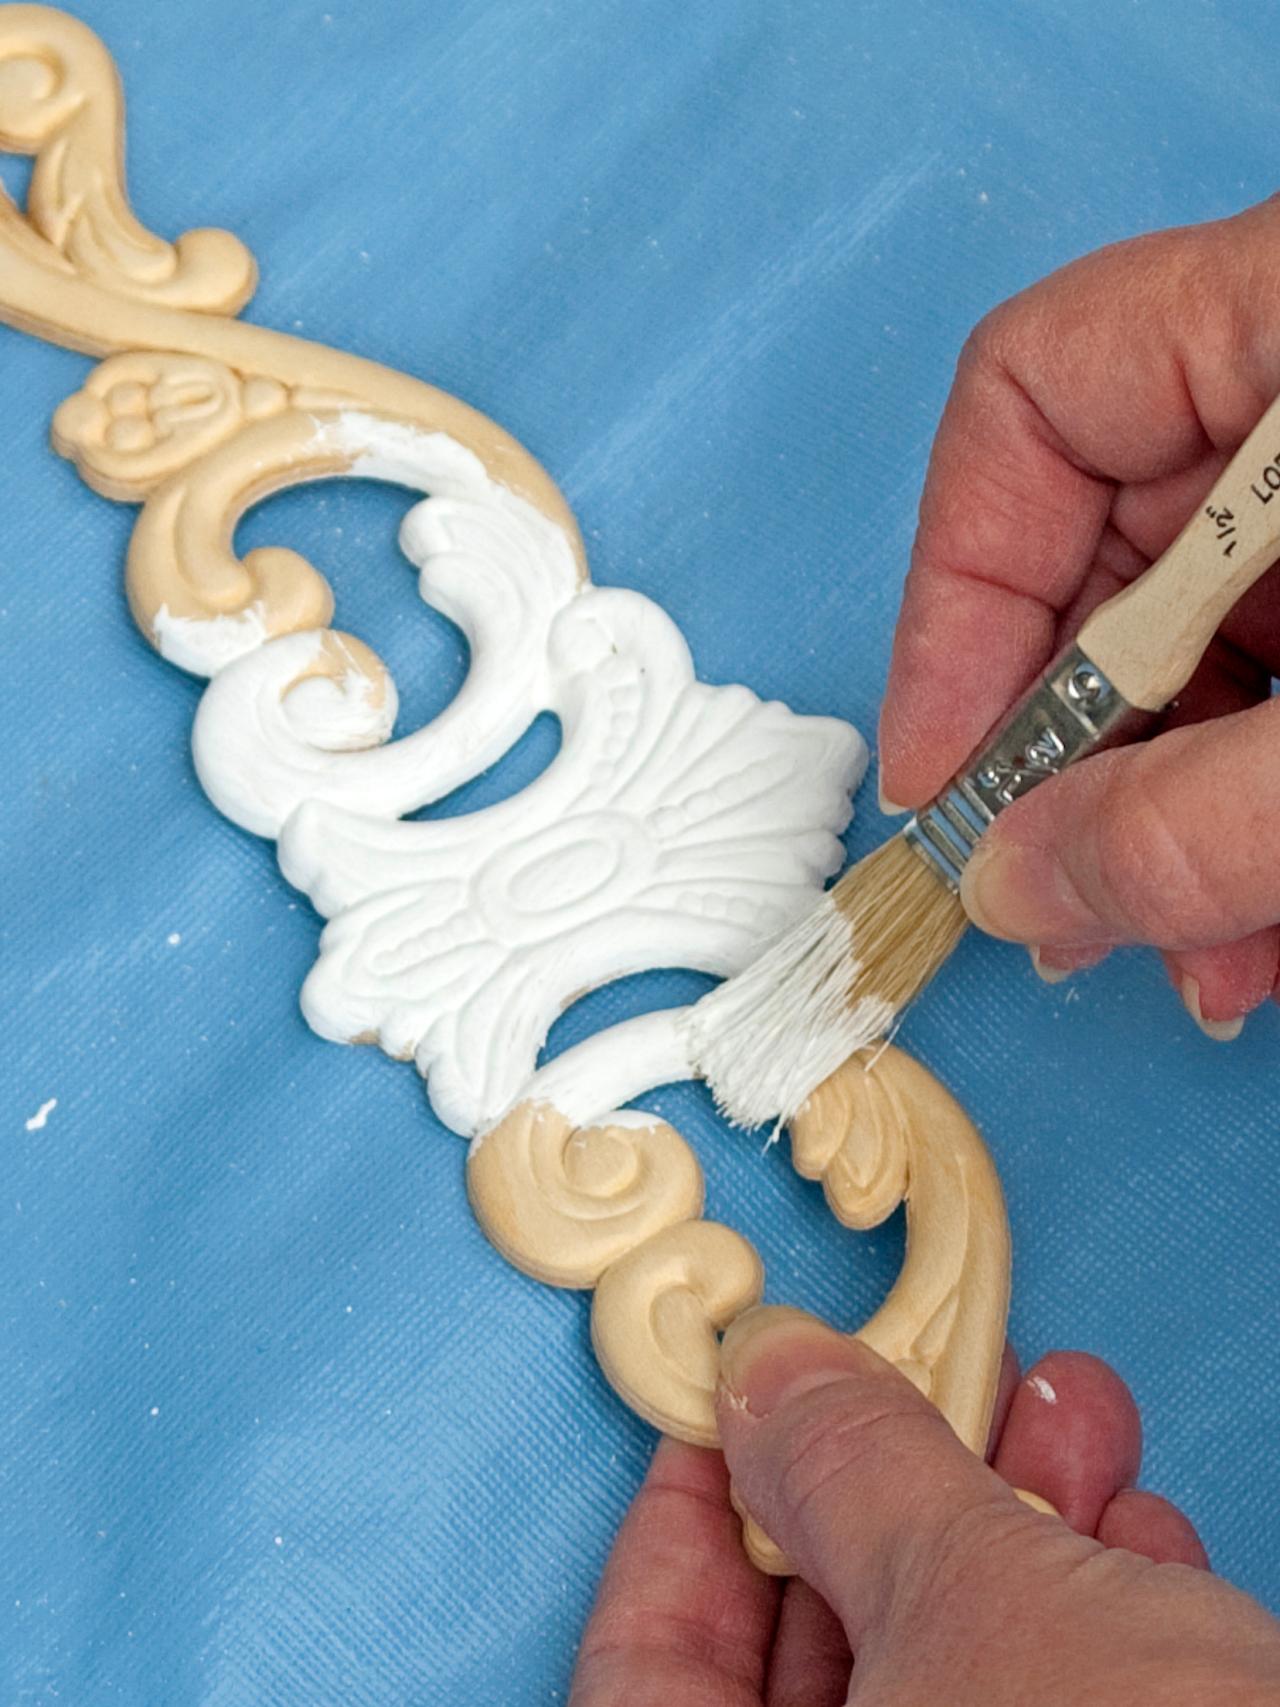
Paint Crates, Finials, Spools and Trim
Paint both crates white (or any color of your choosing) with acrylic paint and the large paintbrush (Image 1). Paint the spools, finials and trim pieces white with the same paint and the smaller brush (Images 2-4). Let dry. Re-coat as necessary.

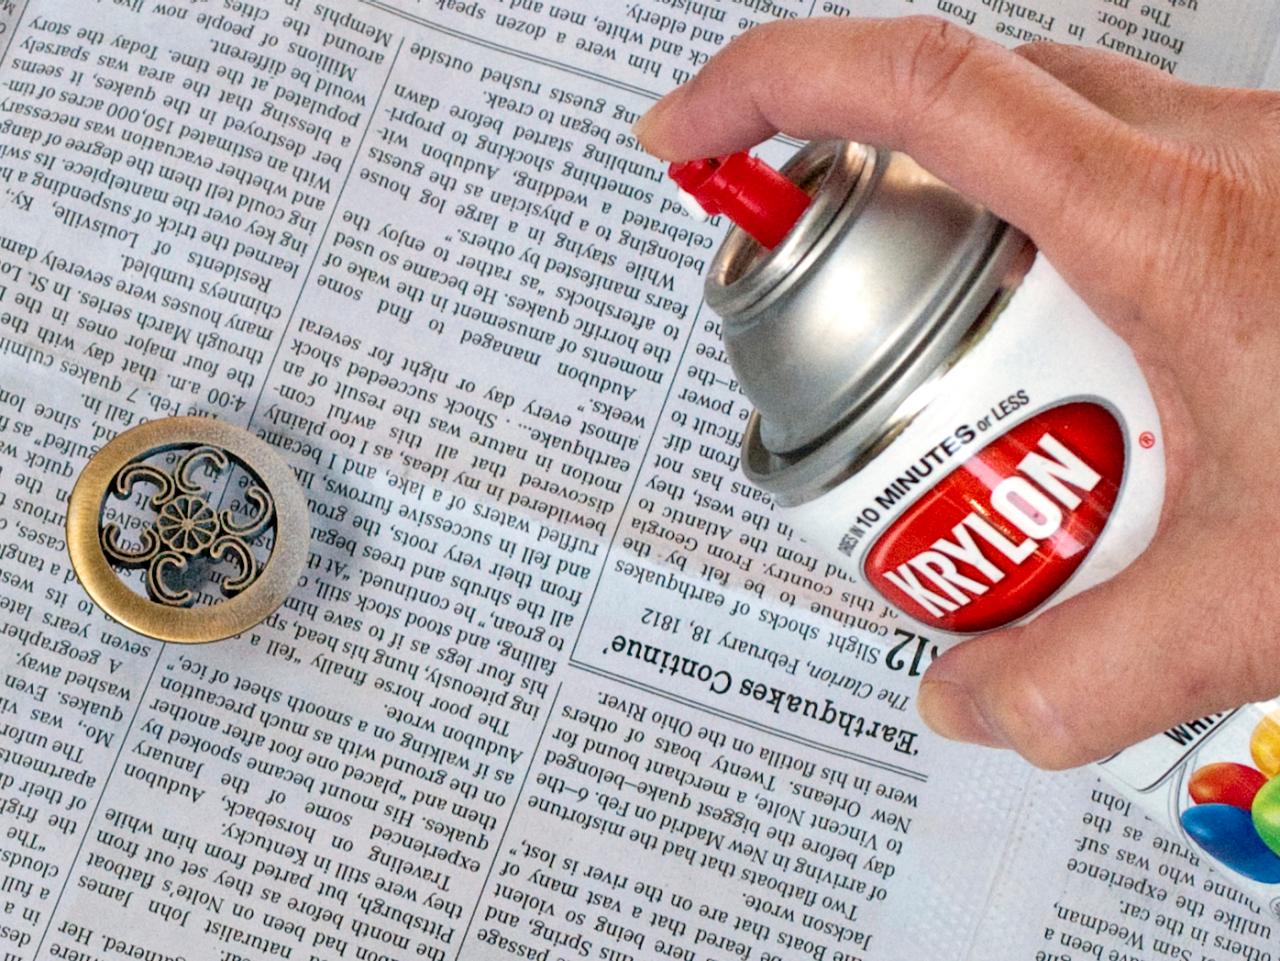
Spray-Paint Cabinet Knobs
Protect floor and surrounding areas with newspaper or plastic sheeting. Hold can six inches from the surface, and spray-paint the cabinet knobs white.

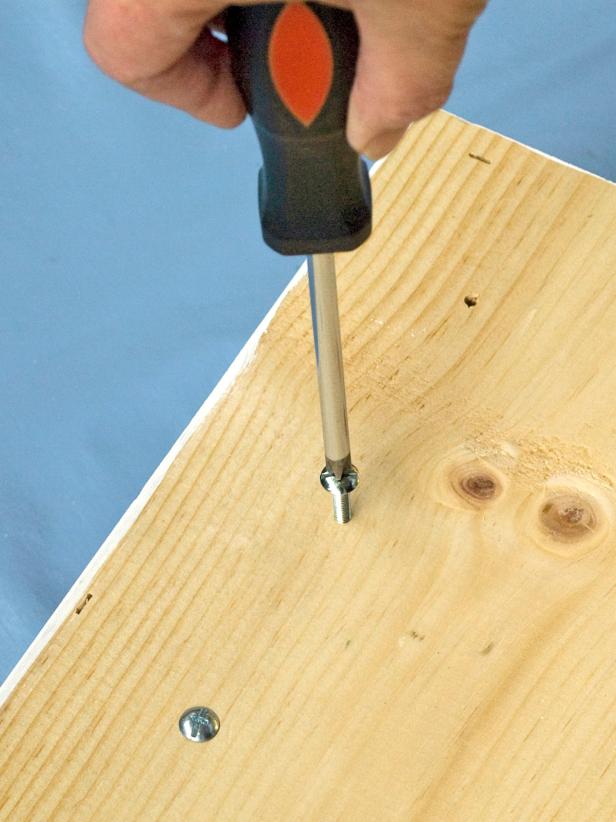
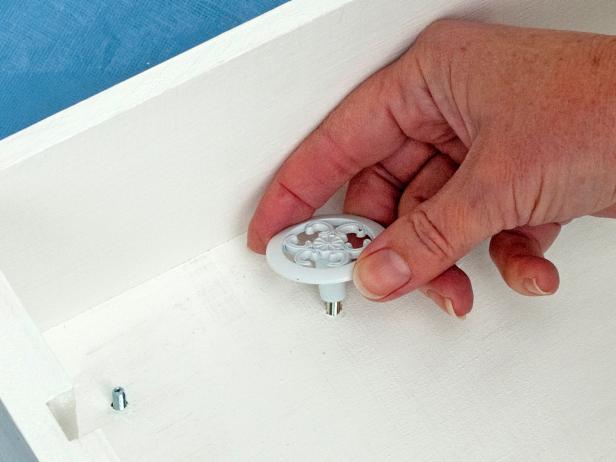
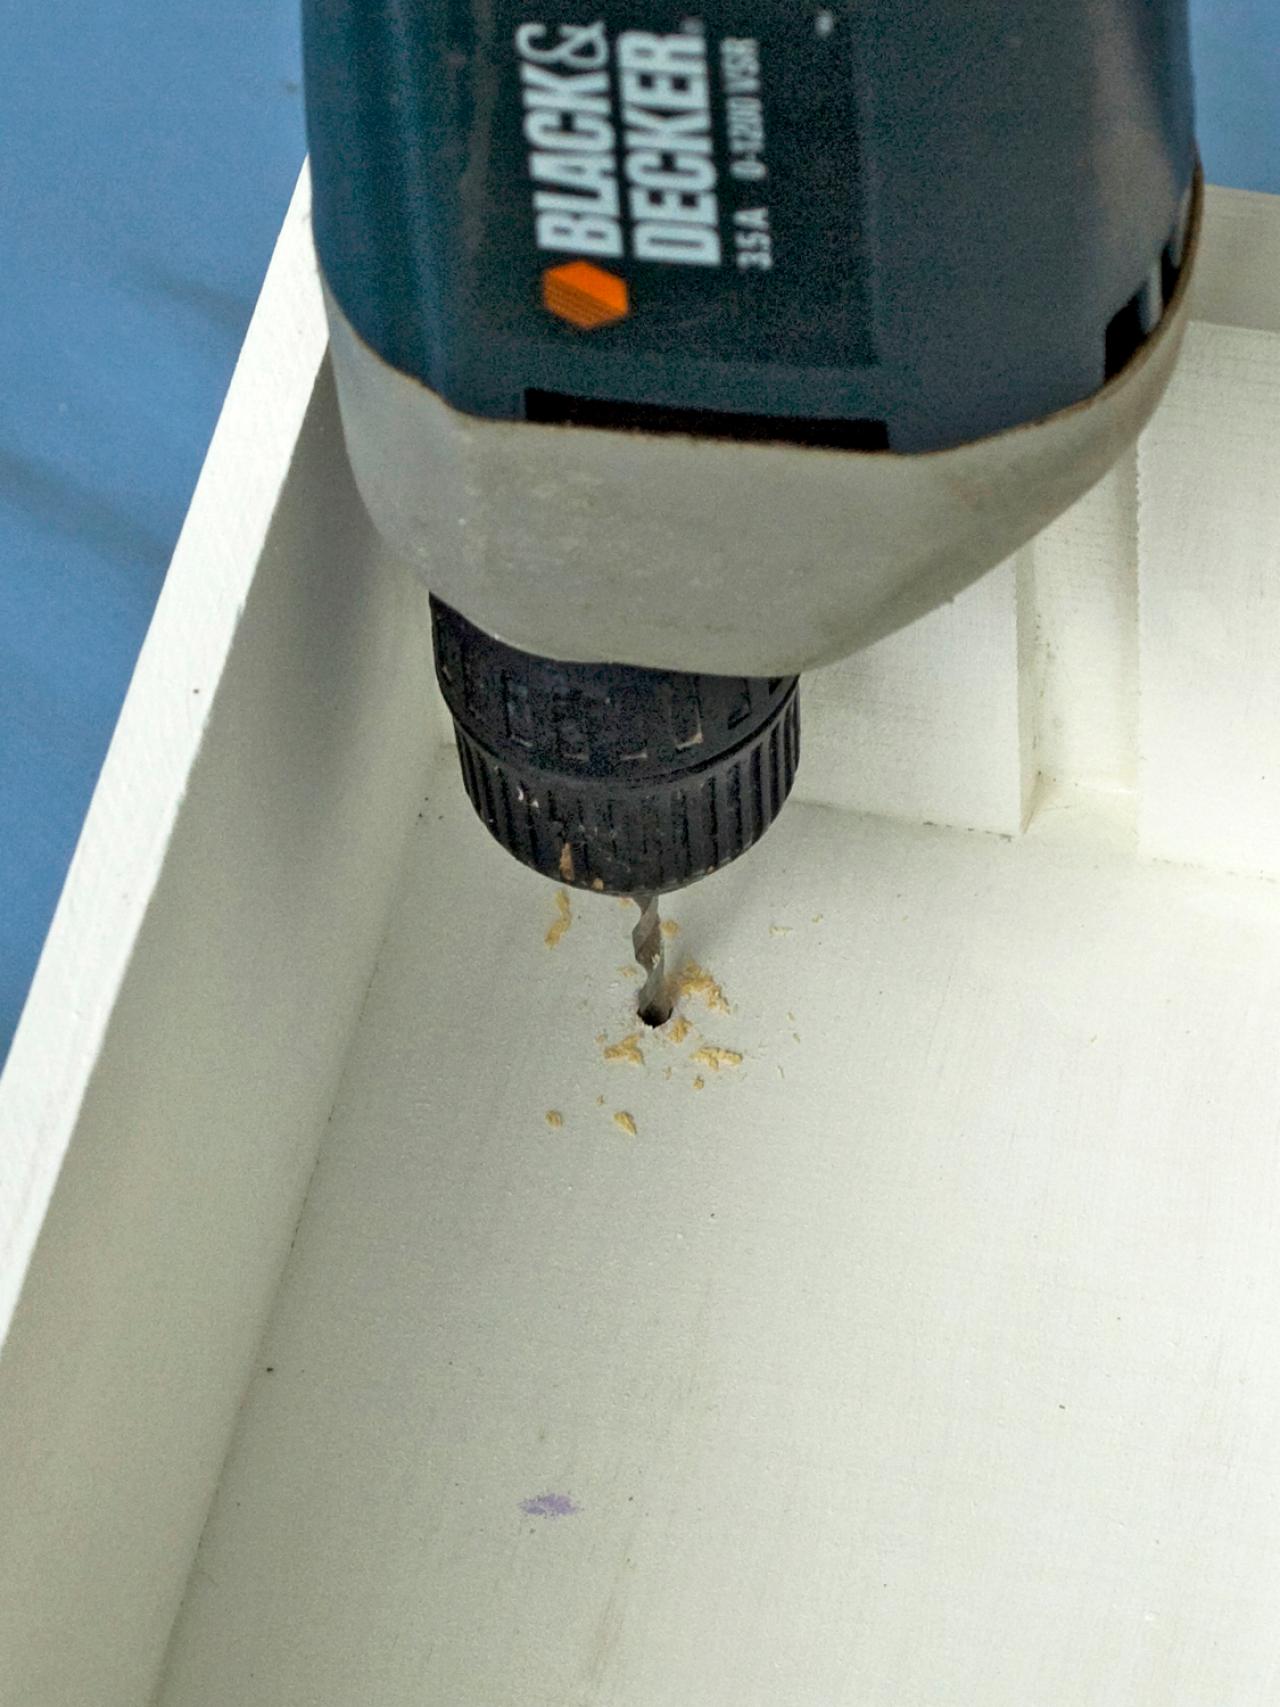
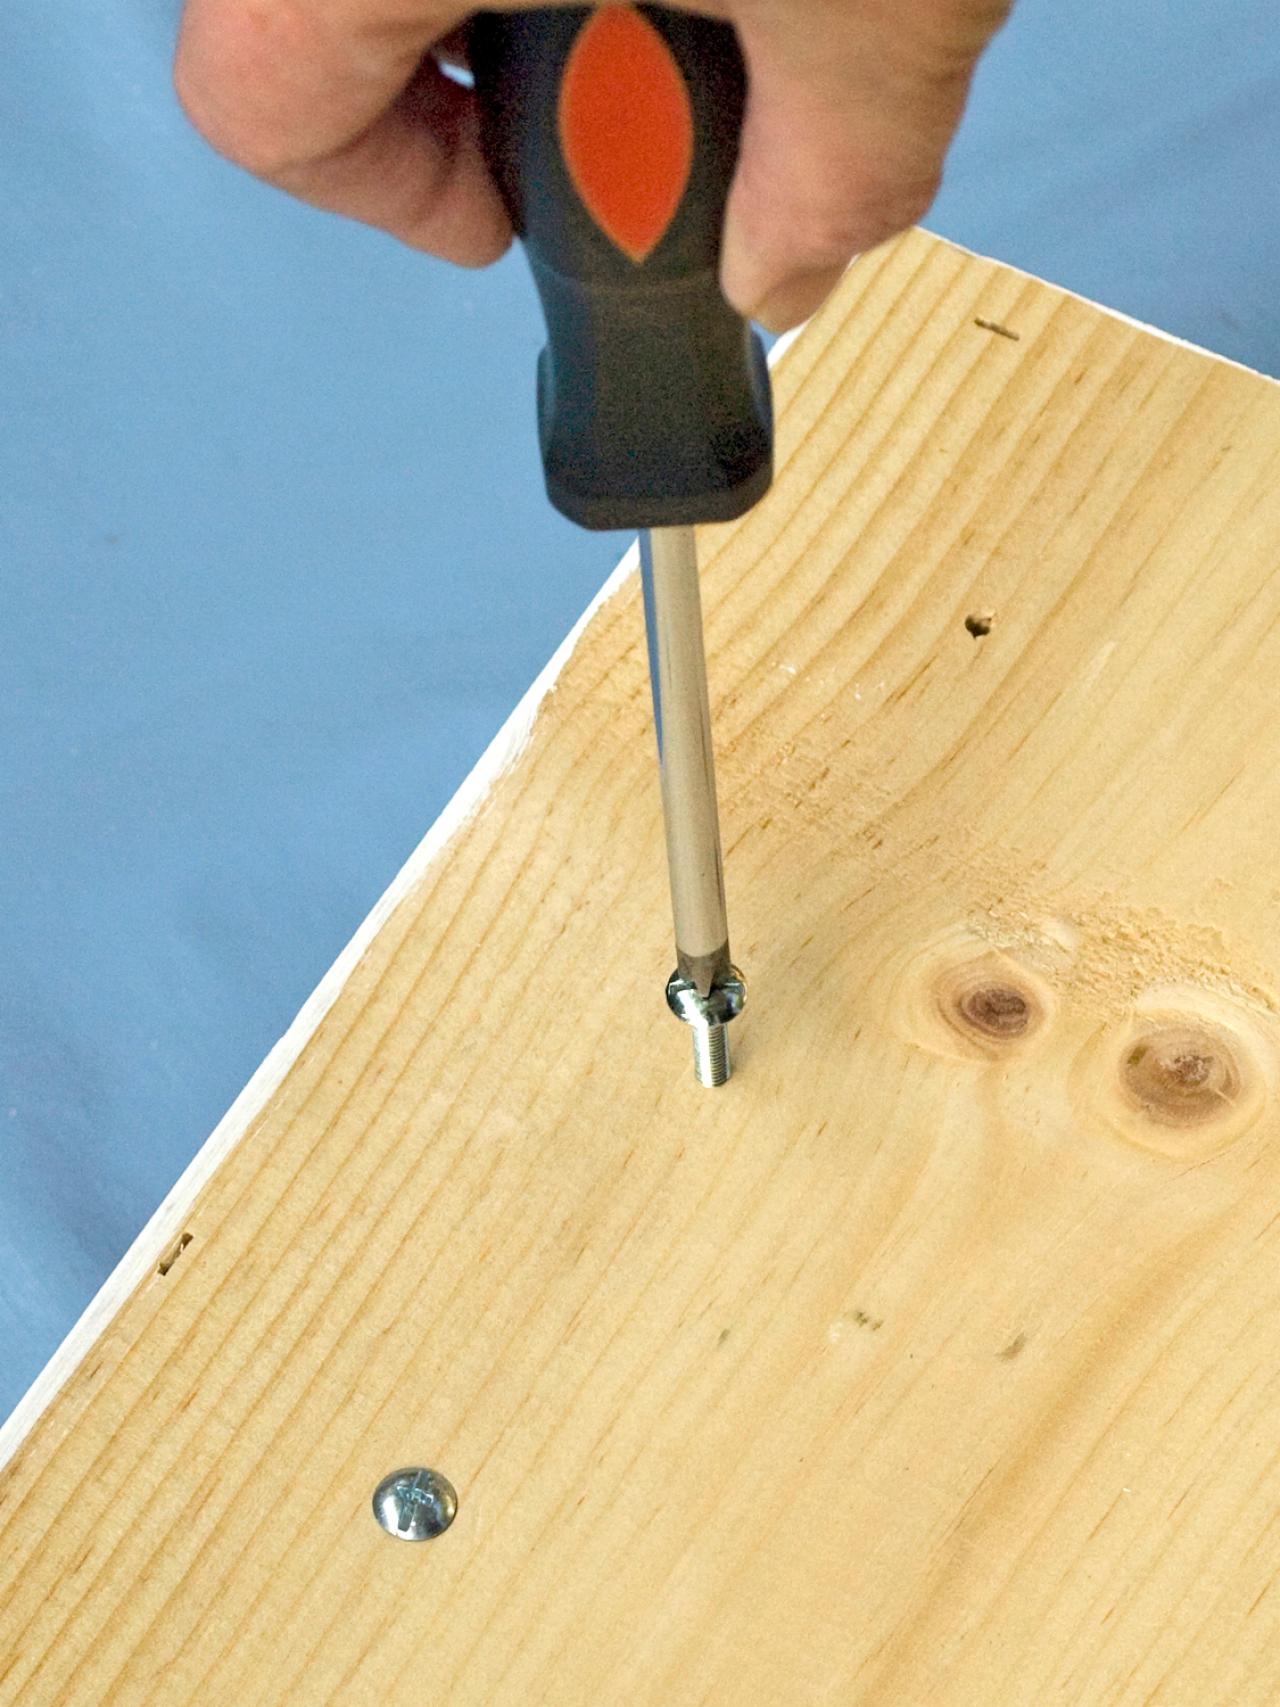
Attach Knobs to Crate
Using the chalk and ruler, measure and mark the locations for the knobs, spacing 4 knobs evenly across the top of each crate’s inside back wall. Pre-drill the holes for each knob (Image 1). Feed the knob bolts in from the back (Image 2) and screw the knobs on from the front (Image 3).

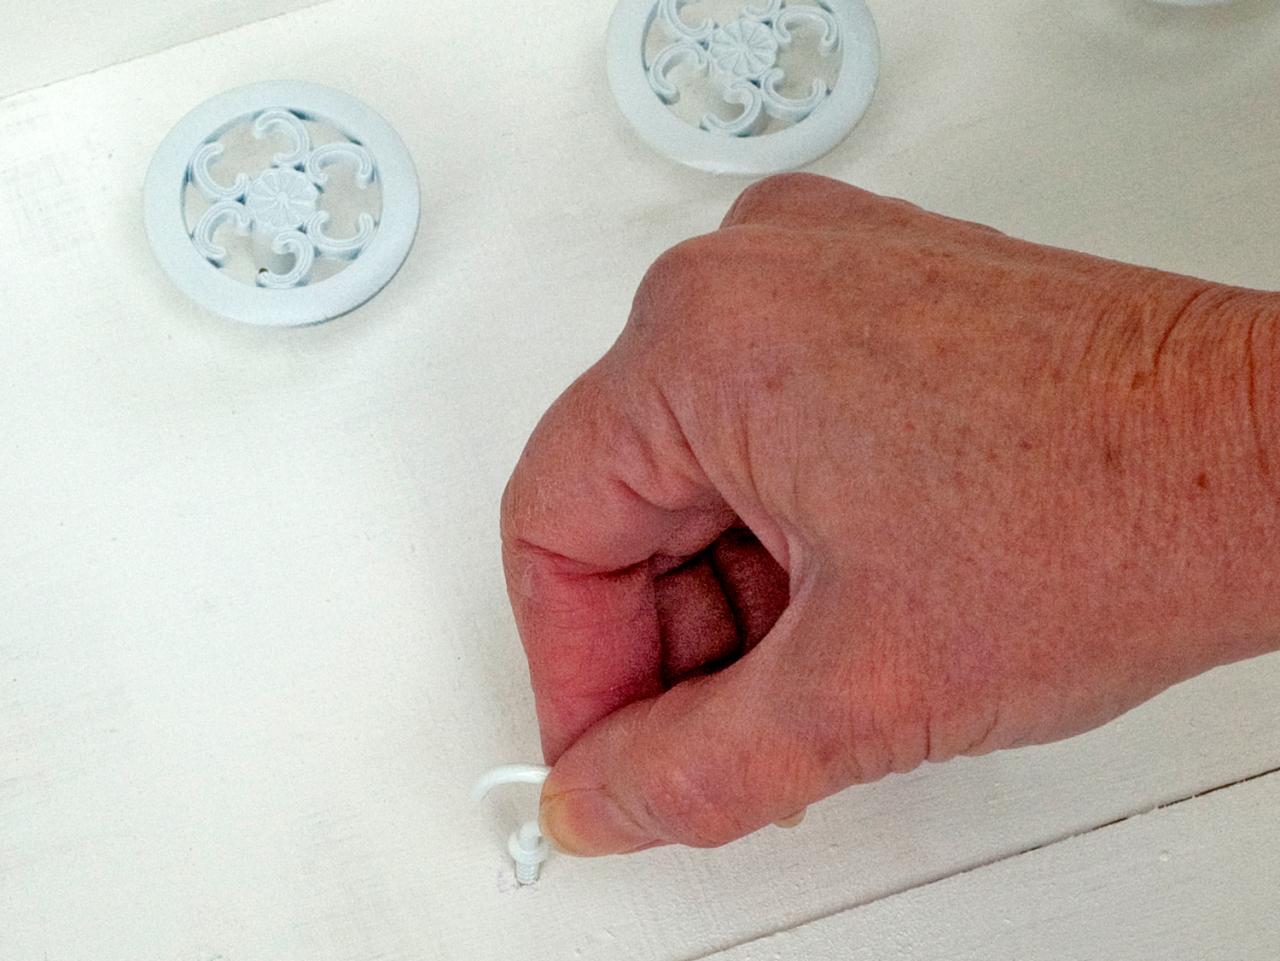
Attach Cup Hooks to Crate
Measure 4 inches below the knobs in one of the crates and screw in 4 cup hooks, each aligned with the knob above it. In the other crate, screw a cup hook between each knob about 2 inches below.
Tip: Wine crates vary, so be careful that your cup hooks don't poke through the back.

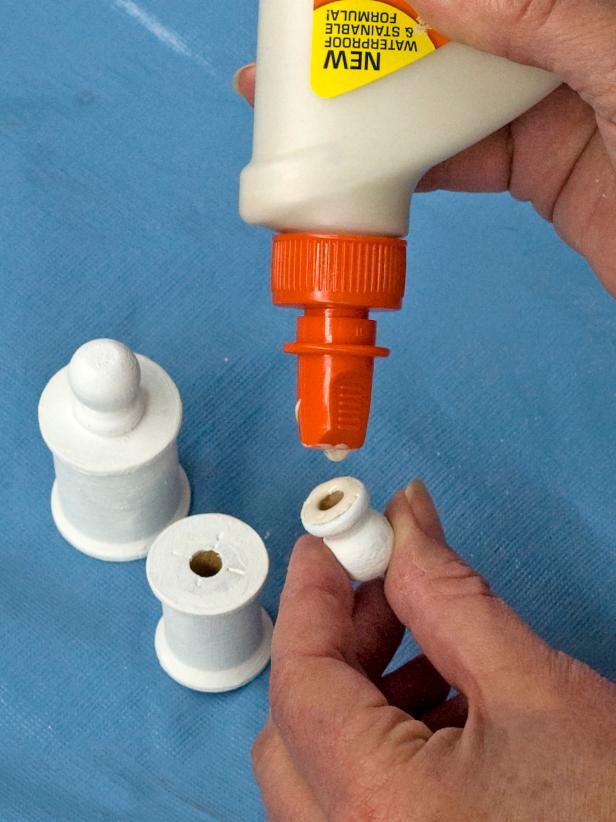
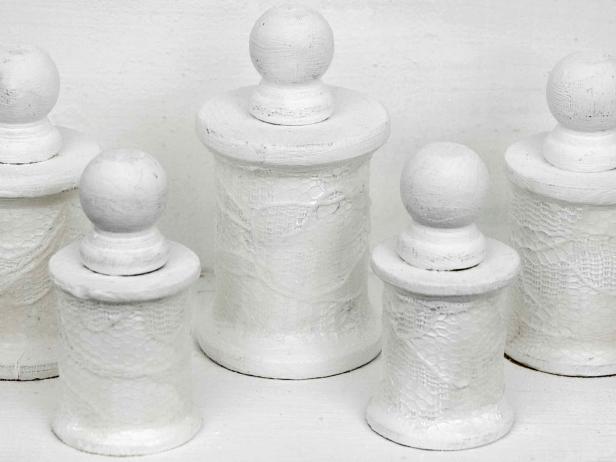
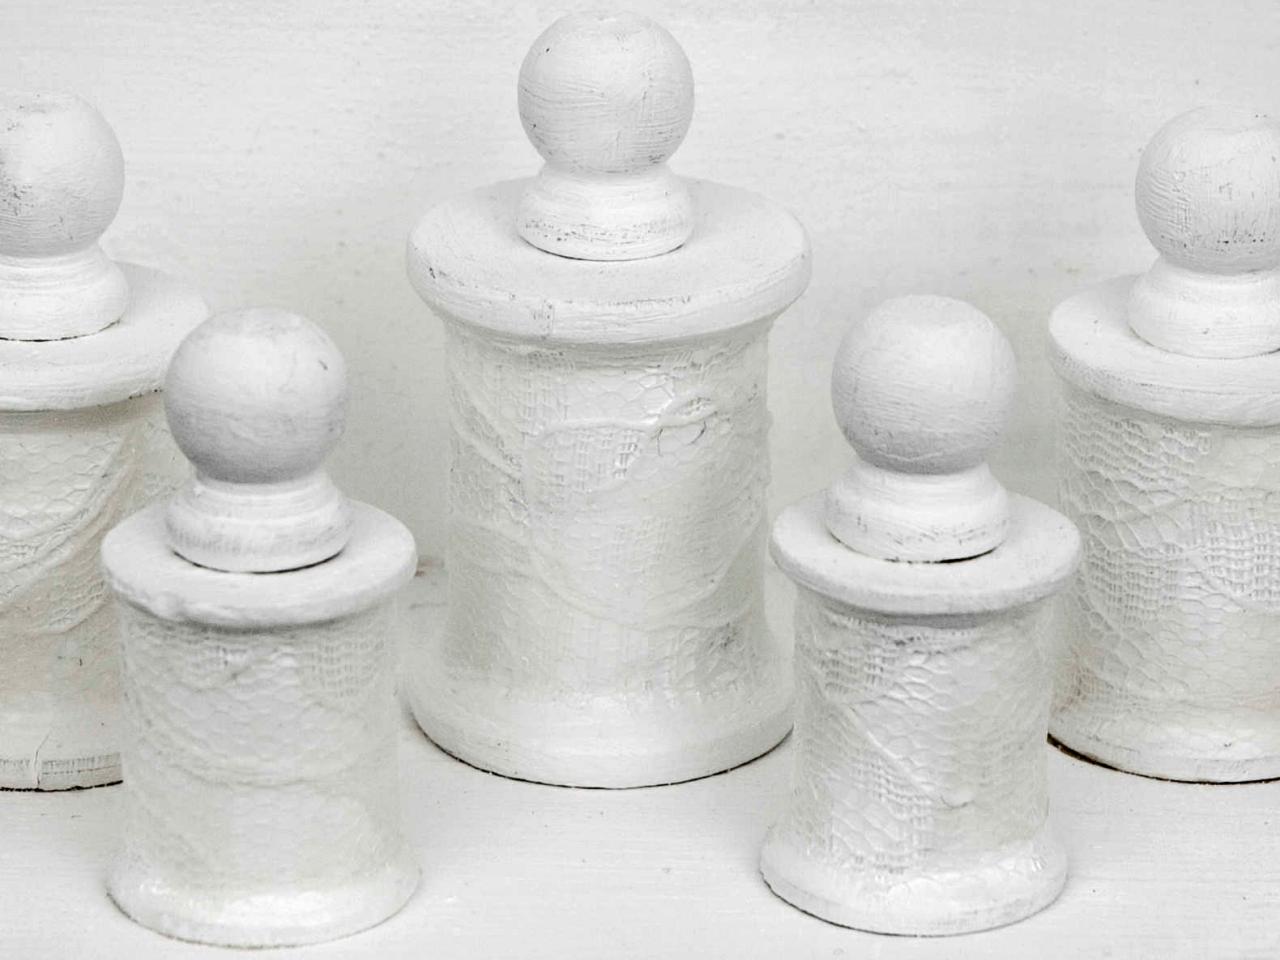
Make Ring Stands
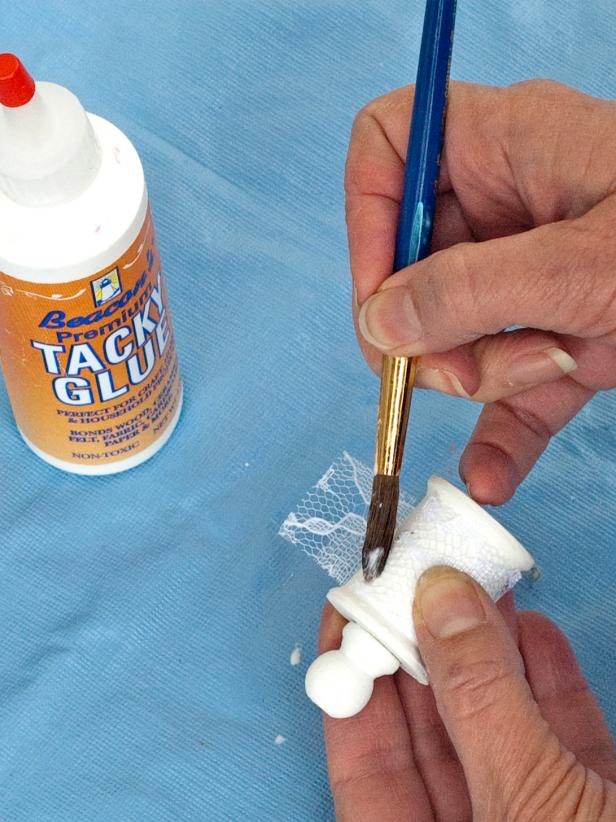
To make each ring stand, use wood glue to attach a wood ball finial to the top of each spool (Image 1). Cut a piece of lace to fit around the spool and decoupage it on, painting craft glue all the way around (Images 2-3).

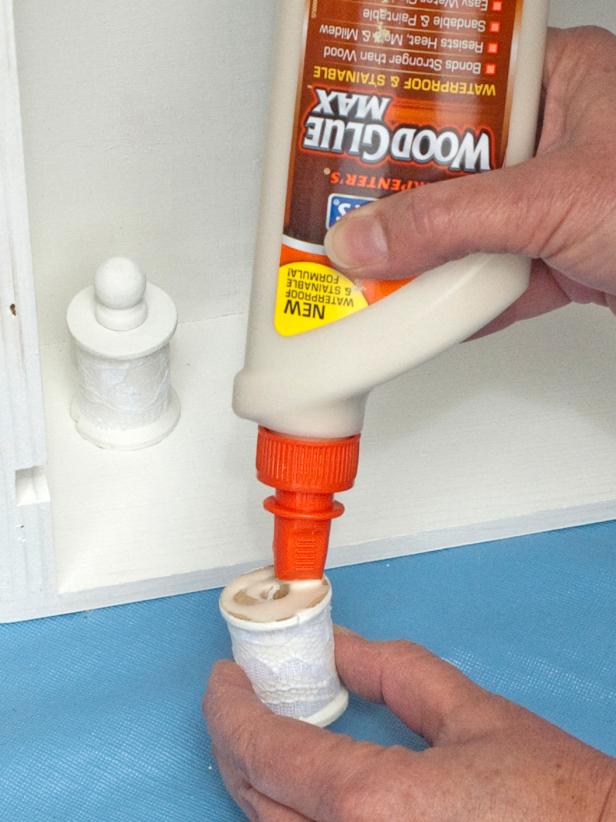
Glue Ring Stands Into Crate
Arrange the spools on the lower ledge of the crate with 4 knobs and 4 cup hooks. Evenly space 5 large spools across the back and 4 medium spools in front of the large ones, staggering them into the spaces in-between (Image 2). Glue them into place with the wood glue.
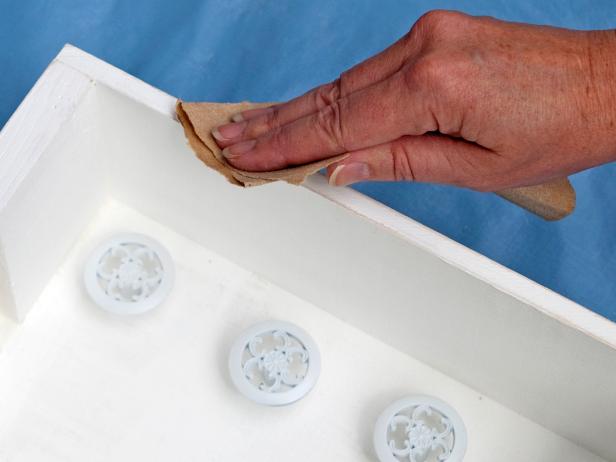
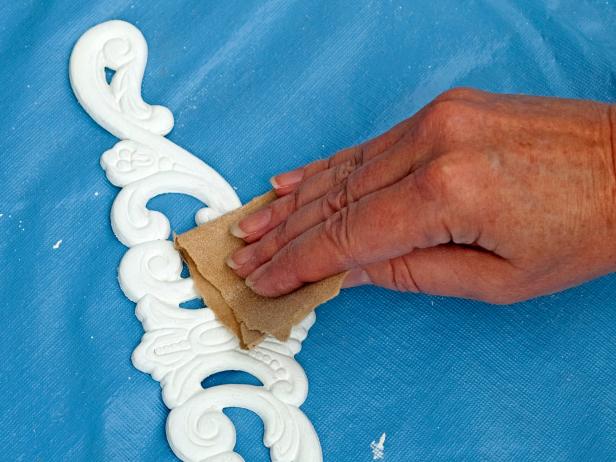
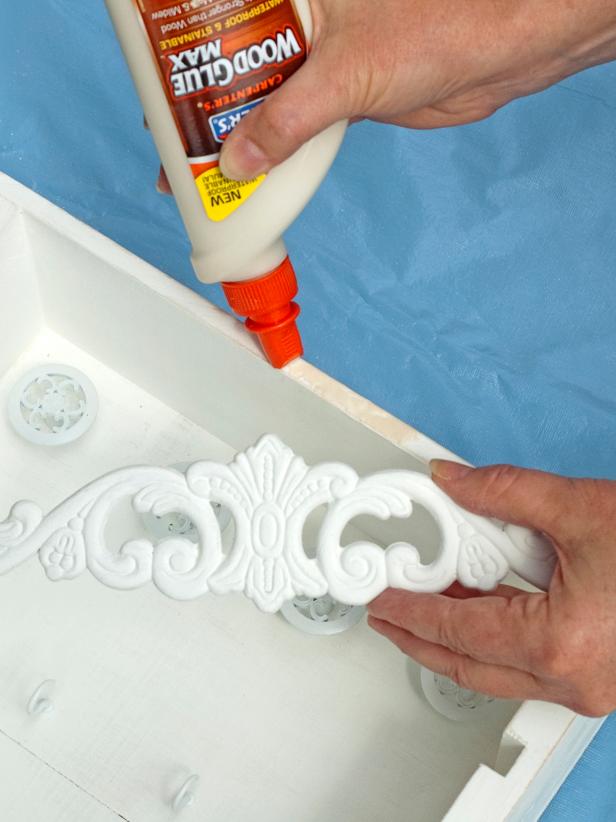
Sand and Decorate Crate
Lightly sand the front edges of the crates and the trim pieces (Images 1-2). Using the wood glue, attach the trim pieces to the top front edges of each crate and let dry (Image 3).
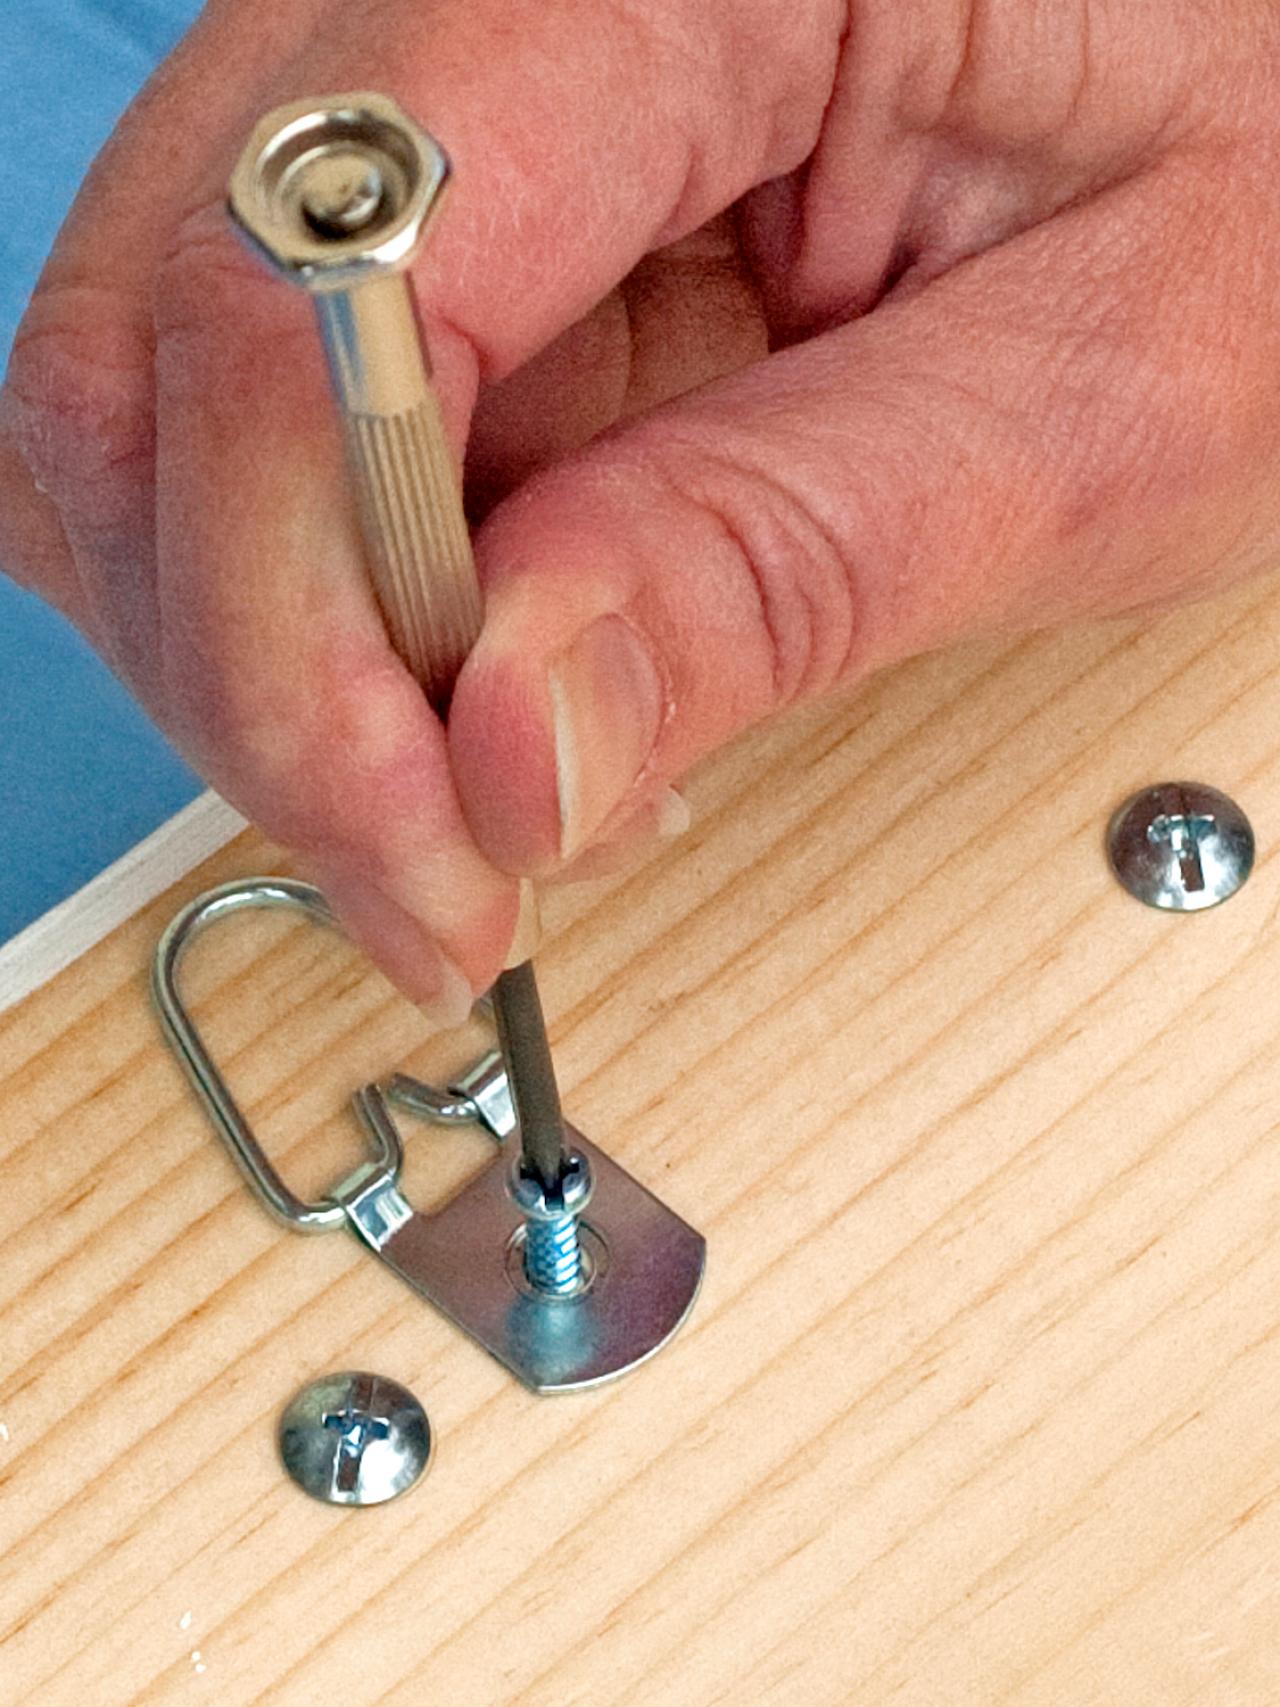
Screw Hangers to Back
Screw a D-ring hanger into the back top corner of each crate. Choose a thick part of the wood, or be careful not to poke through to the front. Hang the crates side by side or arrange on a wall so one is slightly higher than the other.


