


How to Install Underlayment and Laminate Flooring

Materials and Tools:
laminate flooring
underlayment
baseboard
tapping block
finish nailer
jigsaw
miter saw
hammer
tape measure
space blocker
pull bar
Steps:

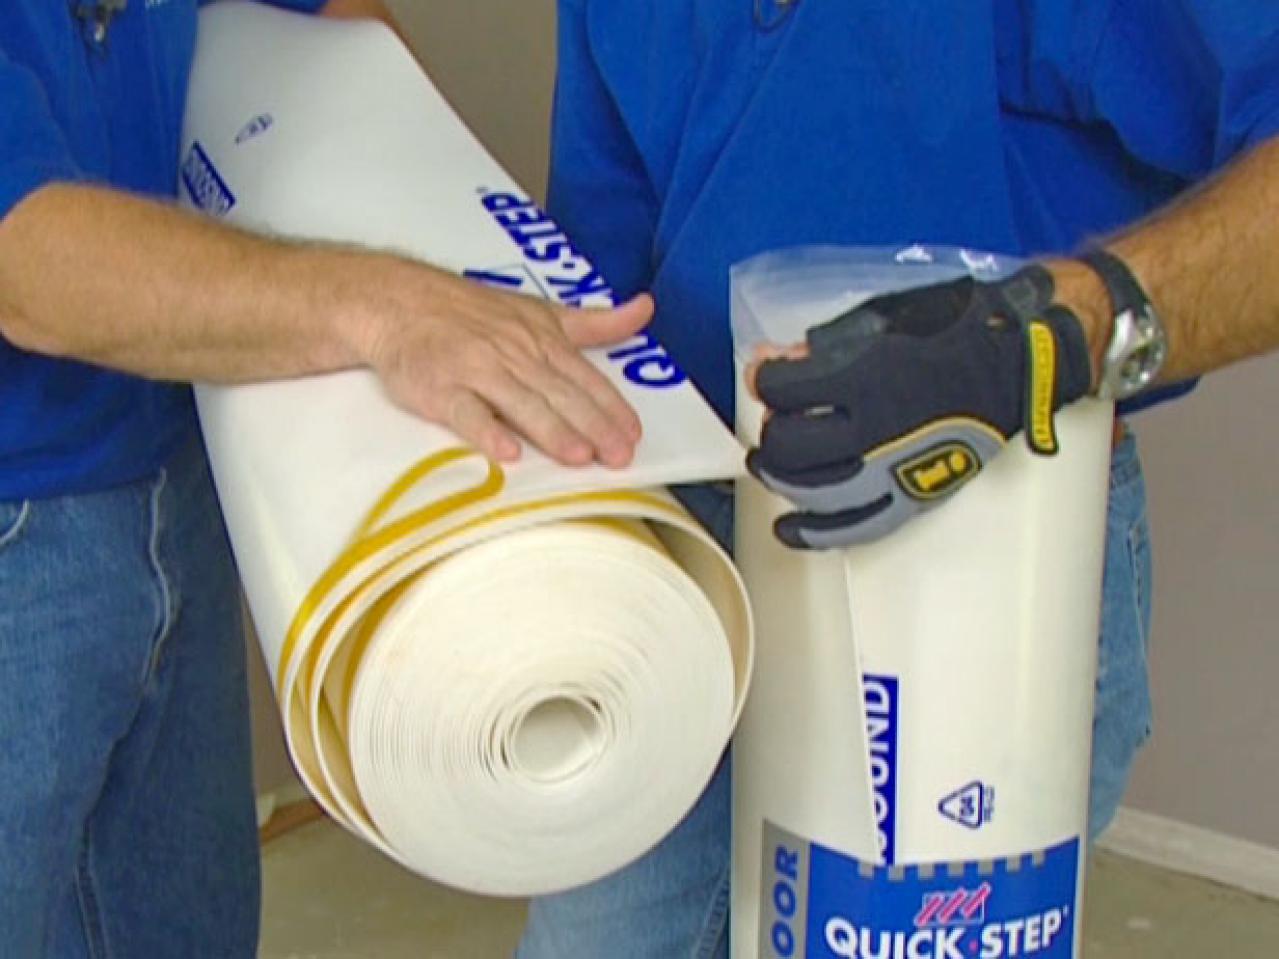
1. The underlayment has a plastic strip on one end that goes along the wall and up the wall that will be covered by the baseboard, and the other end has a strip of adhesive tape. As you unroll each roll, the clear plastic end lies on top of the end with adhesive strip and two white pieces of foam will be butted up against each other.
Tip: Make sure the two white sides are as close as they can be and lay one over the other and tack it down. That is how you will know if it's on upside down -- if the tape strip is down, it is backwards. It is very important that the underlayment run the same direction as the flooring.

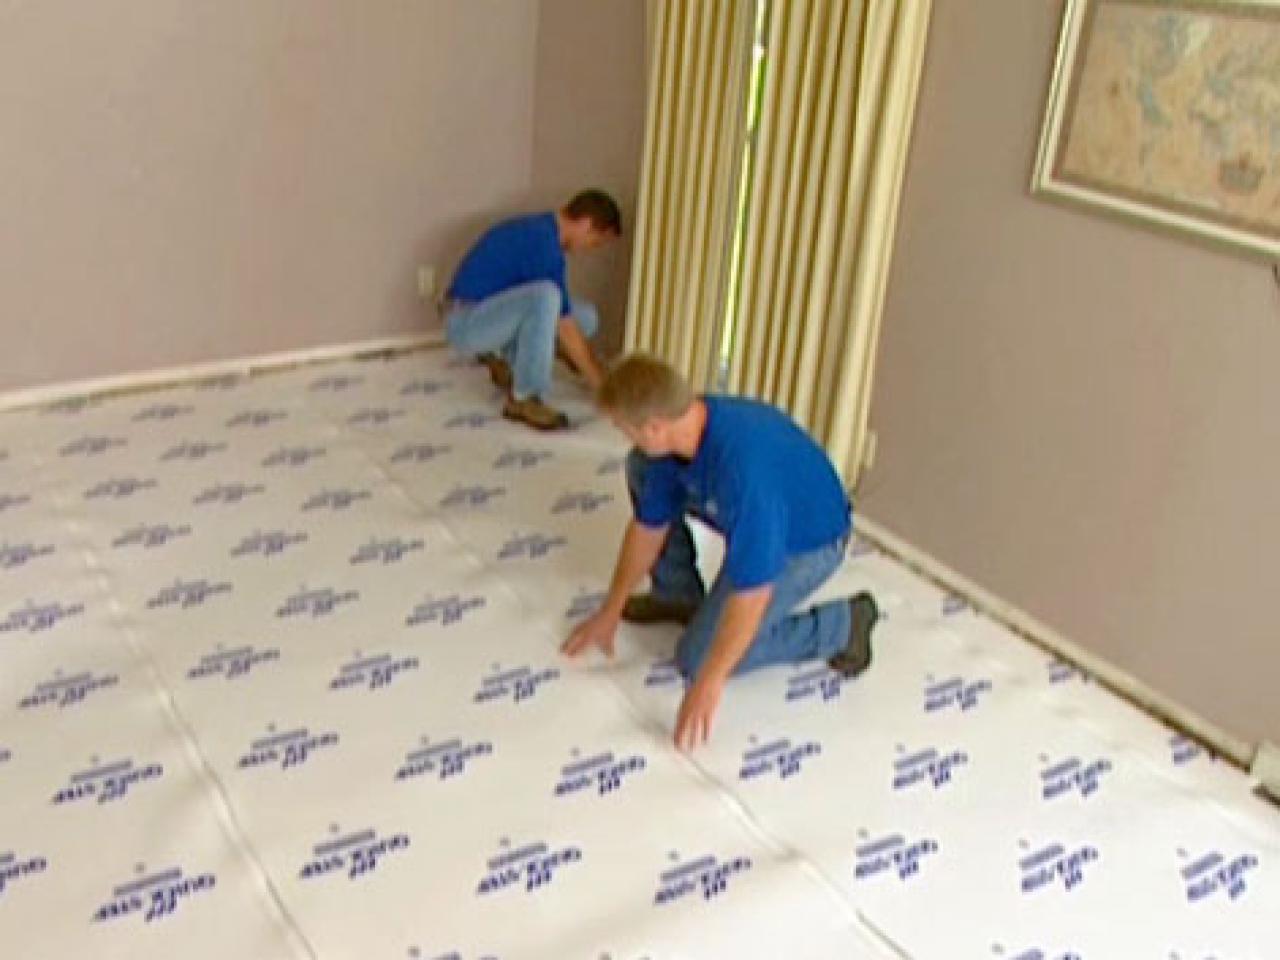
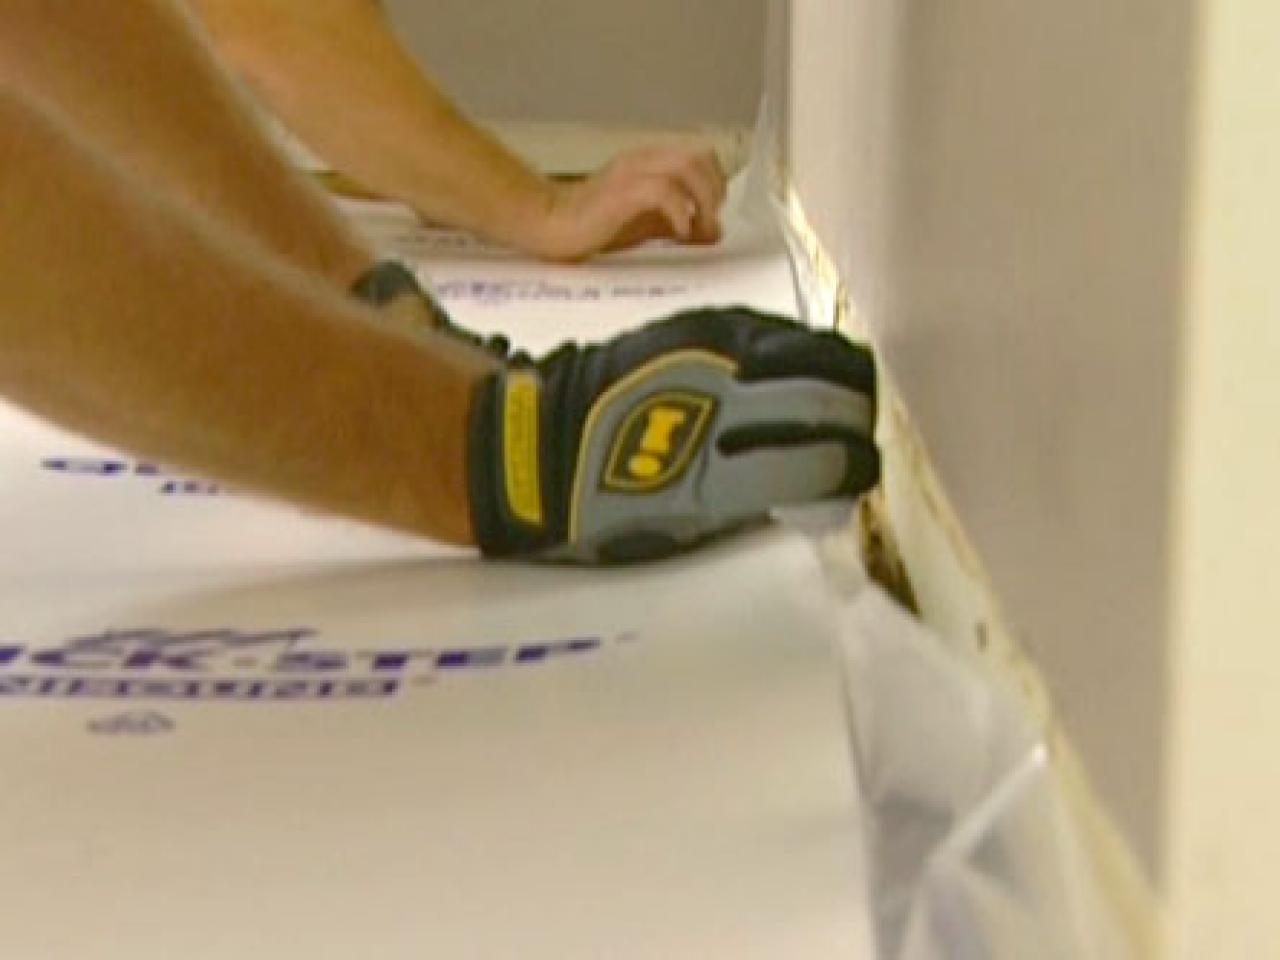
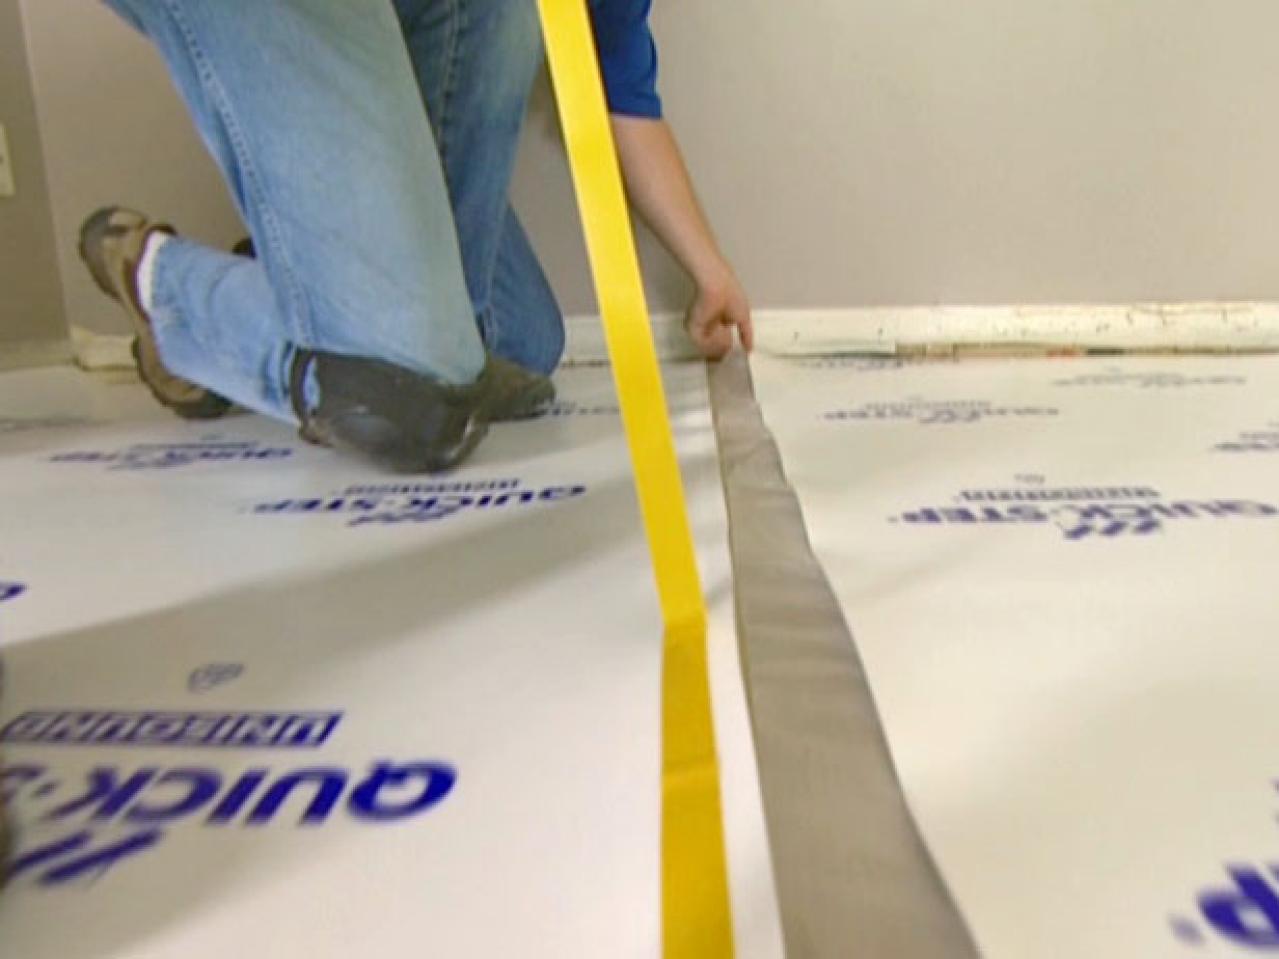
2. Run the first sheet of underlayment next to the longest wall in the room. Run the plastic strip 4" up the wall.

3. The next sheet should butt right up against the first sheet with the plastic edge overlapping the edge of the first sheet. Peel back the covering of the adhesive tape on the first sheet and smooth the plastic edge of the second sheet down onto the tape of the first sheet. Continue this process around the room until the floor is covered, with only a small gap between the walls and the underlayment.

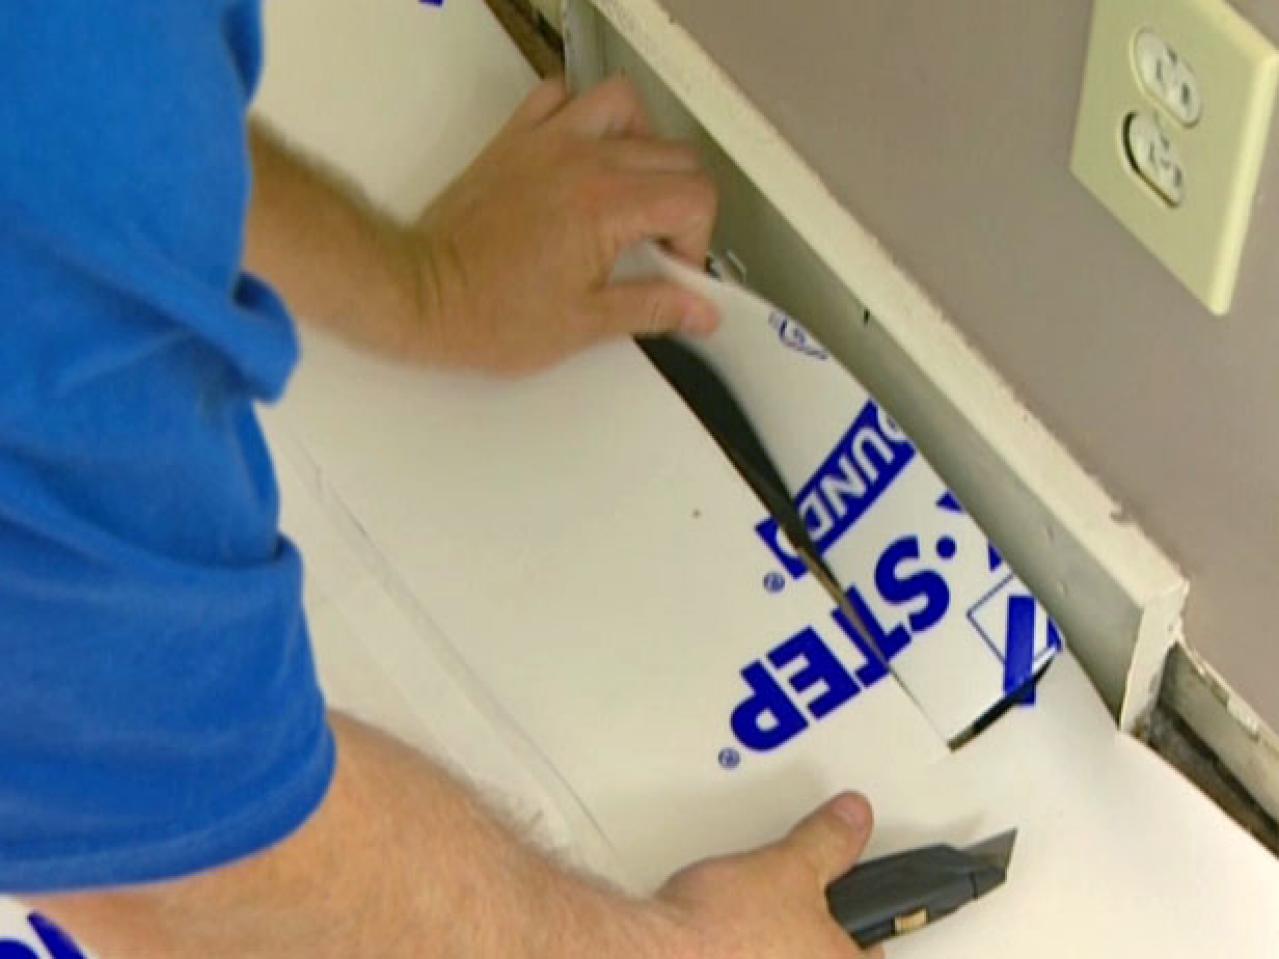
4. Use a razor knife to remove any underlayment around any obstructions like vents and corners.
It helps to do the cutting away from the work area -- it keeps everything simpler and cleaner.

5. Each board has a tongue and a groove side. The tongue side is actually the smaller that sticks out from the board. The tongue needs to be cut off on the long side and short side when installing boards in the corners. It makes a better corner and gives a place to start work and build outward.

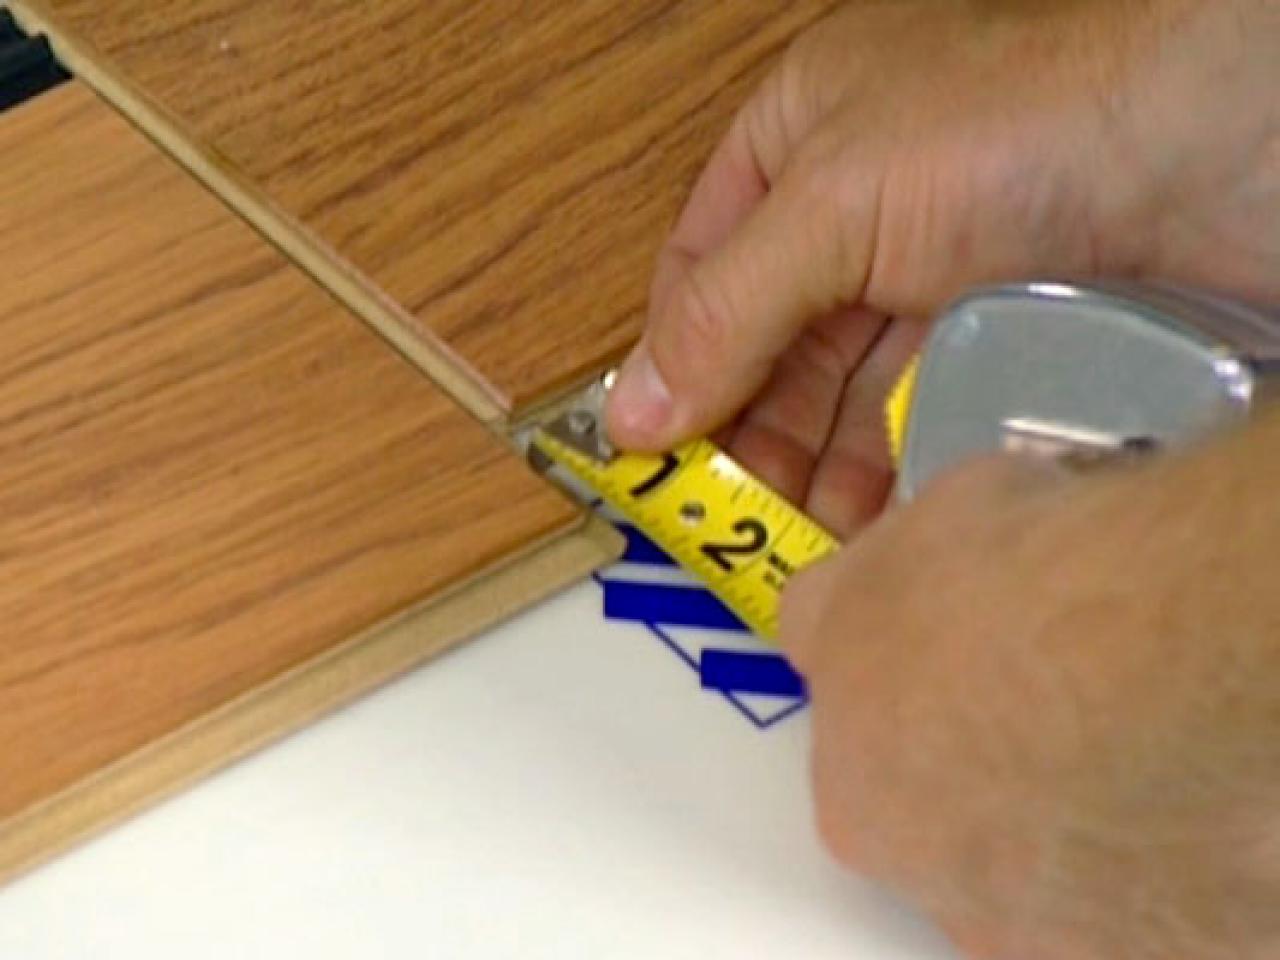
6. When installing boards around a door opening, put in a transition strip. Put the spacers in place and measure to see how much longer the board in front of the door is compared to the board against the wall. That is how much to cut off the board in front of the door.
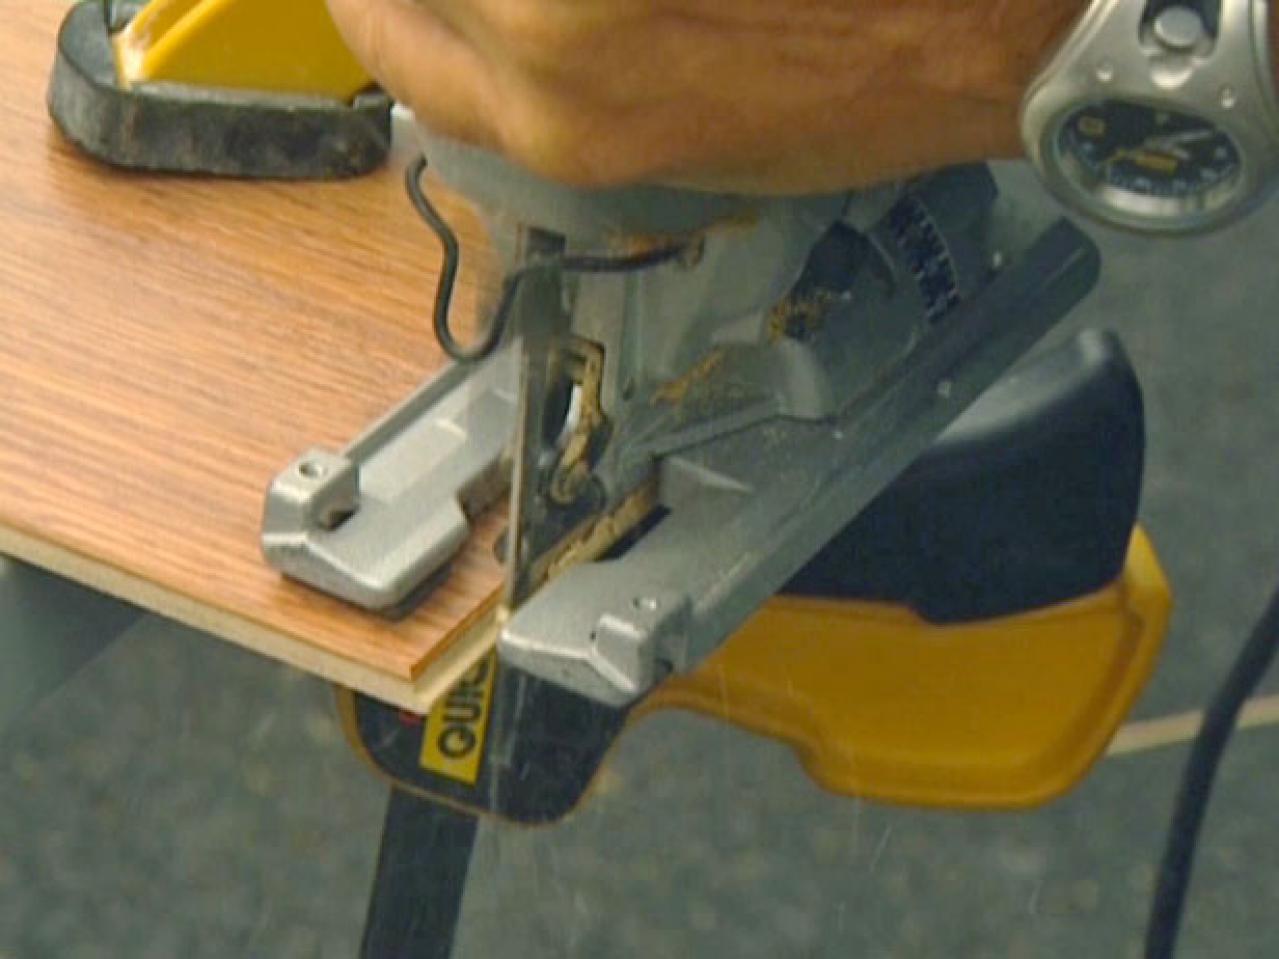
7. Cutting the boards is not really complicated, but make sure and protect the face of the board at all times. It has to do with which way the blades are going on whatever saw you are using. If you are using a jigsaw, the blades will be going up so the face needs to be down so it doesn't splinter the board. If the blades are going down, then the face needs to be up.
8. When starting the second row, use a shorter so the seams don't meet.
The special tongue and groove design of the planks make it easy to snap them right into place.
9. Use the pull bar to tap the last planks in the first two rows into place.
10. Start the third rows and use what was left over from cutting one of the end pieces of the first two rows. Remember to stagger the joints of each row of planks for a natural look. Also, mix pieces from different packages. The key to a great looking floor is making it look natural and random.

11. Once the first three rows are together, slide them against the wall. Remove the spacers, slide the planks up to the wall and put the spacers back in place to maintain the gap.


