


How to Install Landscape Edging


So, you’ve decided to install landscape edging on your property. Congrats! Edging can be a great way to delineate existing beds, paths or other landscaping zones in your yard. Now what?
Edging can add beautiful design elements to your existing landscaping. It can also protect flower beds from grass invasion and create a retainer for groundcover such as gravel, pebbles, wood chips, mulch and more. That’s why installing your edging properly is of vital importance to its usefulness and longevity in your garden or yard.
There are three primary ways to install edging: above ground, stake-driven and in-ground edging.
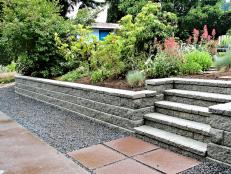
Above ground edging includes any type of material that sits on top of the ground and creates an immovable and static barrier. This would include stonework that is not laid in the ground, as well as landscape timbers, railroad ties, concrete blocks or landscaping bricks which are used to define beds, soften slopes and for retaining walls. Typically, bricks or blocks are laid in layers in a staggered pattern. Earthen bricks may require mortar; landscape blocks or bricks usually have built-in notches for connection or overlapping. A wall more than two rows high will need support – either from being filled completely with well-packed dirt, or bolstered by mortar.
Stake-driven edging includes many of the synthetic edging products available in stores such as rolls of flexible plastic edging or steel edging. To install this product, you’ll need to cut a line in the soil where the edging will be inserted, place in the ground at the appropriate depth and secure it with a stake that is hammered diagonally through the product and into the ground at the appropriate angle (follow instructions included with your product for exact measurements and techniques.
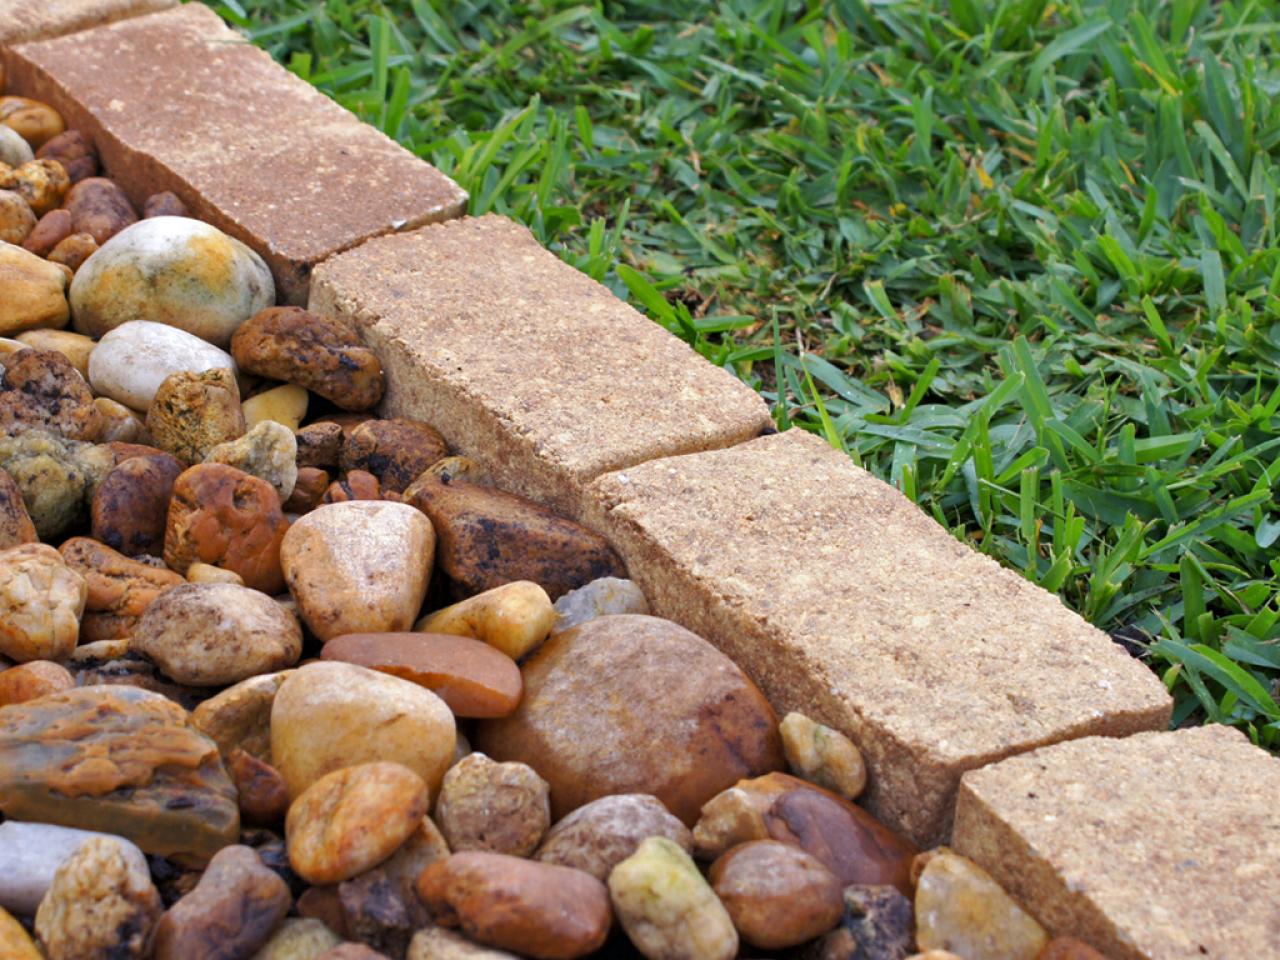
In-ground edging can include certain types of plastic and steel edging, as well as fence or lattice edging and traditional brick or block edging. These materials are placed in the ground at a certain depth, with firmly packed dirt on either side to provide support. The deeper the installation, the more secure the edging. When installing bricks, for example, you may want to experiment with install a few bricks at different depths and then stepping back 20-30 feet to see which level produces your desired effect visually. Keep in mind that spaces between the bricks or blocks may allow weeds to cross the threshold, so make sure to install them as closely together as possible.


