


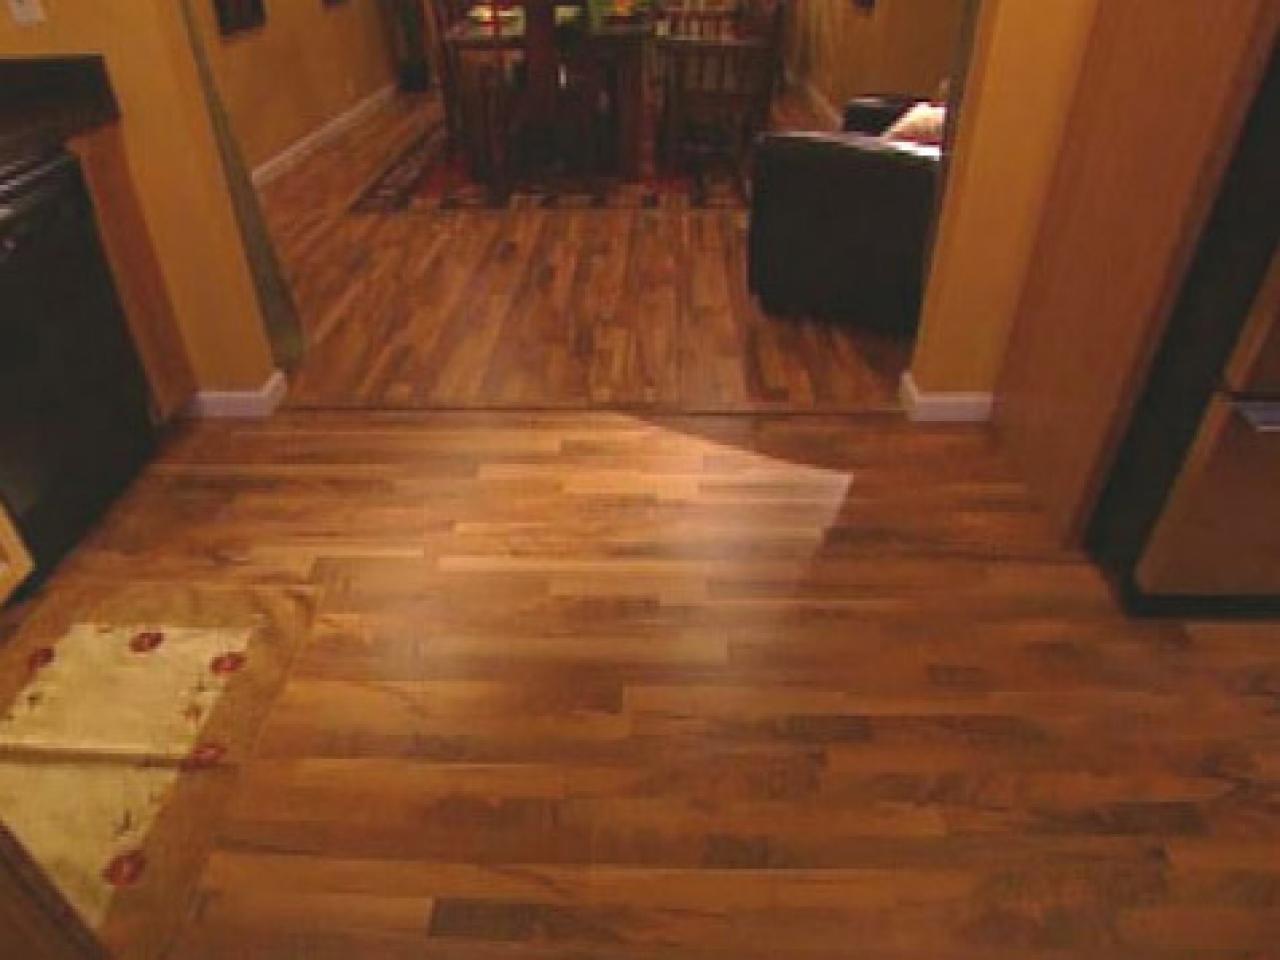
Install Tongue-and-Groove Wood-Veneer Flooring
No need for staples or glue with this "floating" floor. Just follow these step-by-step instructions.

With tongue-and-groove flooring, the tongues and grooves lock together to create a sturdy, finished floor. Here’s how to install one:
Materials and Tools:
pre-finished wood-veneer tongue-and-groove flooring
underlayment
rubber mallet
tap block
pry bar
pencil
circular saw
jigsaw
Steps:
1. Determine which direction you want the flooring to run. Flooring is usually installed so that it runs the length of the room for aesthetic purposes, but it depends on personal taste.
2. Remove any baseboards, as the flooring needs to be installed close to the wall.
3. Place the underlayment on top of the existing floor or the subfloor, as this will help reduce moisture and squeaking. Staple the underlayment into place so it won’t shift.
4. Start at the corner of the room and place the first board with the tongue facing toward the wall. Be sure to leave a gap of about a ½-inch so the floor has room to expand and contract.
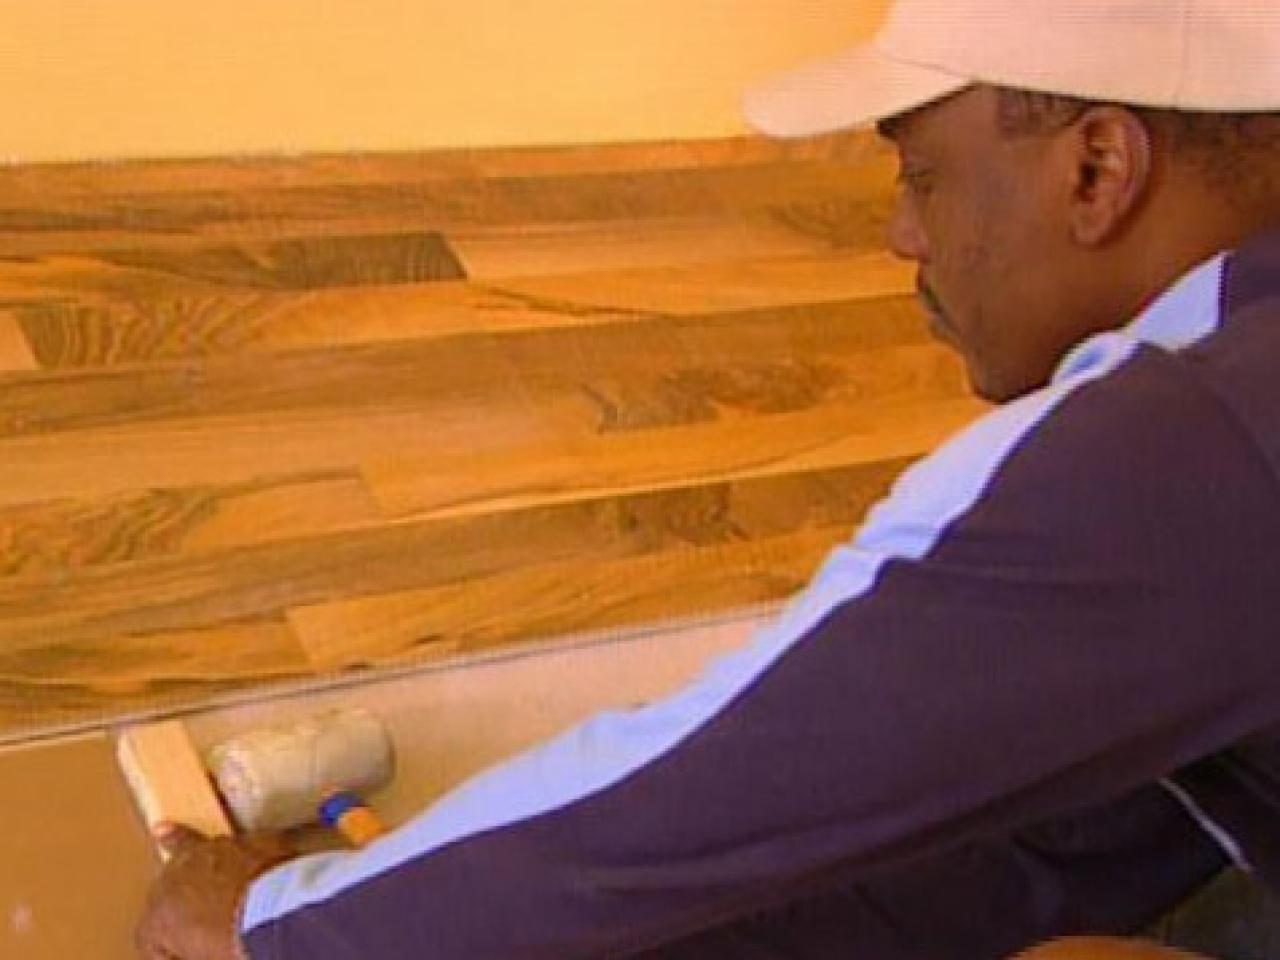
5. Place the second board next to the first so the shorter ends touch, and pull the second piece as close as possible.

6. For a tight fit, grab a small scrap piece of the flooring and fit it into the grooves of the last piece. Place a block on the end of the scrap piece and knock it with a mallet a few times until it locks into place. Don’t try to knock the wood directly, as it may damage the edge. If a piece is damaged, save it to use later as an end piece.
7. Continue laying down the flooring in this manner. It’s best not to have the seams line up, so stagger the rows. When you get to the end next to a wall, mark with a pencil how much floor space remains and cut the piece to the appropriate size.
8. To lock the end piece into place, try using a smaller scrap piece of flooring. If there isn’t enough room in the gap to fit a tool, place a pry bar and pull it into place with the mallet. For any irregular corners, try cutting the flooring with a jigsaw.
9. When all flooring is down, reinstall the baseboards.


