


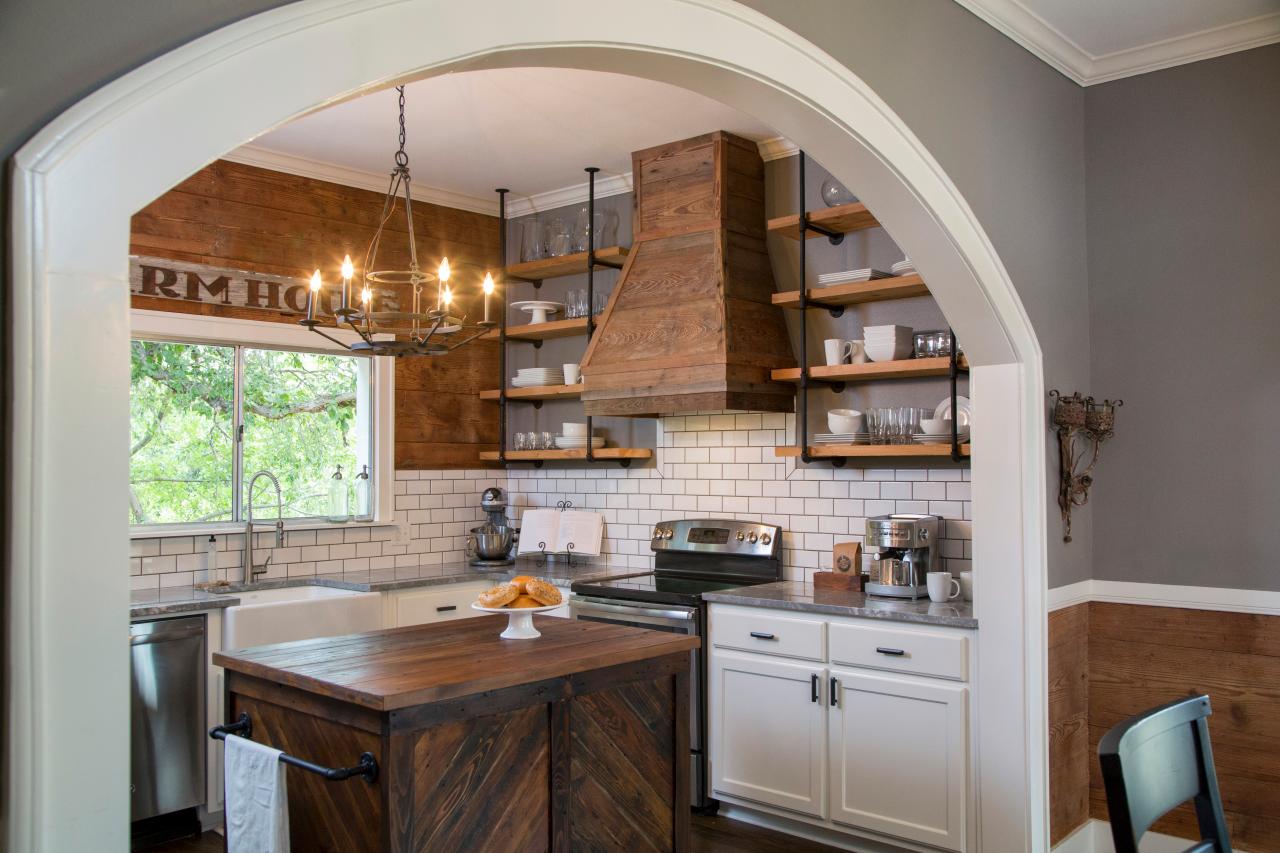
How to Create an Arched Doorway

Once found only in older homes, archways add instant character to a home and are easy to install. This two-day project shows you how to do it.
Materials and Tools:
arched-doorway kit (two fluted columns and one arch; see step 3 below for buying instructions)
pry bar
putty knife
claw hammer
tape measure
2-by-4-inch lumber (scrap-type wood for corner blocks)
circular saw
drill
3-inch screws
drywall
utility knife
1¼-inch drywall screws
joint compound, tray and broad knife
220-grit sandpaper
primer
paint
4-foot level
hammer
eightpenny nails
nail set
spackle
Steps:
1. Cover all furnishings in the area with plastic covers. Remove small items from the area.
2. To remove the door casing, score the caulking between the casing and the drywall around the entire perimeter. Using a pry bar, loosen and remove the entire casing and pull it away from the wall. With a pry bar and a putty knife, carefully remove the baseboards. Use a claw hammer to remove any protruding nails.
3. Take exact measurements of the opening. Measure from one side of the opening to the other and from the floor to the top of the opening. Also measure the thickness of the jamb. Take these measurements to a home-center store and select an arched-doorway kit.
4. Dry-fit the archway, making sure it's centered in the opening, and make marks on the drywall where the arch crosses the wall. After removing the trim, use the marks to measure for 2-by-4 blocking, and make the cuts with a circular saw.
5. Install the blocks in the corners—one each on the side jambs and the others on the top jamb—with a drill and screws, and install the cross pieces. These pieces of blocking will be used for attaching drywall. When placing the archway without the new drywall, there would be openings in each corner.
6. Cut four pieces of drywall to the approximate size of the corners. Attach the panels of drywall to the corners with screws. To trim the drywall to the proper angle, score and pop it loose with a utility knife along the diagonal block.
7. Using a broad knife, spread joint compound along the entire length of each joint, covering all seams and holes. Next, press paper tape into the wet joint compound and smooth the tape with the broad knife. Apply a second layer of joint compound over the tape and smooth with the knife. Do this for both corners. Allow to dry.
8. Sand, prime and paint all three kit pieces.
9. Stand one column firmly in place and lift the archway into place. Slide the second column under the arch and over the sidewall jamb. Center each column under the arch and check for plumb.
10. Permanently attach the columns to the wall jambs by pre-drilling pilot holes along the edge of the column and filling the holes with eightpenny nails. Set each of the holes with a nail set and fill with spackle. Now is a good time to caulk any cracks if necessary. Install the decorative top cap with one finishing nail.
11. Reattach baseboards if necessary, and touch up wall paint.


