


How to Build and Install a Sliding Door
See how we added privacy between bedroom and bathroom with a sliding barn door.


Materials Needed
- measuring tape
- circle saw
- wood glue
- utility knife
- spray expanding foam
- spackle
- sandpaper or sanding block
- primer, paint and painting supplies
- drywall screws
- (2) 1x2 x 8' wood frame
- (4) 1x2 x 47" wood frame
- (3) 1x2 x 31" wood frame
- (3) 1x2 x 11" pine boards
- (2) luan plywood sheets
- foam insulation
- door handle
- (2) rolling casters
- (2) 1" circle brackets
- galvanized pipe
- (2) round base plates
- 90-degree elbow
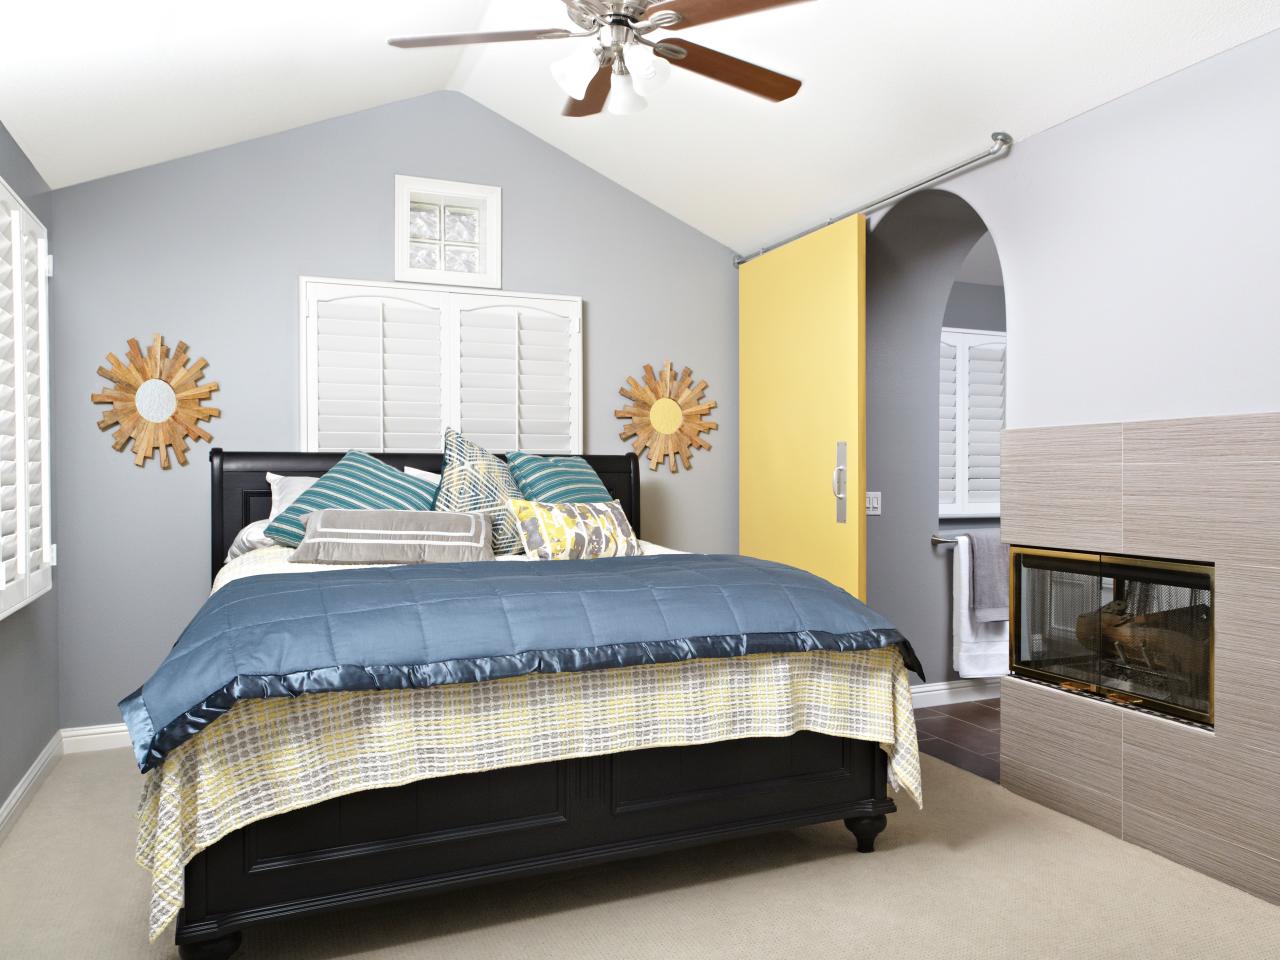
The Problem: No Bedroom Privacy
When newlyweds Scott and Chelsea Iwatta bought a townhouse in Costa Mesa, Calif., they wanted to make a few changes that would fit their needs better. The first issue they wanted to tackle was in the bedroom. While the archway between the bedroom and bathroom was charming, there was no door and no privacy. I called on my friend Sean Genrich, who's a carpenter, to help me construct a solution that would be inexpensive and solve the privacy problem. In one day and on a budget of $300, we built and installed a yellow sliding door.
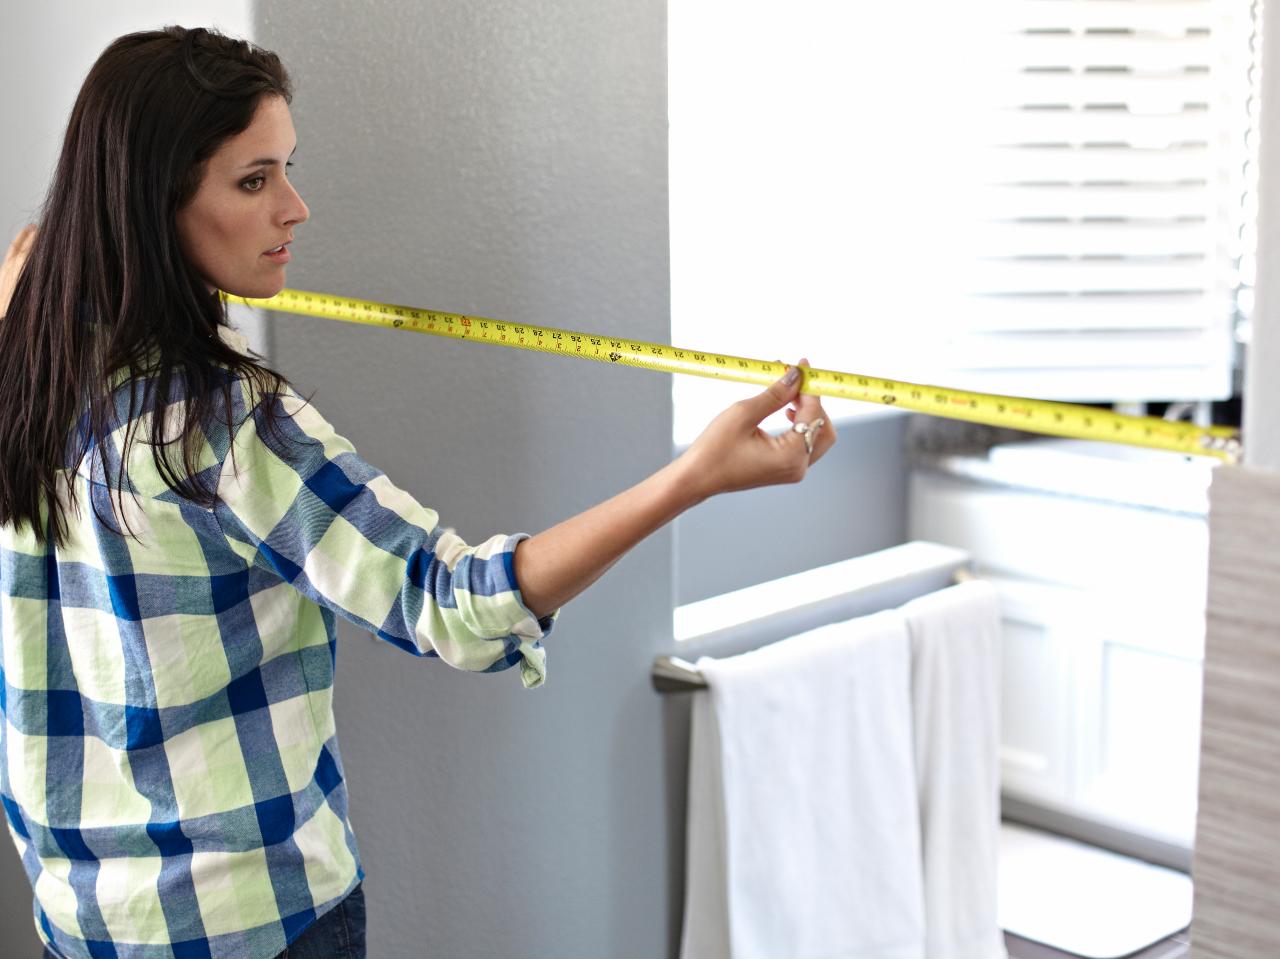
Get Started: Build, Paint and Hang
Before building the door, measure the doorway. The barn door looks best if it overlaps the opening by at least 2" on all sides. This project was based on a doorway with a 4' x 8' foot opening.

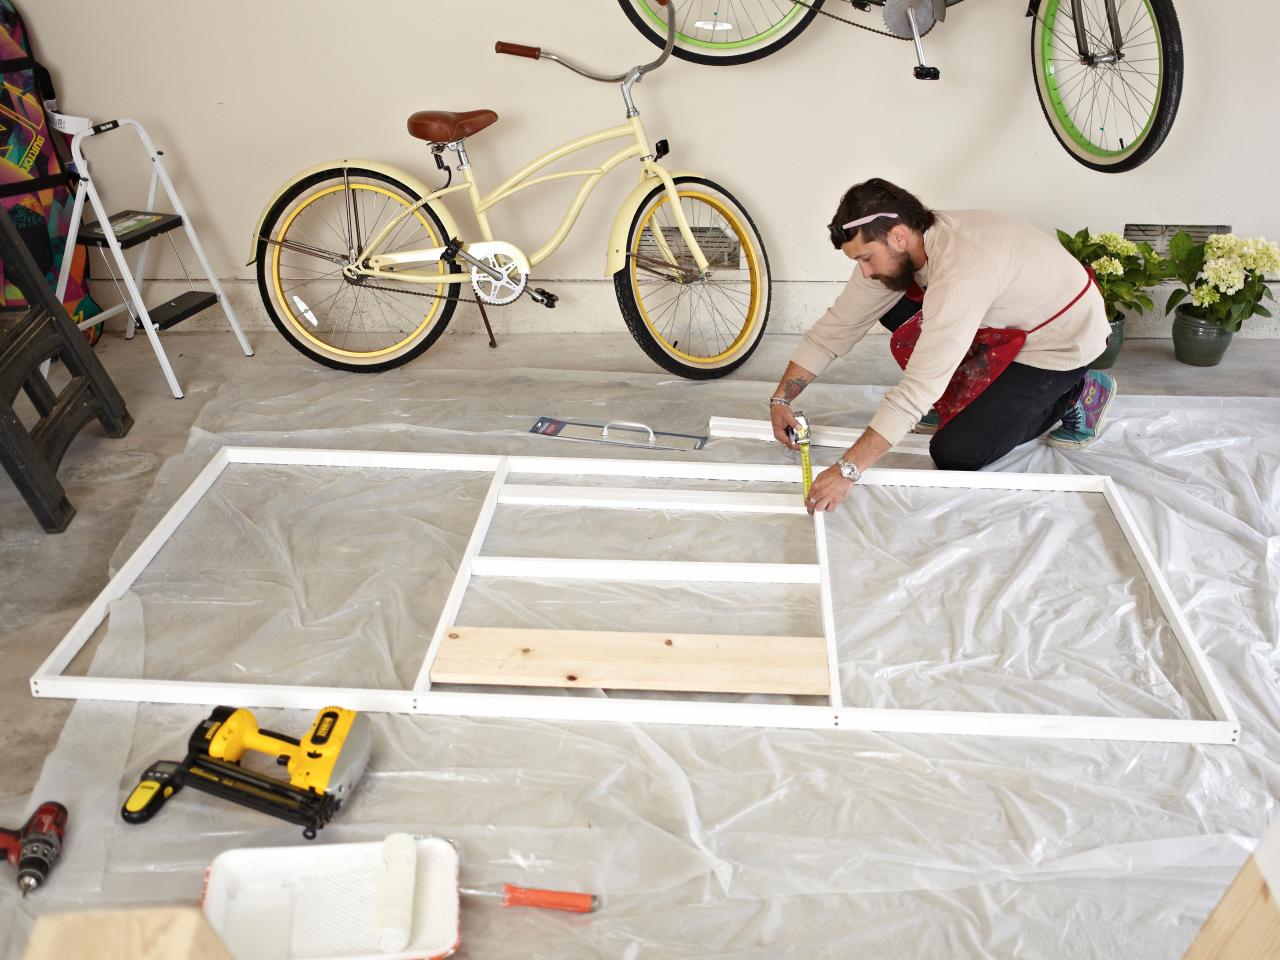
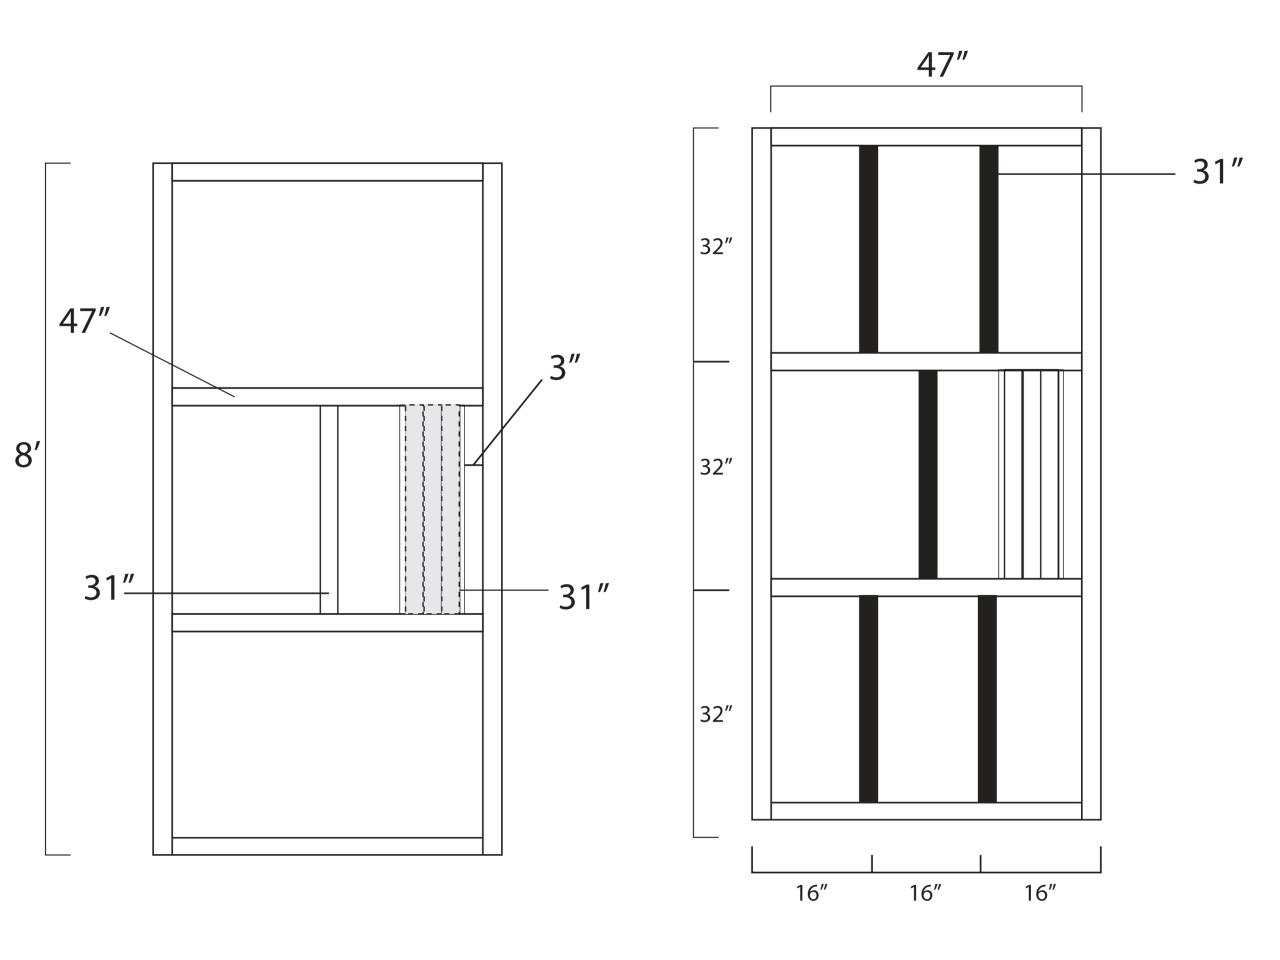
Cut Wood Pieces
Cut 1"x2"x8' boards to make the outer frame of the door. Our door is 8' tall so we cut two 8' pieces and four 47" pieces. Put two 47" pieces aside to use later. Screw together the two 8' pieces and two 47" pieces to make a rectangle.

Frame It
Use the other two 47" pieces of wood to make the horizontal supports in the interior frame. When you install them, they should divide your door horizontally into thirds, about 32" apart. Apply wood glue everywhere two wood pieces meet and attach with screws. In each section, cut and add 31" pieces of 1 x 2" boards to tie into the 47" horizontal pieces to create more support. This will give your door structure.

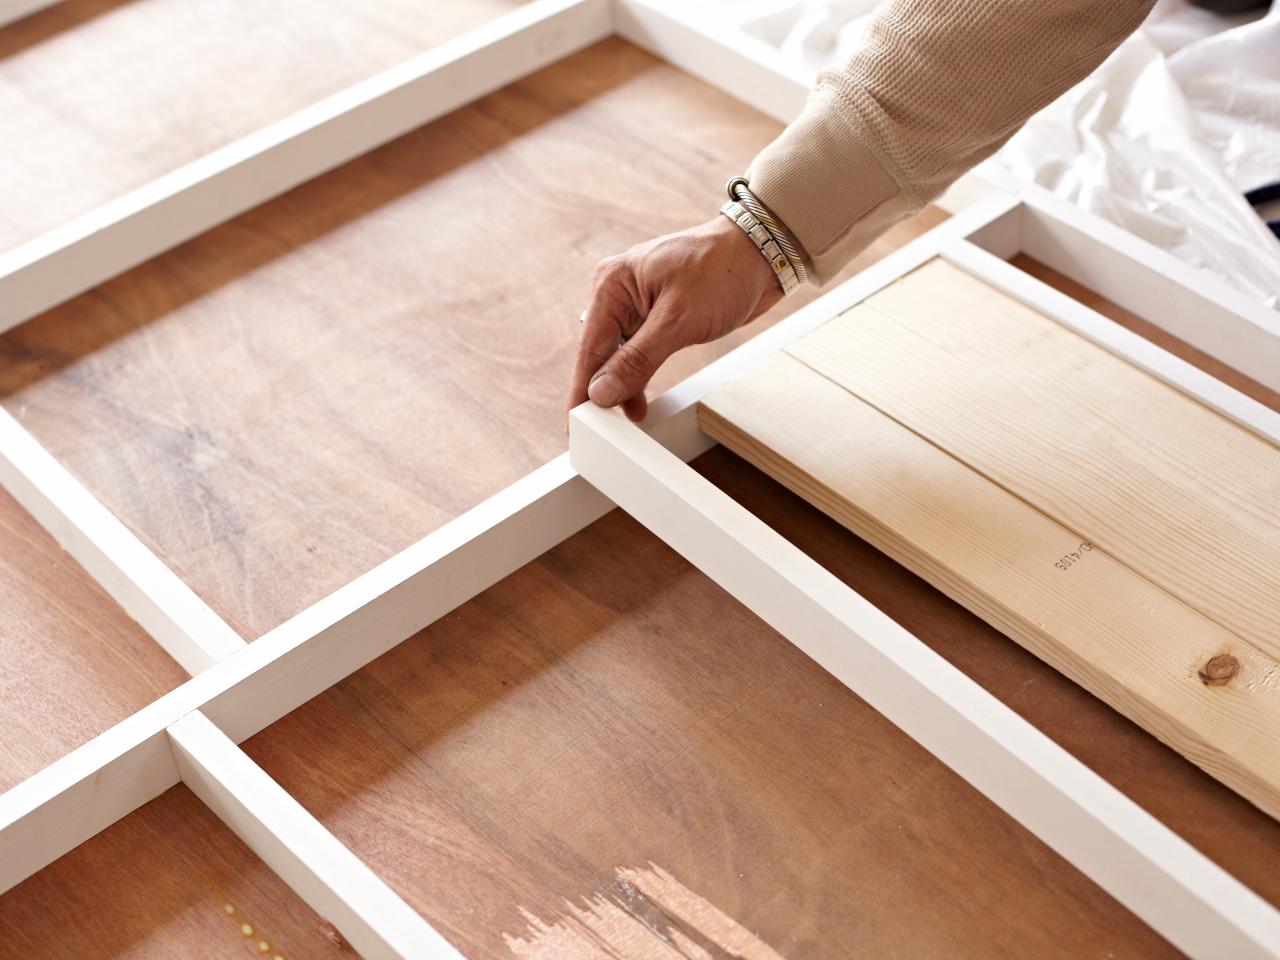
Plan for the Handle
Mount a 1" x 2" x 11" piece of wood on either side of the frame at the height you would like your door handle to be. Our handle is larger, so we mounted three pine pieces next to each other to ensure the handle would screw in later.

When You're Finished
Here's what your frame should look like after you've built the frame (pictured left) and installed additional supports (pictured right).

Attach Plywood and Insulate
Attach the plywood sheet to the back of the door. Apply wood glue on all top surfaces of the pieces of both your inner and outer frames. Place the plywood on top of the frame, apply wood glue and secure it with screws once it's aligned.
Flip the door so that the newly attached plywood side faces down. Use a utility knife to cut squares out of a half sheet of foam insulation to fit inside the spaces between ribs. Spray each square with a small amount of expanding foam to secure the square inside the frame. This cuts down on noise passing through your door.
When the foam has dried, secure the final piece of plywood to the door. Apply wood glue on the frame, and lay the luan plywood on top of the frame. Secure the plywood with wood screws.

Attach the plywood sheet to the back of the door. Apply wood glue on all top surfaces of the pieces of both your inner and outer frames. Place the plywood on top of the frame, apply wood glue and secure it with screws once it's aligned.

Flip the door so that the newly attached plywood side faces down. Use a utility knife to cut squares out of a half sheet of foam insulation to fit inside the spaces between ribs. Spray each square with a small amount of expanding foam to secure the square inside the frame. This cuts down on noise passing through your door.

When the foam has dried, secure the final piece of plywood to the door. Apply wood glue on the frame, and lay the luan plywood on top of the frame. Secure the plywood with wood screws.
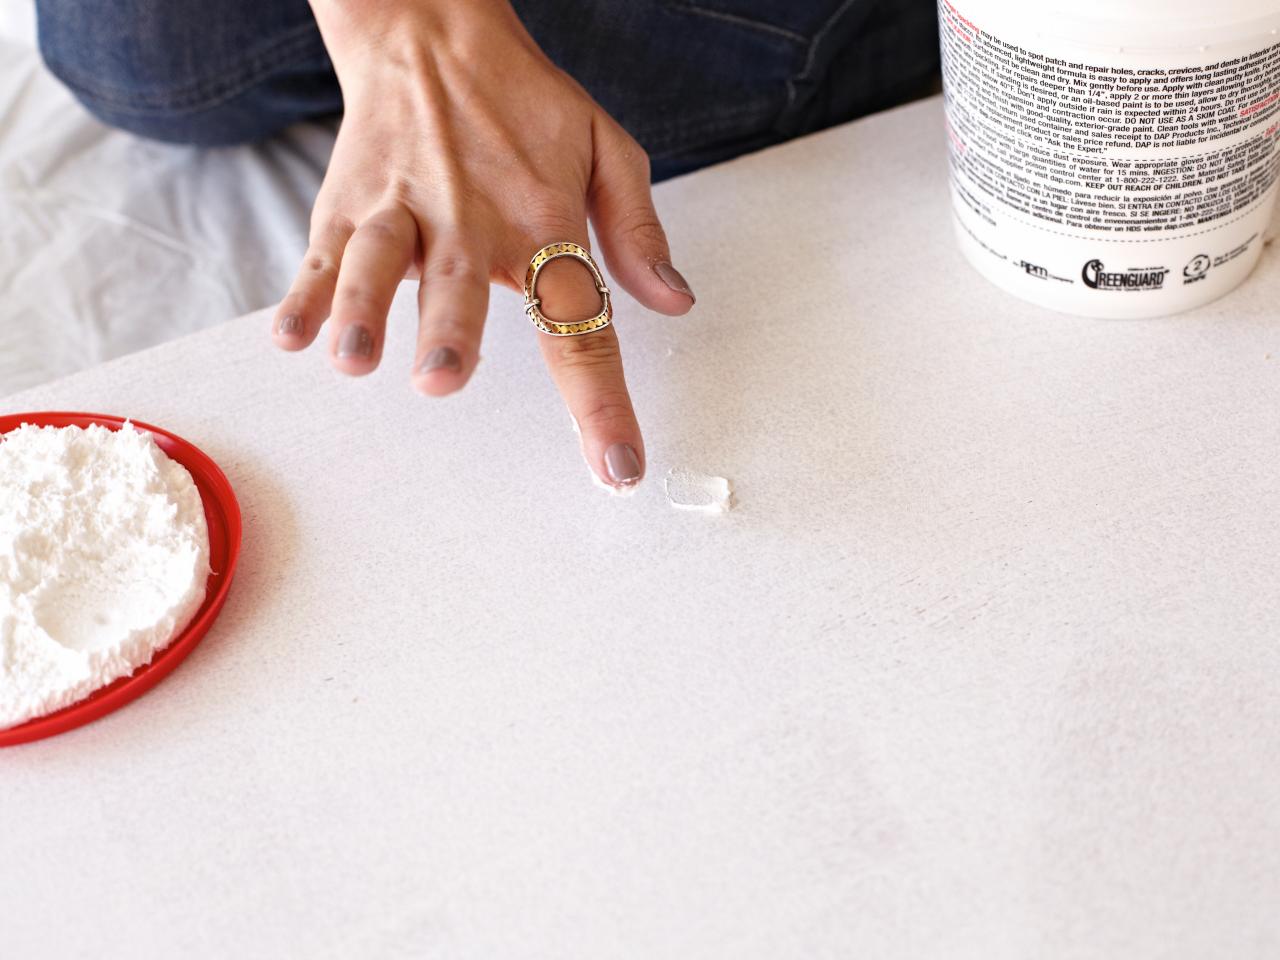
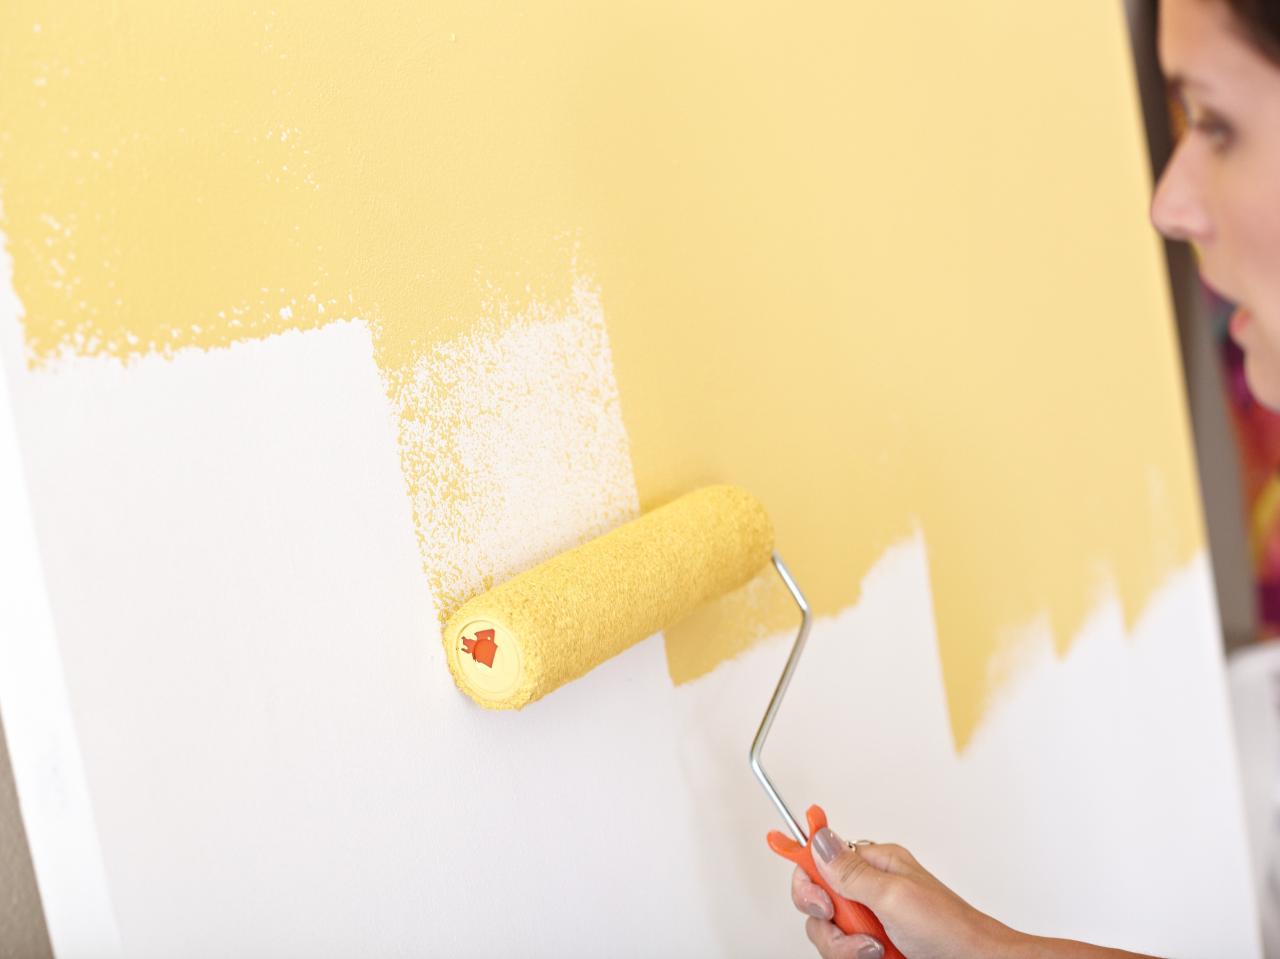
Paint It
Use spackle to fill in the screw holes. Lightly sand to ensure your entire surface is smooth and ready for paint. Apply an even coat of white primer to all sides of the door. After the primer has dried completely, roll on your paint color.


Install Hardware
Measure 6" in from either end of the bottom of the door to attach rolling casters. Secure with drywall screws. Install 1" circle brackets to the top of the door frame 6" in from either side of the door. Mount the door handle at a comfortable height by screwing into the spot prepared for it by internal supports.


Hang It
Installing the hardware is best accomplished with the help of a buddy. Start by running a galvanized pipe through the two circle brackets on the top of the door. Keeping it inside the brackets, hold the pipe up as high as it will go and measure from the bottom of the casters to the middle of the galvanized pipe. This measurement will provide the correct height at which to attach your round base plates to the wall.
Once one end is threaded and secured to the wall, thread the 90-degree elbow onto the pipe. Attach the last base plate to the elbow, and secure the second base plate to the wall in its correct position.
Pro Tip: If your doorway is framed with molding, you may need to cut and use an additional square of wood behind your base plate to distance the pipe from the wall, ensuring the door will clear the molding and will roll closed properly. If needed, this could be painted the same color as the wall so that it will disappear.


A comfortable and cheery bedroom in neutral tones offers wood shutters and a wall fireplace which it shares with the bathroom. A yellow sliding barn door and arched doorway are unique features of this bedroom.


