


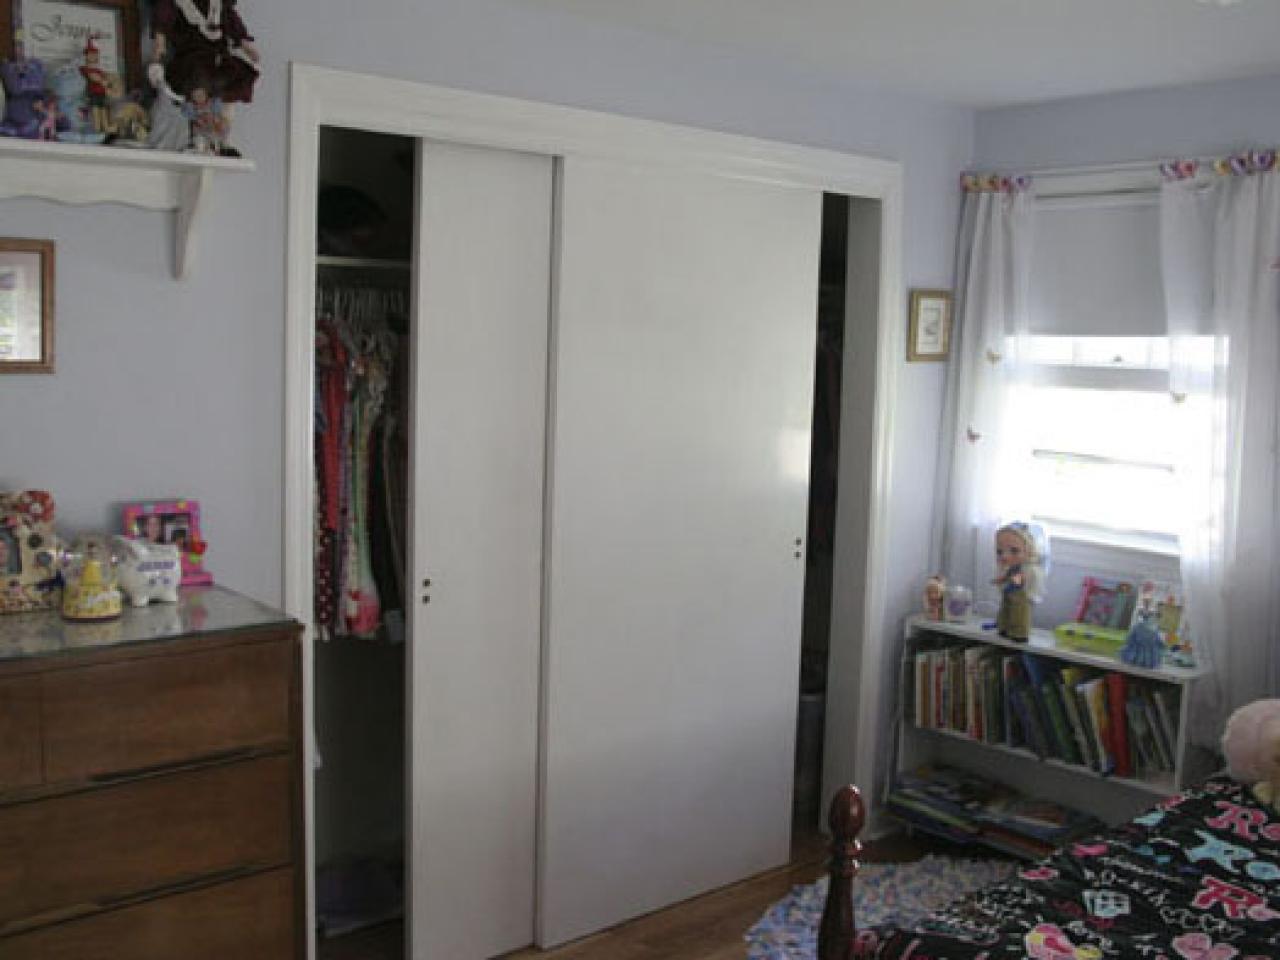
How to Replace Sliding Closet Doors

Materials and Tools:
two pre-hung, 30-inch door units
2x4x8 lumber (8)
20 linear feet of casing trim
1/2-inch drywall (1 sheet)
carpenter's shims
air compressor with hoses
cordless drill with battery and magnetic screw tip
finish nailer
hammer
level
pencil
power miter box
safety glasses

Steps:
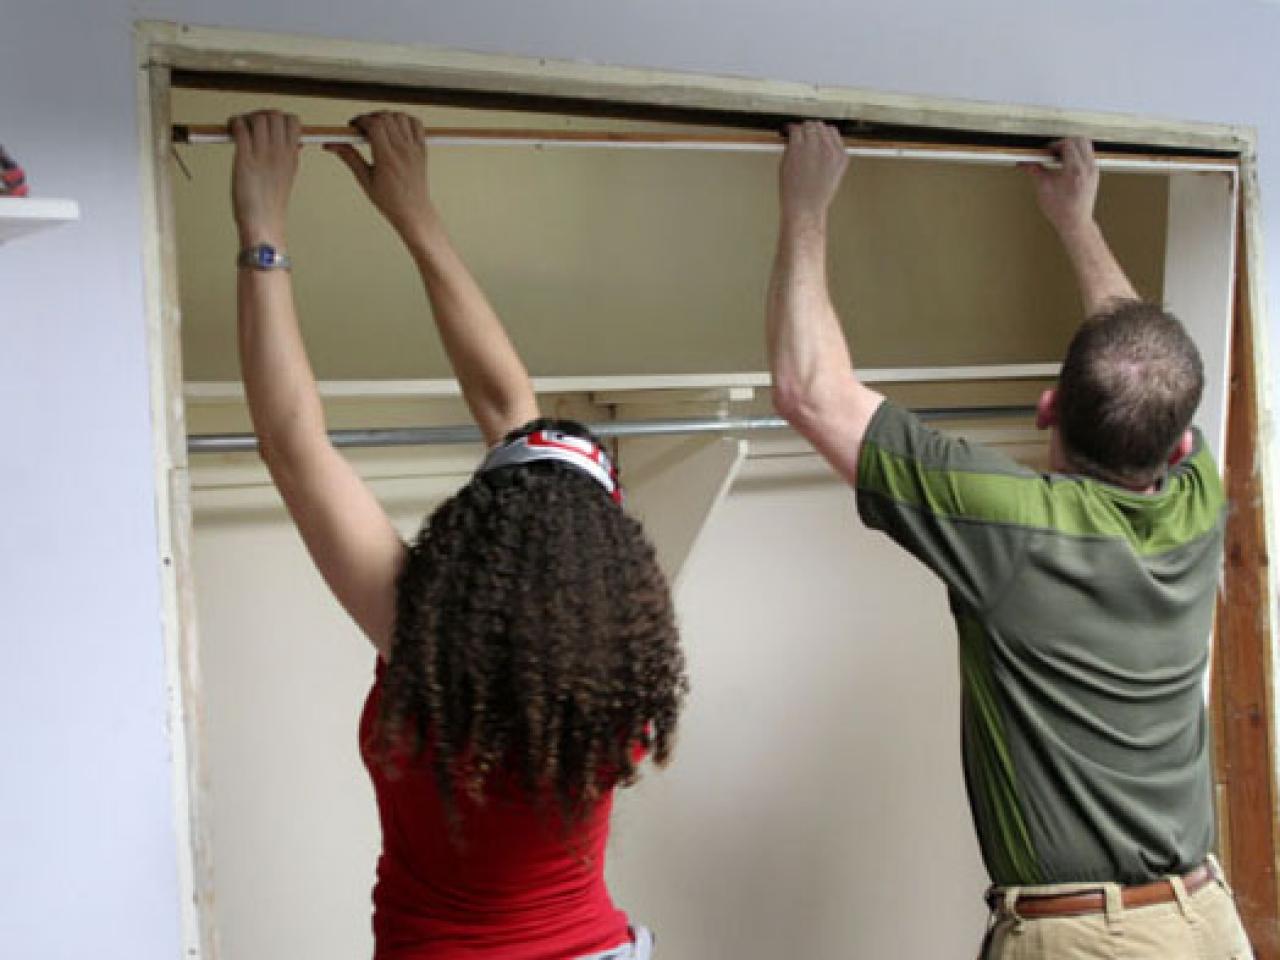
1 Remove the old door. Pop the door rollers off the track, unscrew the track from the header and remove it.

2. Using a pry-bar or claw hammer, pull all the trim and casing off the old door opening.

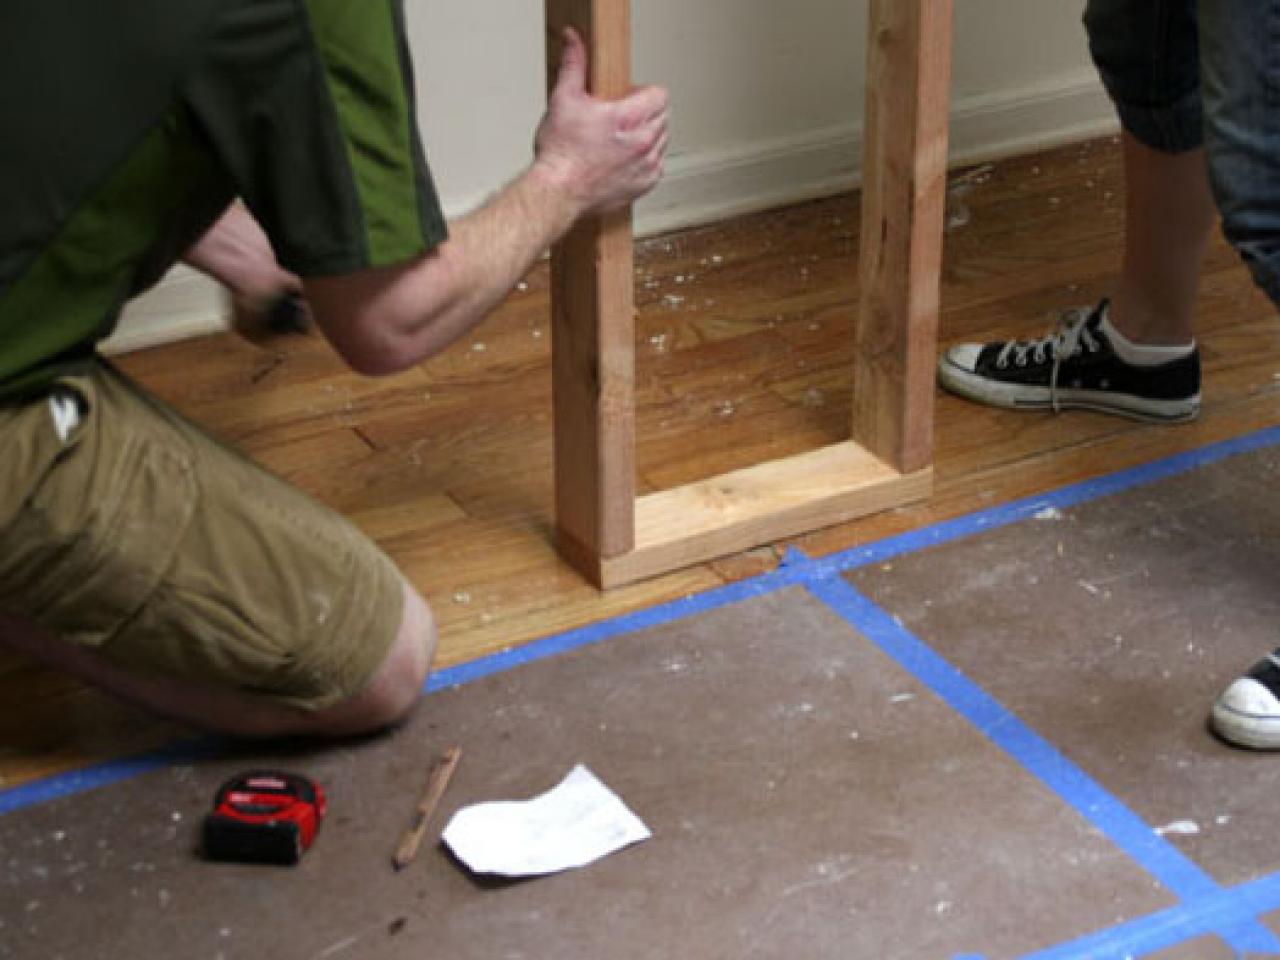
3. Frame in the new opening. For this closet, measuring from the outside of the existing opening, we measured in 31 inches from each side, and nailed in 2x4 uprights.

4. Make sure they are plumb (vertically level).
5. The space between the 2x4's is filled in with drywall. Once you've made sure there is a 31-inch opening for each door, measure the space between the new door openings and cut a piece of drywall to fit.
Tip: Drywall is easy to cut. Begin by scoring through the paper covering with a utility knife.
6. Screw the drywall to the 2x4s on the inside, and install another piece on the outside.

7. Prime and paint the drywall.
8. Install the doors by nailing the doorframe (on the hinge side) to the framing, then make sure the doorframe is plumb. Next, make sure the top is level, then work down the latch side, making sure to keep it level.
Tip: Use carpenter's shims to keep everything tight.
9. Install the casing and trim using a finish nailer.
10. Prime and paint the doors and trim.


