


How To: Installing a Canvas Awning

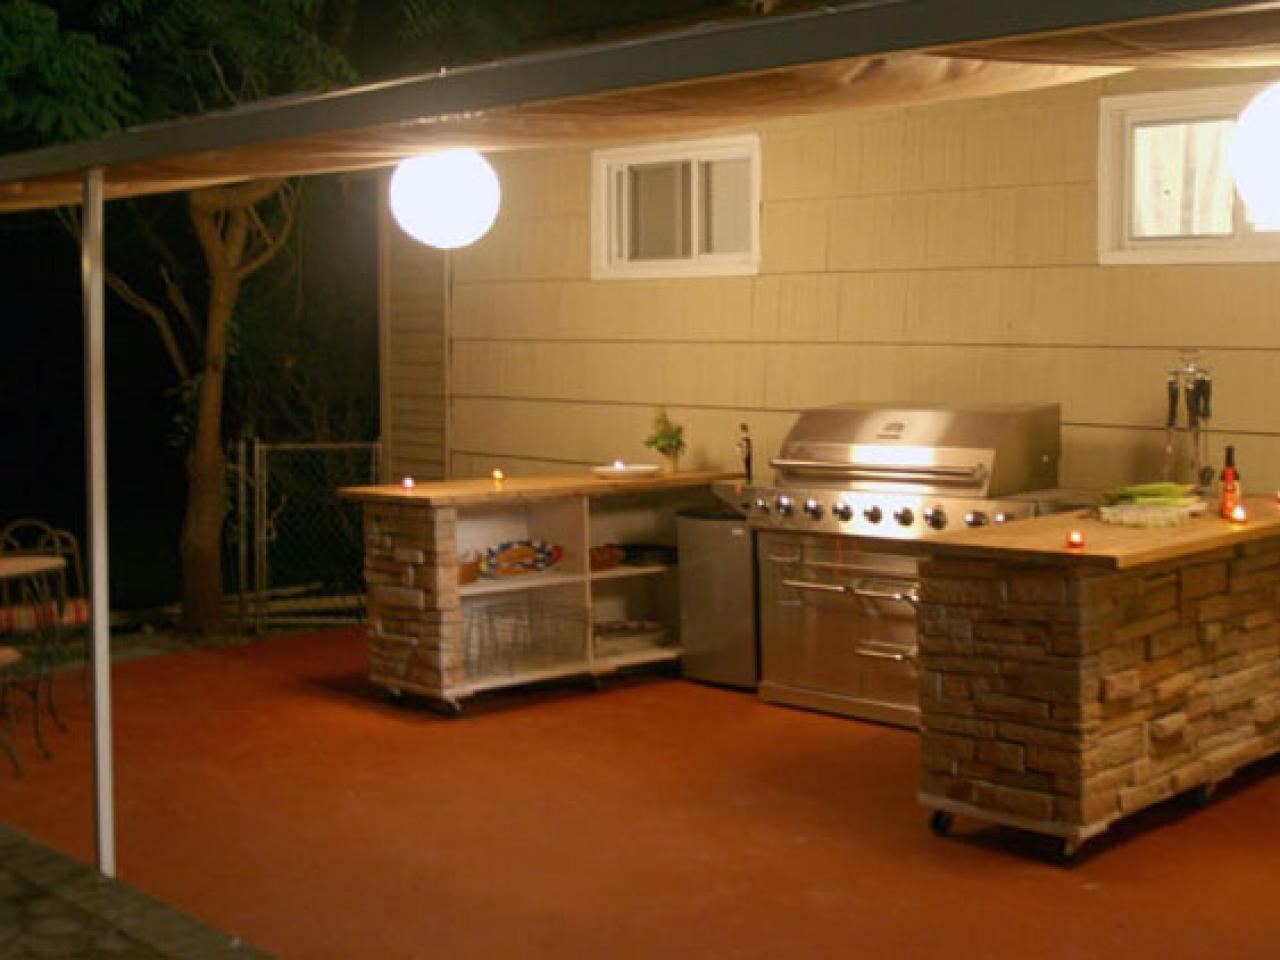
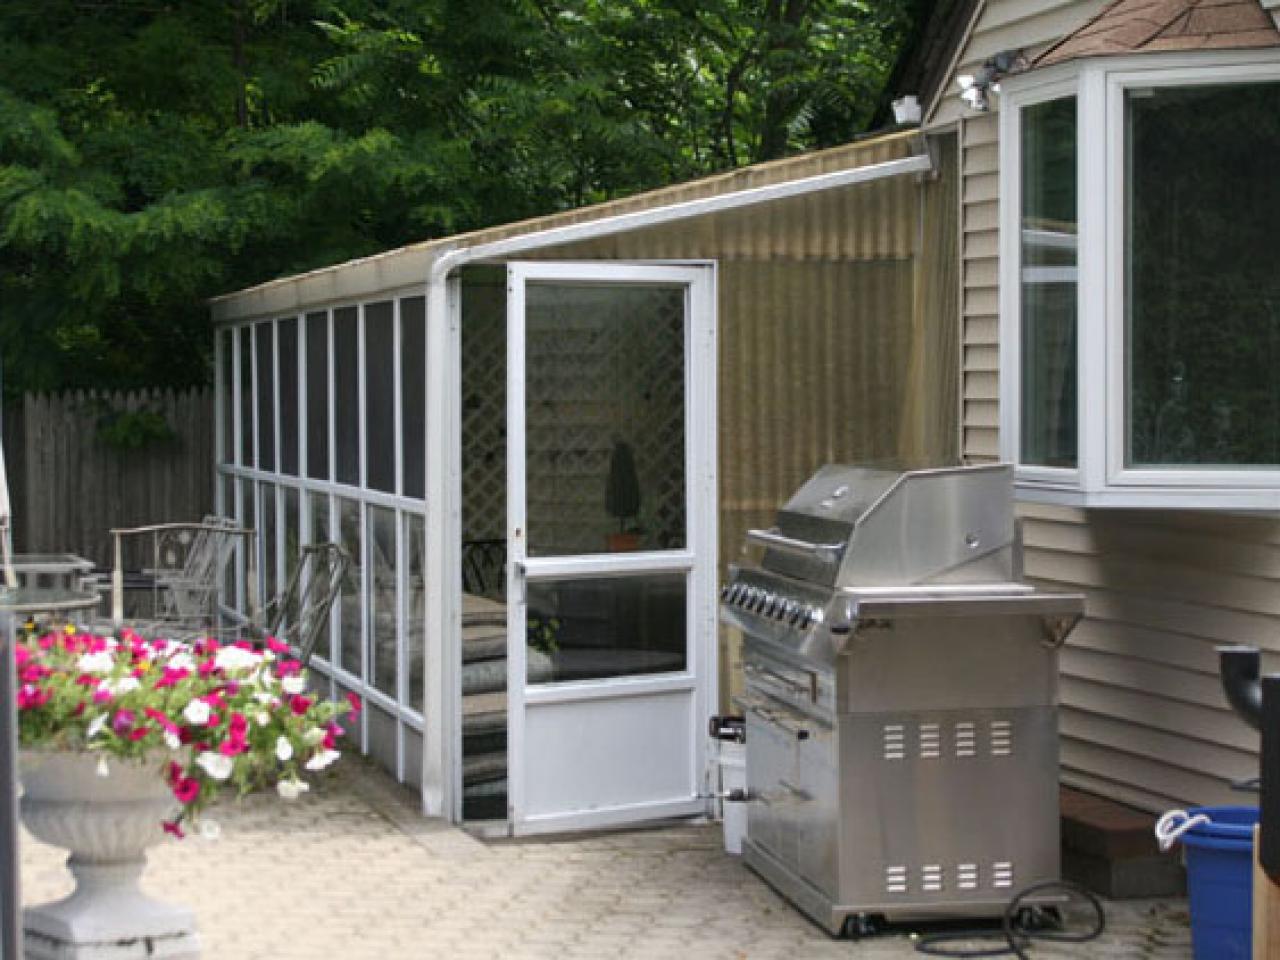
The enclosed sunroom/seating area on this home was outdated and seldom used. To repurpose the area, Steve Watson and team recommended tearing out the old enclosure, opening up the space and making use of a canvas awning or sun shade. The awning would also extend far enough out to protect the newly installed outdoor kitchen, providing shade but not closing the space in.
The old, worn carpeting in the sunroom was pulled up, and the concrete floor was primed and painted in a color to accent the new outdoor-kitchen additions. The paint was mixed with sand before it was applied to give the paint a textured finish.

Materials and Tools:
canvas pieces, custom fit (6)
4-foot pipes (12)
metal flanges (20)
cordless drill with battery and magnetic screw tip
reciprocating saw
hammer
gloves
safety glasses

Steps:
1. Our first step was to remove the plastic sheeting from the walls and ceiling, remove the doors and windows, pull up the indoor-outdoor carpet and dispose of the old materials. 2x4s were used to help pop out the plastic ceiling panels from below. We left the aluminum ceiling joists and cross-members, and the three main uprights, in place since they would later support the new pre-made canvas shade panels.
Demolition Tip: For parts that were difficult to remove by hand or with the help of a hammer or sledge, and to speed up the demolition process, we used a reciprocating saw to cut through fasteners and supports as needed.
2. The new canvas hangs from a pipe pocket on each end of the panel. Figure the length of each panel, then attach the flange to the frame using bolts.
3. Cut the pipe to fit each opening. Measure each opening, since they may be slightly different. Slip the pipe thru the pocket in the canvas and then into the flanges.

Don't Sweat It Custom Application: In this particular project, in order to facilitate installation into the existing aluminum structure, the metal flanges that support the awnings were cut in half before they were bolted to the frame. In this way, one half of each flange could be bolted in place onto the frame, the support pipe laid in position, and the second half of the flange then bolted in to secure the support.


")


