


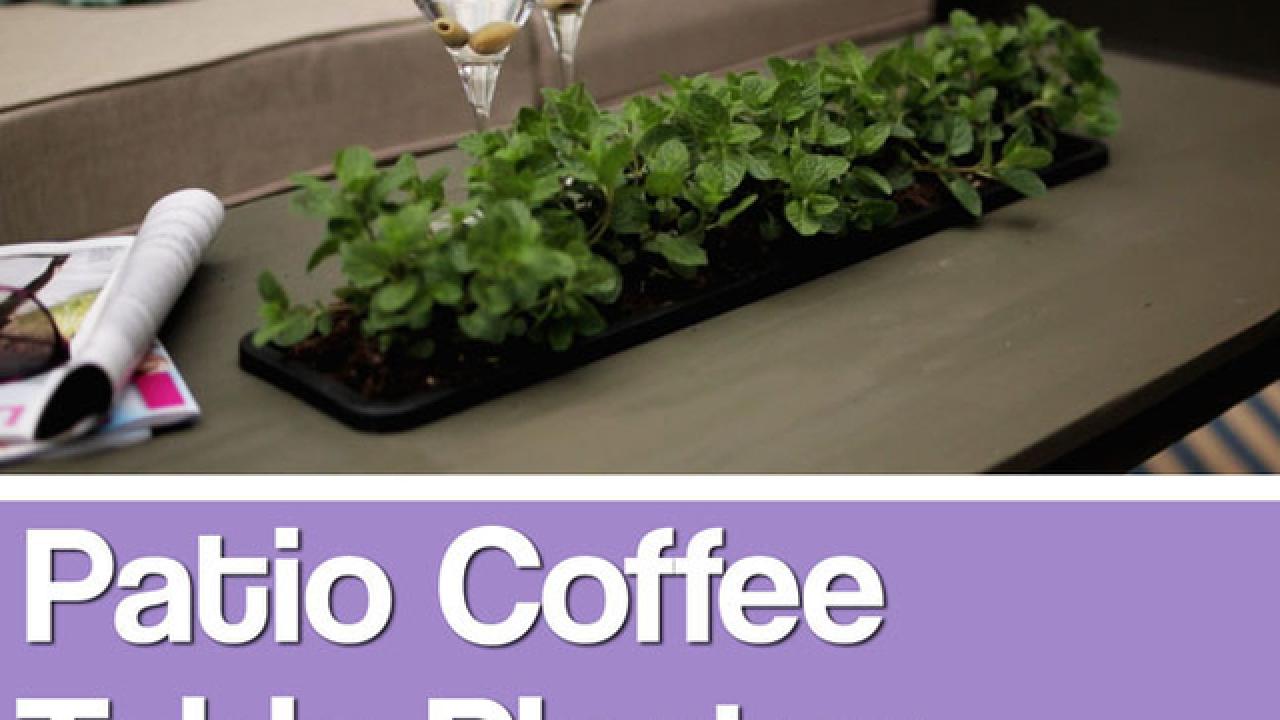
Add a Recessed Planter to an Outdoor Table

Materials Needed:
- wooden outdoor table
- damp cloth
- exterior latex paint or water-based stain
- stain pad
- paint roller sleeve
- paint roller handle
- paint pan
- drop cloth
- angled paint brush
- measuring tape
- pencil
- jigsaw
- palm sander
- sanding pads
- plastic or metal planter box with an overhanging lip
- planting soil
- plants or flowers
Choose Table
Pick a table that fits your space. Coffee tables, end tables and dining tables will work. The table needs to be long and wide enough to leave at least one foot of table surface around the planter.

Rustic White Photography
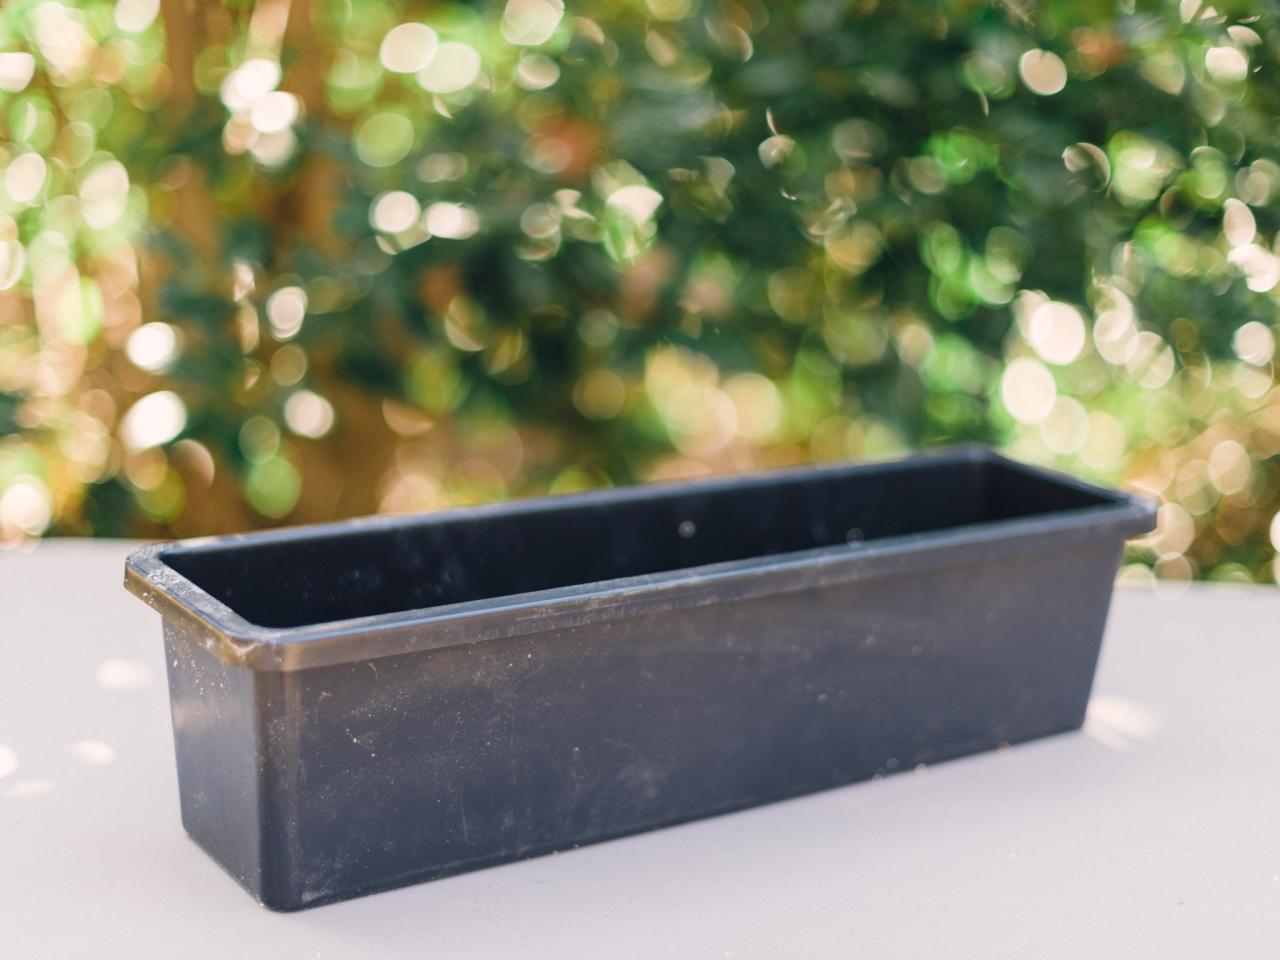
Choose Planter
Select a planter box with an overhanging lip around the top that will fit into the table's center. Square, rectangular, ovular and round planters all work well, but it's best to choose a planter with a similar shape to the table.

Rustic White Photography
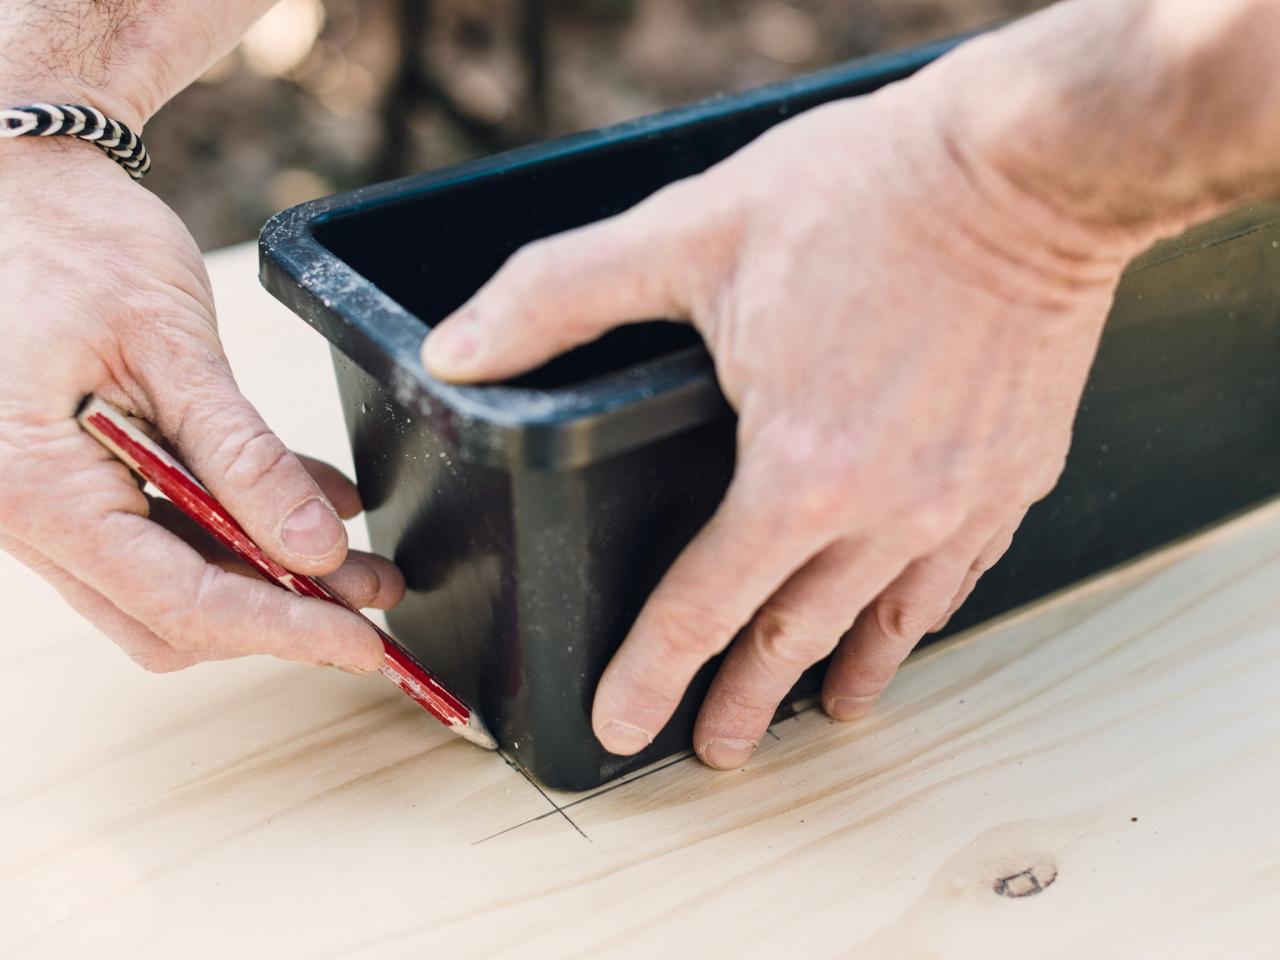
Trace Planter to Table
Place the planter in the center of the table. Use a pencil to trace the bottom of the planter on the surface of the table.

Rustic White Photography
Cut Out Hole
Using the penciled lines as a guide, cut out the center of the table with a jigsaw.

Rustic White Photography
Sand Surfaces
Use a palm sander to smooth down all surfaces of the wood.

Rustic White Photography
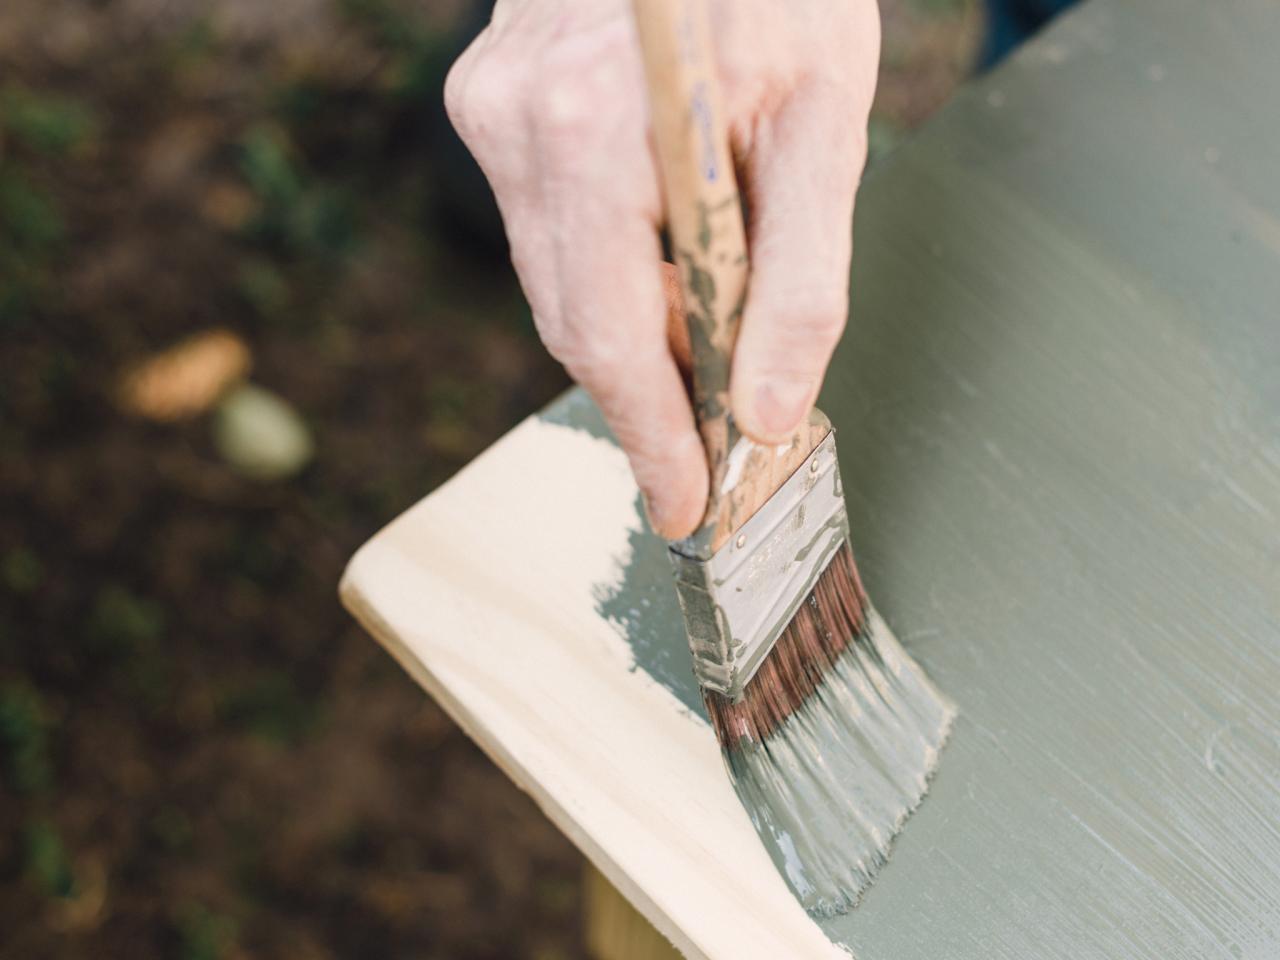
Update With Paint or Stain
Once the surface is smooth to the touch, wipe wood with damp cloth and add stain with stain pad or apply paint with roller or angled brush. Let dry.

Rustic White Photography
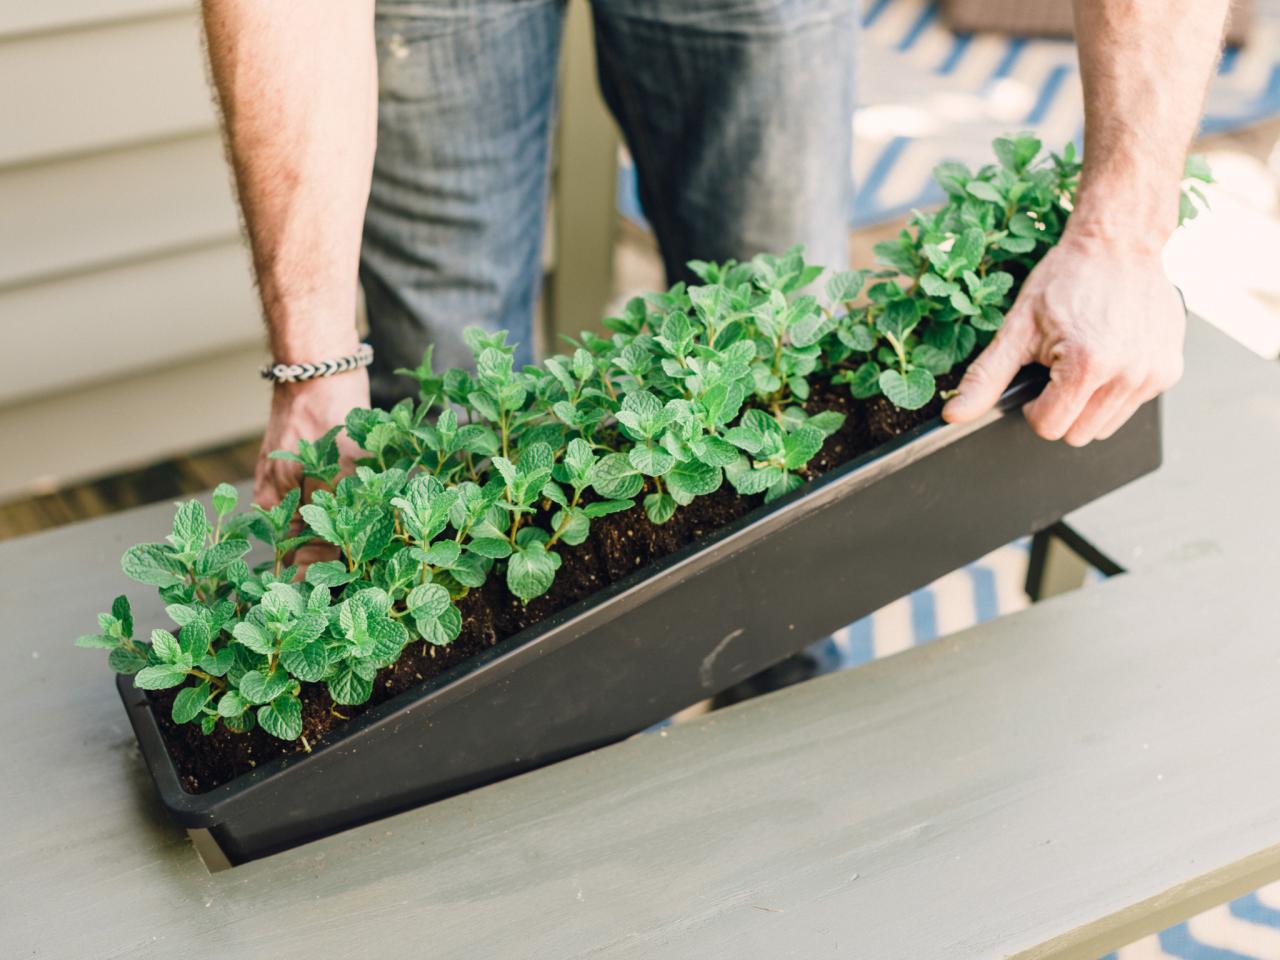
Add Planter
Place plants into the container. Place the planter inside the hole, with the overhanging lip holding the planter in place.

Rustic White Photography


