


How to Turn an Old Table Into a Raised Planter
Save your back and boost your lawn’s curb appeal with a DIY raised cedar planter that rests on an upcycled table base.
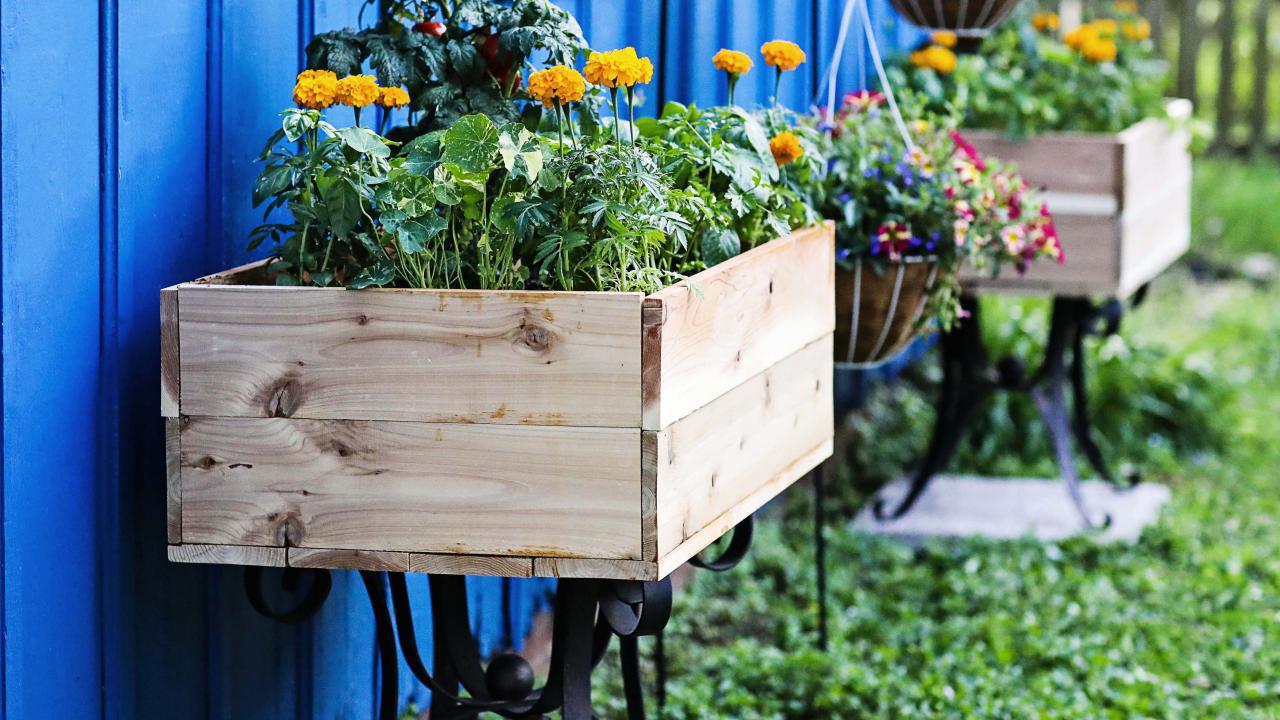
Though there are many benefits to a backyard garden, there are also a couple of drawbacks. Planting a traditional garden in the ground can lead to a sore back and a lot of weeding. Behold the magic of raised planters.
Shain Rievley
Materials Needed
- metal table base
- safety gear
- measuring tape
- 1x6 cedar boards (see measurements below)
- 2x2 pine boards (see measurements below)
- drill + bit
- wood screws
- landscape fabric
- patio paver
- potting soil
- companion plants
Measure Table Base

Shain Rievley
Begin by finding the perfect table base for your raised bed. If possible, try to salvage a used one. Once you’ve found it, measure the top that the planter will sit on. The amount of wood needed, and measurements of your boards will be determined by the size of your table base. If you'd like to copy our exact plans, see the measurements below.
Plan Out Your Box

Shain Rievley
Due to the nature of this project, measurements may be subjective, but your box will be assembled using a mixture of 2x2 pine boards and 1x6 natural cedar boards. Because treated lumber releases chemicals into the soil, natural wood is preferred. Untreated cedar is naturally rot and insect-resistant and can last ten years or more in the elements. If you want to copy our project step-by-step, see the bulleted list below for exact measurements.
- (8) 1x6 cedar boards cut to 3 feet long
- (4) 1x6 cedar boards cut to 22-inches long
- (4) 2x2 pine boards cut to 10 inches long
- (2) 2x2 pine boards cut to 18 inches long
- (1) 2x2 board cut to 22 inches long
Pro Tip: Natural cedar boards can be expensive. Cedar fence pickets, however, cost around $2 per board and are made to withstand outdoor elements. The only downside is that you'll have to cut them to size.
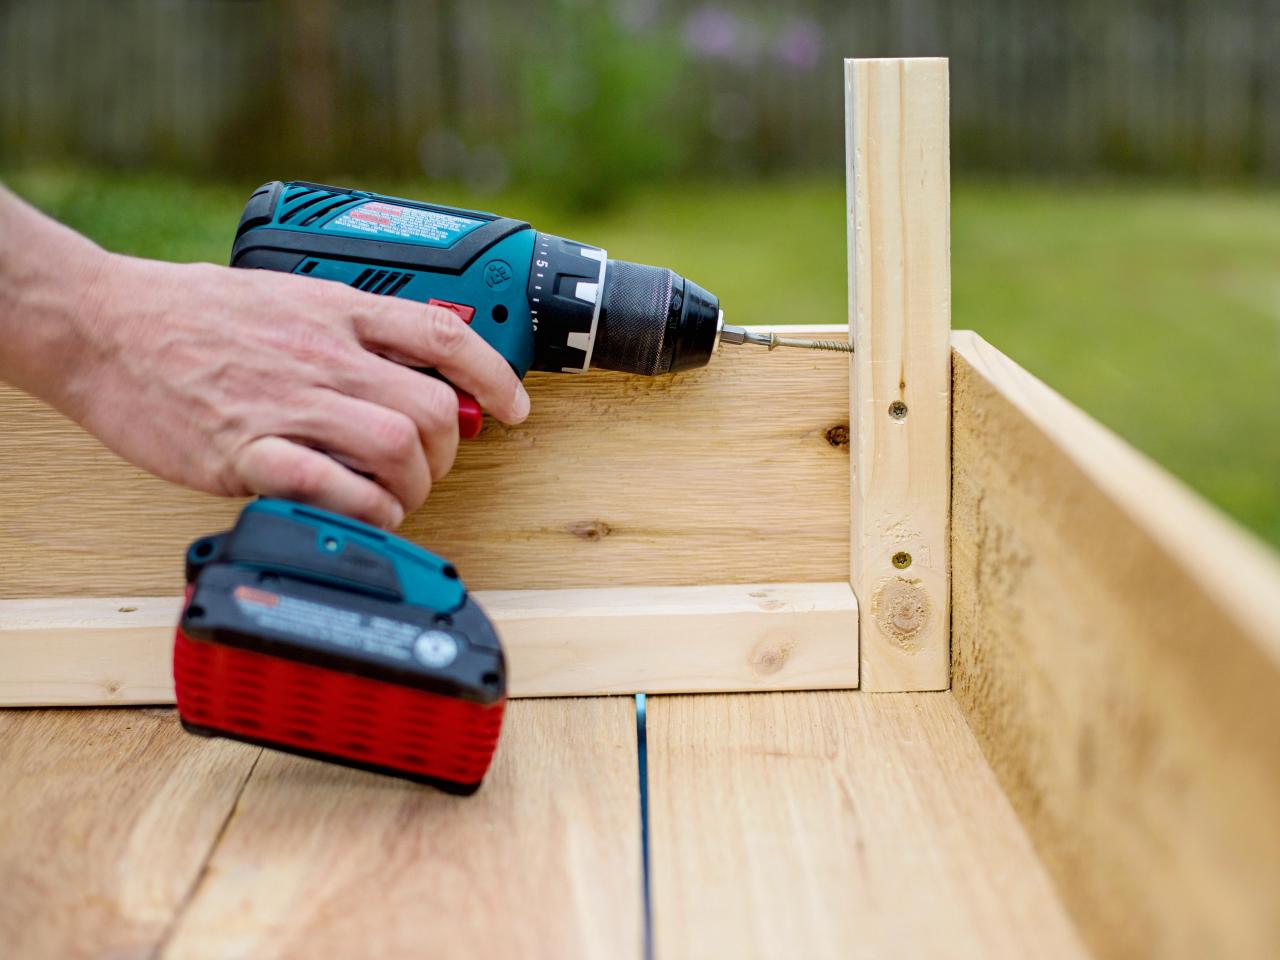
Construct Box

Shain Rievley

Shain Rievley

Shain Rievley
Shain Rievley

Shain Rievley
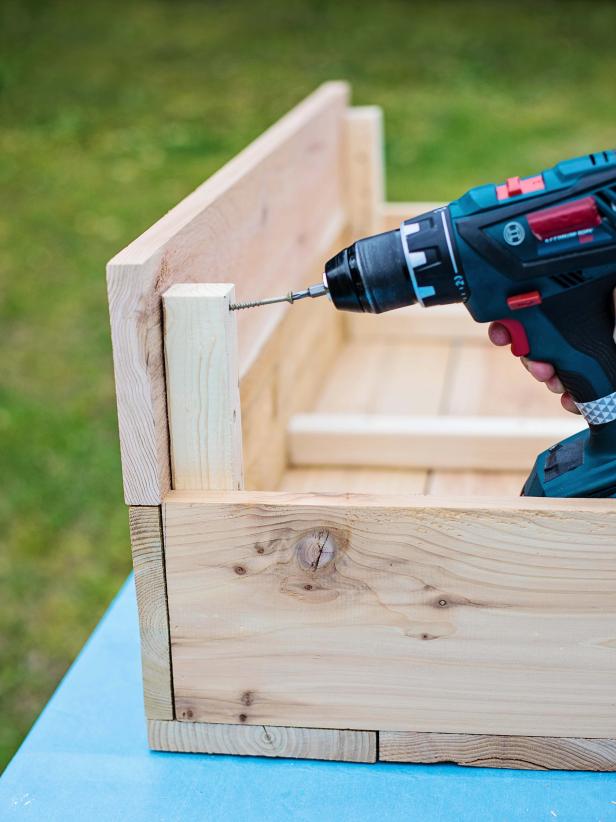
First, create the base by lining four, three-foot-long cedar boards side by side on the ground. Lay one 18-inch 2x2 pine board on each end, one inch from the outside edges and centered top to bottom (three inches above and below). Attach to the cedar boards with wood screws. Lay the 22-inch 2x2 in the center (with one inch above and below) and attach with wood screws.
Next, on one end of the planter, create side braces by placing two, 10-inch 2x2 boards vertically on each end of the horizontal 2x2 board and screwing into place. Repeat on the other end. Line each end with a 22-inch 1x6 cedar board, securing to the vertical braces from the inside out with wood screws for a clean look. Repeat this process on other sides using 3-foot 1x6 boards. Repeat this entire process to create the second level, finishing the box.
Assemble Raised Bed

Shain Rievley
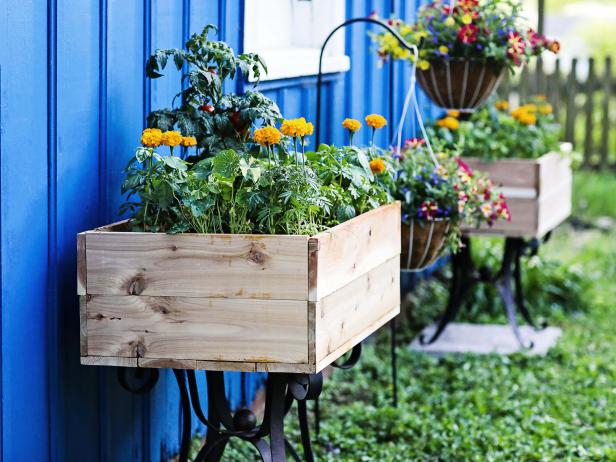
Once you’ve found the perfect sunny, level spot for your planter, place a large patio paver on the ground and place the table base on top. Place the planter on top and check to ensure it is secure and level before moving forward.
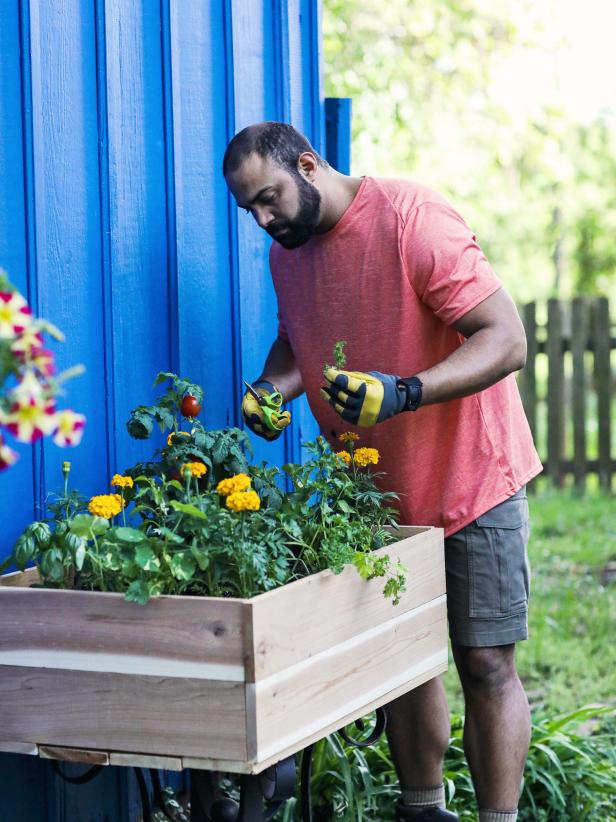
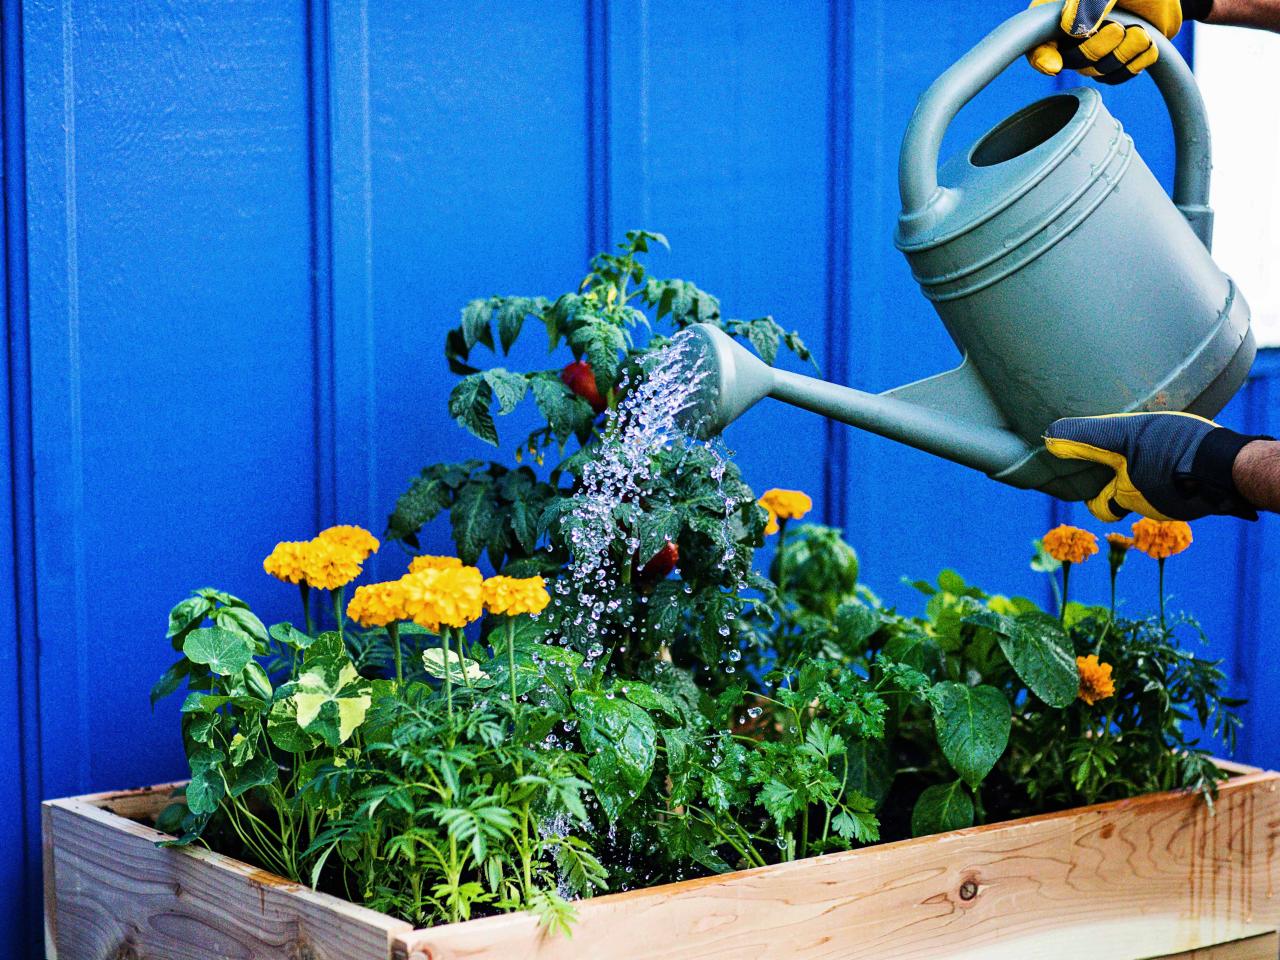
Fill With Plants
Shain Rievley

Shain Rievley

Shain Rievley
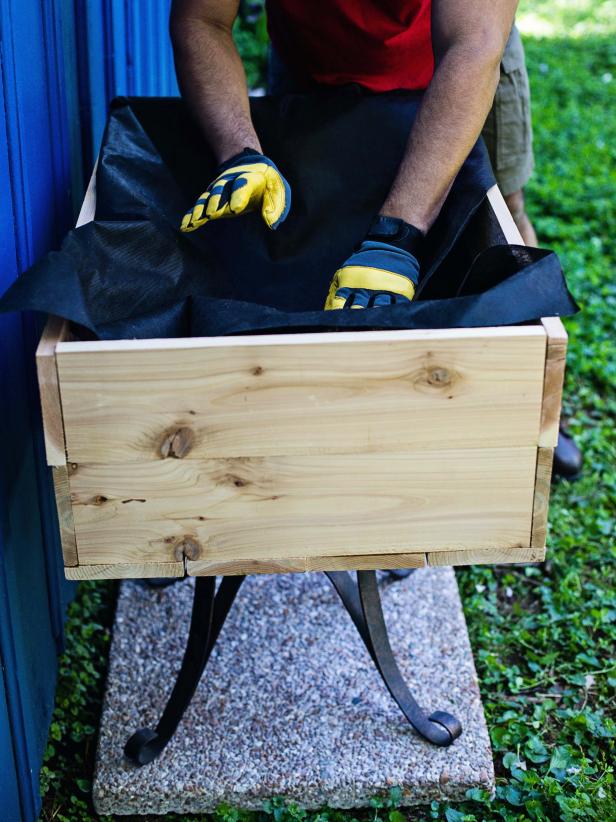
To prep the box for plants, line the bottom of with landscape fabric. This will ensure the dirt stays inside the box. Next, fill the planter with potting soil. Plant companion plants that are sure to play nicely with one another (see our top tips here). Water well, then sit back and enjoy the fruits of your labor – literally.
Shain Rievley


