


How to Can Tomatoes
Canning tomatoes is a great, easy way to preserve the season's harvest so you'll have fresh tomatoes all year long. Learn how to can tomatoes with these simple steps for the water bath canning method.
Derek R. Trimble
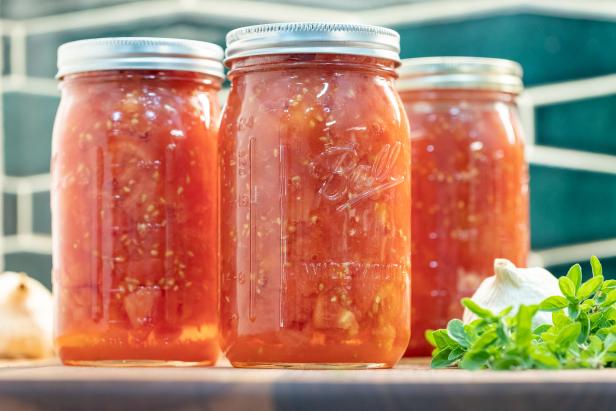
The water bath method for canning tomatoes is an easy way to perserve your harvest so you can enjoy the great taste of homegrown tomatoes well after summer is over.

If you have an overabundance of garden tomatoes or scored a great deal at the farmer’s market, savor that wonderful flavor of summer by canning tomatoes from your harvest. This way, you’ll be opening jars of garden-to-table tomatoes in the middle of winter to make spaghetti sauce, salsa, chili, eggs shakshuka or any number of tasty dishes. Canning with the hot water bath method is easy; it does take a little time, but we guarantee it is well worth it!
What You'll Need for 2 Quarts
- 10 lbs. fresh tomatoes - Roma varieties are excellent for canning
- large boiling-water canner or a stock pot deep enough to submerge your jars
- 2 quart-sized, glass preserving jars, with new lids and screw-on bands
- basic kitchen Items, wooden spoons, ladle, oven mitts, etc.
- non-reactive sauce pan; enamel or stainless steel. Do not use aluminum!
- small saucepan for sterilizing lids
- large mixing bowl full of ice
- distilled white vinegar or lemon juice
- jar-lifting tongs
- magnetic wand
- canning funnel

Derek R. Trimble
Canning anything requires the right tools and plenty of room to maneuver.
Steps for Canning Tomatoes
When you're canning anything, it's important to stay organized and be safe. You're dealing with lots of hot water and really hot jars, so it's essential that you have enough elbow room and the appropriate tools for the job. If you intend on doing a large volume of preserving, we highly recommend purchasing a water-bath canning kit with all the utensils you need. Jar tongs and a canning funnel are exceptionally helpful and make handling scalding hot jars a lot safer and easier.
1. Sterilize the Jars and Lids
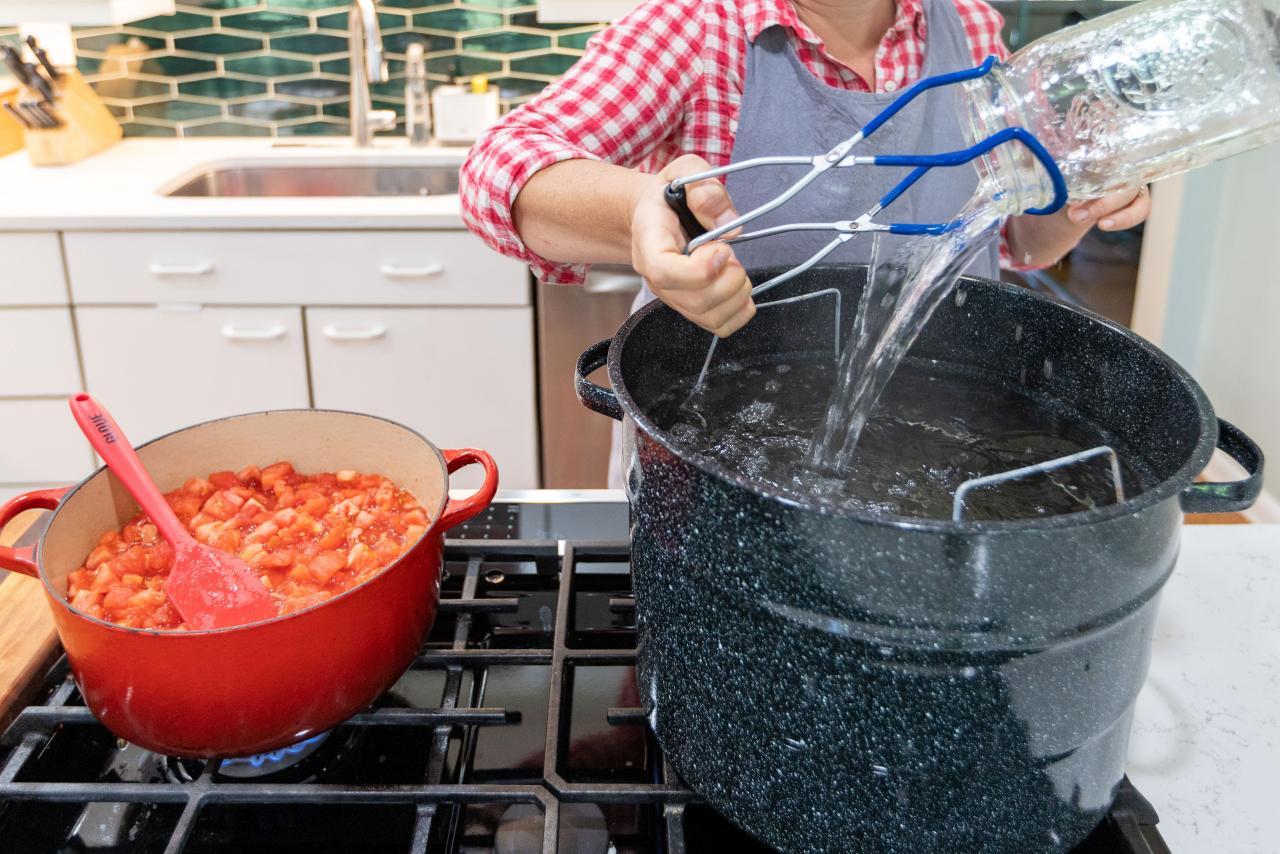
Fill your water-bath canner or stock pot with enough water to completely submerge your jars while making sure you don't over fill. Leave enough room so that when you submerge jars, there's still a few inches of space left below the lip of the pot.
Next, put your pot on the farthest stove burner from you and heat the water to just below boiling. Slowly submerge your jars with jar tongs or if you're using a water-bath canner you can lower your jars slowly using the included lifting rack.

Derek R. Trimble
Submerge jars with jar tongs or a lifting rack.
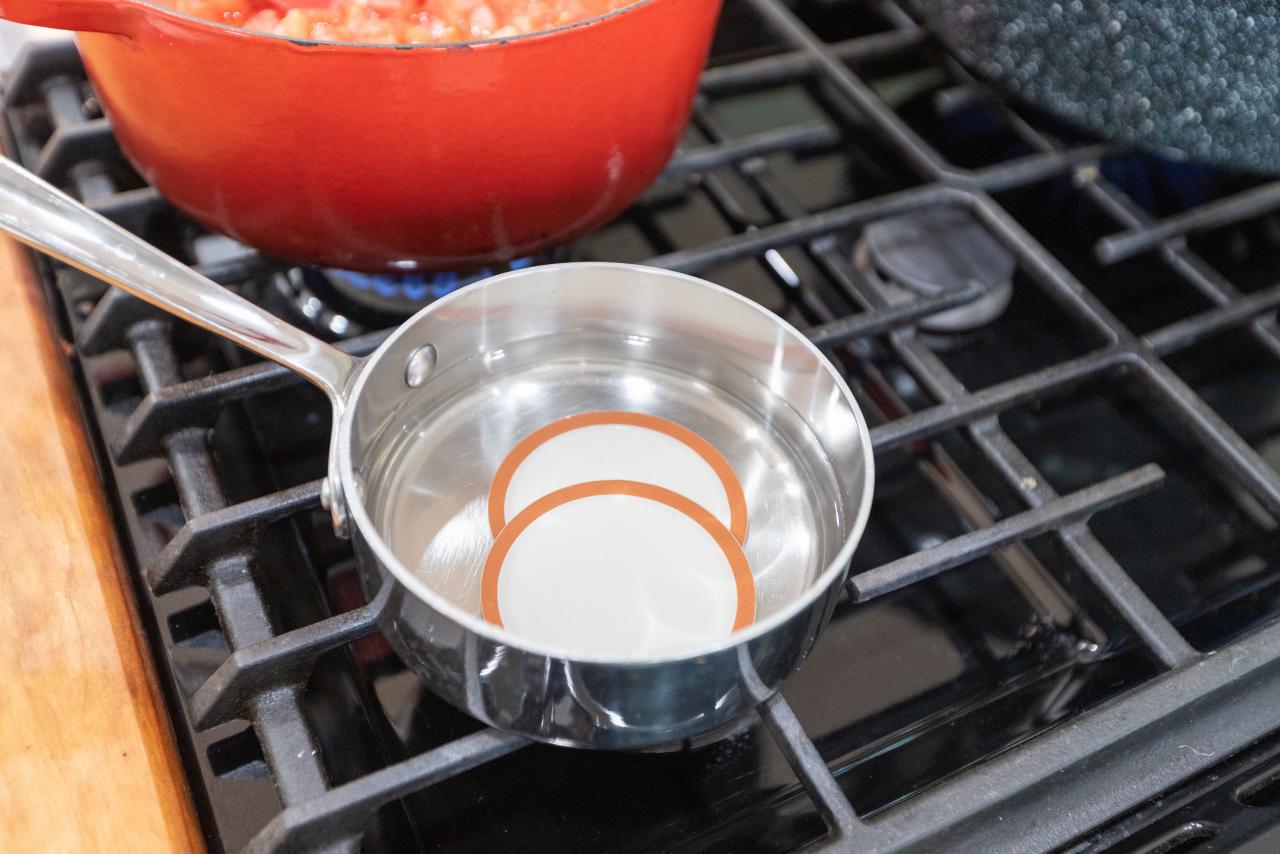
Fill a small saucepan with all of your lids and enough water to cover them. Heat that pan over a rear burner just enough to get it hot and keep it there. You'll need the lids in step five, but for now, keep them hot and out of the way. This will ensure you have clean, bacteria-free lids when it's time to put them on.

Derek R. Trimble
Sterilize your jar lids, too.
2. Peel Tomatoes
Start by making sure all of your tomatoes are washed thoroughly. Next, fill your non-reactive saucepan about halfway with water and set it to low on the burner closest to you. Bring the water to a low boil.
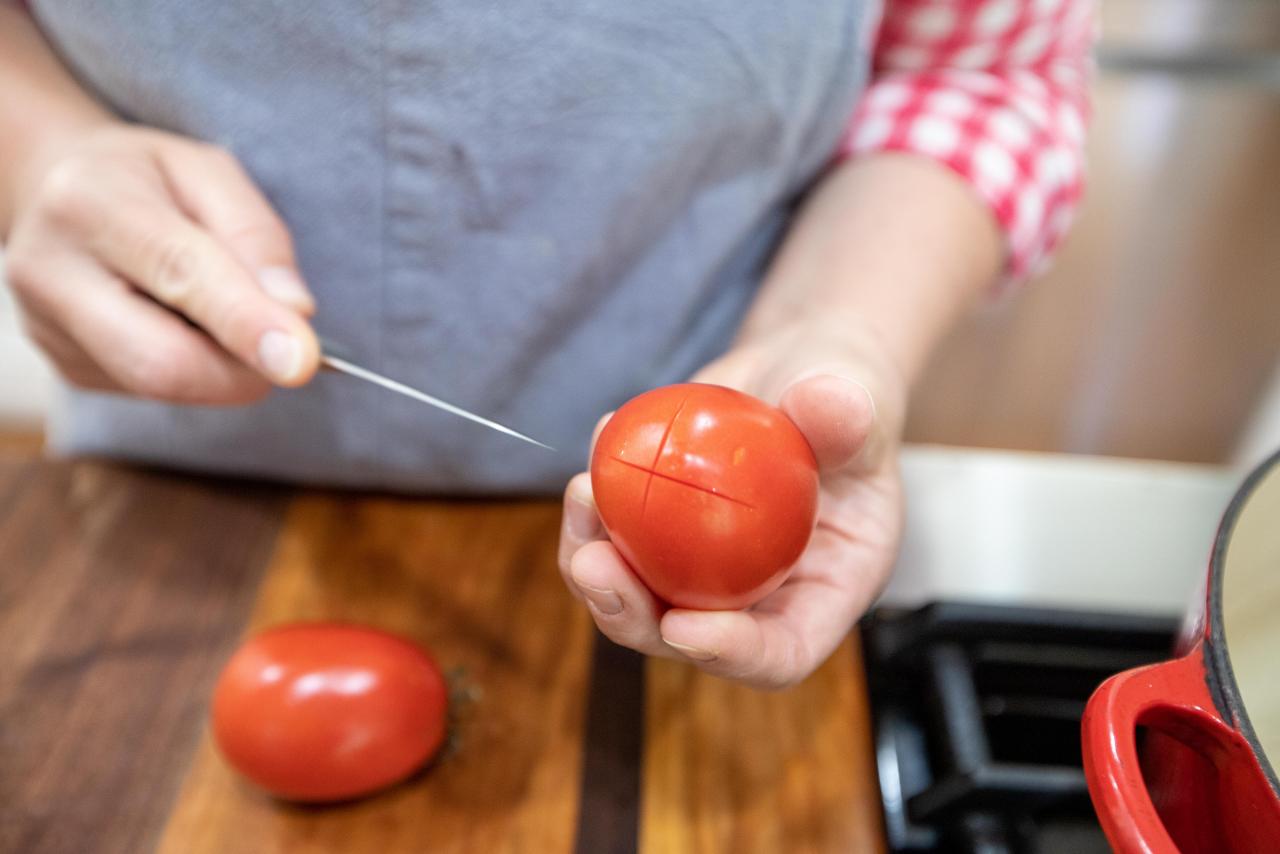
Using a paring knife, cut a small, shallow X in the bottom end of each tomato.

Derek R. Trimble
Cut an X in the bottom of each tomato
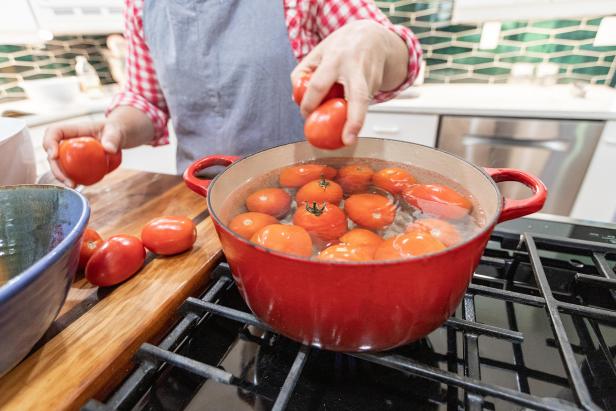
Then place your tomatoes a few at a time into the hot water and leave them there for 30 to 60 seconds.
Derek R. Trimble
Leave tomatoes in hot water for 30 to 60 seconds.
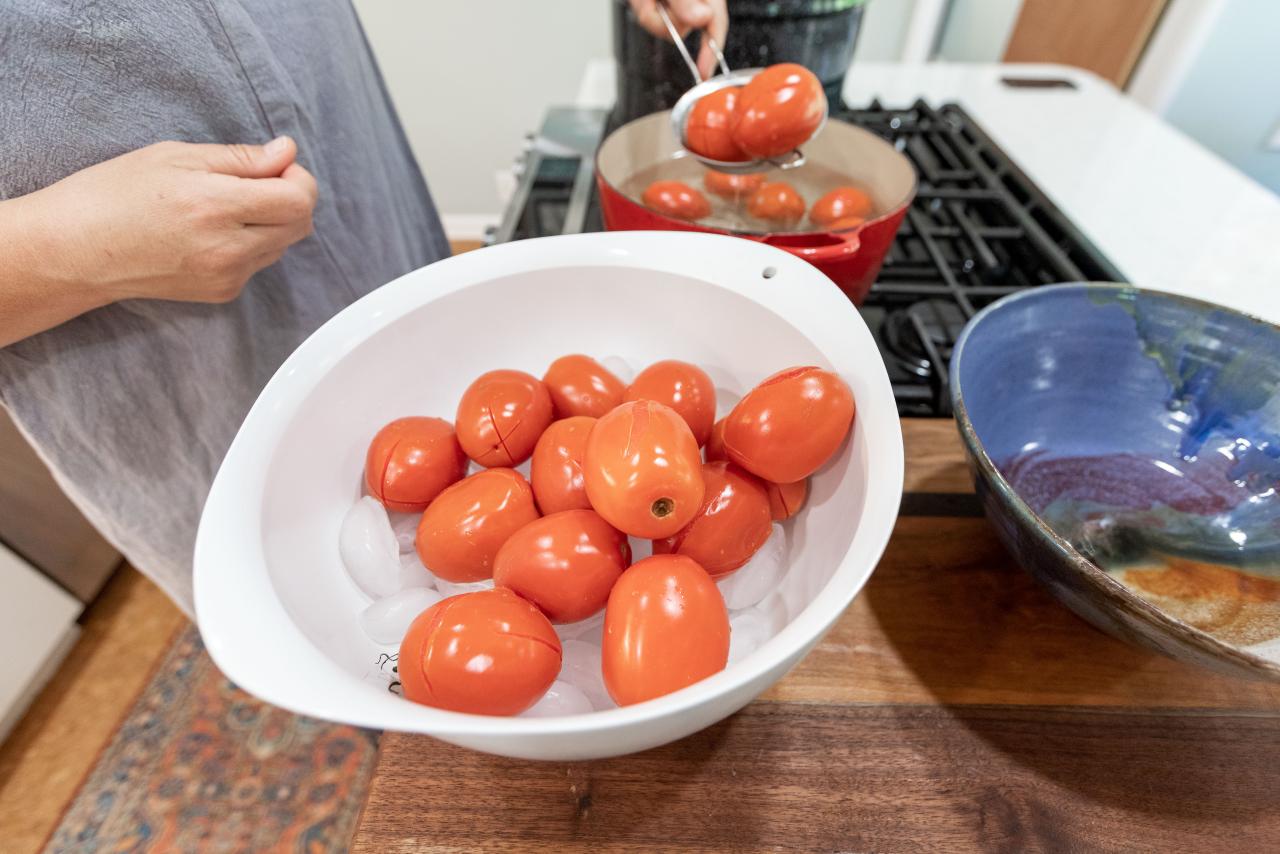
Use a slotted spoon or a small strainer and immediately transfer the tomatoes to your ice bowl.

Derek R. Trimble
Transfer tomatoes to ice bowl.
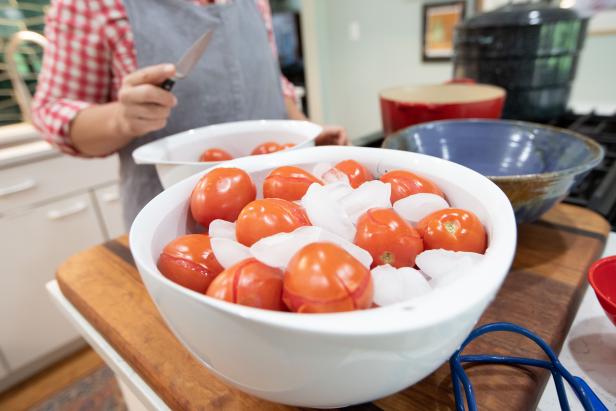
Once the bowl is relatively full, throw some extra ice on top of your tomatoes and let them sit for a few minutes. This will loosen the skin from the pulp of the tomatoes and make them much easier to peel. Once you've finished dunking all of your tomatoes, pour the water out of your saucepan so you can use the pan in the next step.
Derek R. Trimble
Put ice over your tomatoes and let them sit in the bowl for a few minutes
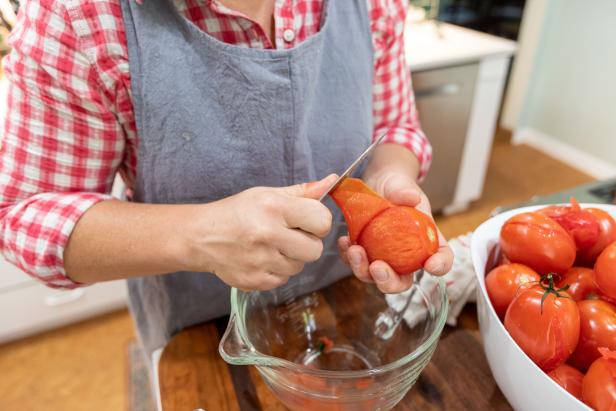
Use your paring knife to remove the cores and peel your tomato skins off by pulling them from the ends you cut with the X.
Derek R. Trimble
Use paring knife to peel tomatoes from the end with the X.
3. Fill Jars With Tomatoes
After you've cored your tomatoes, dice them and add them back into your non-reactive saucepan.
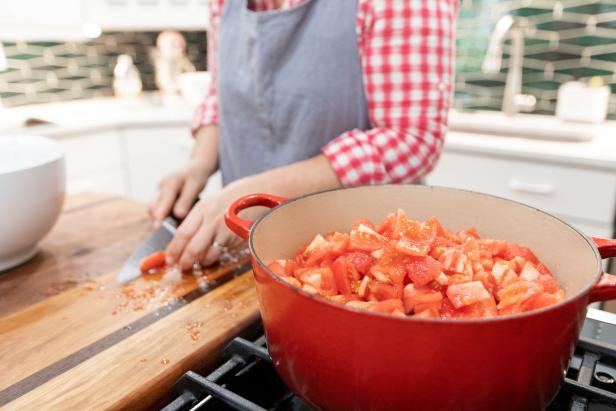
Derek R. Trimble
Once you've filled the pan, bring the heat up and let them simmer for about 2 to 3 minutes. After that time, turn the heat all the way down to low so that they stay hot as you pack them into your jars. Remove the jars from the water bath using tongs or the lifting rack and set them down on a clean dish towel. Keep the jars relatively close together so that you'll be able to easily and neatly move from one to the other as you're filling them.

Derek R. Trimble
Remove the jars from the water bath using tongs or the lifting rack.
IMPORTANT: Add a tablespoon of distilled white vinegar or lemon juice to each jar to provide the necessary pH level to prevent bacteria from forming in your jars.
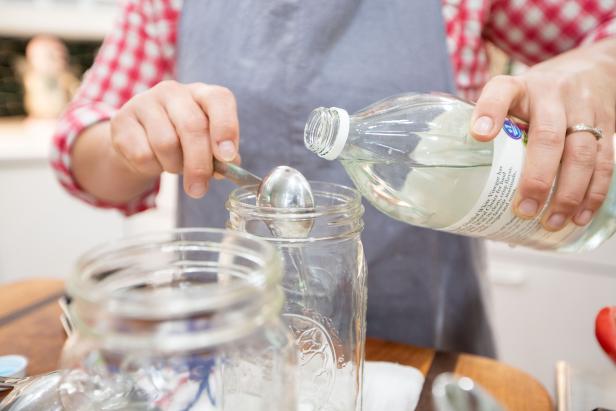
Derek R. Trimble
Distilled white vinegar or lemon juice added to the jars prevents bacteria from forming.
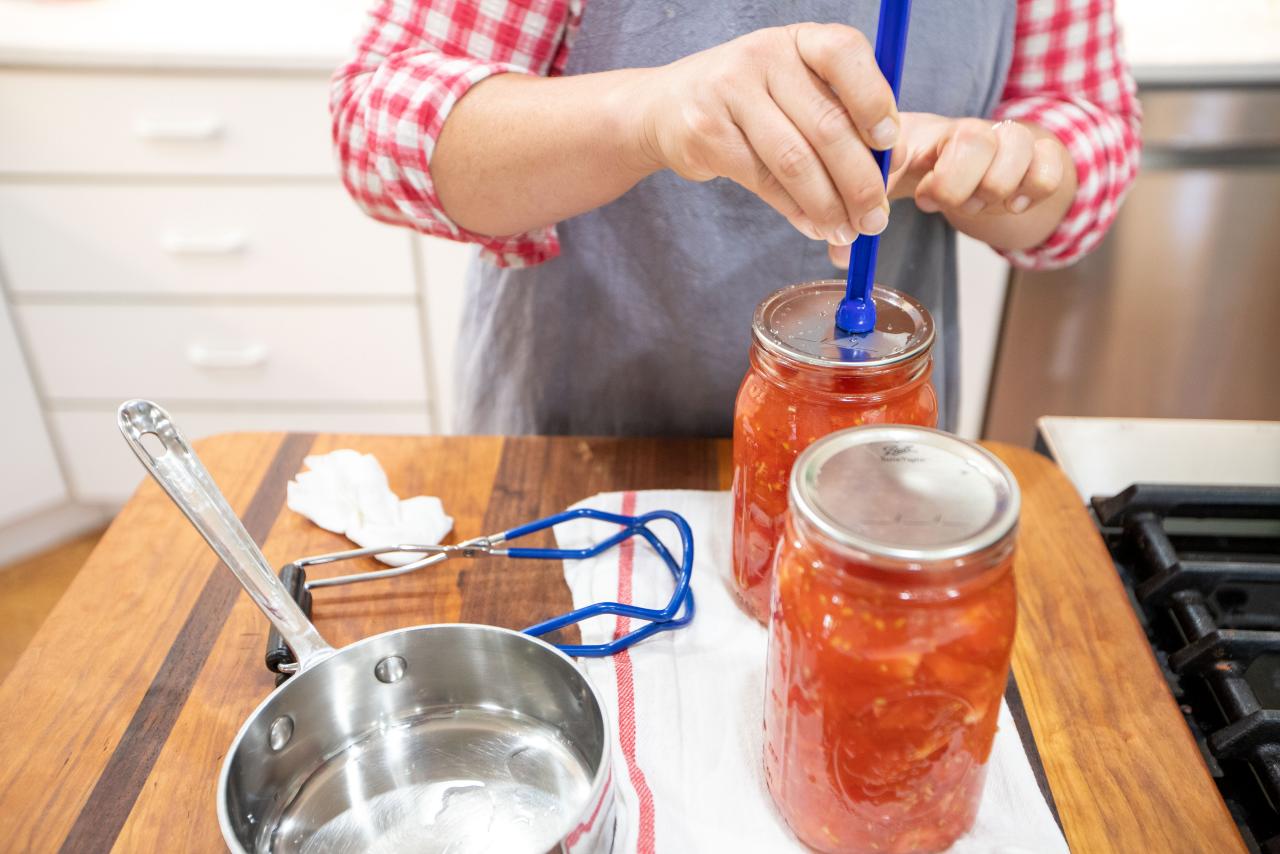
Place your funnel into the jar, then ladle your tomatoes into the jars making sure to leave half an inch of headspace at the top. Leaving headspace allows the contents to expand slightly without breaking the jars.
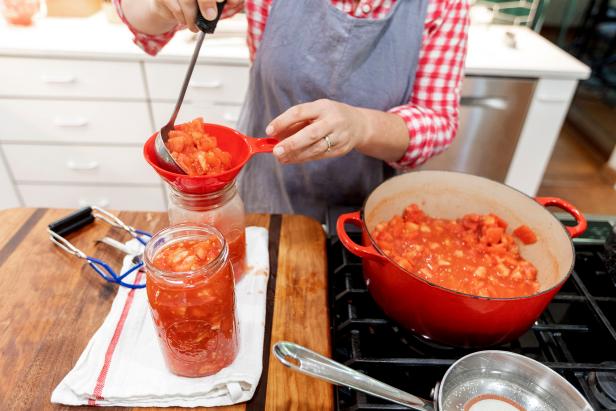
Derek R. Trimble
4. Seal Jars
With all of your jars full, dampen a clean paper towel with a bit of vinegar. Wipe around the lip and threads of all of the jars to remove any germs or food particles that might be hanging out. You want nice clean seals in order to safely preserve your tomatoes. This part is critical so don't skip it even if the surfaces visually appear to be clean.
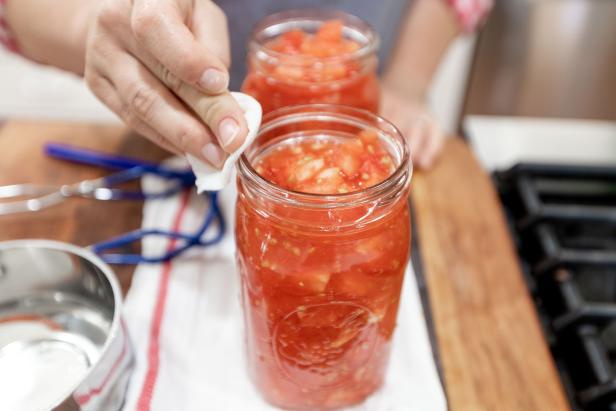
Derek R. Trimble
It's critical when canning tomatoes to create a clean seal.
Next, use a pair of tongs or a magnetic wand and remove your lids from the hot-water bath on the rear burner. Take care not to touch the underside of the lid or any of the seals with your bare hands. You want to keep those surfaces pristine! Place a lid on each jar as shown.

Derek R. Trimble
Don't touch the underside of the lid or any of the seals with your bare hands when placing them on the canning jars.
Screw the lids down firmly with the rings that came with your jars.
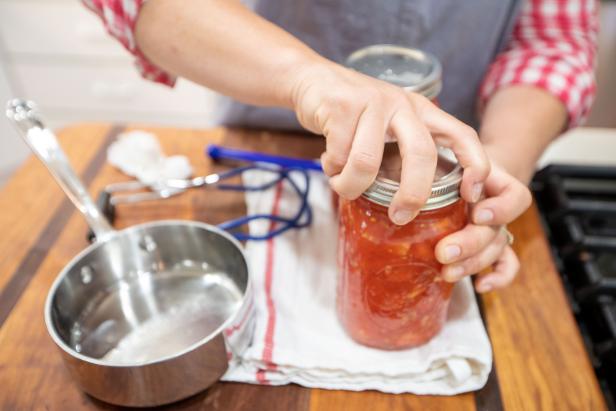
Derek R. Trimble
Screw lids down firmly.
5. Process Jars
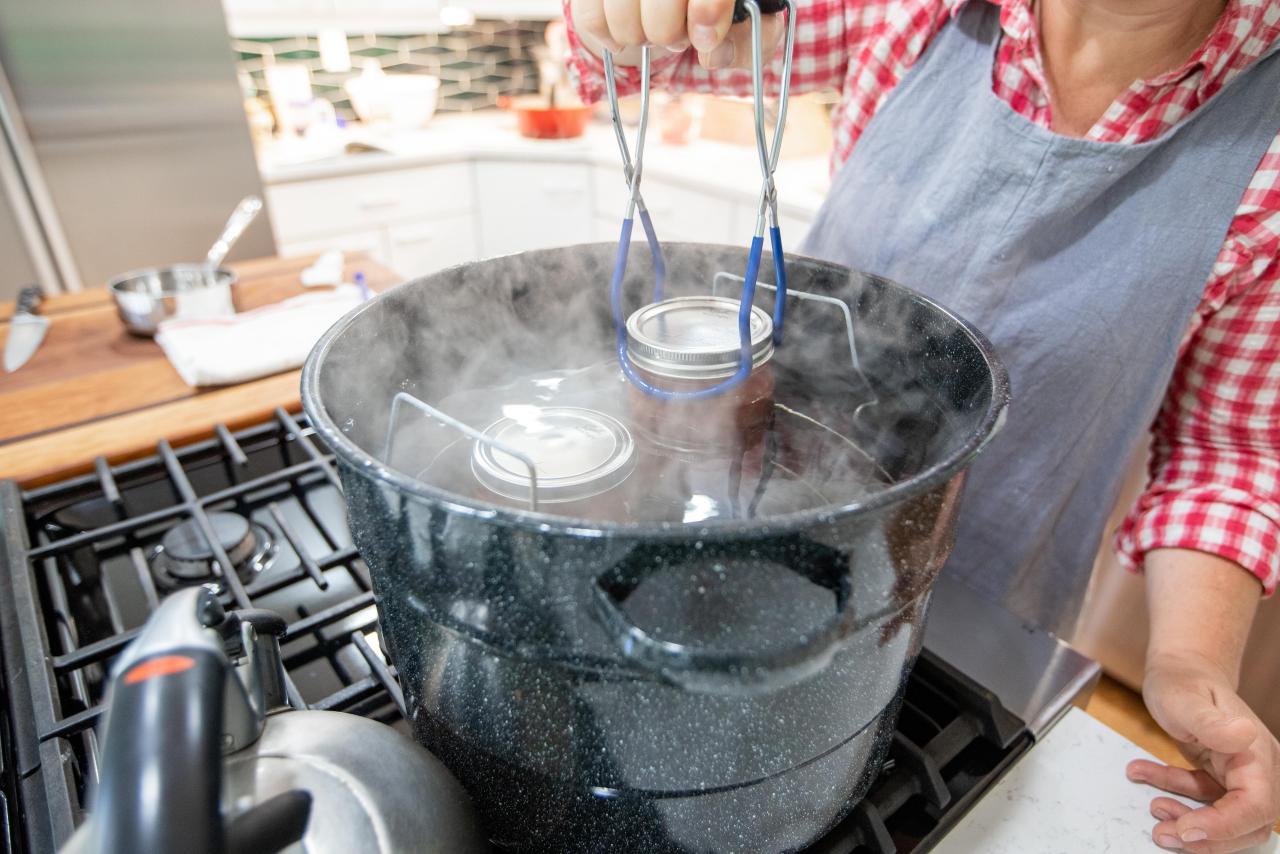
Place your jars back into your large pot for the final step known as processing.
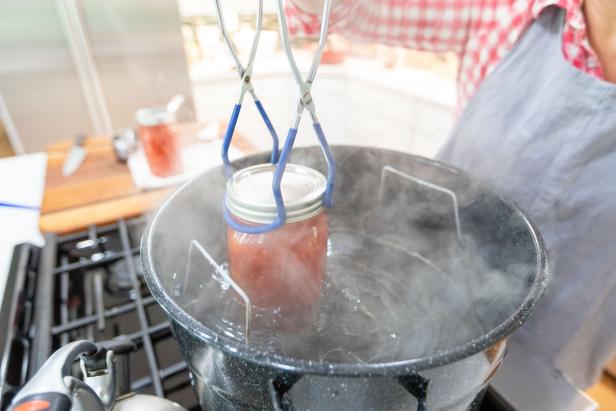
Derek R. Trimble
The final step begins by placing jars back into the large pot.
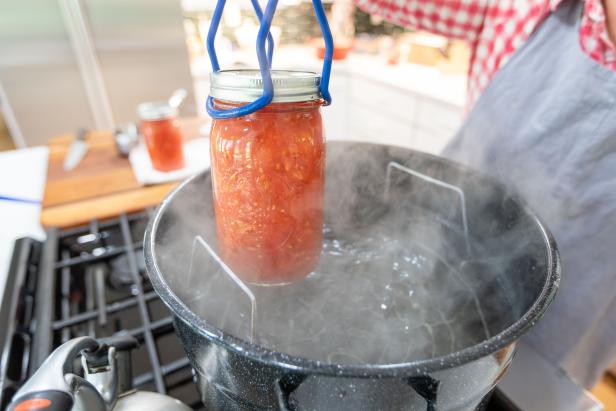
Once all of the jars are in the bath, bring the water back up to a rolling boil and leave them there for about 40 to 45 minutes.

Derek R. Trimble
Leave the jars in a pot of water at a rolling boil for 40 to 45 minutes.
After that time has passed, remove your jars from the water bath and set them on a dishtowel to cool off (Images 1 & 2).

Derek R. Trimble
Derek R. Trimble
As they cool, you'll hear the lids make a loud "pop" as the lids compress. This lets you know that the jar has been sealed, and at this point, you can remove the bands and clean around the threads one last time.
If you find that your jar lids are flexing, or if they come off when you remove the bands, it means your jars did not seal and that you need to try again with a new lid. If your lids are firmly in place you can put the lid rings back on and store your jars until you’re ready to start cooking.
Canning Tomatoes FAQs
Do you really need lemon juice when canning tomatoes?
Yes, adding an acid in the form of bottled lemon juice (or distilled white vinegar as noted above) is necessary to ensure the safety of the canning process. Here's why: Lemon juice will raise the pH level of the canned tomatoes to a level that will prevent the Clostridium botulinum bacteria from growing and producing a deadly toxin.
Do I have to peel tomatoes when canning?
Yes, as the tomato skins can contain bacteria. While the bacteria would be killed during the process of heating the tomatoes, peeling the tomatoes is a good safety measure and ensures a better finished recipe.
Do you have to boil tomatoes before canning?
In our directions above, we suggest placing the tomatoes to be canned in a low boil as that will loosen the skins. Avoid a rolling boil, which may make it harder to remove the tomatoes from the water without splattering hot water.

How to Freeze Tomatoes From Your Garden
Extend your garden harvest by putting your tomatoes in the deep freeze.
Shop DIY Canning Tools


More on Tomatoes


