


How to Make a Halloween Skull Topiary
Dress up your entryway for Halloween with this easy-to-build topiary that uses a tomato cage, an urn planter and plastic skulls.

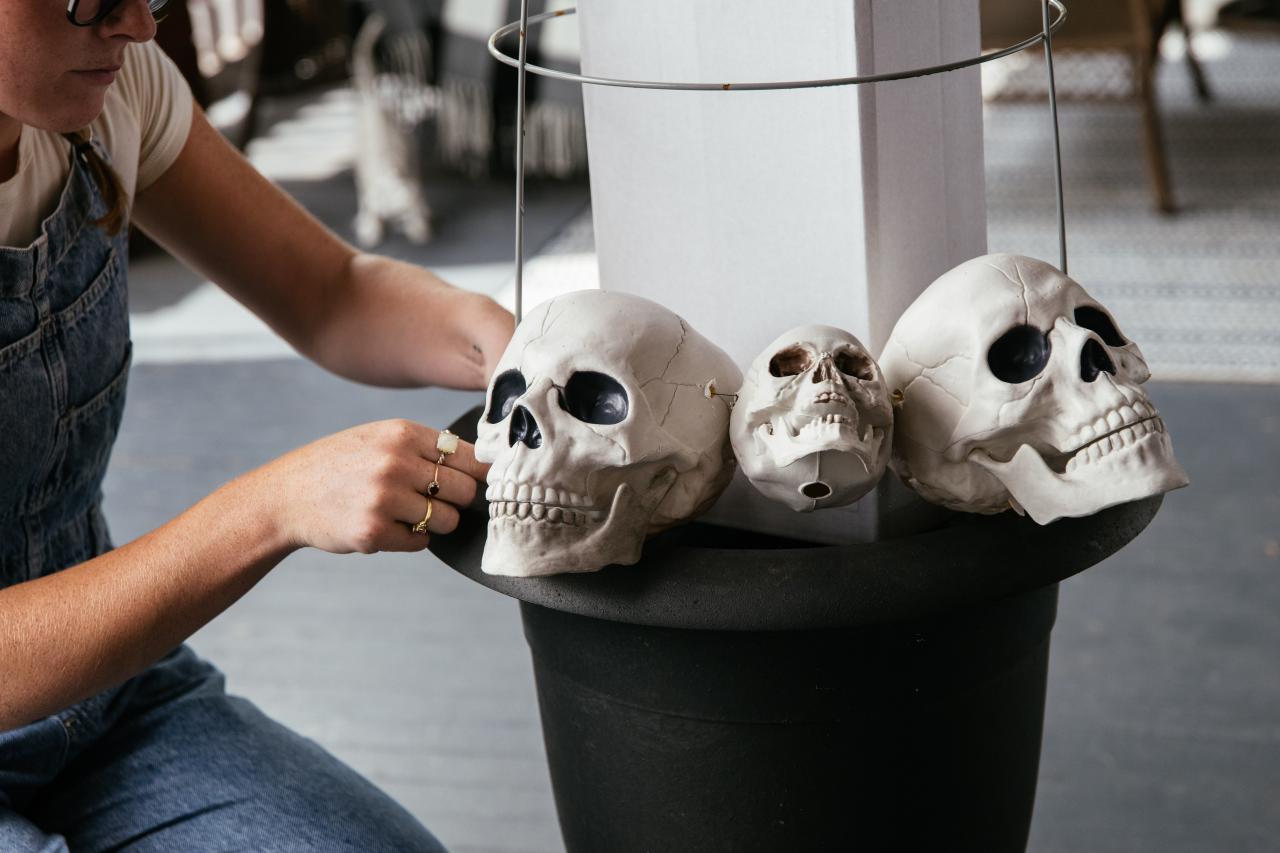
When the summer annuals in your front porch planters have succumbed to fall’s chill, fill those planters with skull- and moss-covered topiaries. While it does take more than a few plastic skulls, it doesn’t take much skill or many tools to craft this chic Halloween decoration. When displayed as a matching set, these topiaries make a big, spooky impact on any porch.

Jennie Andrews
Tools and Materials:
- large planter or urn
- tomato cage
- plastic skulls in various sizes
- cardboard box
- paper
- wire cutters
- floral wire
- drill
- Forstner bit
- hand saw
- utility knife
- zip ties
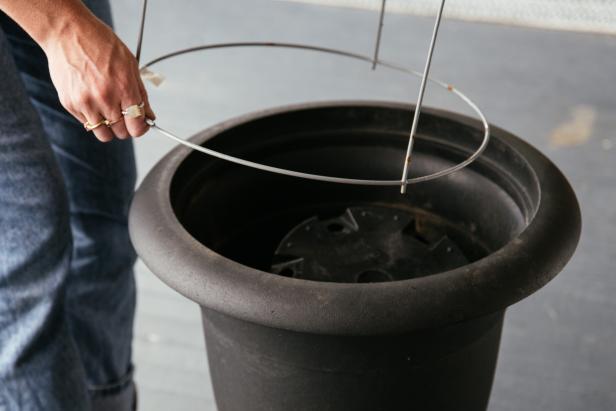
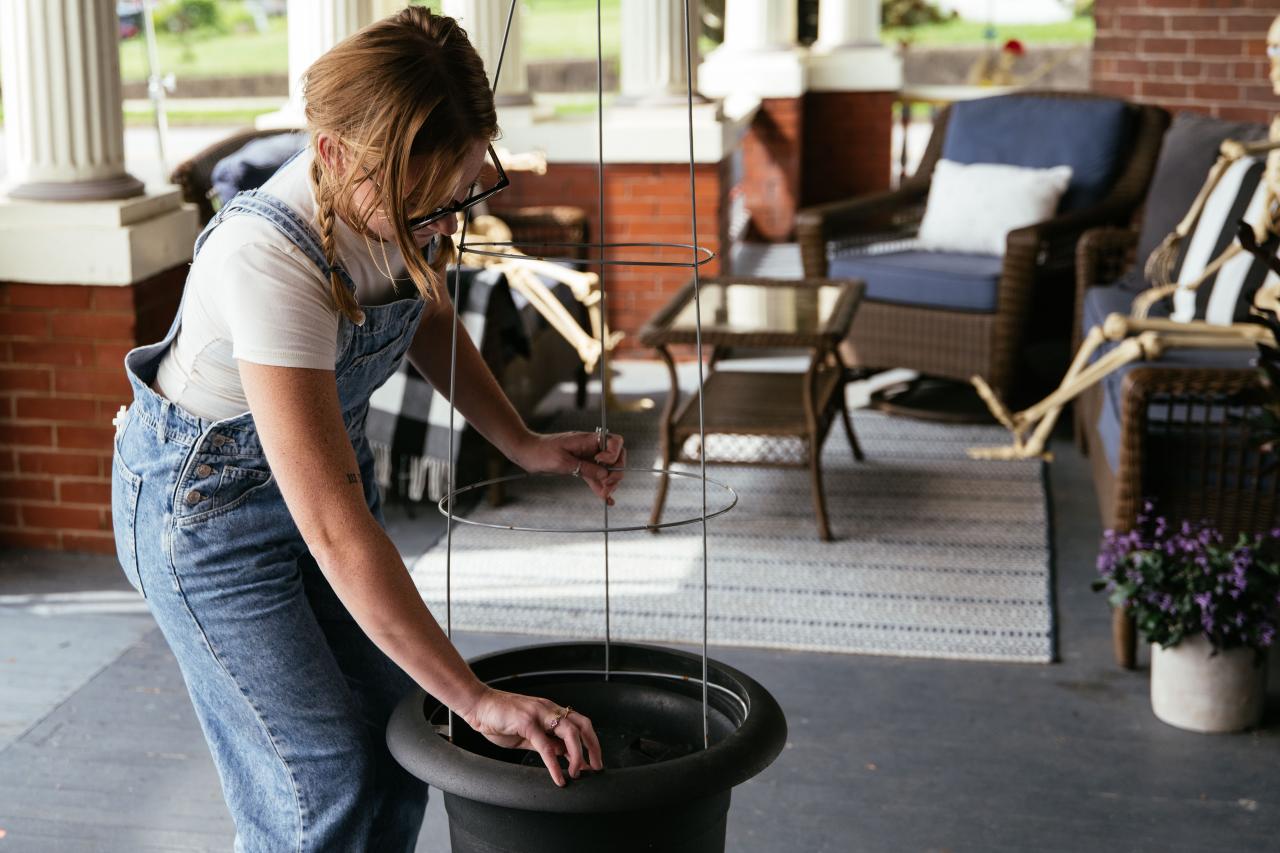
1. Prepare the Base
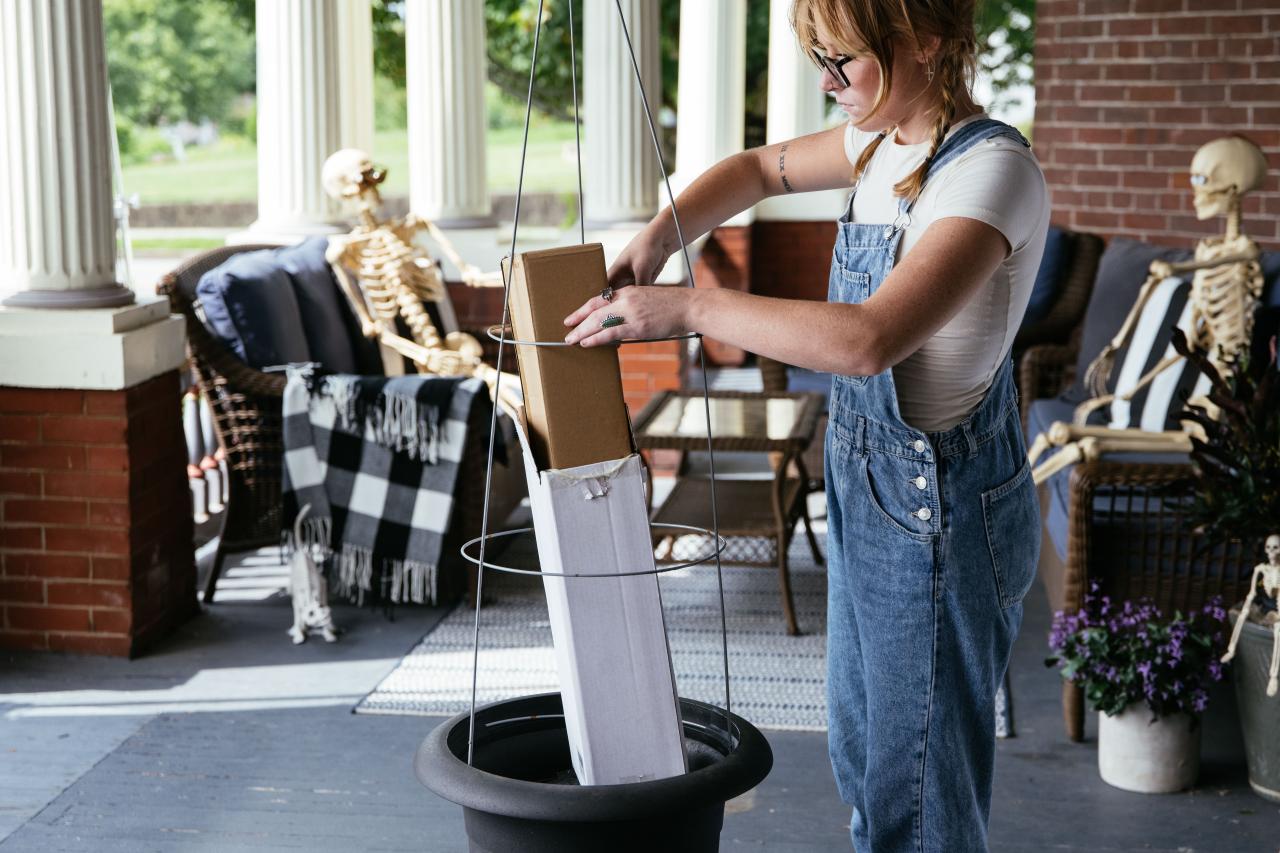
Creating the base of the topiary is quite simple. Turn a tomato cage upside down and place the largest round hoop into the top of the planter. If it doesn’t fit, use heavy-duty wire snips to snip the circle, then overlap the pieces to fit it into the opening. The three points of the cage should be facing up into the air. While you are building the topiary, it may help to secure the cage into the planter with tape. Insert a cardboard box into the center of the cage. This fills up the empty space in the middle and helps keep the skulls propped up and facing outward.


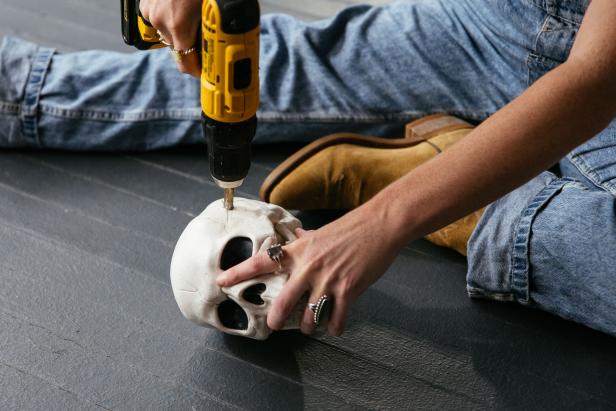
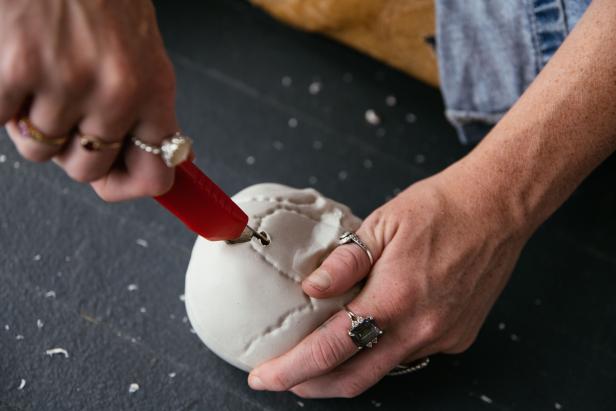
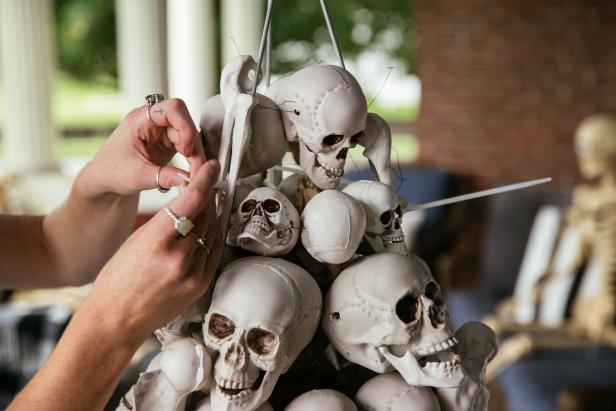
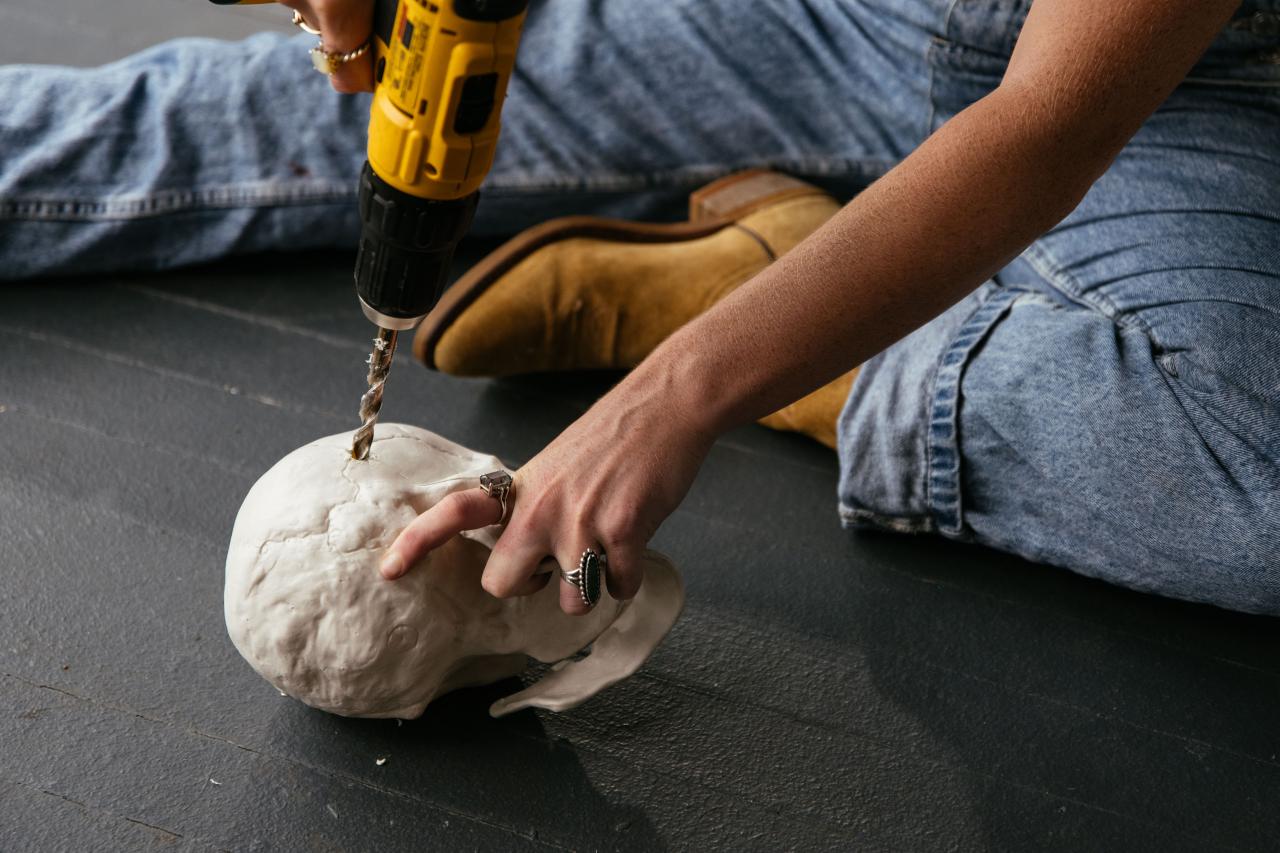
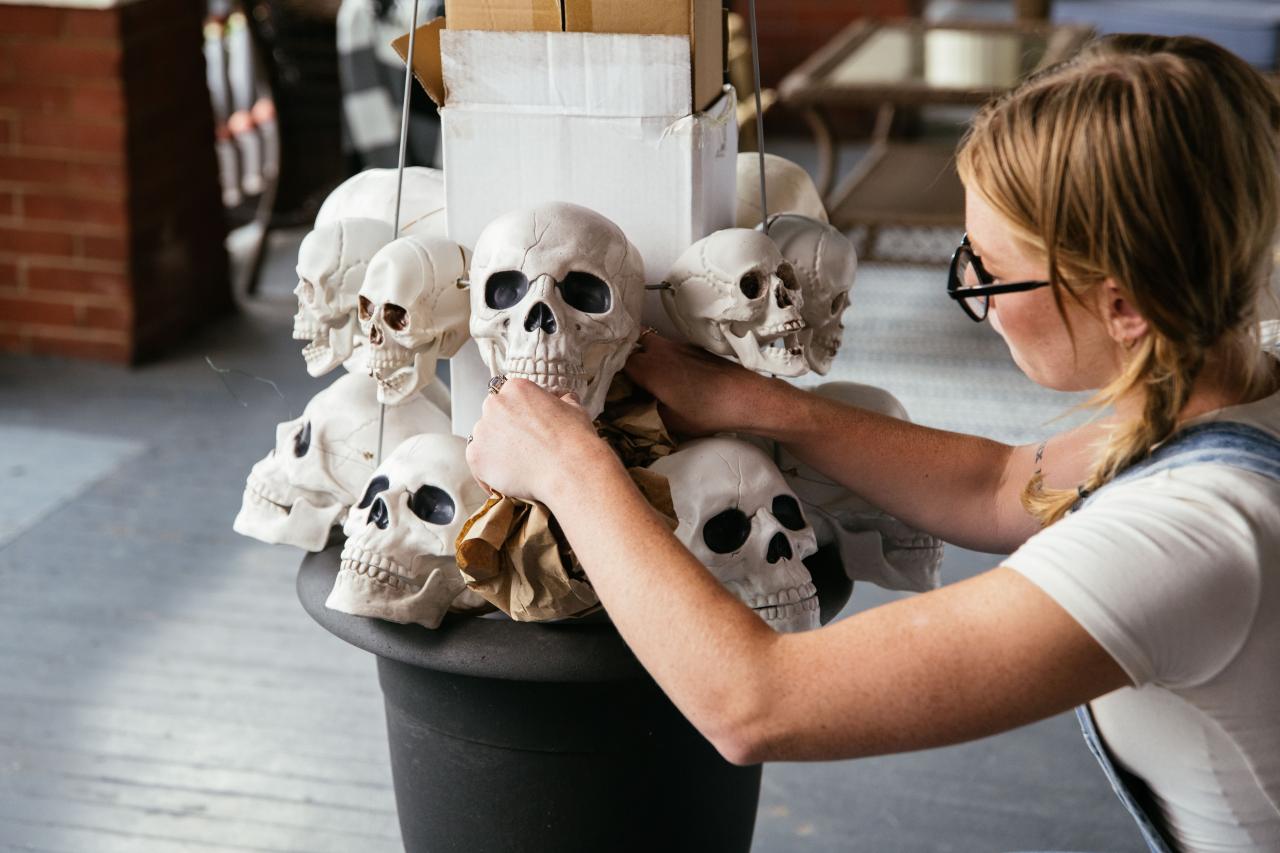
2. Prepare the First Row of Skulls
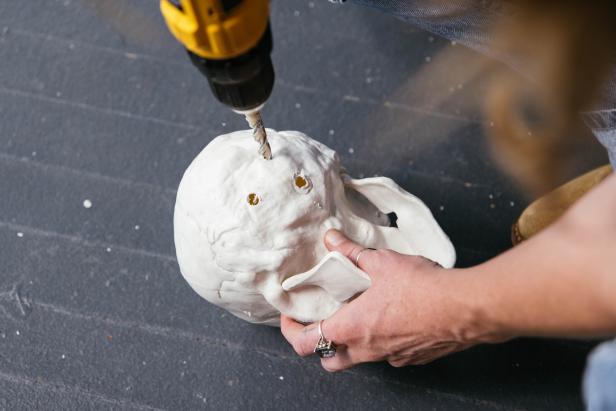
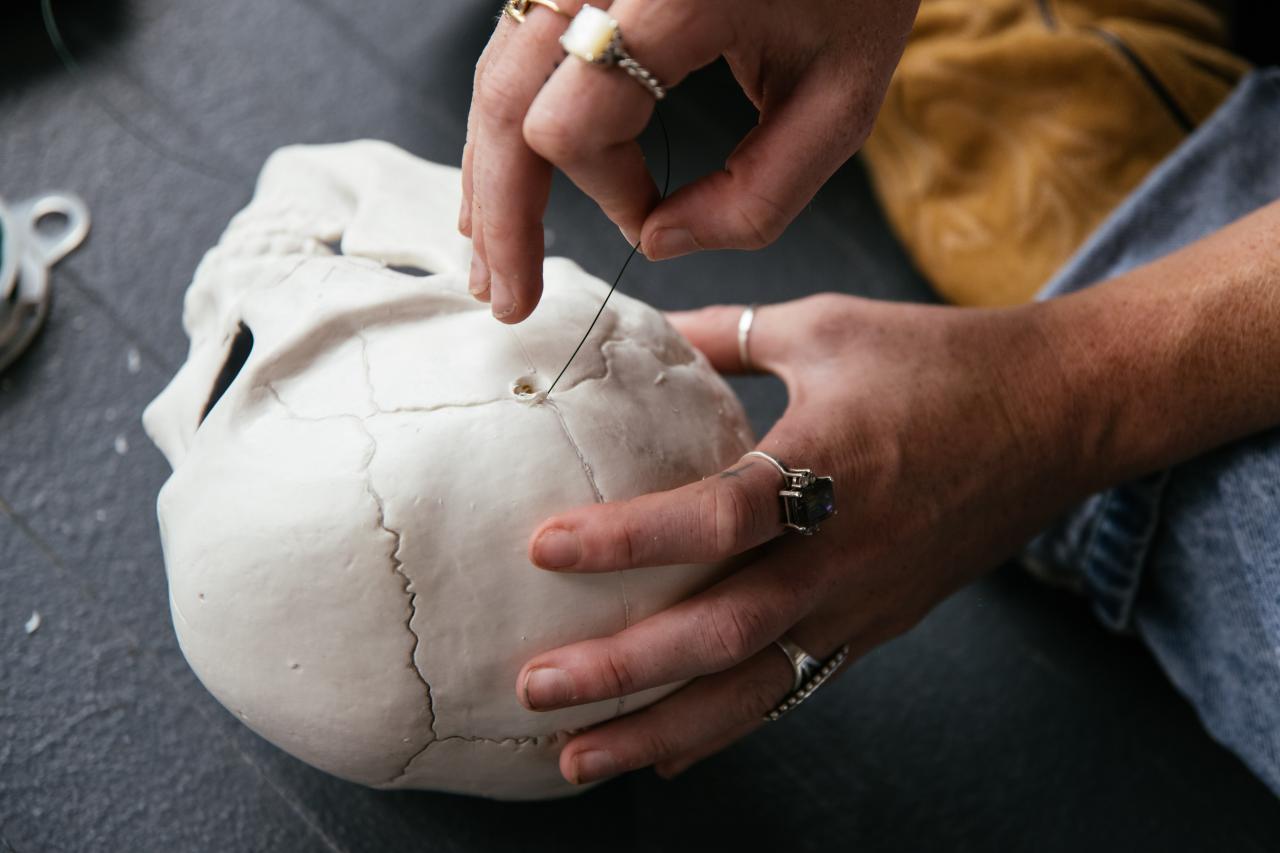
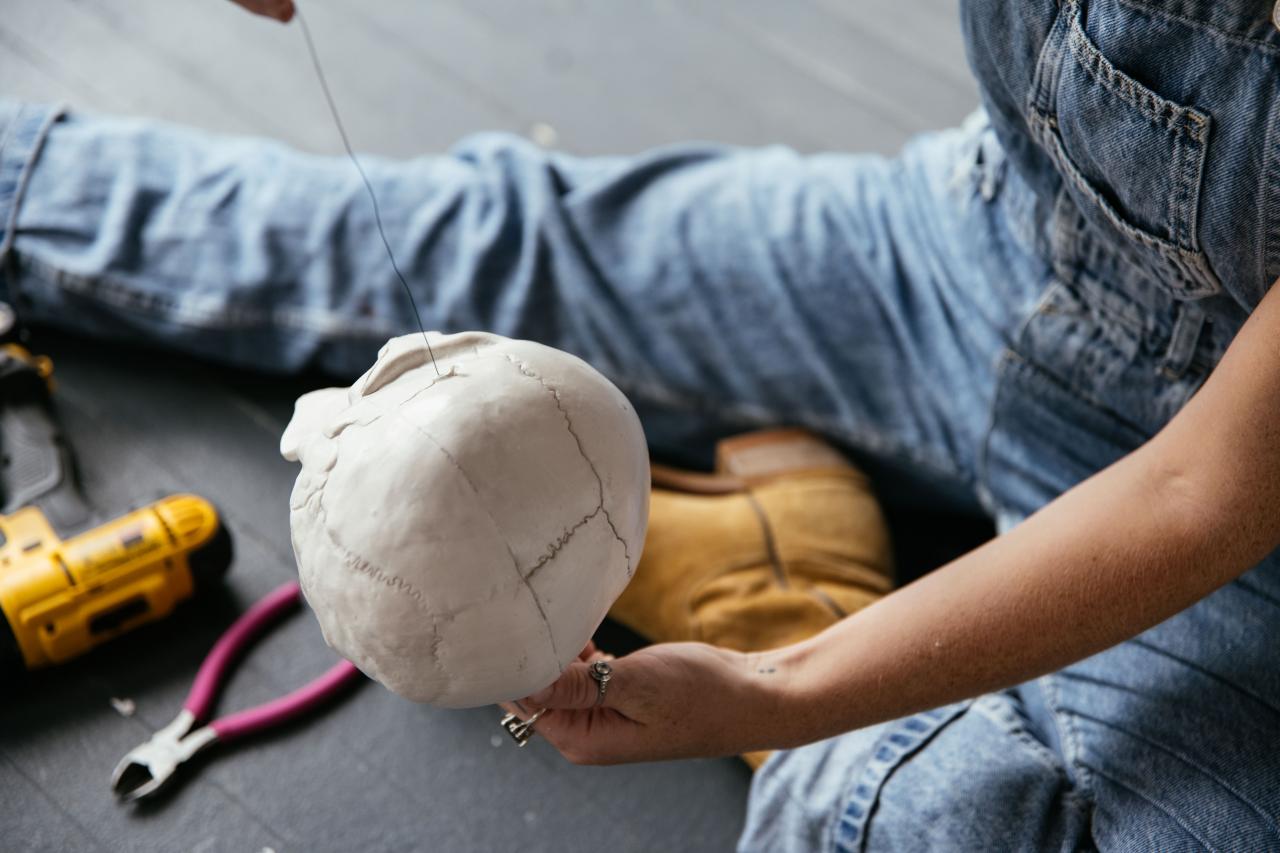
Depending on the size of your tomato cage, you will likely need to play with different size skulls and how they fit into and onto the frame. For our first (bottom) row of skulls, we used two large skulls and one medium skull in between each of the cage’s vertical supports. This means we needed six large skulls and three medium ones in total for this row. Drill a hole in each temple of each of the skulls. Thread a long piece of floral wire through one large skull, then through the medium skull and finally through another large one.


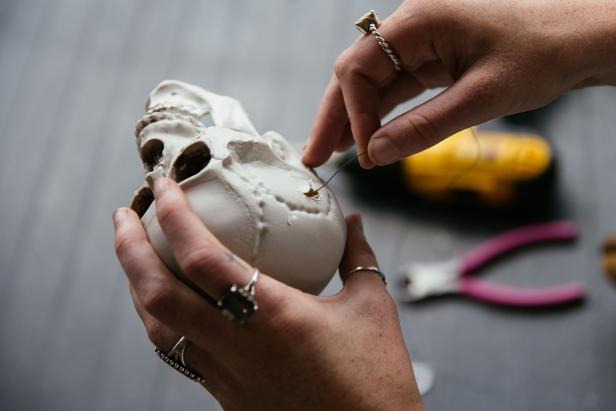
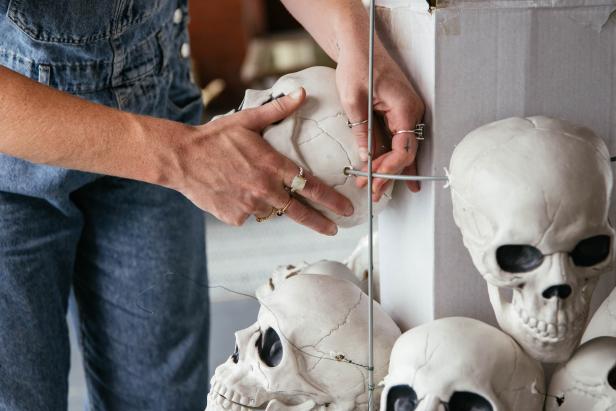
3. Attach the First Row
Center the three skulls between two of the vertical supports and wire each end to a support. Repeat drilling and wiring the skulls for the other two sections.


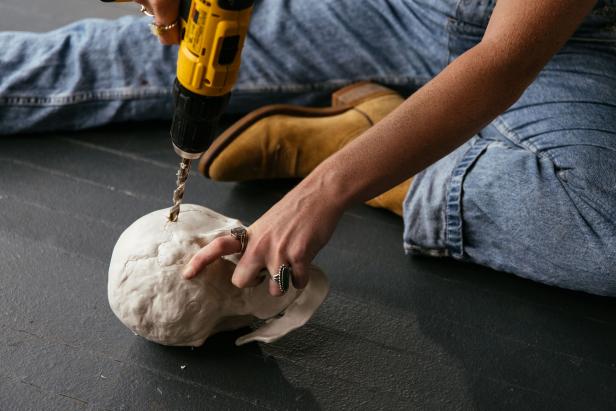
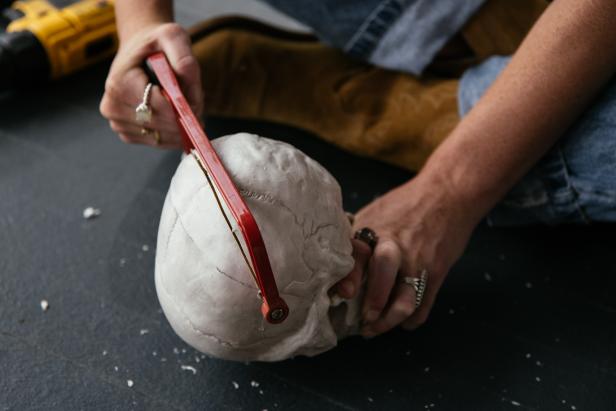
4. Prepare and Attach the Second Row
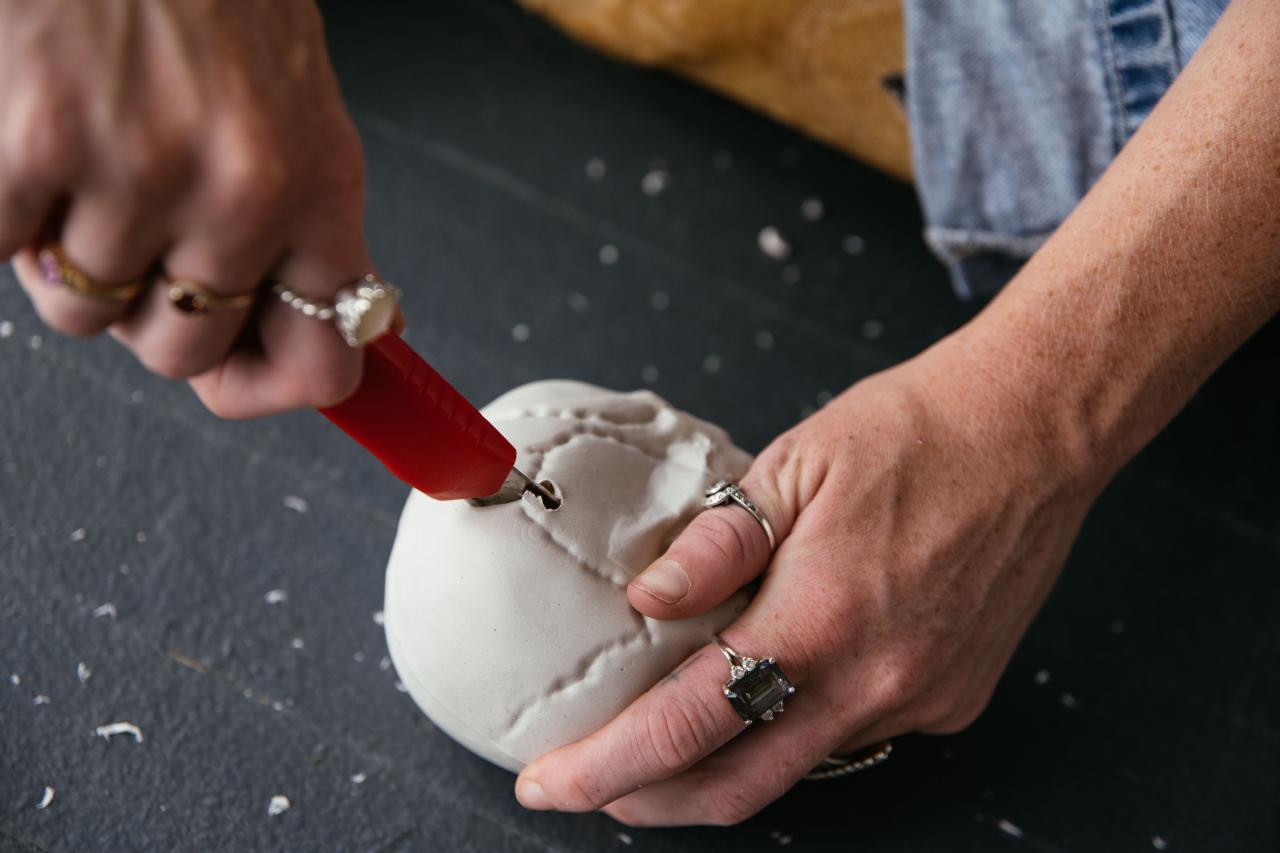
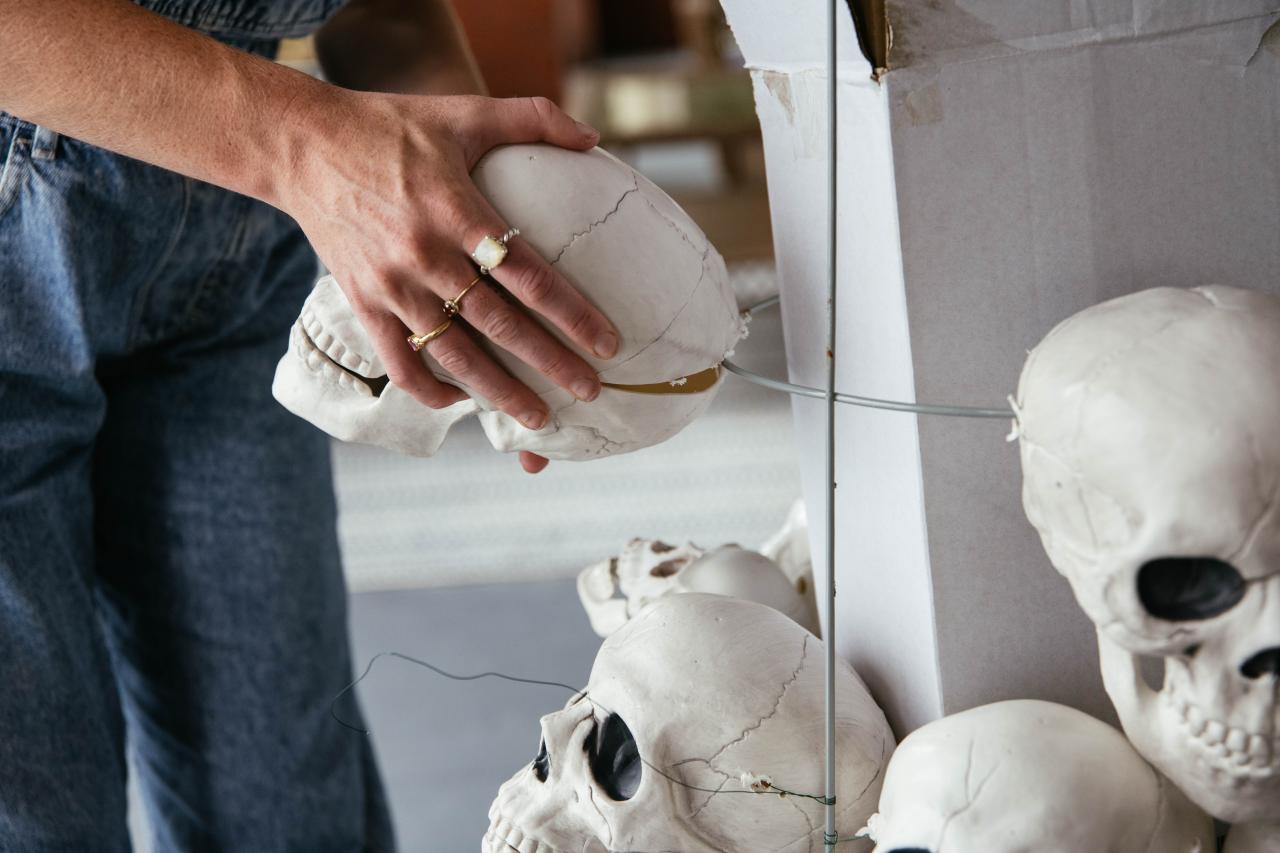
Skulls can also be attached directly to circular parts of the tomato cage. Drill a hole in each temple and then use a utility knife or saw to make a slit that connects the two holes. Then, pinch the skull at the temples to slide the slit onto the cage. The holes should lock the skull into place. Once you have wired or placed a couple of rows onto the cage, stuff recycled paper or plastic packaging behind the skulls to hold them in place.

5. Hide the Wire
To cover the wire wrapped along the vertical supports, attach leg or arm bones vertically using zip ties or wire after completing each section.

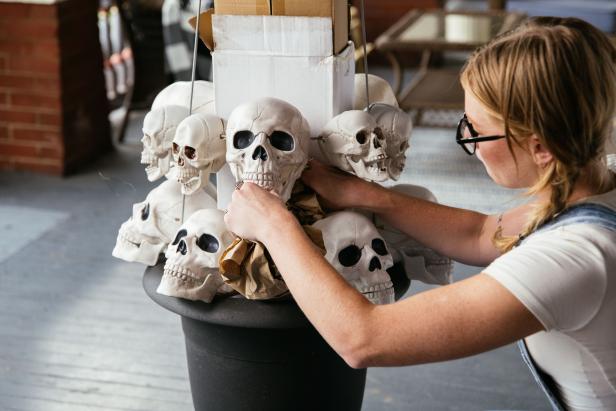
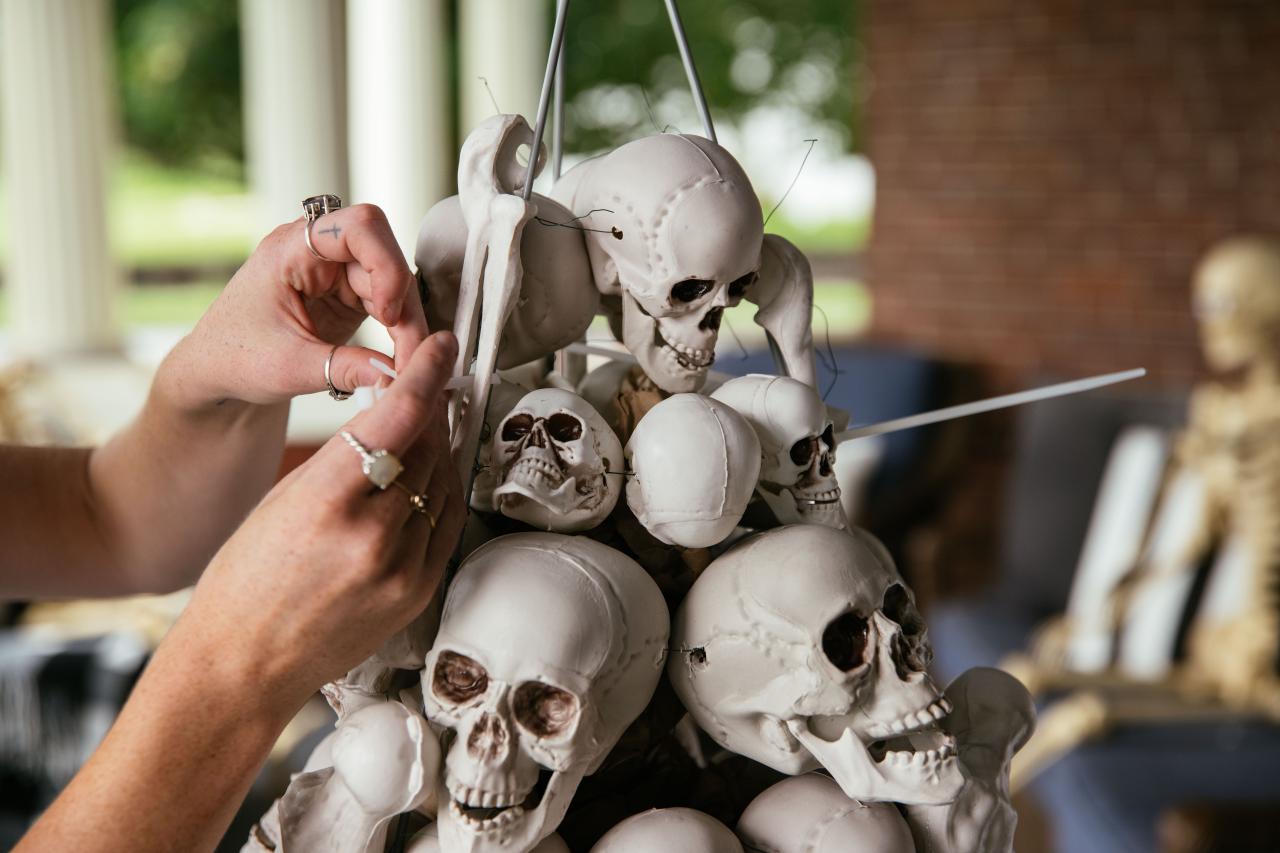
6. Work Vertically
Continue working up the tomato cage one section at a time until the spaces are mostly filled. As you work your way up, create a pyramid shape by choosing smaller skeletons. Some skeletons may need to be threaded through their heads and chins to hang from the rings of the cage. Crown the topiary with one more large skull. Drill three holes in the bottom of a large skull and slide the skull onto the vertical tomato cage supports.


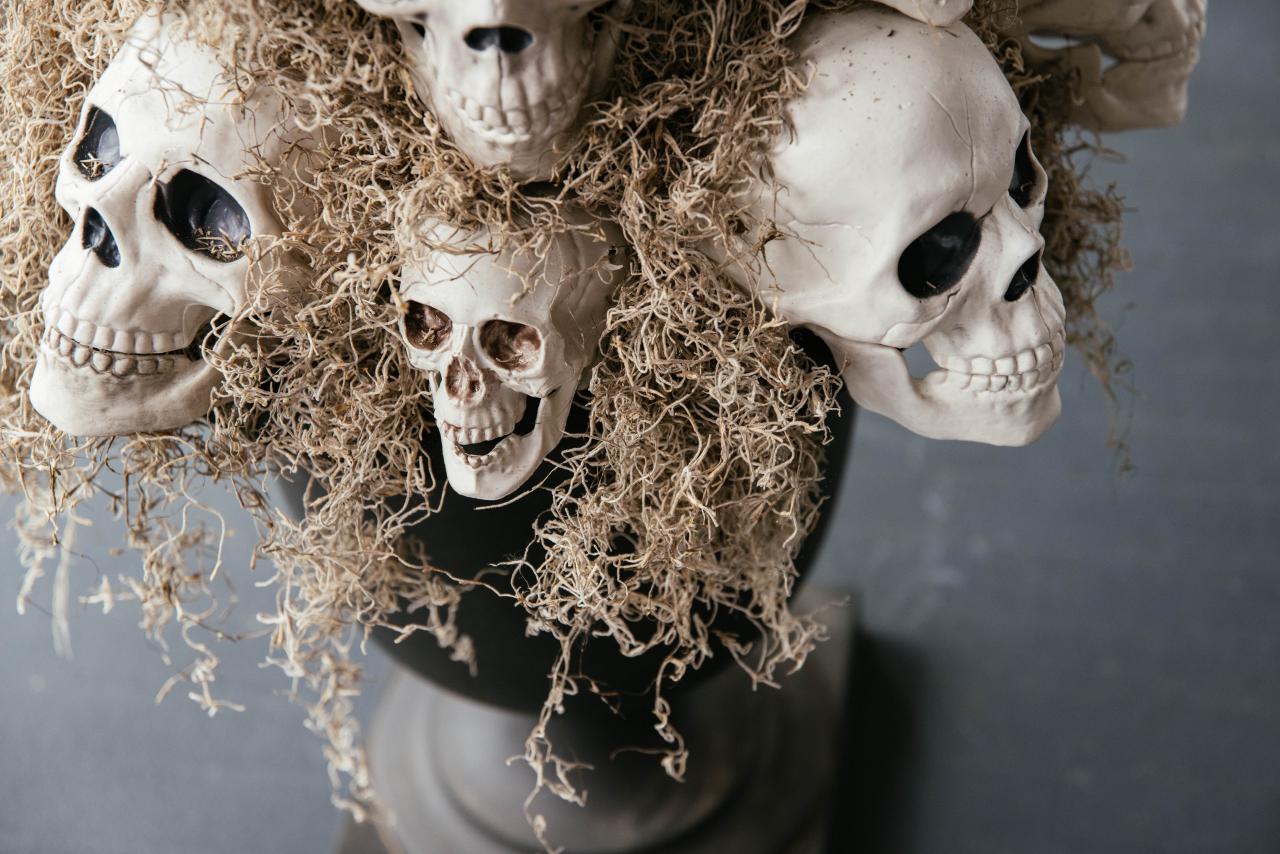
7. Fill Gaps
Trim any remaining loose wire ends. Tuck Spanish moss between skulls, filling all gaps. Let the moss cascade over the sides of the urn.


8. Go Big or Go Bone!
While this project requires a bit of an investment in skulls and a bit of time, it is deceptively simple to complete. With a bit of care in storing your topiaries, they should stand the test of time and serve as a beautiful focal point to your Halloween decor for years to come.

Jennie Andrews

Jennie Andrews

60+ No-Carve Halloween Pumpkin Ideas 64 Photos
From ghoulish to glam, we have a pumpkin decorating project for everyone — no carving tools required.


