Craft a Life-Size Nutcracker for Your Front Porch
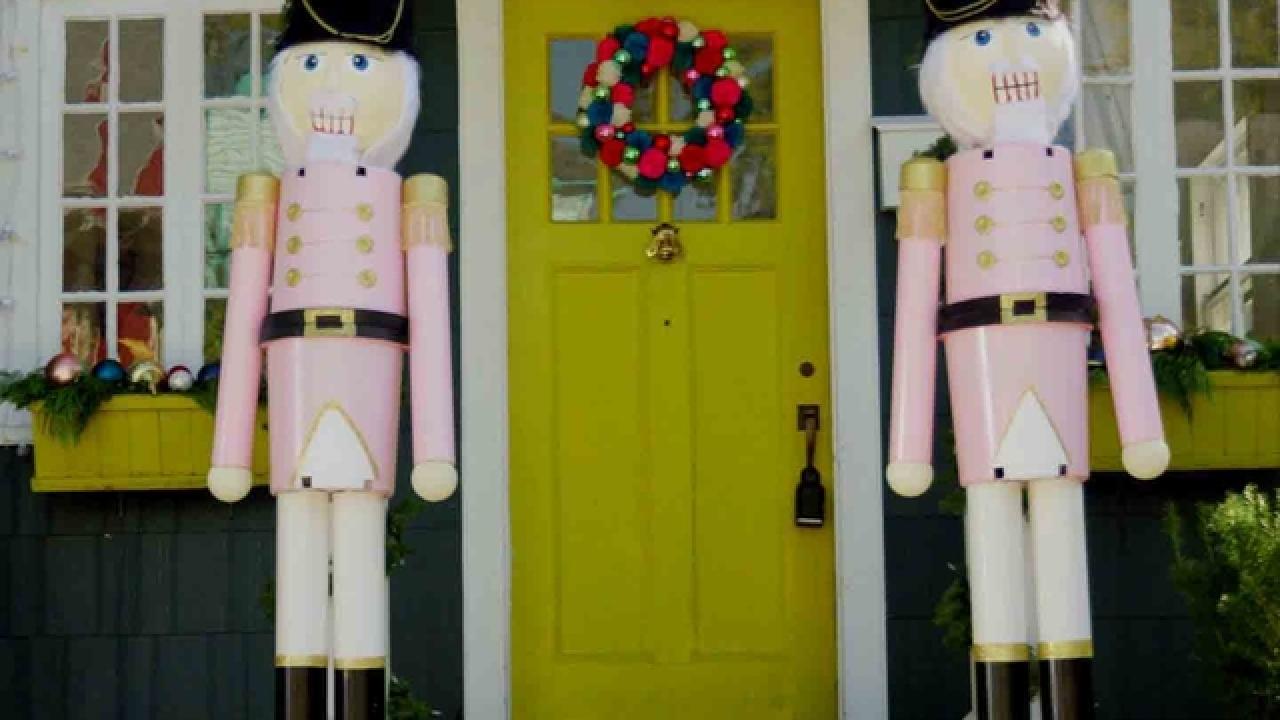
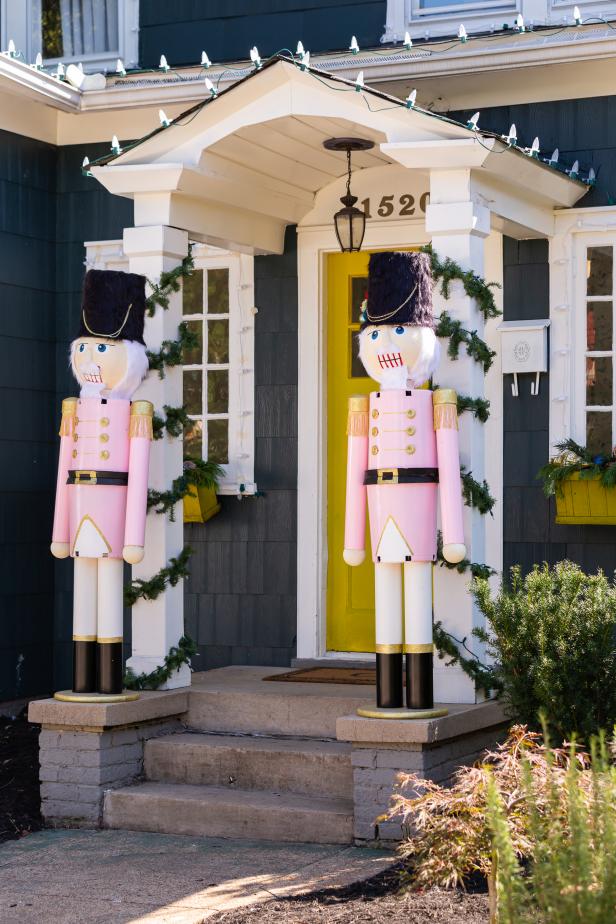
Bigger is better when it comes to your Christmas porch look, and these larger-than-life nutcrackers are the perfect DIY addition.
Cassidy Garcia
One of Christmas's classic symbols, this DIY nutcracker will stand tall for the whole neighborhood to see. A project this large may seem intimidating, but it's actually fairly simple to create; you just need some standard craft supplies and materials from the hardware store to make a nutcracker (or two) to colorfully guard your holiday front door.
Materials Needed
- two large plastic nursery pots
- medium plastic nursery pot
- black faux fur
- white faux fur
- hot glue gun + sticks
- drill + bits
- zip ties
- nuts and bolts
- acrylic paint for soldier's jacket
- paint brushes
- white acrylic paint
- black acrylic paint
- skin-tone acrylic paint
- decoupage glue
- gold glitter
- foam cone
- (2) 12" foam half circles
- gold paint pen
- gold buttons
- (2) 36" x 4" PVC pipes
- (2) 24" x 3" PVC pipes
- (2) 3" PVC caps
- gold fringe
- permanent outdoor glue
- 14" wood round
- sand bags
- painter's tape
- knife for cutting foam
- small piece of PVC for neck
Create the Body
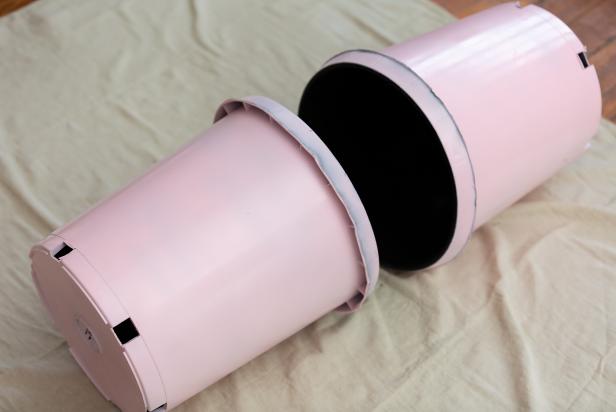
To make a nutcracker this big, you have to get creative. For the body, we chose to use two large plastic nursery pots for their light weight and ease of storage. Start by drilling two opposing holes on the bottom of one nursery pot. These will serve as mounting points for the arms during final assembly. Next, drill holes along the rims of each pot for zip ties which will later hold the pots together to create the nutcracker's body (Image 1). Once you’ve drilled the necessary holes, paint the planters in your desired color palette and let dry (Image 2).

Cassidy Garcia
Cassidy Garcia
Add Coat Details
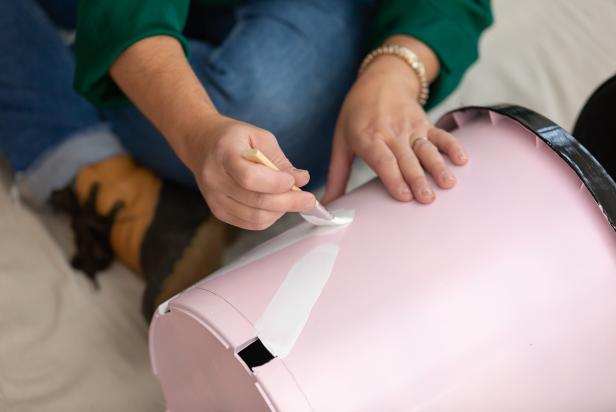
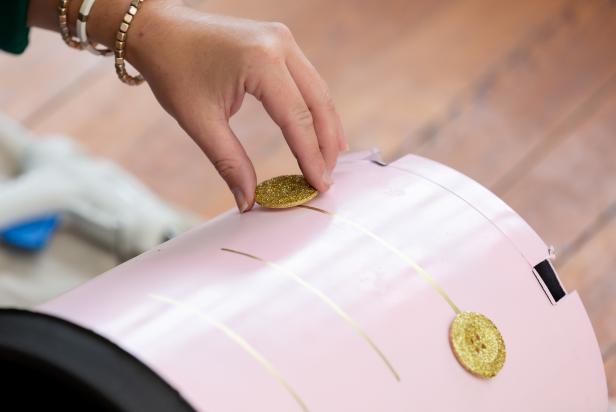
To give these planters the look of a coat, add details with paint. Use black paint to add a belt line around the rim of each planter and white paint for the shirt details beneath the top of the jacket (Image 1). For the coat details, draw horizontal lines using a gold paint marker, and attach glitter buttons at the end of each line with hot glue (Image 2).
Cassidy Garcia
Cassidy Garcia
Add Glitter
To create a shimmering belt buckle, draw the shape with decoupage glue and finish with gold glitter (Images 1-3). The easiest way to create the belt buckle shape is by drawing a rectangle with one half on each individual planter’s rim. Use the decoupage glue and glitter to add a shiny trim line around the shirt area as well (Images 4 & 5).

Cassidy Garcia

Cassidy Garcia

Cassidy Garcia

Cassidy Garcia

Cassidy Garcia
Create PVC Legs
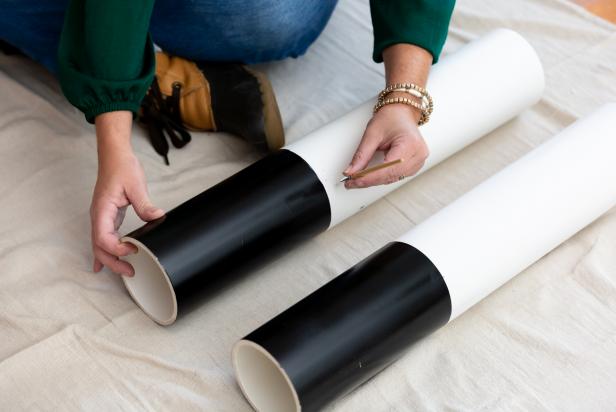
We chose to make legs out of 4-inch PVC pipe. To do this, we had the hardware store cut the PVC to a length of 36 inches. The white of the PVC works great for the legs, but to create the look of boots, it's necessary to paint the bottom of the pipes black. Simply mask off slightly more than half of the pipe using painter’s tape and paper, then paint the unmasked portion black (Images 1 & 2). Remove the tape and use decoupage glue and glitter to add shiny trim to the top of the boots (Images 3 & 4). Remove any excess glitter using a dry brush (Image 5).
Note: Be sure to grab a short piece of scrap PVC from the hardware store to use as a neck piece during final assembly.

Cassidy Garcia

Cassidy Garcia
Cassidy Garcia

Cassidy Garcia

Cassidy Garcia
Assemble Nutcracker Head
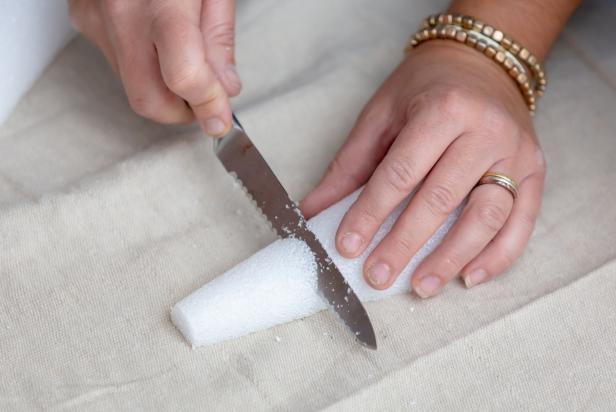
As the brains of this operation, we’ve enlisted two 12-inch foam half circles. Start by gluing the half circles together with hot glue and setting aside to dry (Images 1 & 2). For the nose, cut a foam cone vertically down the center, then trim off the large end of the cone (Image 3). Hot glue the nose piece to the foam head and hold until set in place (Image 4). Paint the assembled head with a skin-tone paint and let dry.

Cassidy Garcia

Cassidy Garcia
Cassidy Garcia

Cassidy Garcia
Add Facial Features
It’s time to add a few facial features that will give a little life to this nutcracker. Even if you aren’t the most talented painter, it's easy to achieve results that resemble a nutcracker. Simply use an ordinary nutcracker head for reference and paint on the simplistic facial features using saturated red, blue, white and black outdoor acrylic paint (Image 1). Once the paint has dried, hot glue white faux fur above and below the mouth to resemble a mustache and goatee (Images 2 & 3).

Cassidy Garcia

Cassidy Garcia

Cassidy Garcia
Create Signature Black Hat
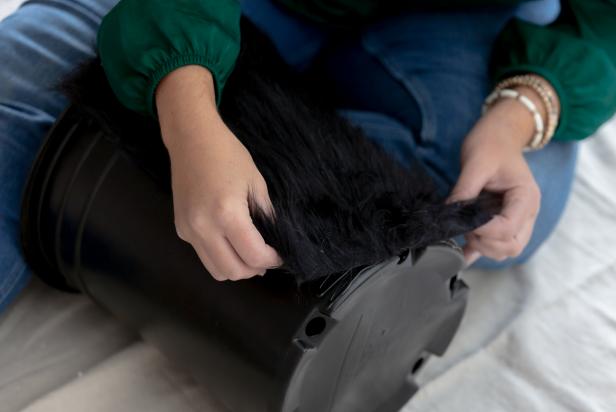
What would a nutcracker be without a large black hat to really make a statement? To create one, simply hot-glue black faux fur to a medium-size nursery planter and hold in place until set (Image 1). Step up this hat’s fashion-forward look with a gold tassel or two (Image 2).
Cassidy Garcia

Cassidy Garcia
Add Some Arms
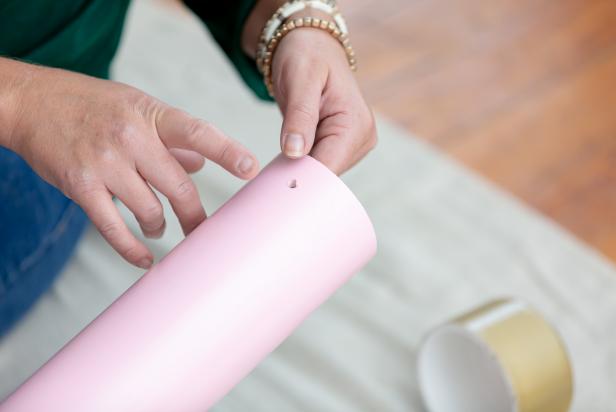
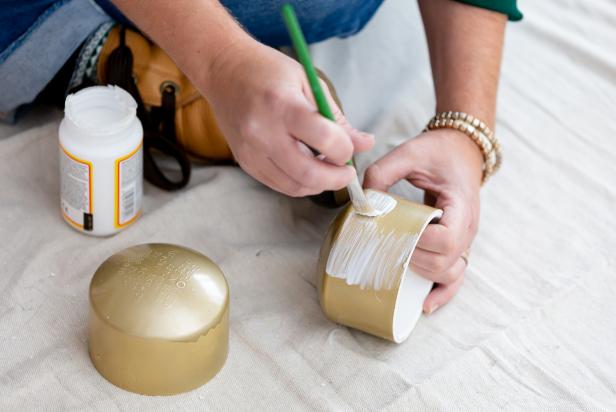
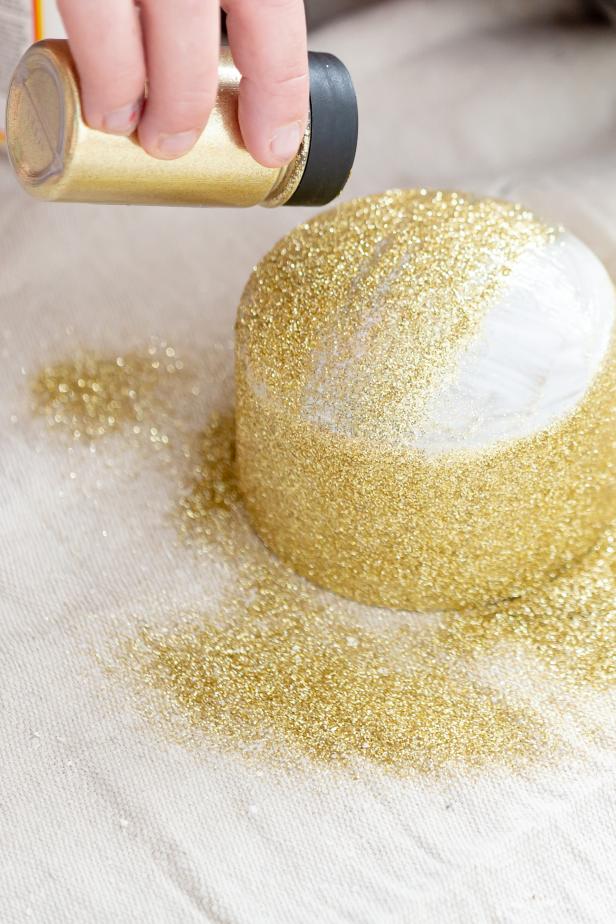
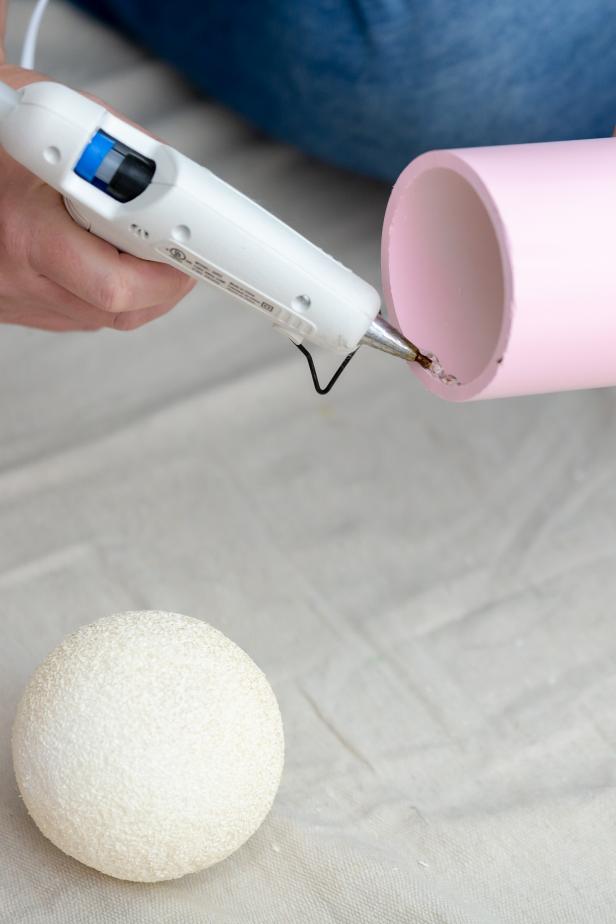
Like the legs, the arms of this nutcracker will also utilize PVC pipes. This time we’re using 3-inch PVC cut to 24 inches. Drill holes near the end of each pipe for mounting, then paint the full length of the arms to match the coat and let dry (Image 1). For shoulders, we painted PVC caps with gold paint, then topped the paint off with decoupage glue and gold glitter (Images 2 & 3). The simplest way to make hands is by hot-gluing foam balls to the end of each arm (Images 4 & 5). The balls should be slightly larger than the 3-inch pipes and painted to match the head.
Cassidy Garcia
Cassidy Garcia
Cassidy Garcia
Cassidy Garcia

Cassidy Garcia
Prep Base
A steady base is required to hold up the nutcracker. For this, we chose a 14-inch wood round and finished the edges using decoupage and gold glitter to tie it in with the nutcracker itself (Images 1-3).

Cassidy Garcia

Cassidy Garcia

Cassidy Garcia
Assemble Nutcracker Body
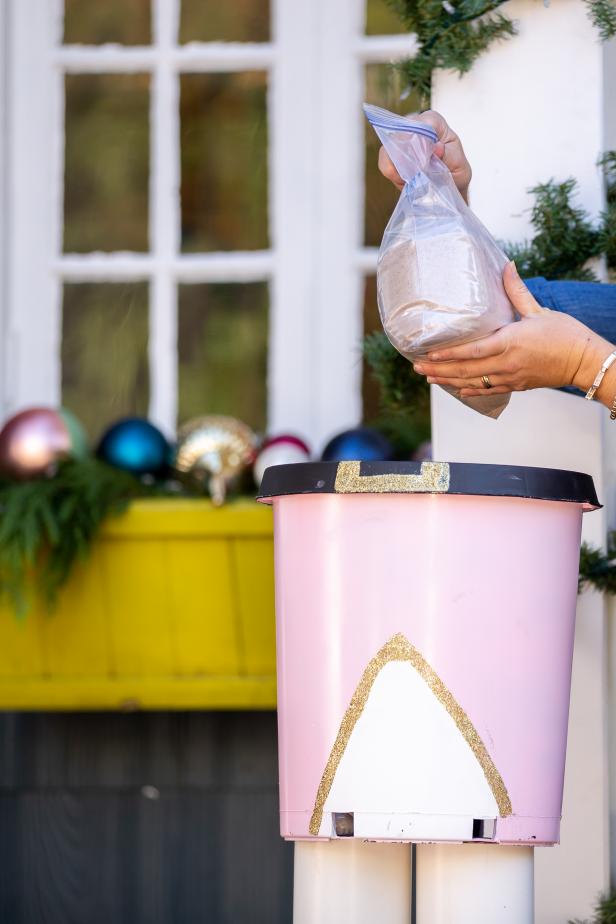
To bring this jolly giant together, start by attaching the legs to the base with permanent outdoor glue (Image 1). Use the same glue to attach the lower body piece to the legs, then place sandbags within the planters forming the body to weigh it down (Images 2 & 3). Attach the arms to the upper body piece using nuts and bolts, then bring the body pieces together using zip ties (Images 4 & 5).

Cassidy Garcia

Cassidy Garcia
Cassidy Garcia

Cassidy Garcia

Cassidy Garcia
Final Touches
Use hot glue to attach the shoulder caps to the arms as well as gold fringe detailing below the caps (Image 1). On top of the upper body piece, glue on the small scrap piece of PVC and use hot glue to attach the head (Images 2 & 3). For the final two touches, fix white faux fur around the head to resemble hair, then top off the head by gluing on the hat (Image 4). Now, step back and enjoy your work or get started on a second nutcracker to flank your entryway.

Cassidy Garcia

Cassidy Garcia

Cassidy Garcia

Cassidy Garcia

Cassidy Garcia
