The DIY (and Charming!) Way to Permanently Label Glass Kitchen Canisters

Part of having a well-organized kitchen is ridding your cabinets of oversized packaging. That often means decanting pantry essentials into clearly labeled glass jars and canisters. Use our guide to make permanent canister labels that are easy to read and won’t peel or scratch off with washing.

Photo by: Heather Baird

Heather Baird

Materials Needed:

  • personal computer
  • inkjet printer
  • copy paper
  • scissors
  • clear jars or canisters
  • paper towels
  • painter's tape
  • isopropyl alcohol
  • odorless mineral spirits
  • fine-tipped art brushes
  • black enamel-effect ceramic paint
  • baking sheet
  • standard household oven

Find a Font

Search for a font that is most pleasing to you, and that is also easy to read. Use your computer and inkjet printer to print ingredient names onto copy paper. Keep in mind the size of your jars or canister, and adjust the font size to fit inside the area you plan to label. Cut out the printed ingredient names with scissors.

Photo by: Heather Baird

Heather Baird

Center the Label

Position an ingredient name inside a canister and use painter’s tape to adhere it to the glass.

Photo by: Heather Baird

Heather Baird

Clean the Surface

Use isopropyl alcohol to clean the surface of the jar, and let dry thoroughly. Tip: A spotlessly clean surface will help the paint adhere well.

Photo by: Heather Baird

Heather Baird

Paint the Label

Use a fine-tipped art brush dipped in the ceramic paint to paint over the letters on the paper taped inside the jar. Do this slowly and deliberately. If you make a mistake, use a clean fine-tipped art brush dipped in mineral spirits to remove the unwanted mark.

Photo by: Heather Baird

Heather Baird

Reapply the Paint

Remove the paper and painter’s tape from inside the jar. With the paper removed you will be able to see holes or thin spots in the paint. Use the art brush to apply more paint to these areas.

Photo by: Heather Baird

Heather Baird

Vary Font Size

Larger jars can accommodate large labels. The larger the label, the easier it is to paint (and read!).

Clean Up and Bake

When you’ve finished perfecting the painted labels, use odorless mineral spirits to clean your brushes. Allow the jars to dry overnight. Bake the jars on a baking sheet in a preheated 325° oven for 40 minutes (or follow manufacturer’s instructions on your bottle of ceramic paint.) Allow the jars to cool completely before filling them with baking ingredients.

Photo by: Heather Baird

Heather Baird

Next Up

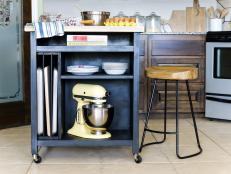
How to Build a DIY Kitchen Island on Wheels

Need some extra workspace in your kitchen? Build a rolling island for added functionality and style. One side stores a stand mixer, sheet pans, cutting boards and more, while the other side allows for extra seating. Perfect for small spaces, this portable kitchen island easily rolls out when you need it and neatly tucks away when you don’t.

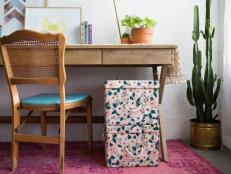
DIY Fabric-Wrapped Storage Bins

Kick boring to the curb with these fabric-wrapped storage bins that will satisfy both the pretty and the practical in your life.

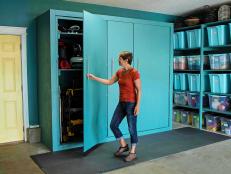
How to Build Oversized Garage Storage Cabinets

Say goodbye to clutter for good with the addition of extra-large garage cabinets. Inexpensive and easy to assemble, this DIY storage solution is a perfect weekend project.

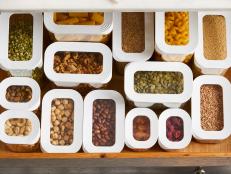
The Best Kitchen Canisters and Dry Food Storage

Keeping fresh food and a fashionable pantry is easier than you think. Shop our favorite storage containers and canisters for the organized kitchen of your Pinterest board dreams.

The Best Food Storage Containers in Every Size, Shape and Seal

Organize your freezer, fridge, pantry and more with these top-rated, fan-favorite food containers.

How to Make DIY Dishwasher Detergent

A homemade solution that'll leave your dinnerware shining! Learn how to make your own loose powder or dishwasher tabs.

How to Build Banquette Seating With Built-in Storage

Optimize seating and storage with an L-shaped bench that will turn any corner into a cozy destination.

How to Paint a Laminate Countertop to Look Like Natural Stone

Freshen up a worn or dated-looking countertop with paint. The secret is to take your time and use the right materials to produce durable results that are beautiful and much less expensive than a total replacement.

Do-It-Yourself Butcher-Block Kitchen Countertop

Transform your kitchen on a budget with our step-by-step guide to creating a butcher-block countertop.

Make a DIY Stock Tank Pool

This stock tank pool how-to will have you lounging in the summer sun in just one weekend — and for a lot less cash than you'd expect.

Go Shopping

Get product recommendations from HGTV editors, plus can’t-miss sales and deals.

Follow Us Everywhere

Join the party! Don't miss HGTV in your favorite social media feeds.