


How to Repair a Burst Pipe
Learn how to repair a broken pipe using a soldering kit or push-to-connect fittings.

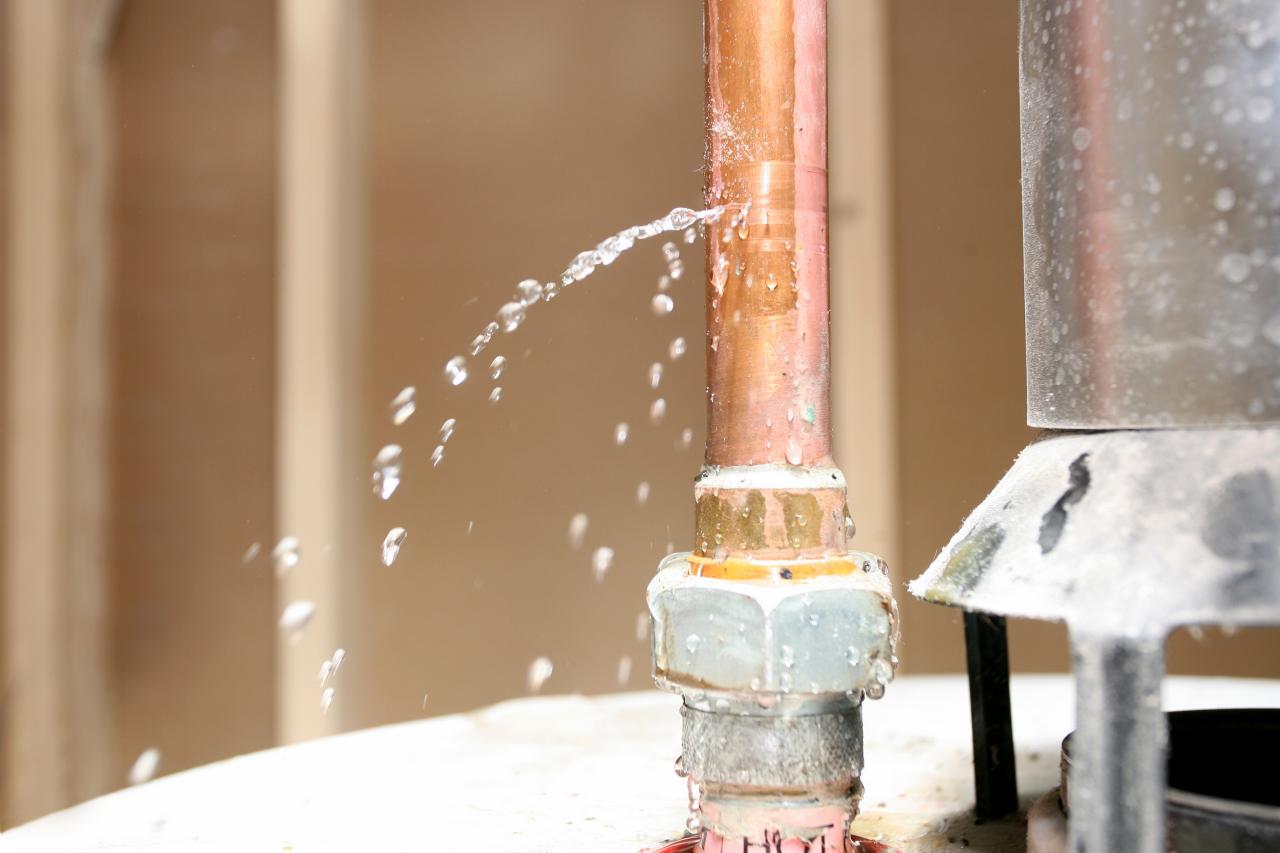
A burst pipe can lead to permanent damage and costly repairs. The first — and most urgent —thing you must do is quickly turn off your home's water supply to stop the water leak. Turning off the water will help reduce damage until you can access the damage. Once the water is turned off and you’re able to inspect the damage, you can decide if you want to call a plumber or make the repair yourself. Advanced plumbing skills aren’t necessary to repair a burst pipe, but you need to understand the basics.

Getty Images; DIGIcal
A burst pipe at home.
Burst pipes often happen spontaneously and without warning. For this reason, repair and remediation from any water damage may be covered under your homeowner’s insurance policy as a perilous event. When you identify a leak, be sure to record and photograph the damage in case you need to file a claim.
Some repairs are extremely easy thanks to modern push-to-connect fittings. Others require soldering equipment. And, if your pipe burst was the result of a frozen pipe, adding a stop-and-waste valve goes a long way toward ensuring that the pipe doesn't freeze again.
Follow these steps to learn how to repair your own burst pipe:
Materials + Tools
- eye protection
- copper pipe cutter
- copper pipe
- copper fittings
- steel wool
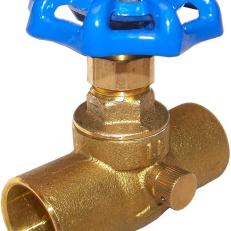
- stop-and-waste valve
- lead-free solder
- soldering flux
- torch kit
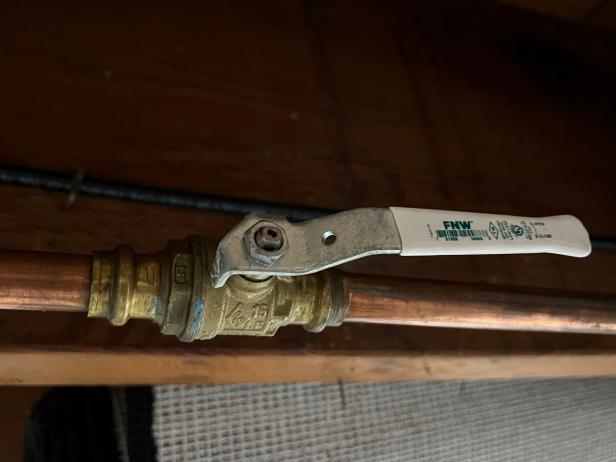
- push-to-connect fittings (optional)
Shop Pipe Repair Products


1. Shut Off the Water Supply
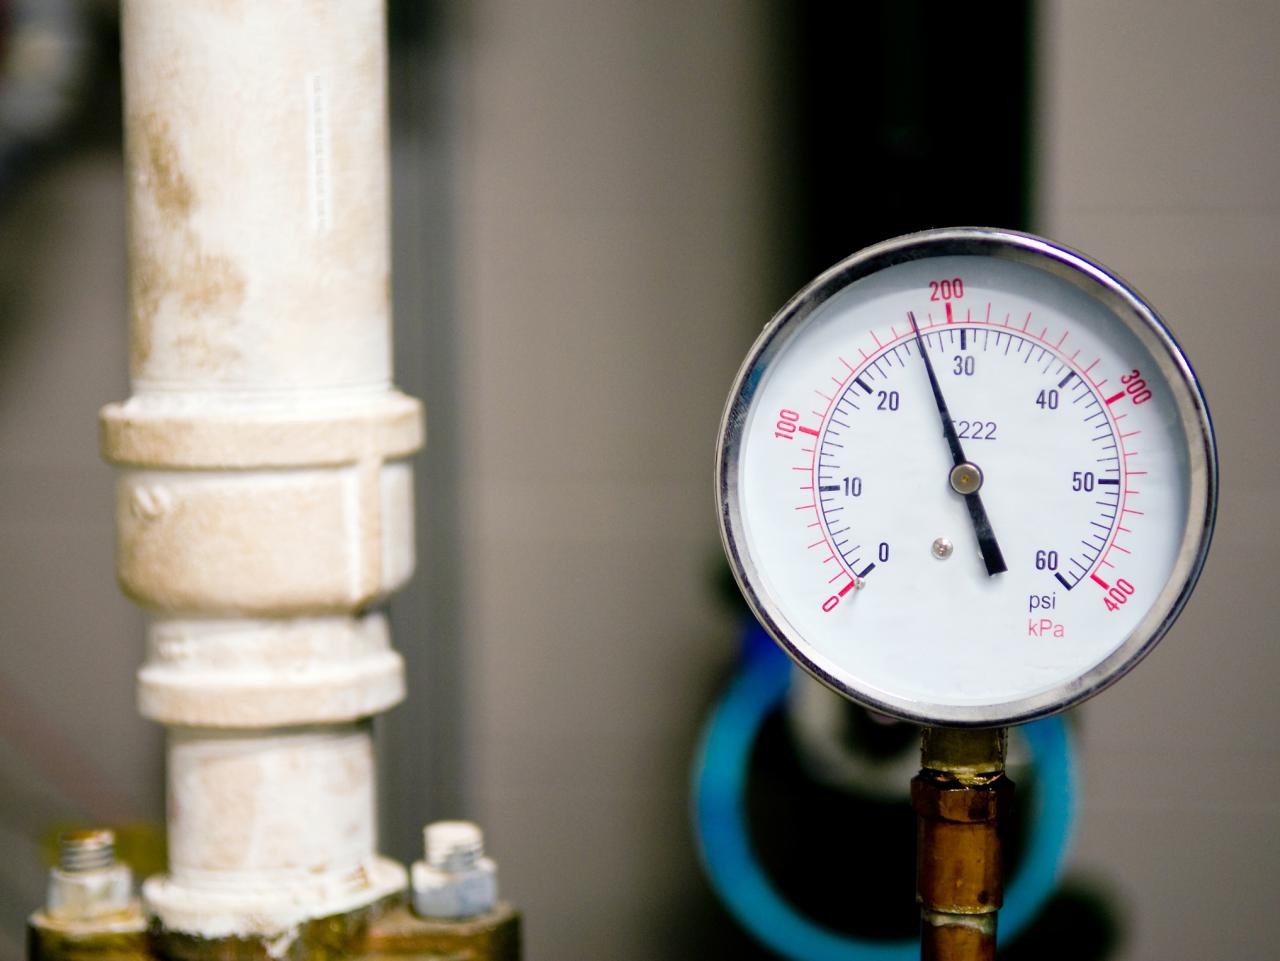
Turn off the main valve where water comes into your home. This stops the flow of water through your pipes. With the pressure turned off, you may find that the leak slows down or stops. Also release water pressure by turning on the lowest fixture in your home, such as the nearest sink.
Emily Fazio
Locate your home's main water shut off if you have a leak.
2. Locate the Damage in the Pipe
Assess the break in the pipe. A small hole may be easily repaired by cutting the pipe to remove the damaged area and installing a push-to-connect fitting to bridge the gap between pipes.
If you’re worried about a pipe freezing again, consider installing a new stop-and-waste valve.
3. Determine the Placement of a New Fitting
Plan where you would like to install the fitting or valve on a water line. This is where you will cut the pipe to remove the damaged area and drain the remaining water.
4. Drain the Pipes
Draining the pipes is an essential step to removing the water even if you’ve released pressure through other fixtures.
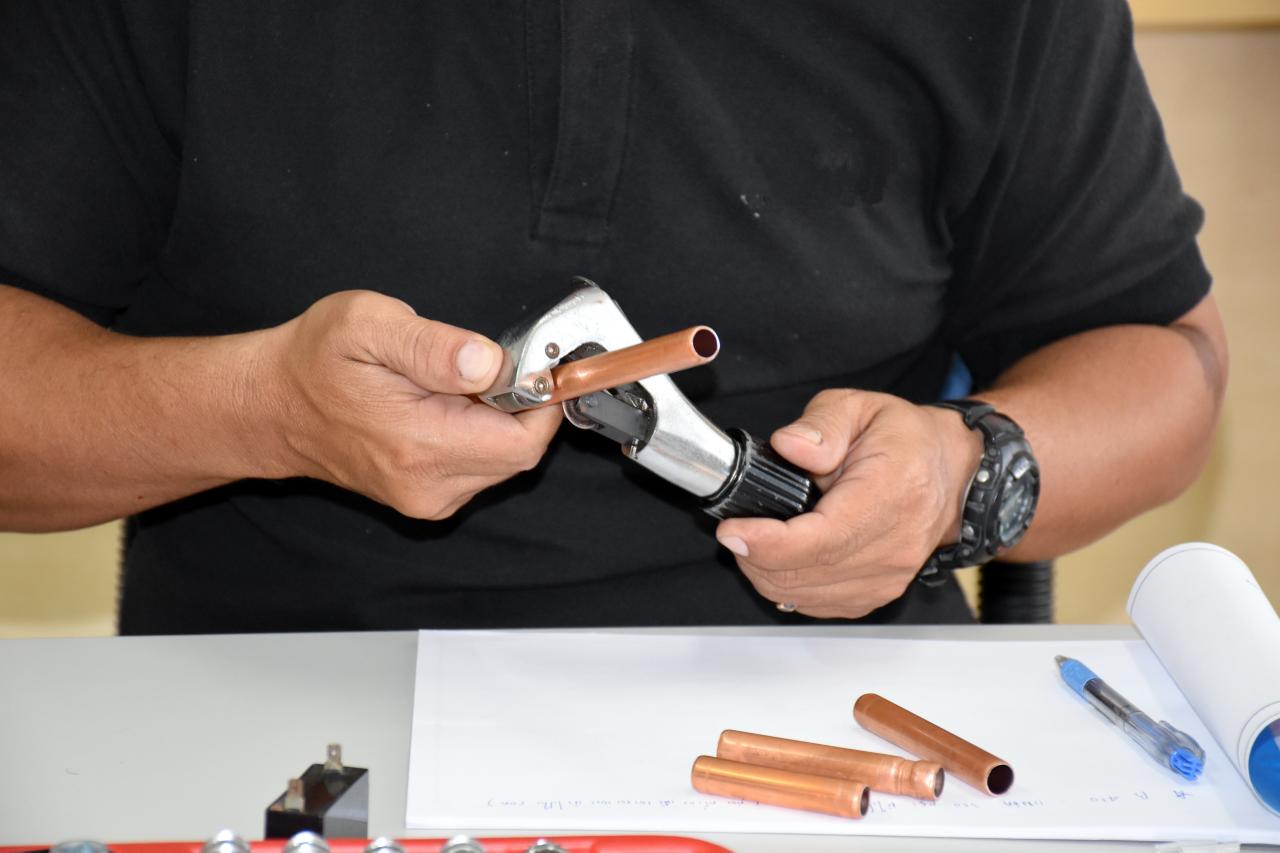
Use a pipe cutter to remove the damaged section of the pipe. Rotate the pipe cutter around the pipe, gradually tightening it until it cuts through. Water may begin to drain as the pipe is cut, so be prepared to place a bucket underneath to catch any water remaining in the line.
Clean any burrs off the end of the cut pipe with steel wool.
5. Position the Valve
Temporarily remove the petcock (small screw) if you are installing a valve. Look for the arrow points that indicate the direction of the water flow. Be sure to install the valve in the right direction.
If you are using a push-to-connect fitting, this may be the end of your assignment. The fitting reconnects both ends of the pipe, bridging the burst area that you removed. You can then turn on the water supply again and monitor for leaks.
If you’re installing a stop-and-waste valve, continue reading to learn more about the process of soldering it into position.
6. Cut the Copper Pipe to Length
Cut a section of copper pipe to the appropriate length to fill the gap from the broken pipe. Allow a little extra length for a good fit. Be sure the new pipe is of the same diameter as the existing water line (usually it's a 1/2").
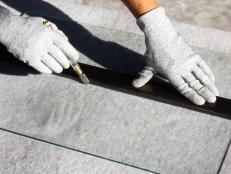
7. Clean the Pipe and Valve
Use steel wool to clean both the pipe end and inside the stop-and-waste valve.

Getty Images; Benchamaporn Kanlapungha / EyeEm
8. Add Flux and Connect the Pipe
Spread soldering flux on the outside of the pipe end and inside the valve fitting. Slide the valve fitting onto the end of the pipe.
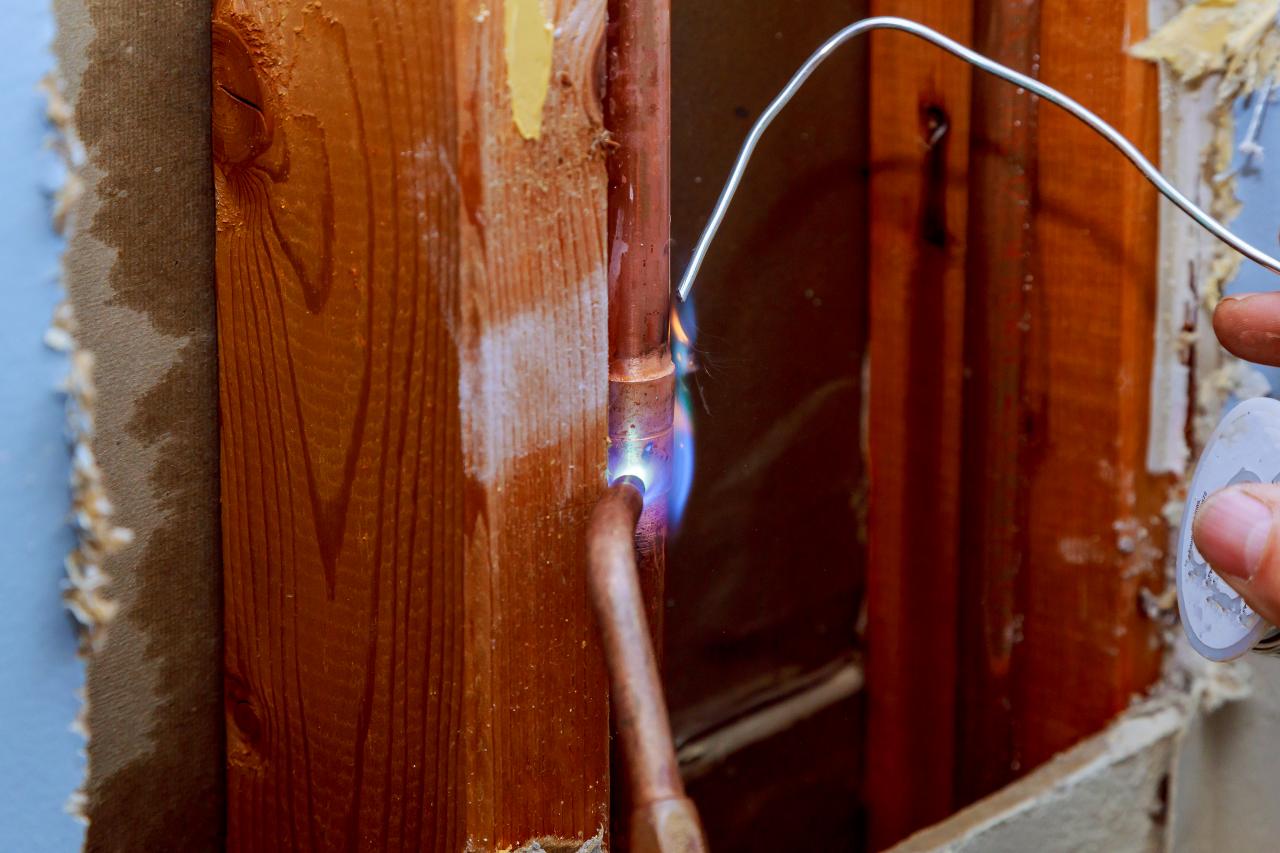
9. Heat the Fitting and Pipe
Wearing safety goggles, use a propane torch to heat the fitting and the pipe where they connect. For best results, hold the edge of the blue flame right against the pipe.
If you need a little practice to get the right soldering technique, use scrap pieces of pipe and copper fittings. It helps to feel confident in your soldering skills before trying it on the valve.

Getty Images; Valentyn Semenov / EyeEm
10. Melt the Solder Into the Connection
Push about 2 inches of solder into the joint where the valve connects to the pipe. The heat will melt the solder and allow it to seep into the connection.
Solder completely around the pipe-valve connection.
Use the same soldering techniques to install the new assembly to the water line. You may want to use new inexpensive copper fittings to connect the new pipe to the existing water line. Copper fittings are widely available in different configurations and diameters.
11. Turn On the Water and Check for Leaks

Replace the petcock and open the main water line to check for leaks.
Tip: Before temperatures dip below freezing, shut off the valve and open any spigots that are downstream of the valve. Then remove the petcock screw to drain the pipe. If any sections of pipe upstream of the new valve are in an unheated area, it’s best to cover them with foam pipe insulation to prevent freezing.

How to Prevent Pipes From Freezing in the Winter
Check out these 7 tips to keep your pipes from bursting during cold spells.


