


How to Wire a 3-Way Light Switch
Do you want to be able to turn on one light via two different switches, like at the top and bottom of a staircase? Installing a 3-way switch will give you that convenience. Follow these tips on how to identify the flow of live current and guide you through the wiring connections.

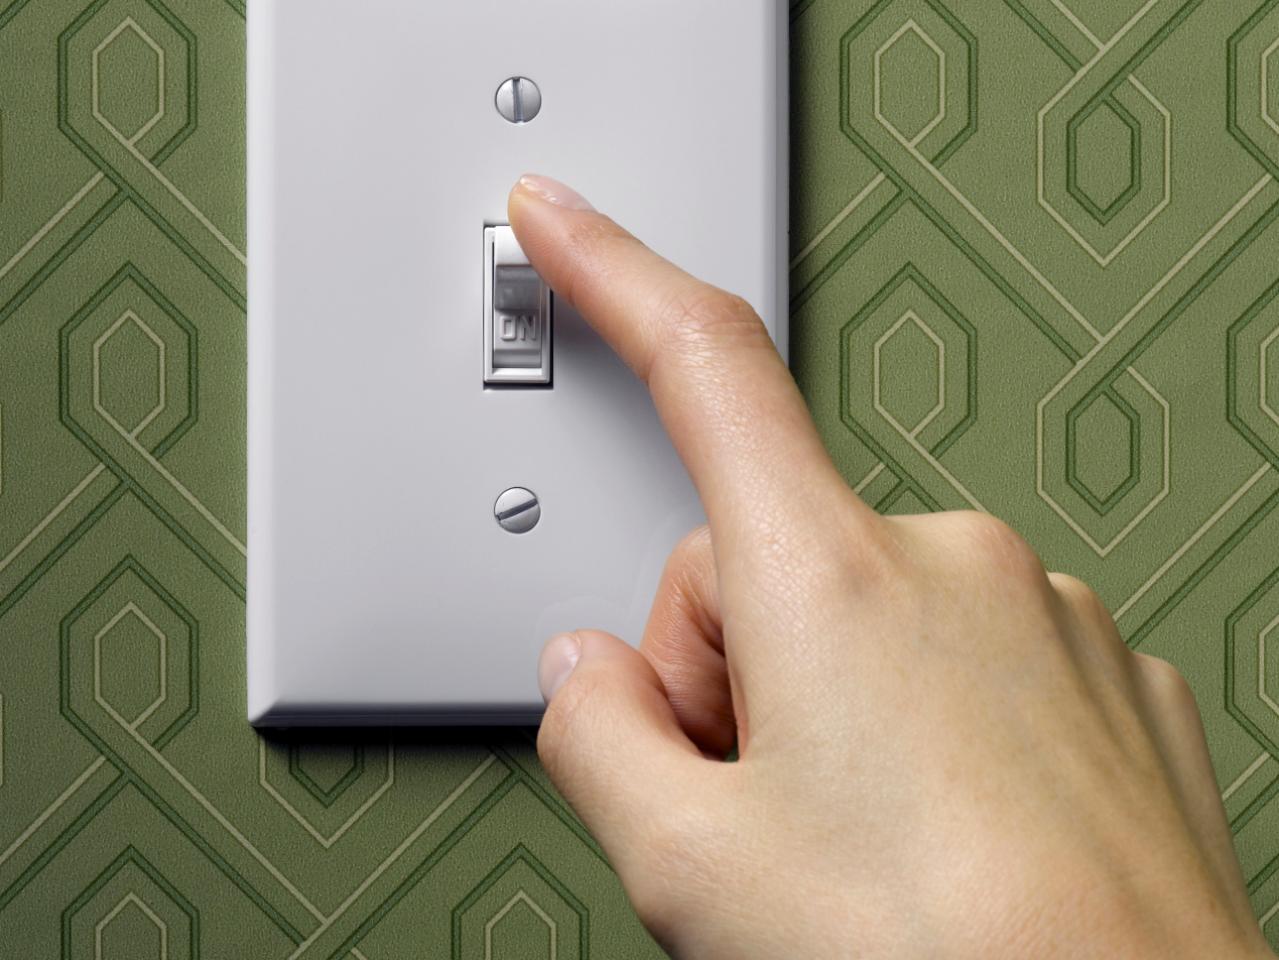
Many homeowners take for granted the ease of controlling lights with the flip of a switch. Standard “single-pole” switches are light switches that control a single light fixture, but 3-way light switches make it possible to turn on and off lights from two separate locations. Three-way switches are most commonly used at the top and bottom of a staircase or to operate switches at separate ends of a hallway. It makes sense to use 3-way switches in rooms with separate entrances, so one doesn’t have to navigate through a dark room.

Jeffrey Hamilton
A 3-way switch is built differently than a conventional light switch. For starters, 3-way switches are not labeled “ON” or “OFF.” They also have three terminal screws or wire holes plus a ground screw. Unlike a single-pole outlet, that third terminal connects to a traveler wire to connect the two switches.
Changes in technology, including holes for wires instead of screw terminals, wi-fi enablement and wireless adaptations make it easier than ever to modernize your home’s lighting circuits. If you’re looking to make electrical updates to your home, this information will make it easier to determine whether it’s an upgrade you’re able to do yourself or whether you’d like to hire a professional electrician.
Upgrading an existing light circuit with a pair of 3-way switches can be done in a few hours. Installing a brand new circuit may take longer, especially if you have to remove and patch drywall. Regardless if you decide to upgrade the switches yourself or hire a pro, it’s important to understand the flow of the current and understand how the connections control its function.
Tools and Materials You May Use
- screwdriver
- electrical tape
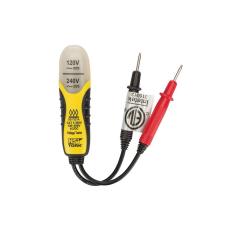
- non-contact voltage tester
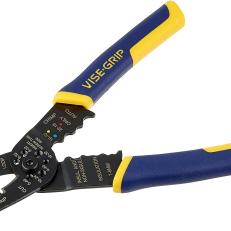
- wire stripper and wire cutting tool
- 14-3 or 12-3 cable
- 3-way switches

Keep these pro tips in mind:
- If you’re replacing an existing single-pole switch, you might also find that you need to replace the existing switch box with a larger one to accommodate the extra traveler wires. You’ll also want to install the same size electrical box for the new second switch.
- You should connect the two boxes using a length of 14-3 type NM cable (or 12-3 if you're connecting to 12-gauge electrical wire).
- Black wires always carry a live current from your electrical panel to the destination. Traveler wires are often white, but for safety purposes, you should wrap the ends with black electrical tape to make it easier to identify them in the future.
Follow these diagrams to learn more about how to wire a 3-way switch with proper connections.


Options for Wiring a 3-Way Switch:
There are three ways that 3-way switches may be wired:
- current starts by flowing into the electrical box (end-line switch)
- current goes into the light switch (power-through switches)
- current goes from switch to switch, with the light fixture in the middle
Start by identifying whether the power comes to your light switch first or to the light fixture first. Turn off the electricity at your electrical panel before you remove the light switch from the wall.

Legrand
Wave of the future: Built on the Netatmo platform, the adorne solutions are battery-powered, wireless smart switches and dimmers. Users can easily add 3-way lighting control without any wiring at all.
How can you tell which way the current flows?
If current comes into the switch before it goes to the light, the neutral white line from the electrical panel and the white line that leads to the light will be spliced together and capped. The live black wire from the power source travels through the switch to the light. Flipping the switch interrupts the flow of electricity to the light, turning it off and on.
If the line carrying live current comes into the light fixture’s electrical box first, the circuit will be wired so the switch interrupts the current. The white wire from the electrical panel is wired to one side of the light. The live black wire is spliced to run to the switch and the white wire is also connected to the switch but runs back to and is attached to the electrical box.
The easiest way for a homeowner to test the direction of their live current is to track the flow using a non-contact voltage tester. Follow the steps offered by your tester that best align with the way your current circuit is set up.
Wiring for Current That Goes Into the Electrical Box
- Power enters the fixture box.
- The black live wire connects to the common terminal.
- The traveler wires connect to the terminals of both switches.
- The wire in the common terminal leads back to the fixture.
Wiring for Current That Goes Into the Light Switch
- The black live wire attaches to the first switch's common terminal.
- The two hot wires of the 3-wire cable connect to a pair of brass-colored traveler terminals on each switch.
- The fixture's live wire connects to the second switch's common terminal.
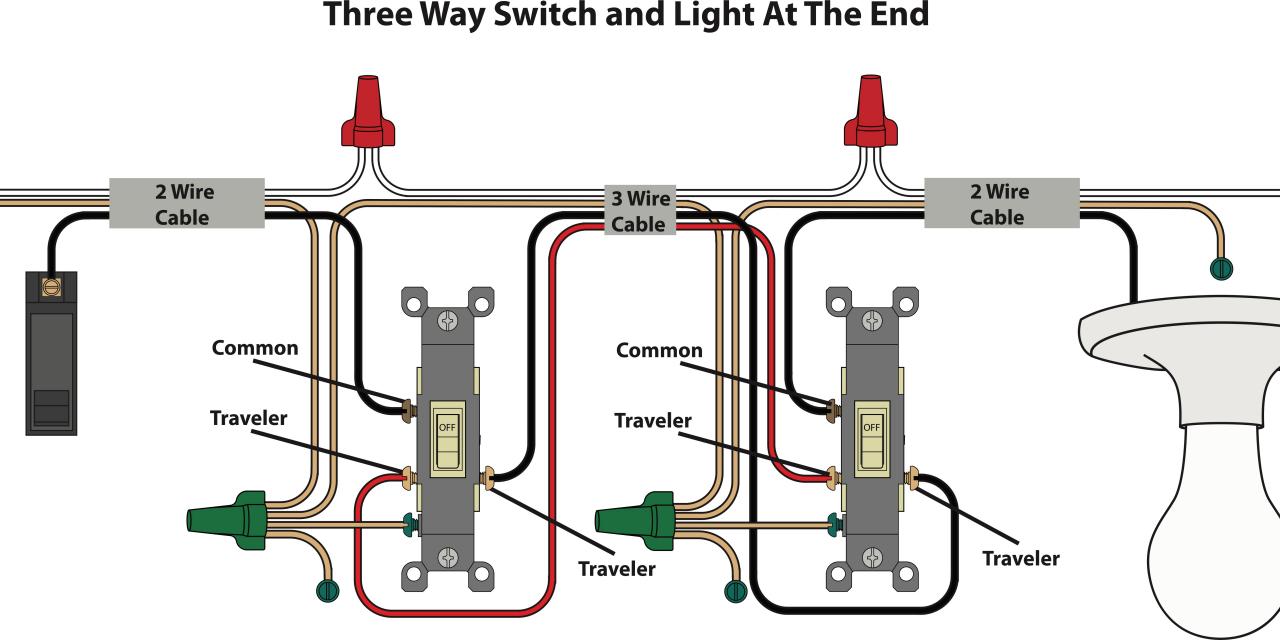
Wiring for a Light Fixture in Between the Two Switches
In this scenario, the current enters the light box but the two switches are separated by wiring that flows through the electrical box
- The incoming black live wire is connected to one switch's common terminal.
- Two lengths of ground wiring join at the fixture’s box, linking the right and left switch traveler terminals to each other and to the fixture.

Legrand
How to Upgrade an Existing 3-Way Switch
Homeowners can easily upgrade an older 3-way switch for newer, more tech-savvy models. The one trick is, before you disconnect any wires from an existing 3-way switch, make sure you find the wire attached to the common screw terminal and label it. You’ll be able to identify the common screw terminal because it’s labeled or may be a different color.
Remove the switch from the wall while the circuit is turned off and transfer each wire to the new 3-way switch.

How to Replace a Standard Outlet With a GFCI Outlet
Ground fault circuit interrupter (GFCI) outlets block electrical power to prevent potentially dangerous shocks — they should be installed in bathrooms, kitchens and laundry rooms. Changing a standard outlet to a GFCI is a fairly easy and inexpensive project.


