


How to Install a Dimmer Switch
Learn how to replace a standard light switch with a dimmer switch.
Installing a dimmer switch is just as easy as installing a single-pole switch, and adjustable overhead lighting is a great improvement that adds appeal to any home.
Materials + Tools
- screwdriver
- needle-nose pliers
- voltage detector
- dimmer switch
- switch plate
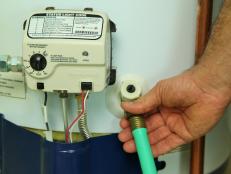
Turn Off the Power
Turn off the power to the circuit at the circuit breaker or fuse box. Double check to ensure that it was turned off by flipping the switch in an attempt to operate a light, and by using a voltage tester to confirm that the wires in the box are not charged once the switch plate has been removed.

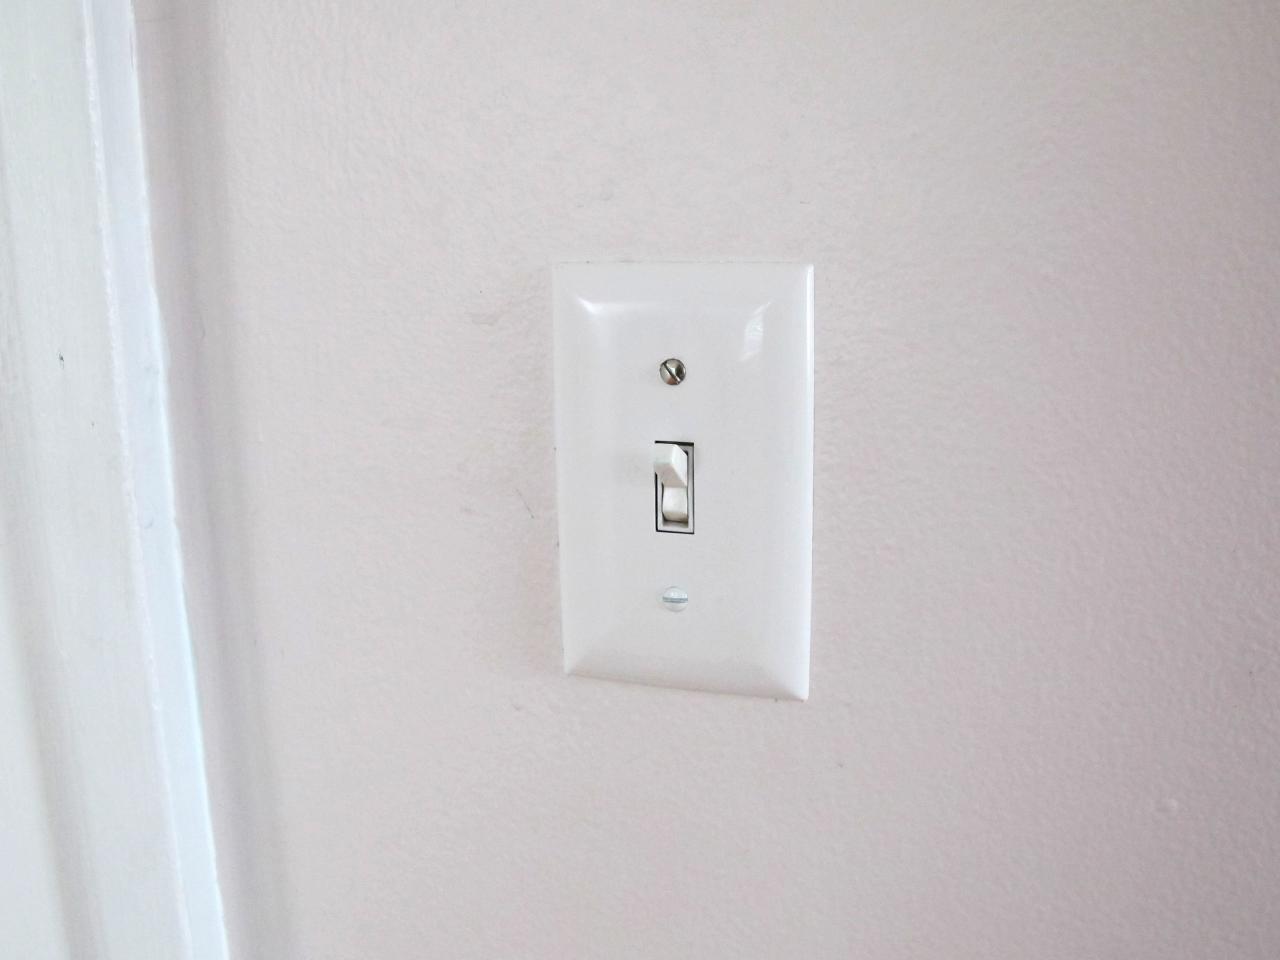
Remove Existing Switch and Plate
Use a flathead screwdriver to remove the switch cover (Image 1), and a Phillips head screwdriver to disconnect the switch from the box (Image 2).


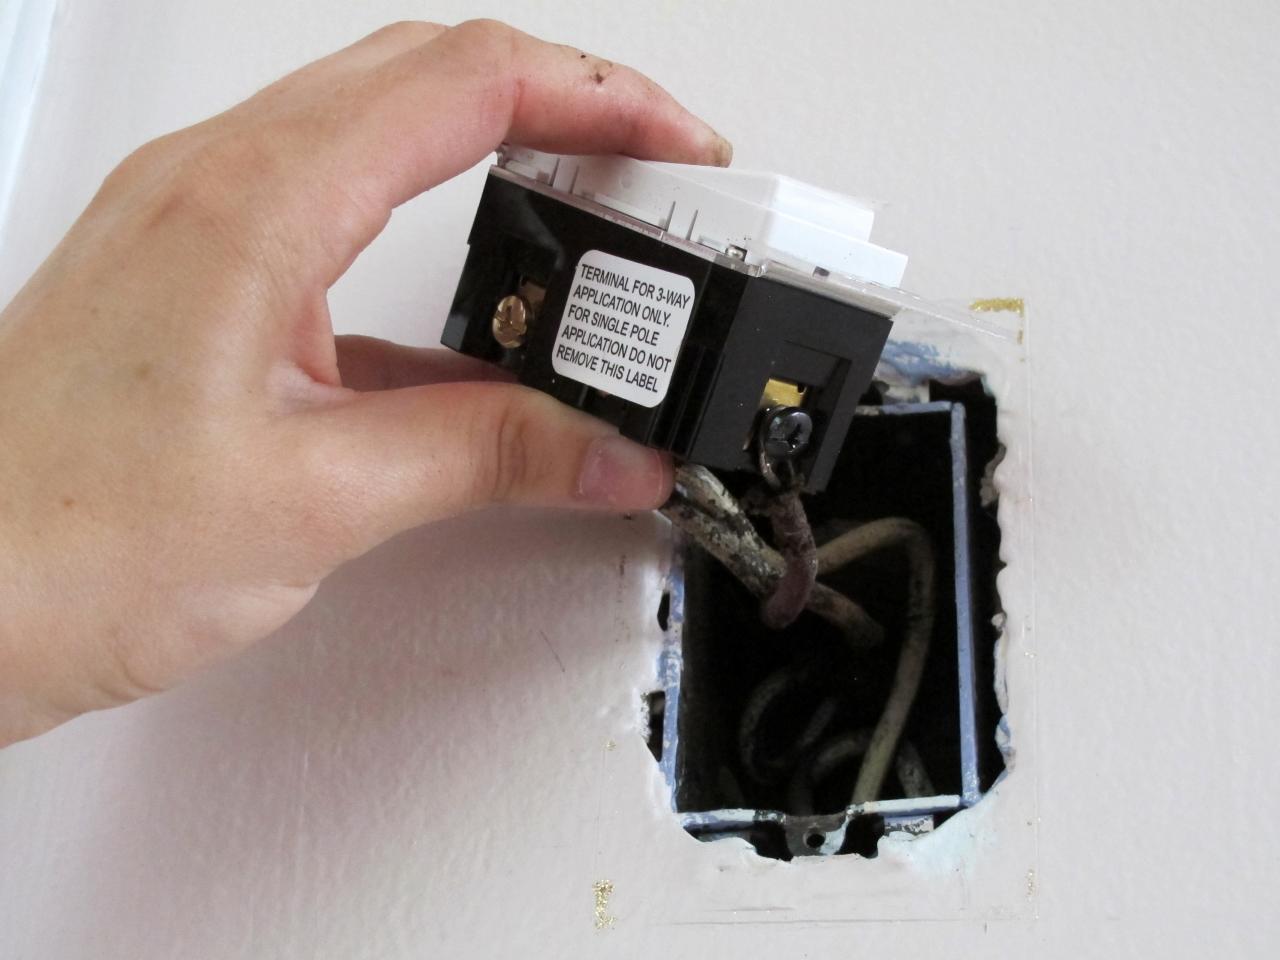
Remove the Wires From the Old Switch
Use a screwdriver again to loosen the screws holding the electrical wires on the side of the switch, and then detach the wiring from the switch. Pay close attention to the wire colors and where they had been attached on the old switch, as they will be important in the next step. Keep the wires separated by bending them to opposite corners of the box. If the switch is grounded, remove the grounding wire last.

Attach the Dimmer Switch
There will be three wires: one black, one white, and a separate ground wire that may be bare copper or is sometimes wrapped in green. Identify the different colored wires, and use needle-nose pliers to attach the wires to the dimmer in the same way they had been attached to the switch (Image 1). If your wires are solid copper, create a loop in the end of the wire with the pliers and guide it around the screw on the side of the dimmer. Tighten the screw, ensuring that the wire is securely held beneath the screw and is not splaying to the perimeter of the screw (Image 2). If your wall wire is composed of a group of smaller wires, use the pliers to gently twist the ends of the wires together to make them “whole,” and then follow the same direction.


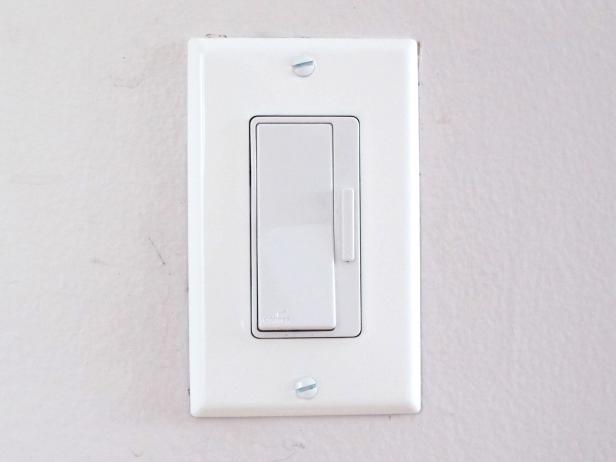
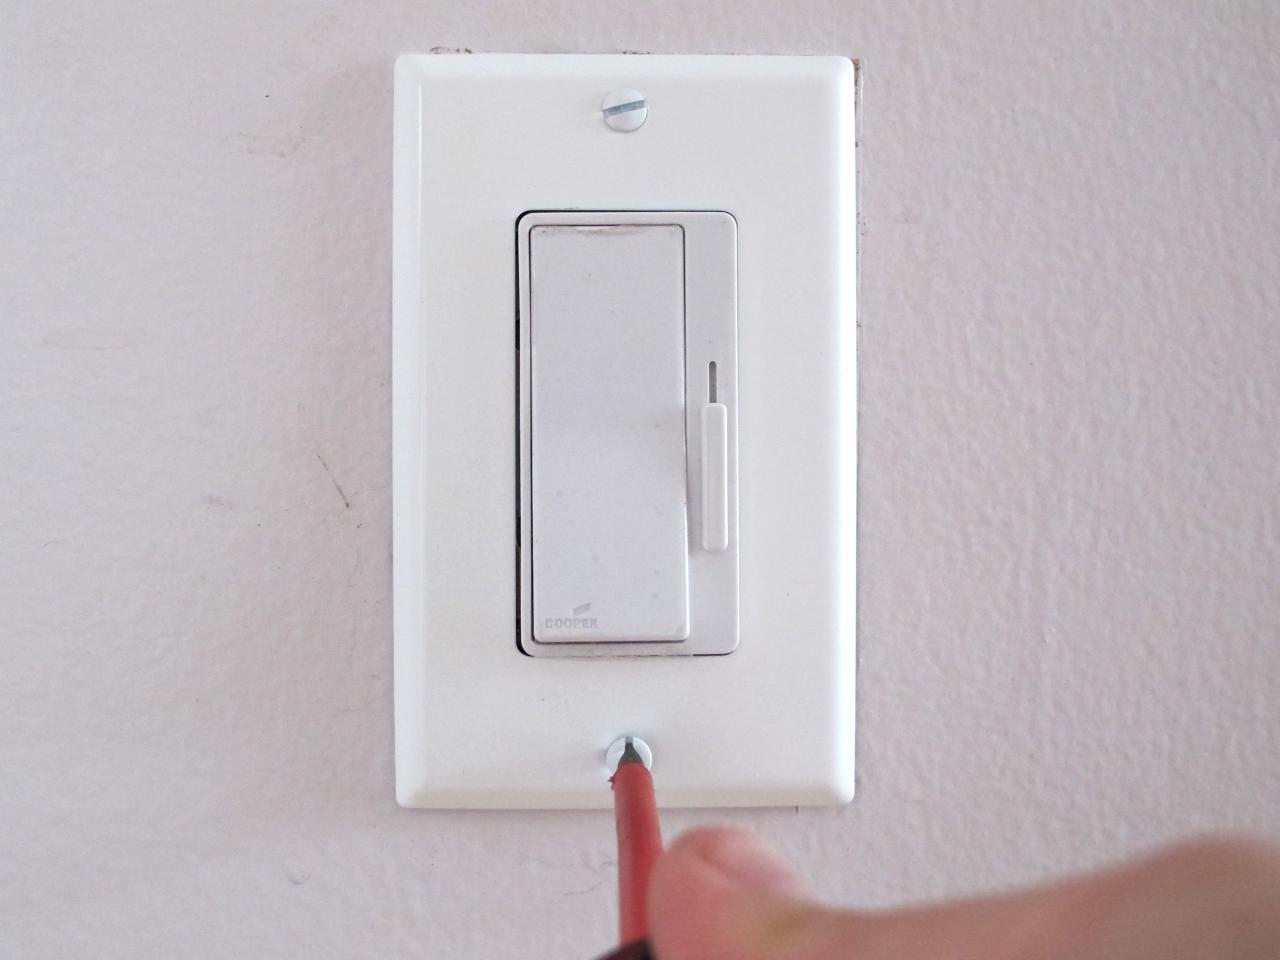
Attach the Dimmer Switch to the Box and Reinstall the Switch Plate
Once the wires are attached, you can gently fold any excess wire and compress the dimmer into the electrical box. Move slowly to ensure the wires don’t loosen or break if you have to force the switch into position. Tighten the screws to secure the switch to the box, and fit the switch plate (Image 1). You will find that tightening or loosening the switch screws in the box by a few small twists makes a difference with how well the plate fits over the box (Image 2). Once the cover is in place, turn the breaker or fuse back on, and check your handiwork (Image 3).
Not all light bulbs are intended for use with dimmer switches – the wrong combination can damage the bulb as well as the dimmer electronics. The bulb's packaging will usually indicate if it is dimmable.


