


Upgrade Your Kitchen With a Stylish DIY Coffee Bar
Need a space-saving solution for your collection of coffee mugs? Save valuable cabinet and countertop space and make this DIY display for about $25 in just one afternoon. Hang it on the wall, add some coffee-making essentials and create a chic self-serve coffee station.

Jen Woodhouse
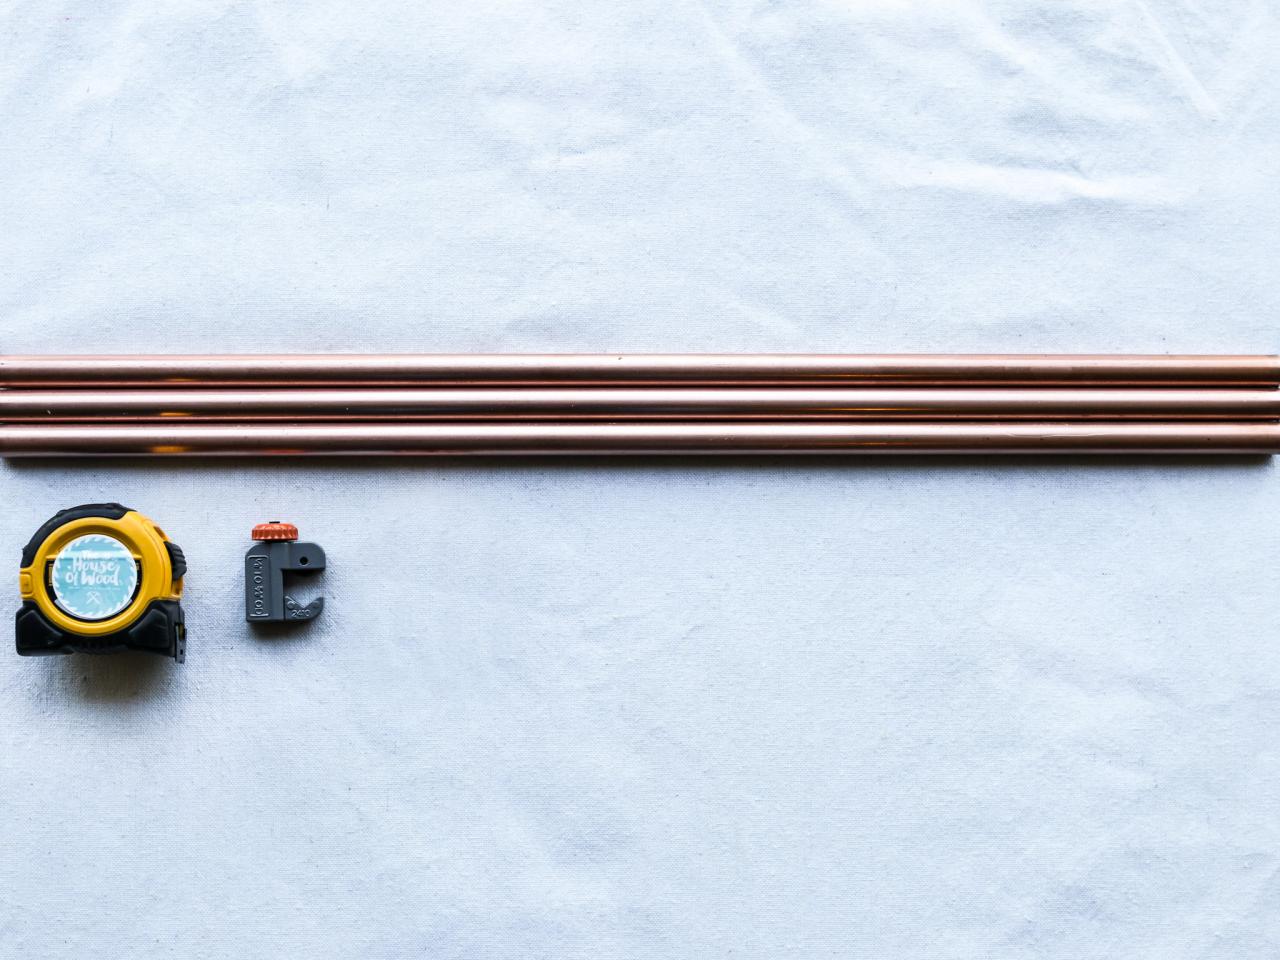
Materials and Tools
- tape measure
- drill with 5/8” Forstner bit
- hammer or pneumatic brad nailer
- pipe cutter
- mallet
- stud finder
- #000 steel wool
- (1) 1x4 x 8’ board
- (1) 1x6 x 8’ board
- (1) 1/2” x 5’ type M copper pipe
- (12) S-hooks
- 1-1/4” brad nails
- 2-1/2” wood screws
- paint or stain
- clear gloss spray lacquer
- 220-grit sandpaper
- paintable/stainable wood filler
Cut List
- (2) 1x4 @ 29” (side frame)
- (2) 1x4 @ 18” (top/bottom frame)
- (5) 1x6 @ 18” (back)
- (3) 1/2” copper pipe @ 18-3/4” (hanging rods)
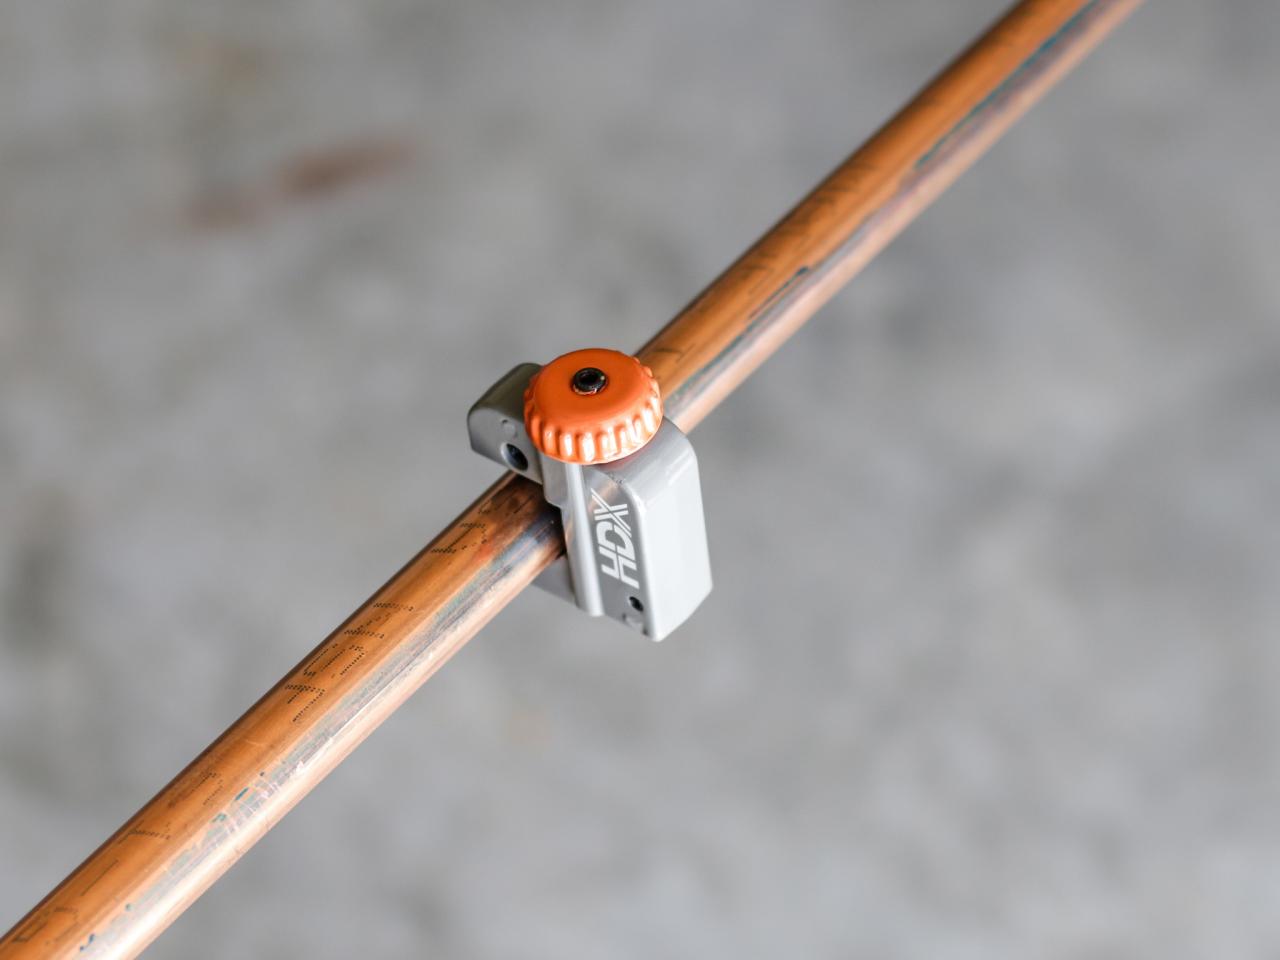
Measure and Cut Copper Pipe
Measure and mark 18-3/4" of the copper pipe and use a pipe cutter to cut three pieces to length. Simply clamp the pipe cutter onto the pipe and turn it around the pipe. Twist the knob after every turn to tighten the clamp. The blade will slowly cut through the pipe. Gently sand any sharp edges if necessary.

Jen Woodhouse

Jen Woodhouse
Clean the Pipes
With the steel wool, wipe off any markings, dirt or grime on the pipes. Because copper is soft, be gentle or you may risk scratching the copper finish.

Jen Woodhouse
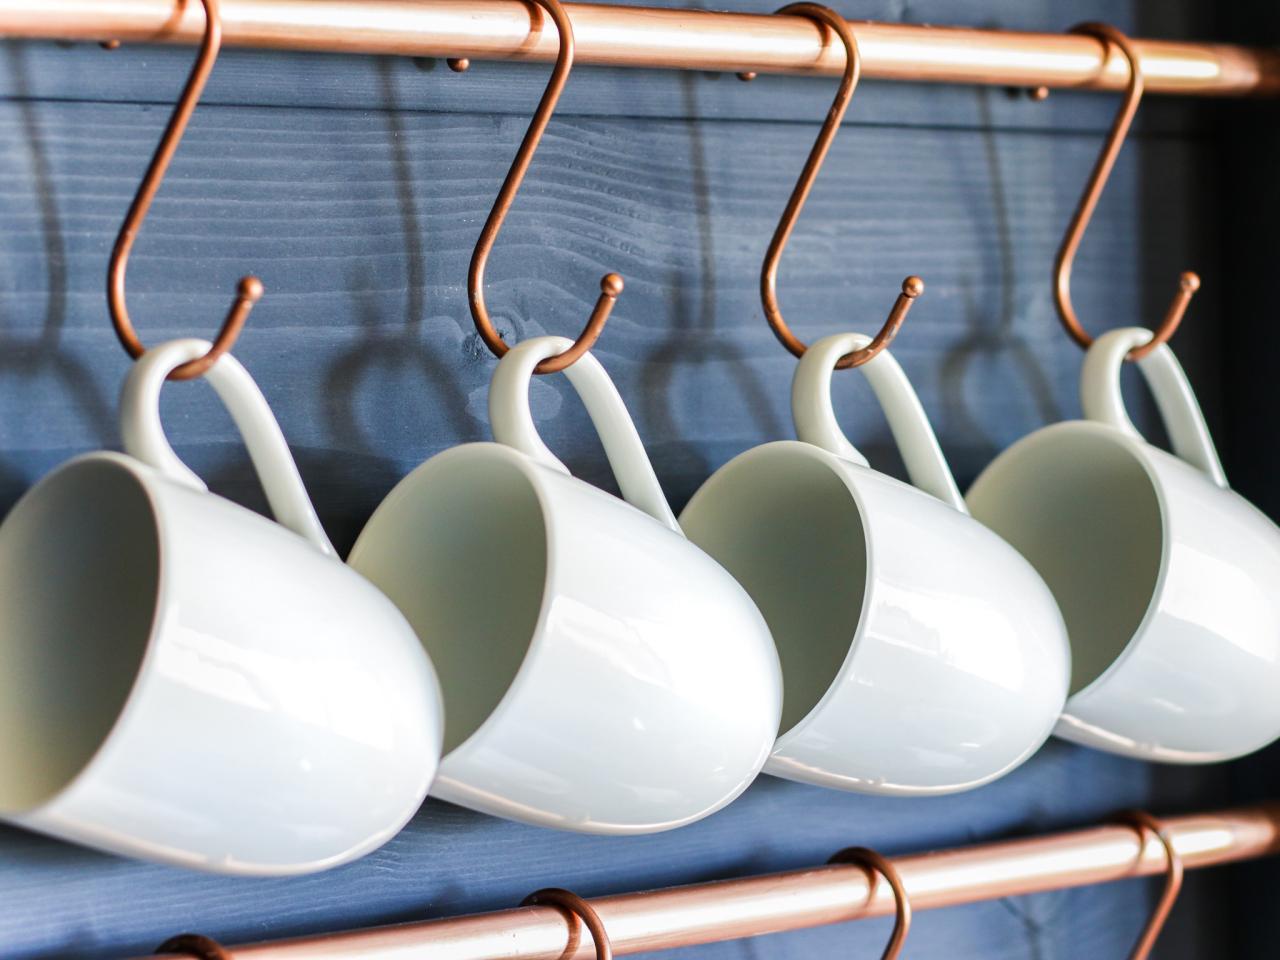
Seal the Pipes
To keep fingerprints and tarnish at bay, spray a couple of light coats of clear lacquer on the copper pipes. NOTE: If your S-hooks aren’t copper, spray paint them with a copper metallic paint to match the pipes.

Jen Woodhouse
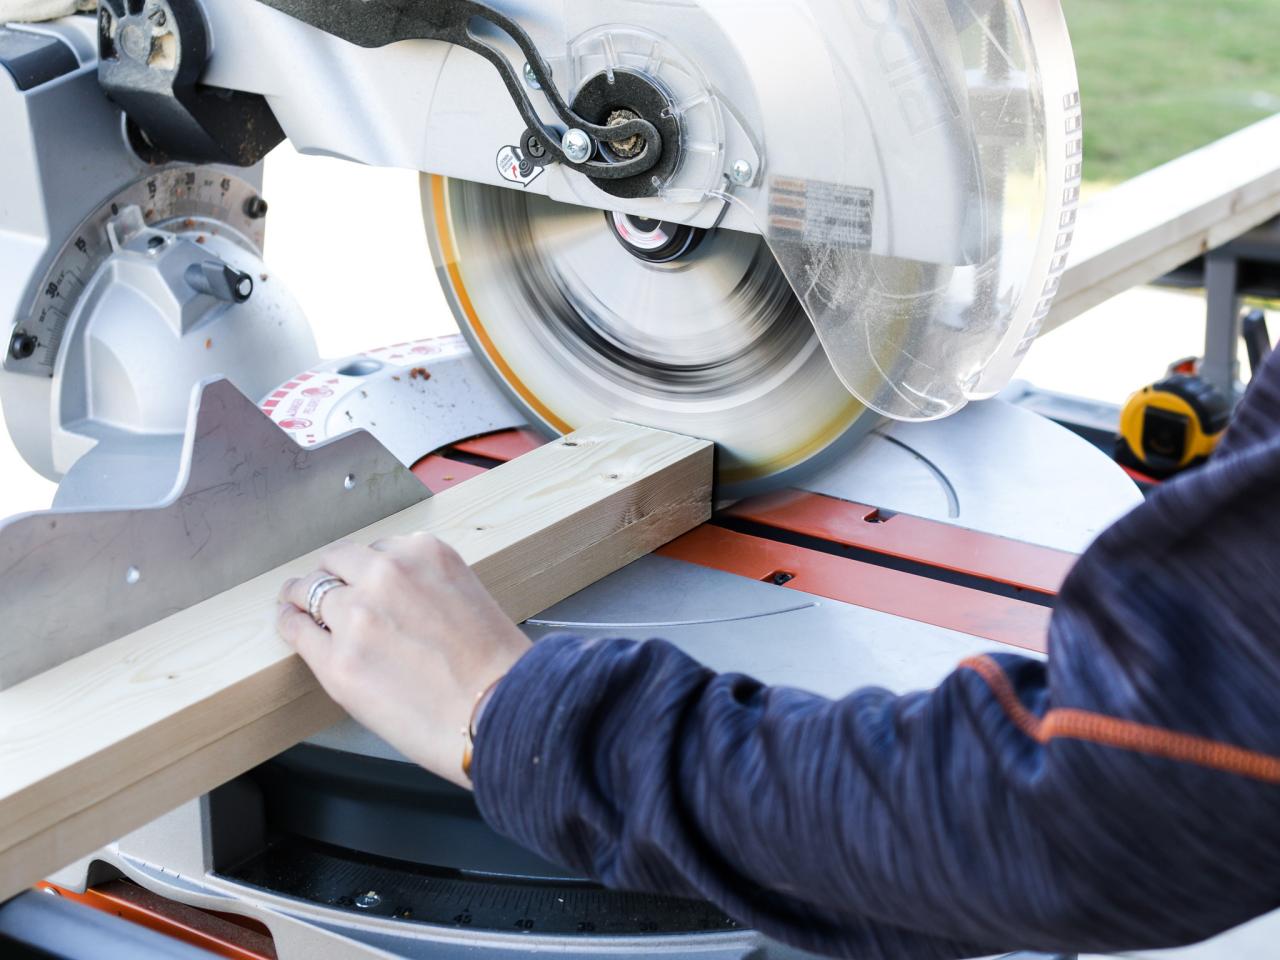
Cut the Frame
Using the cut list above, measure and mark the 1x4 and 1x6 boards to length. Sand any splintered or rough edges with sandpaper until the wood is smooth.

Jen Woodhouse
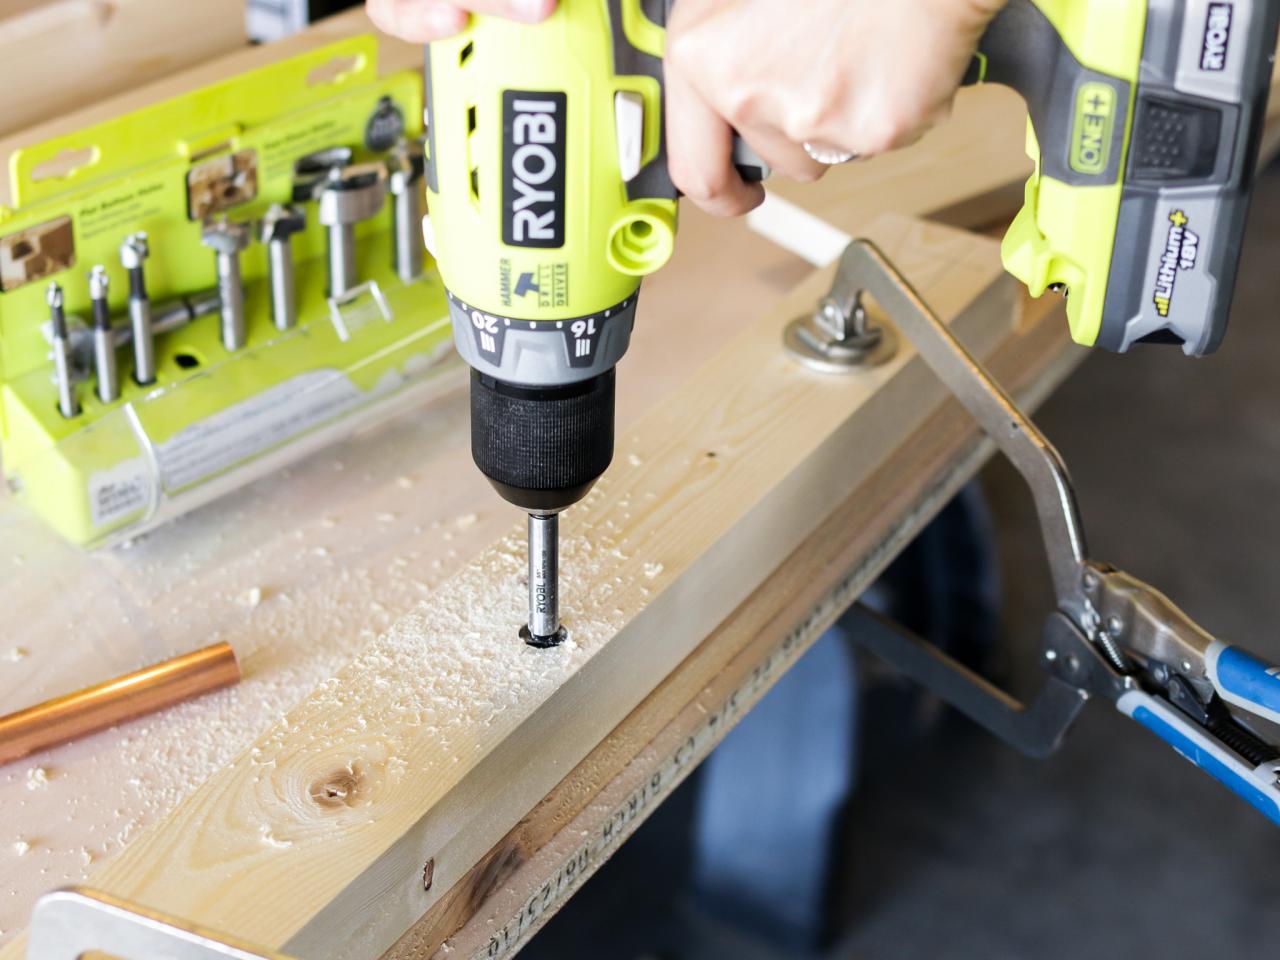
Bore Holes for Pipe
Using a drill fitted with a 5/8" Forstner bit, bore three holes in each side frame for the pipe to sit into. Bore the holes about 3/8" deep, being careful not to bore all the way through the boards. Be sure to measure and mark so that the holes in both boards are identical, otherwise your hanging rods won’t be level or square.

Jen Woodhouse

Jen Woodhouse
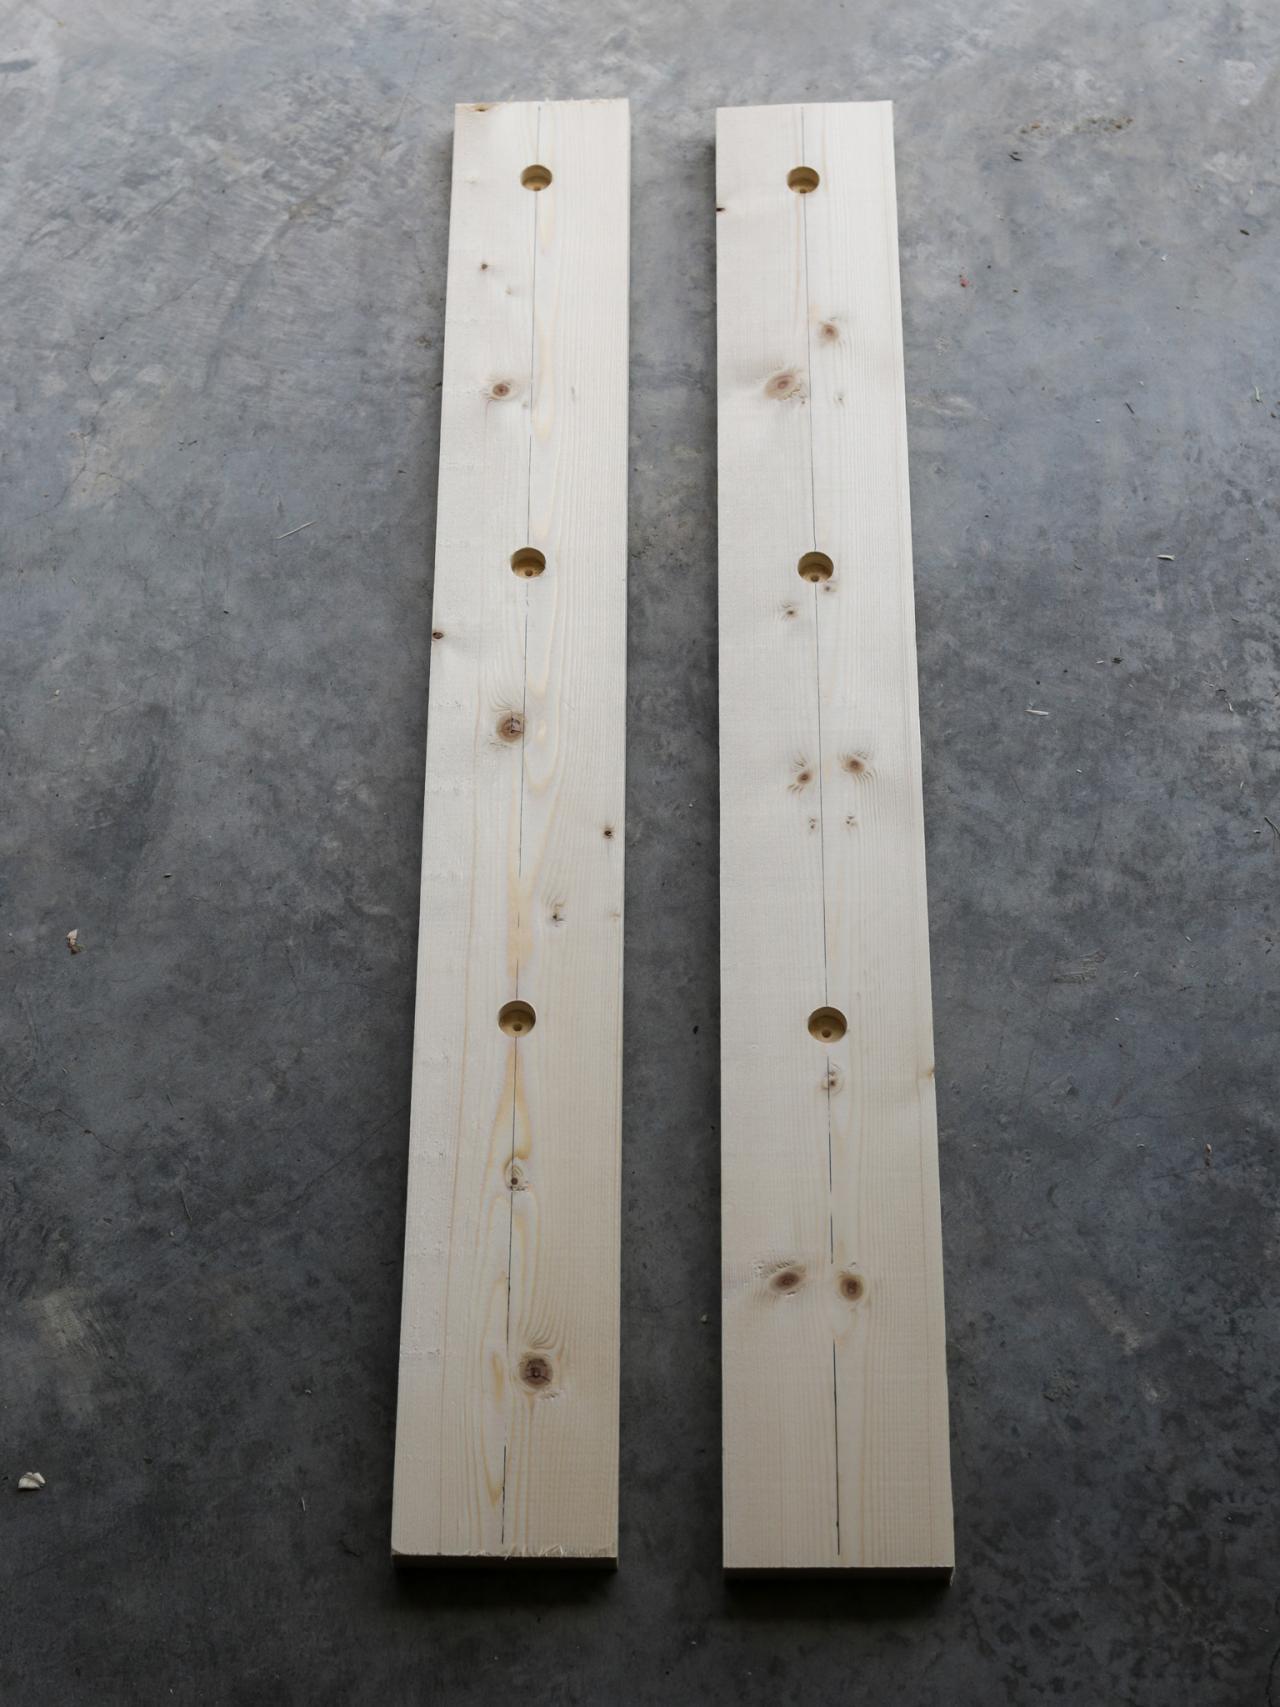
For my coffee cups, the first hole is 2" from the top, the middle hole at 11", and the bottom hole at 20" from the top. If you have larger or taller coffee cups, you may want to measure and mark your own holes to accommodate your cups so that they hang freely, without bumping into the next row.

Jen Woodhouse
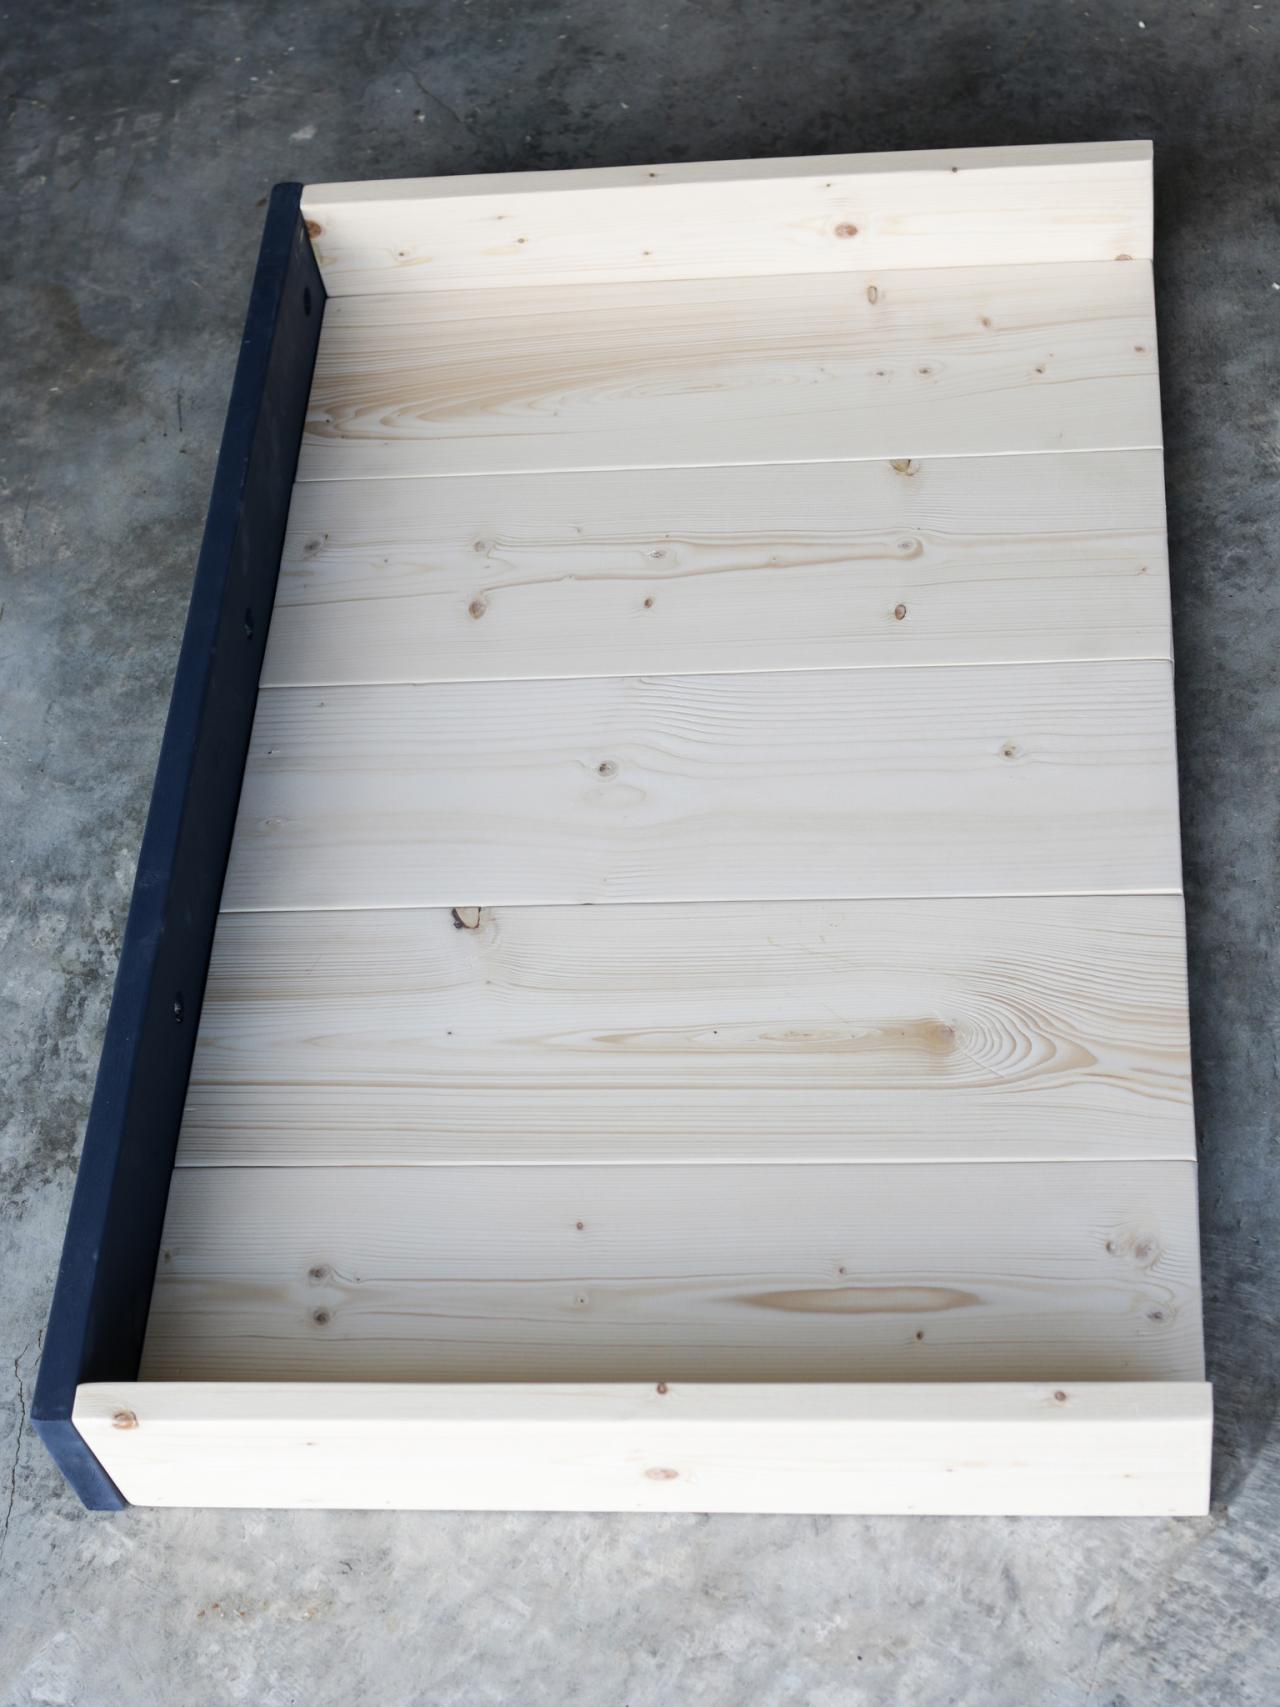
Construct the Frame and Attach the Back
Using a brad nailer or hammer, construct three sides of the frame (the side, top and bottom boards) and secure with 1-1/4" brad nails and wood glue. Always use wood glue when using nails to reinforce the joints. Next, line up the 1x6 back boards edge-to-edge and attach them to the three sides of the frame with 1-1/4" brad nails and wood glue. You can also squeeze a small line of glue on each edge of the 1x6 boards and clamp them together.

Jen Woodhouse
Paint or Stain the Frame and Insert Pipes
At this point, you’ll want to go ahead and paint or stain the frame before you add the copper pipe. Once the paint or stain is dry, insert the copper pipe into one of the sides. Use a mallet to gently tap each one into place.

Jen Woodhouse
Attach the Last Piece of the Frame
Position the other side of the frame into place and attach it with 1-1/4" brad nails and wood glue. Fill any nail holes with wood filler, sand smooth and touch up with paint or stain.
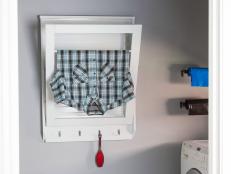
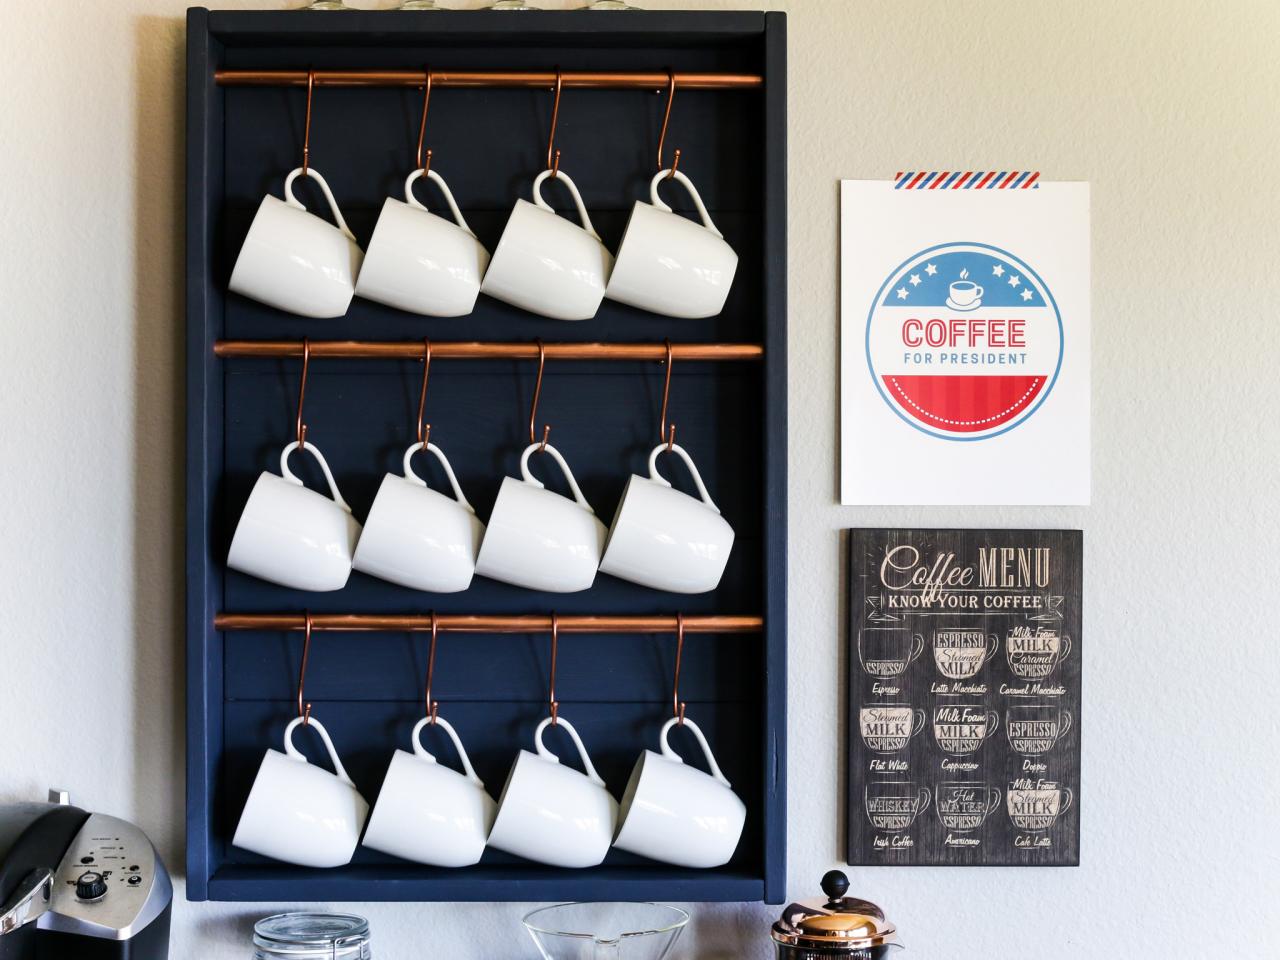
Hang the Coffee Mug Display on the Wall
Locate the studs in the wall and use 2-1/2" wood screws to screw the coffee cup display to the wall. Add the S-hooks and hang up your coffee cups.

Jen Woodhouse

Jen Woodhouse
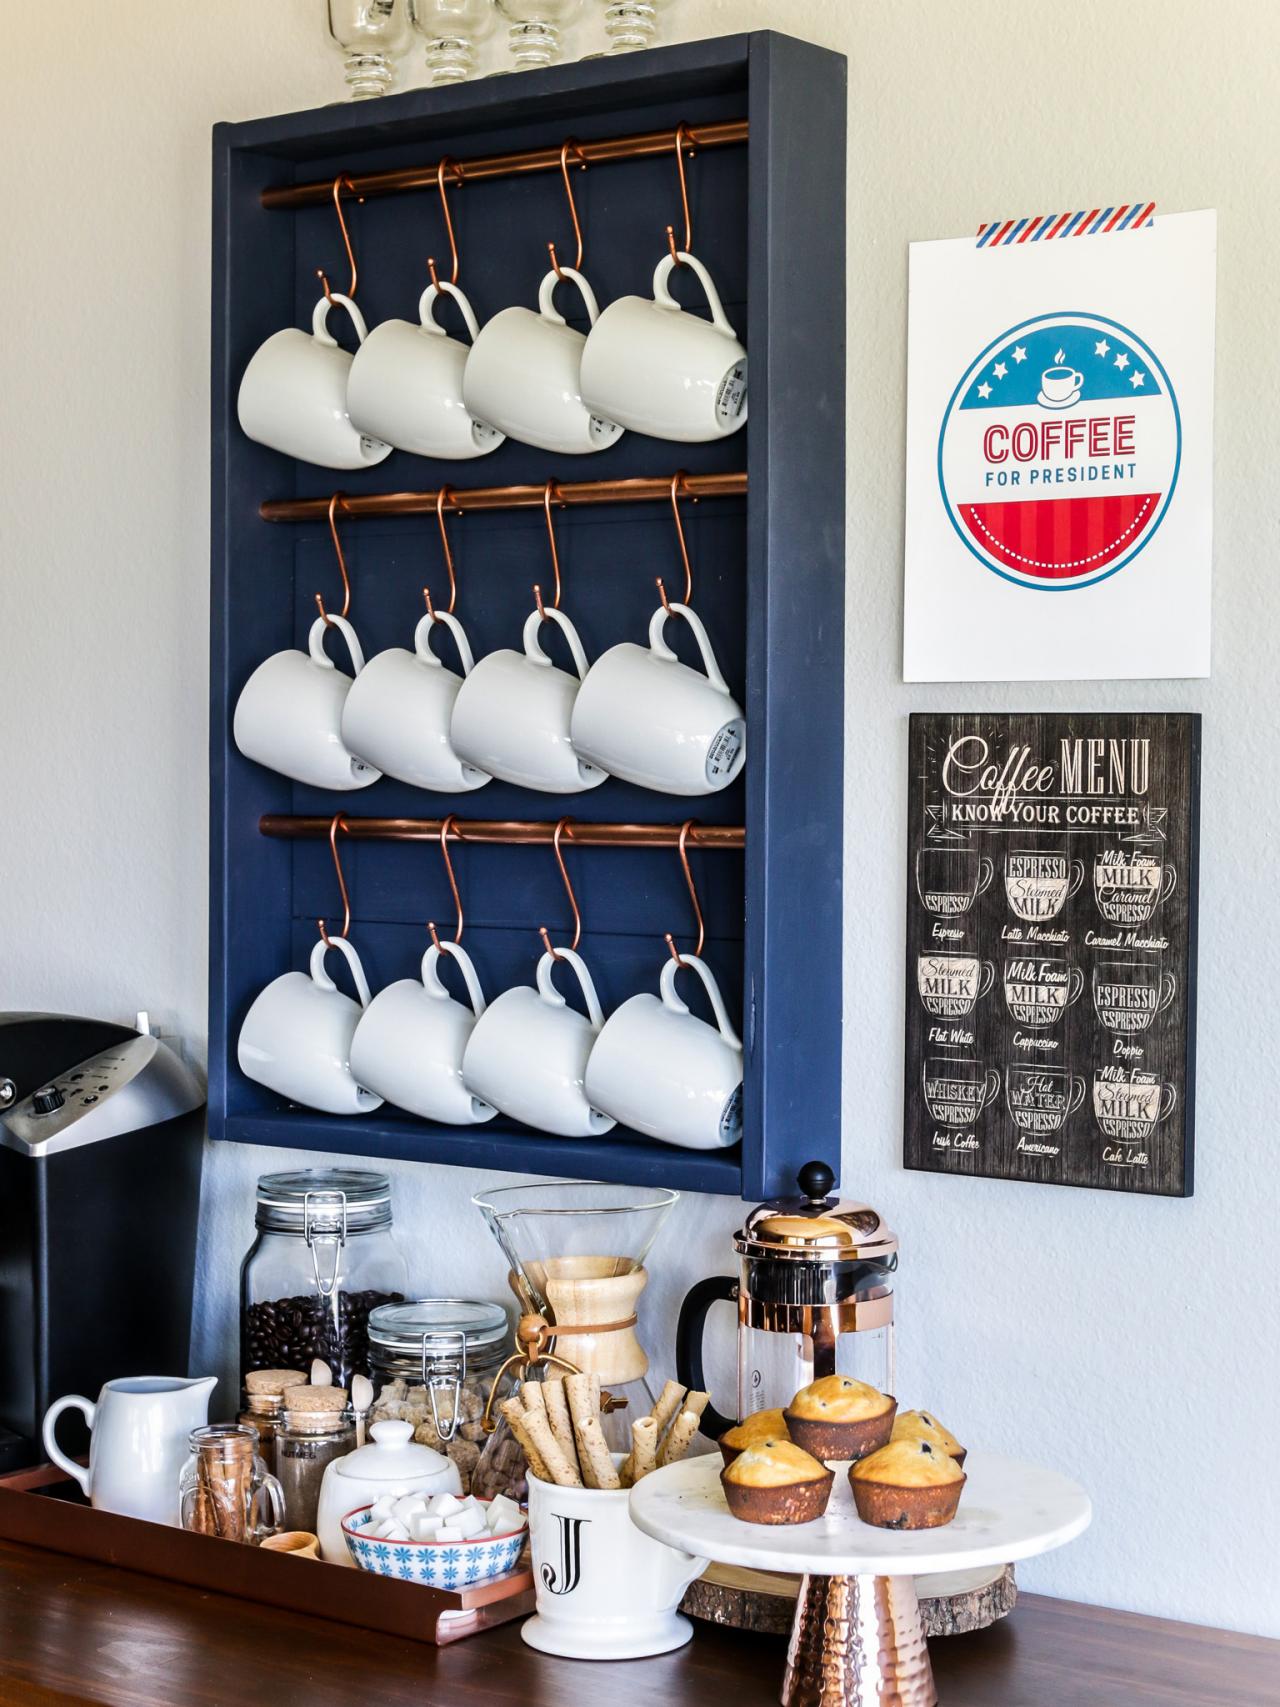
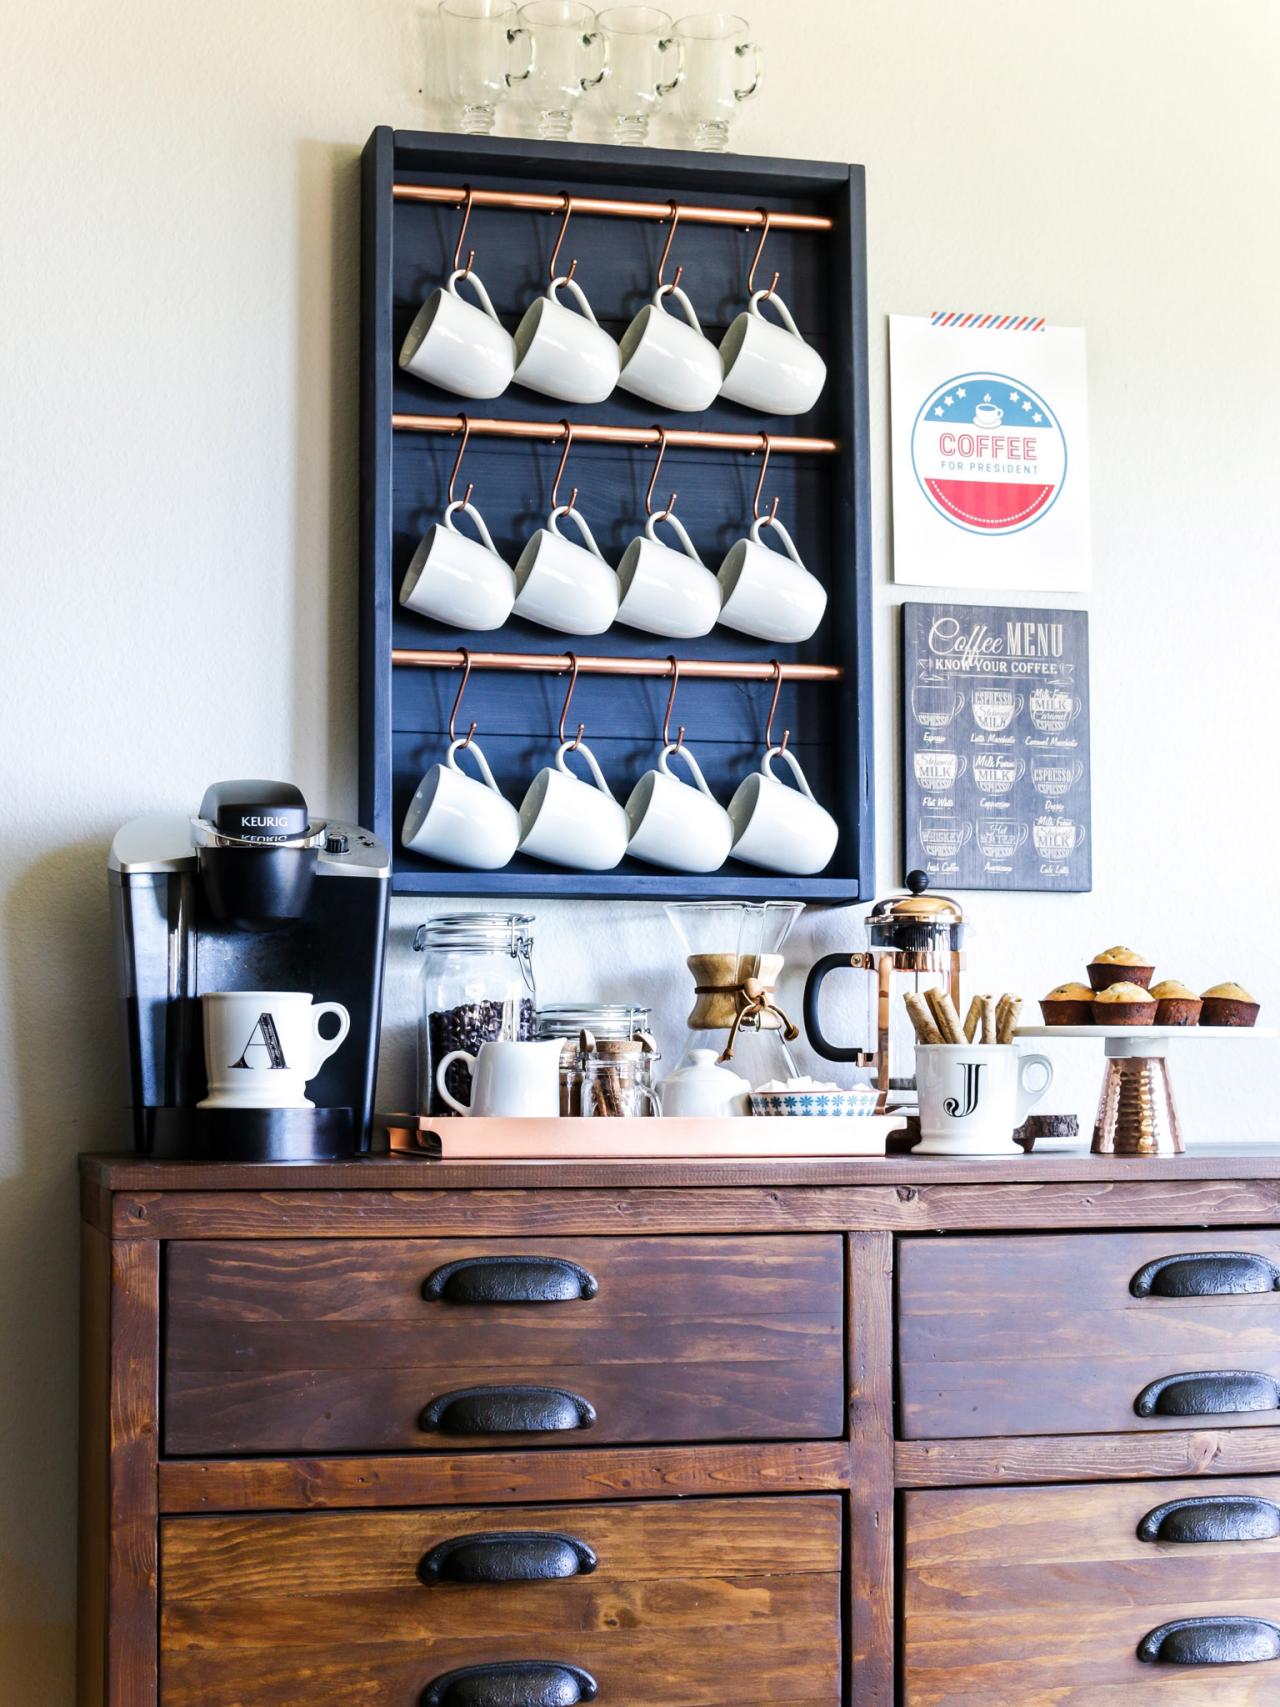
Complete Your Self-Serve Coffee Bar
Add your favorite coffee-making essentials to create a chic and stylish coffee bar station.

Jen Woodhouse


