


This Coffee Station Makeover Will Inspire You to Create Your Own Home-Barista Nook
Follow these simple steps to recreate designer and architect Nina Naqvi's cool coffee corner makeover in your own home.

Nina Naqvi

A full-on home renovation can be an overwhelming undertaking in more ways than one. It’s expensive, time-consuming and — without incredible organization and vision — very difficult. That’s why interior designer and architect Nina Naqvi chooses to tackle small areas one at a time. Her latest project is a coffee corner makeover that will inspire you to tackle that oft-forgotten area of your home that hasn’t gotten the attention it deserves. Follow this guide to see how to transform your forgotten corner into your own in-home coffee shop.
Materials Needed
- measuring tape
- screwdriver
- drop cloth
- water
- vinegar
- rag
- vacuum
- tack cloth
- medium-grit sandpaper
- wood filler
- putty knife
- painter's tape
- shellac-based primer
- paint stir stick
- latex paint in satin or semi-gloss
- paintbrush
- mini roller and roller heads
- paint cup
- paint tray
- painting mask
- safety glasses
- wallpaper
- butcher-block countertop piece
- table saw or circular saw
- straight edge
- pencil
- (4) L-brackets
- 5/8-inch wood screws
- drill + bits
- shelf brackets
- 2-inch wood screws
- cabinet hardware (if replacing)
- spray bottle (if using water-activated wallpaper)
- stud finder
- level
Organize and Assess the Area
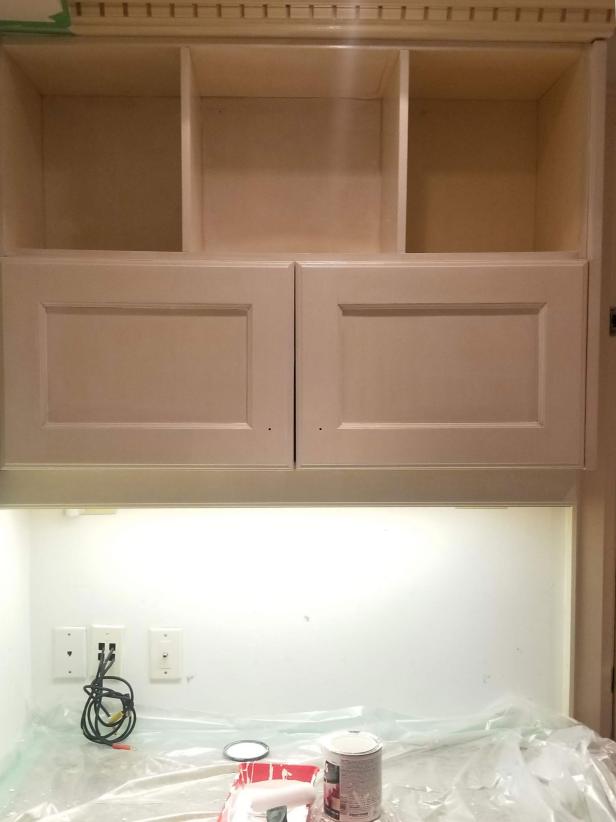
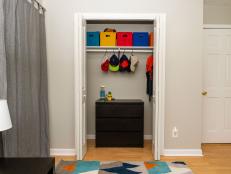
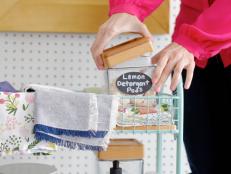
Neglected corners, countertops, cabinets and shelves without a designated purpose tend to become catchalls in desperate need of a refresh (Image 1). So, before you run out and grab your tools and materials, start by thoroughly cleaning up the area (Image 2). This will allow you to better form a vision and plan for transforming your space. Once clean, think about how you want to use the space, rehome items that will no longer fit and decide which items will stay.

Nina Naqvi

Establish Your Vision
The key to making a small renovation an easy feat is to start with a vision and stick to it. While inspiration may come throughout the process, it helps to have a reference point to hold ideas up to. For Nina’s corner, she had dreams of turning a multifunctional catchall spot into an established coffee corner that was dripping with style.

Nina Naqvi
To do this, she cleared out the space, gave the cabinetry a fresh coat of paint in a beautiful blue that accented the space, updated the existing hardware with modern brass replacements, added new elements like modern wallpaper and a butcher-block countertop, then decluttered and styled the space once she was finished. The result is a beautiful, modern coffee corner that looks straight out of a magazine.
Clean Cabinets
Cabinets, especially those in kitchens, tend to attract grime. Even if they appear clean, it’s wise to thoroughly wipe down every surface with either a degreaser or a water-vinegar mixture. A 1:1 ratio should do the trick. If you plan to replace the countertop, now is a good time to remove the existing top. Nina advises finding a way to repurpose the old countertop in a future project.
Prep for Paint
Cabinets can be tricky to paint. Because of their purpose, they require a durable finish that is easy to clean. To achieve a finish that will last, proper prep is the most important part of the process. Begin by removing the door and drawer hardware. If you plan to reuse the hardware, organize it and place it in a safe spot. If you’re replacing the hardware, it’s still wise to keep the existing hardware for reference when replacing it. Place the doors and drawers on a workspace such as a table with a drop cloth.
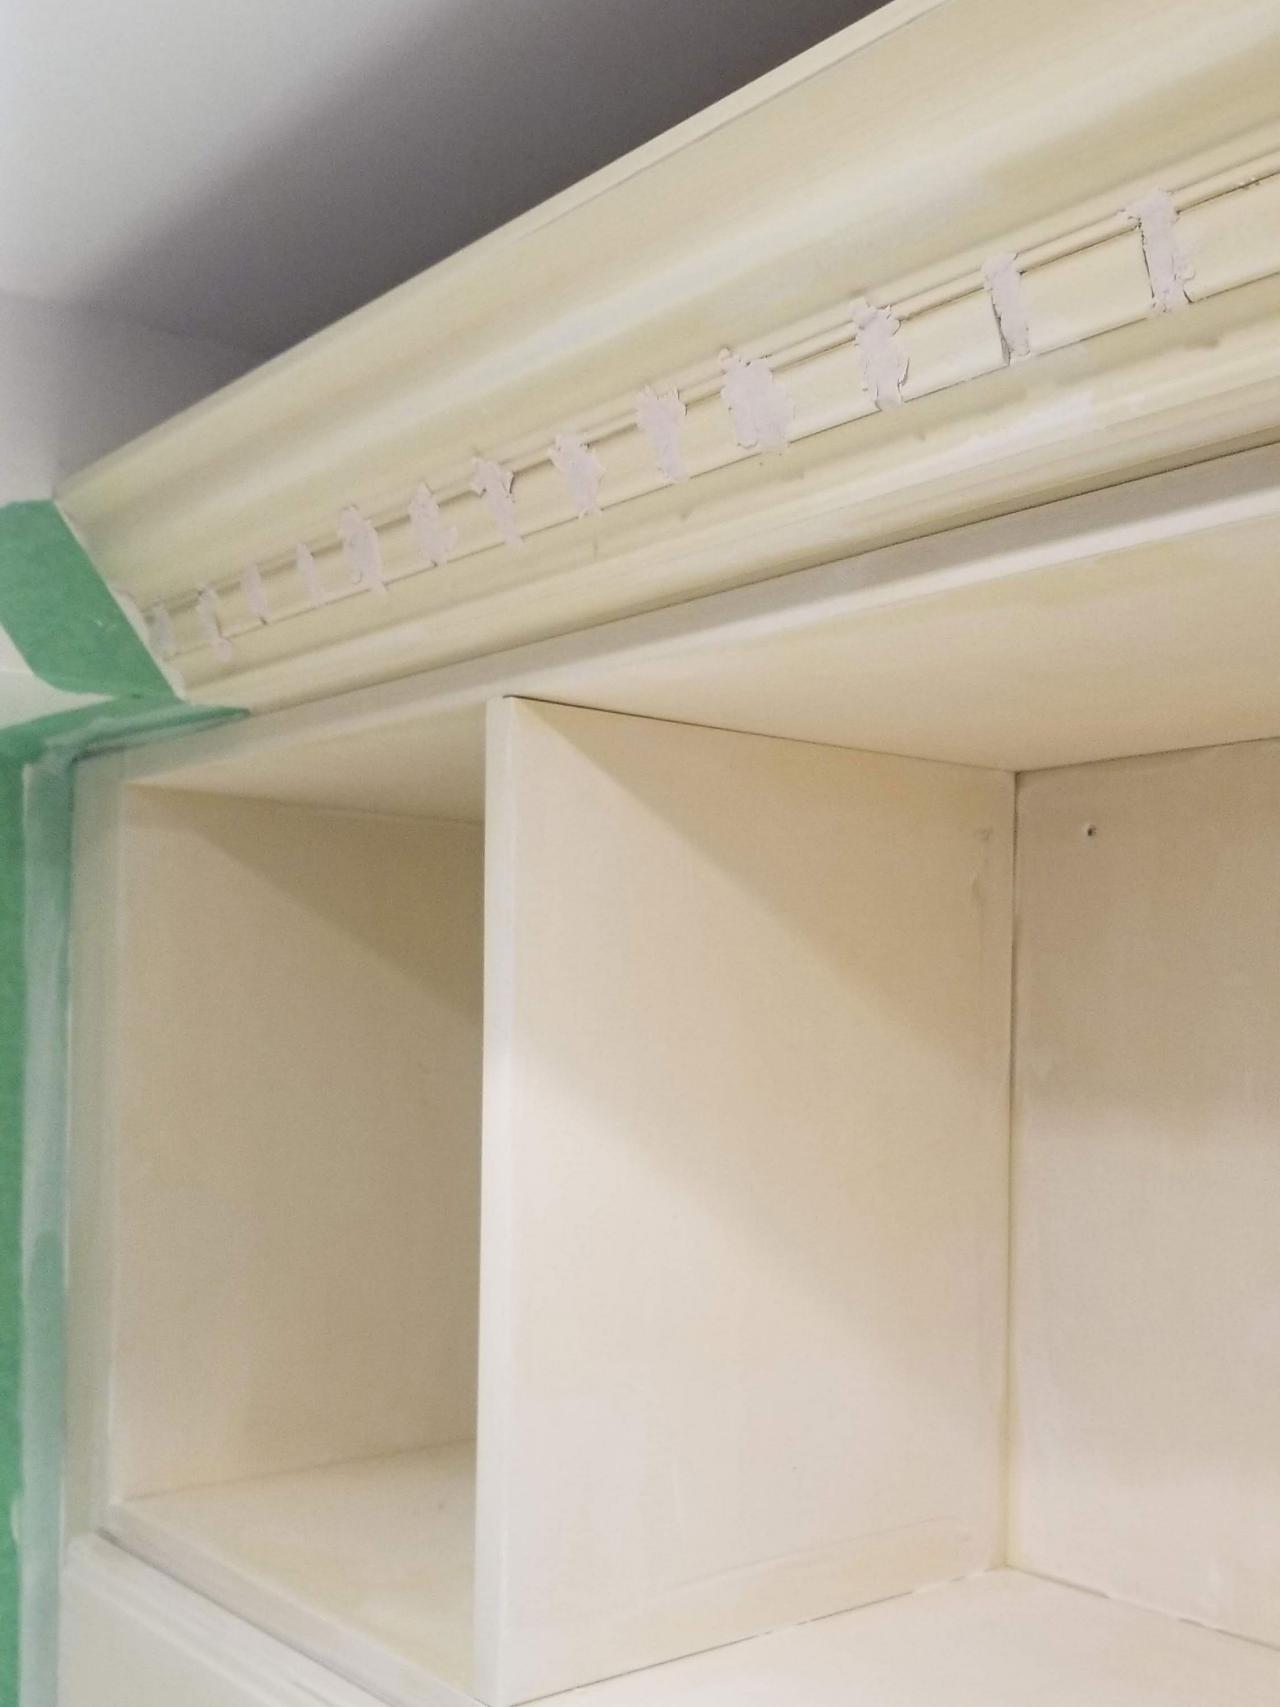
Scuff all surfaces of the cabinet using medium-grit sandpaper. The goal is only to roughen up the sheen to allow the primer to stick, not to remove the outer layer of the cabinets. If there are any visible imperfections or undesired millwork details, fill them with quick-drying wood filler and sand smooth once dry. Once scuffed, thoroughly clean up all dust and debris using a vacuum and tack cloth. If you’re working around areas that you don’t plan to paint, mask the lines using painter’s tape.

Nina Naqvi
Pro Tip: When using painter’s tape, avoid placing your roll of tape on dusty surfaces when not in use. Even a little dust will stick to the edge and compromise the tape, resulting in bleeding paint lines.
Prime Surfaces
Priming the cabinet surface is a crucial step and requires a high-quality primer suited for this application. There are several different primers, but a shellac-based primer will promote durability and adhesion on a variety of materials. Apply a thin coat across all surfaces and allow it to dry according to the manufacturer’s instructions before applying a second coat. This type of primer typically has a quick drying time. A third coat is optional but will result in added durability.

Nina Naqvi
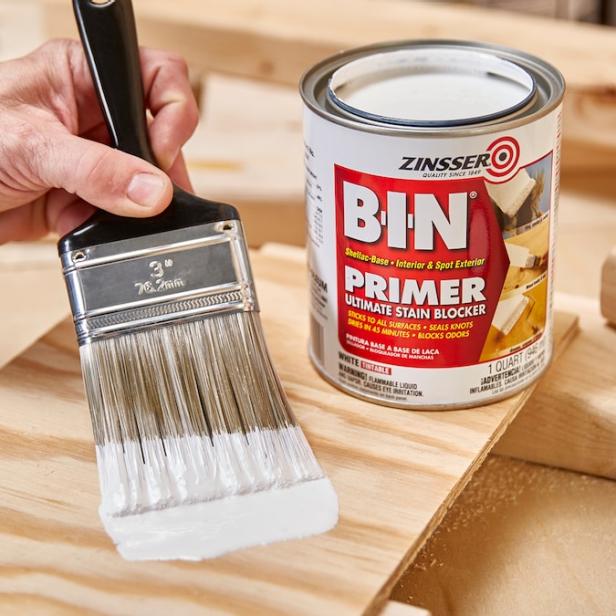
Note: When painting and priming, appropriate safety gear should always be worn.
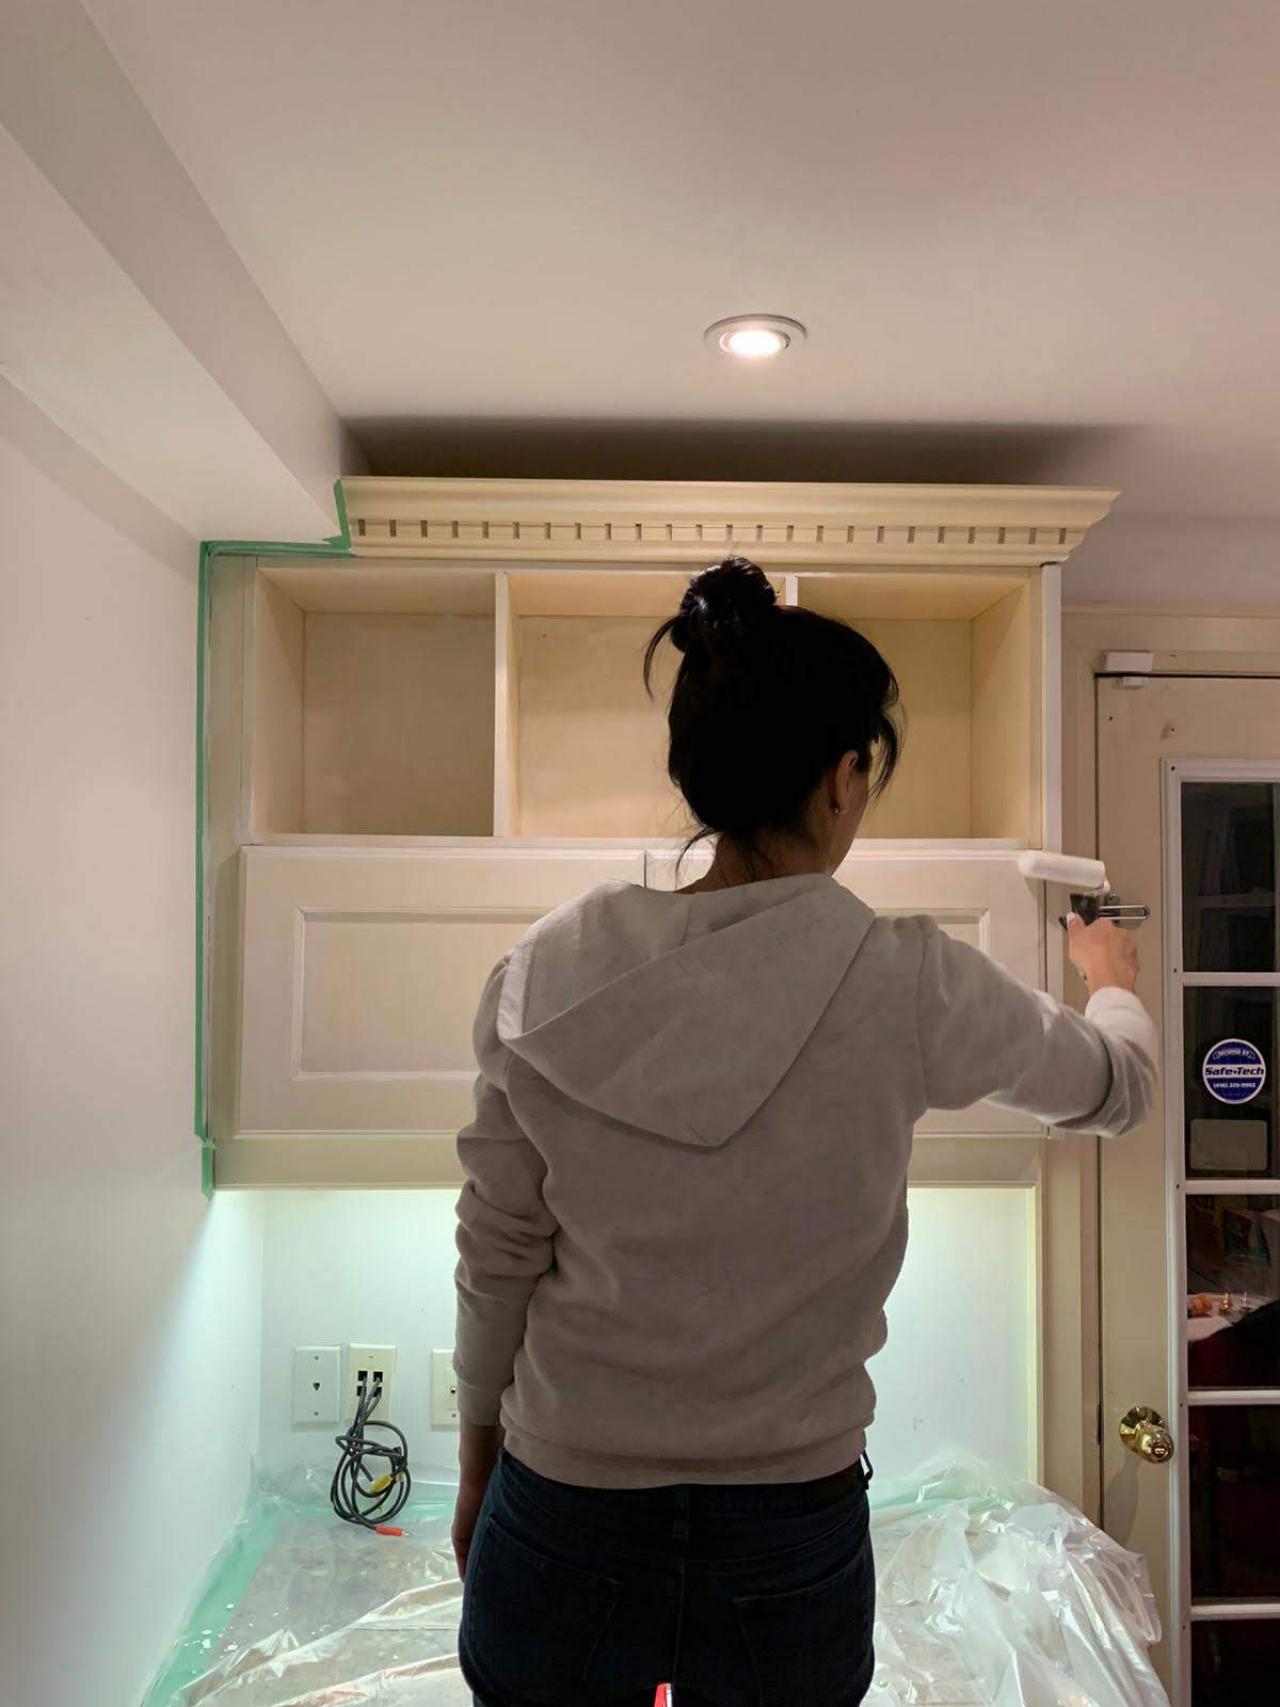
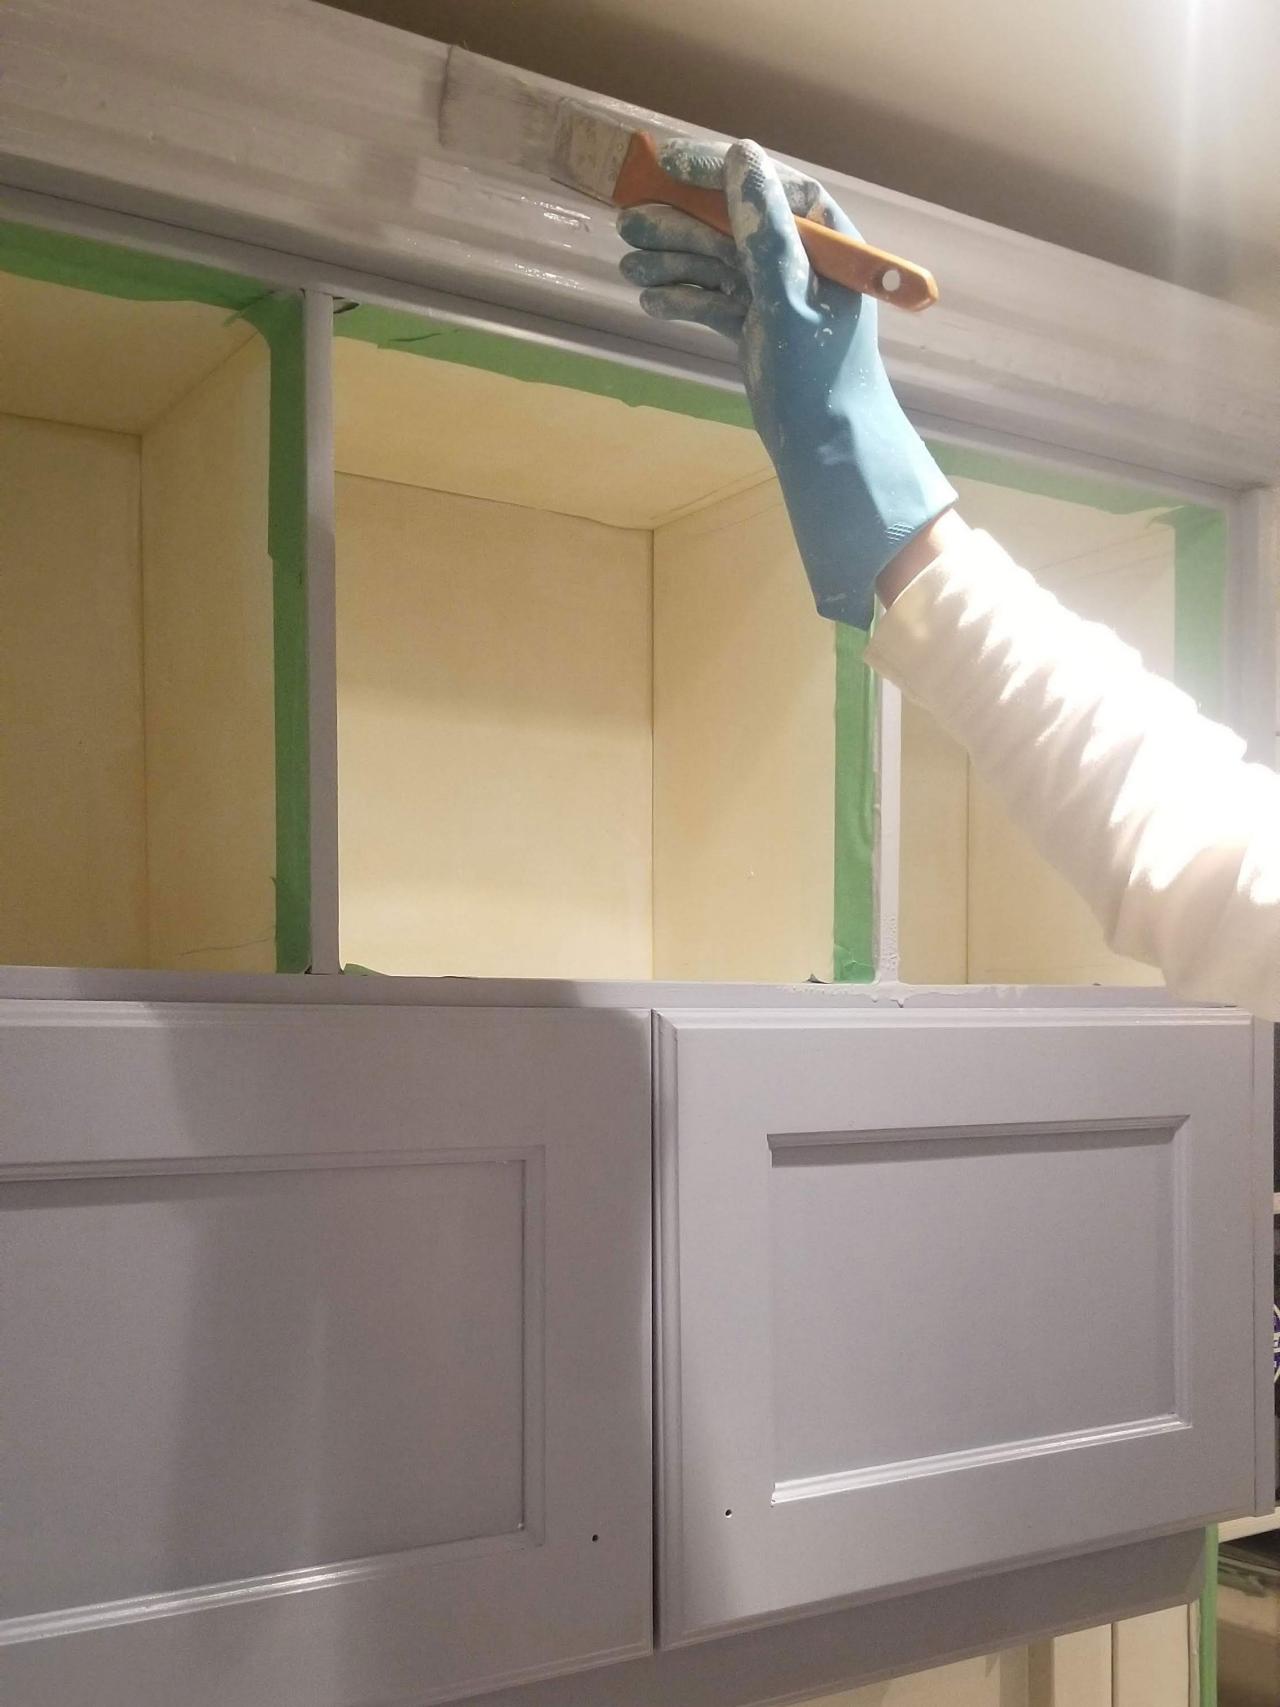
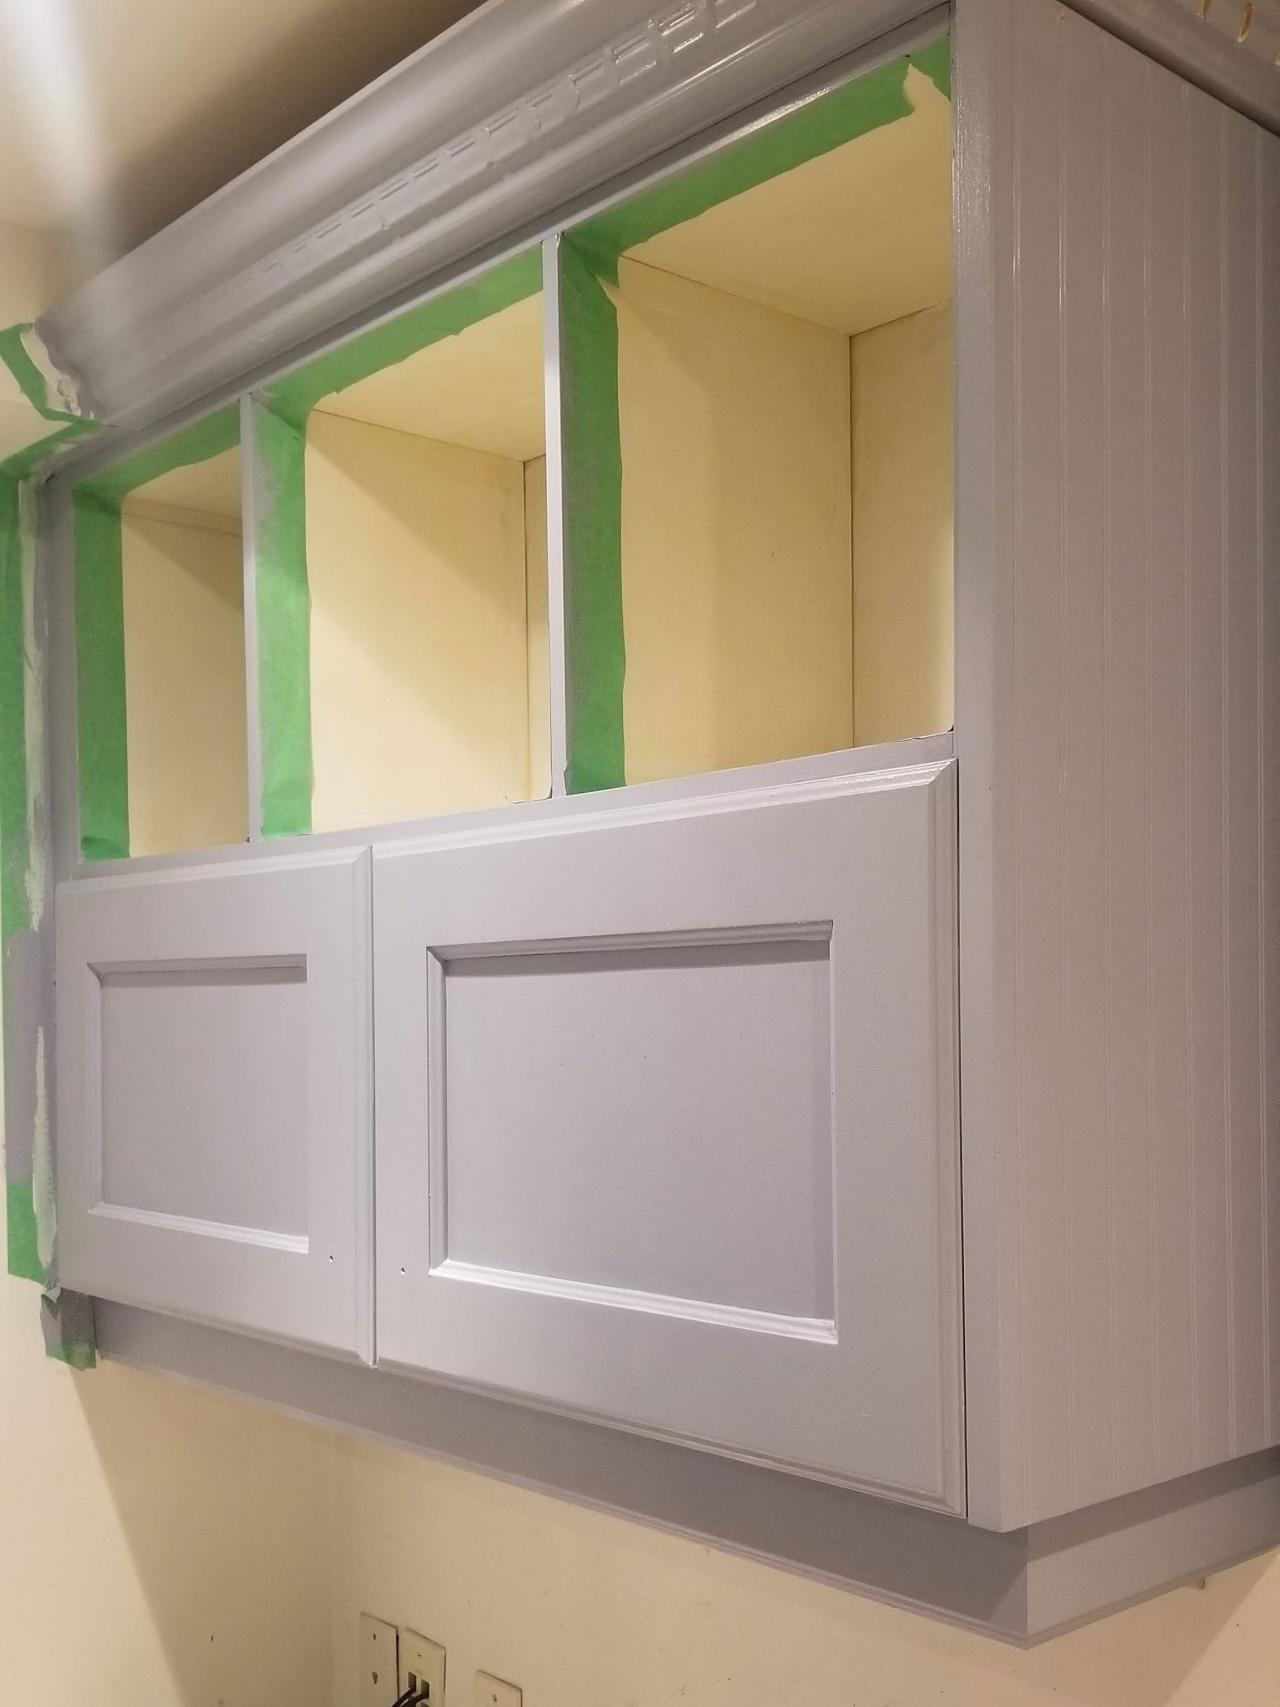
Paint Surfaces

Nina Naqvi
Because a high-quality, shellac-based primer was used, standard latex paint is all you need to give your cabinets a durable finish. In this application, it’s a good idea to choose a sheen of either satin or semi-gloss. While high-gloss will offer more durability and ease of cleaning, the high-sheen tends to show more imperfections. Apply an even first coat using a brush for small areas and a mini roller for large, flat areas. Once dry, apply a second coat and optional third coat.

Nina Naqvi
Pro Tip: Painting cabinets often results in a lot of paint runs, especially around corners and millwork details. Be careful to never overload your brush or roller and always clean up runs before they dry. If necessary, use painter’s tape to tape off corners and tackle them one side at a time.
Reinstall or Replace Hardware
Buy It

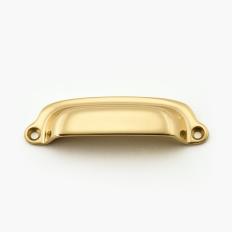
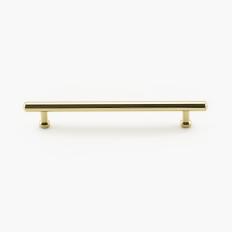

If you’re reusing the old hardware, all that’s left to complete the cabinets is to reinstall the hardware, doors and drawers. If replacing, use the old hardware as a guide for replacement. Use a measuring tape to accurately find the length of pulls to fit the existing holes and make sure any replacement hinges will work in place of the former hinges. Always install cabinet hardware with a manual screwdriver to avoid damaging the wood.
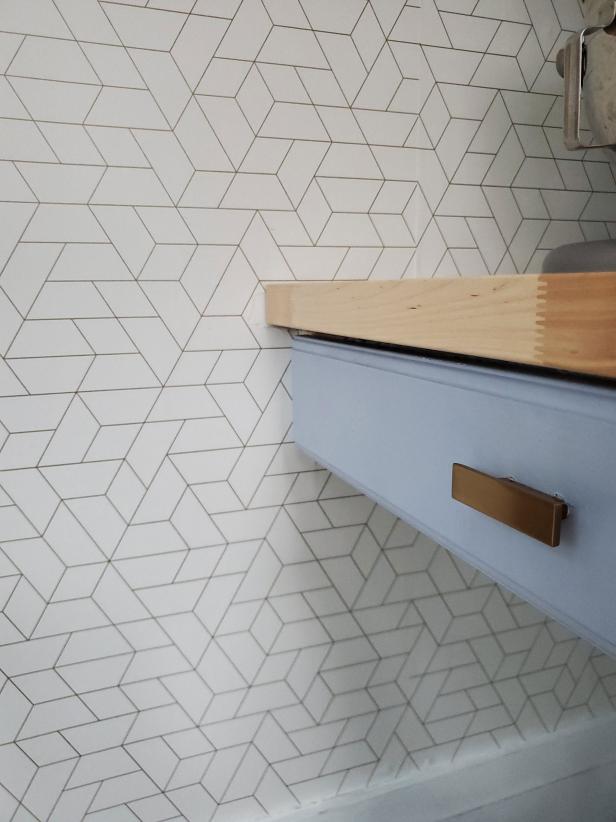
Install Wallpaper

Nina Naqvi
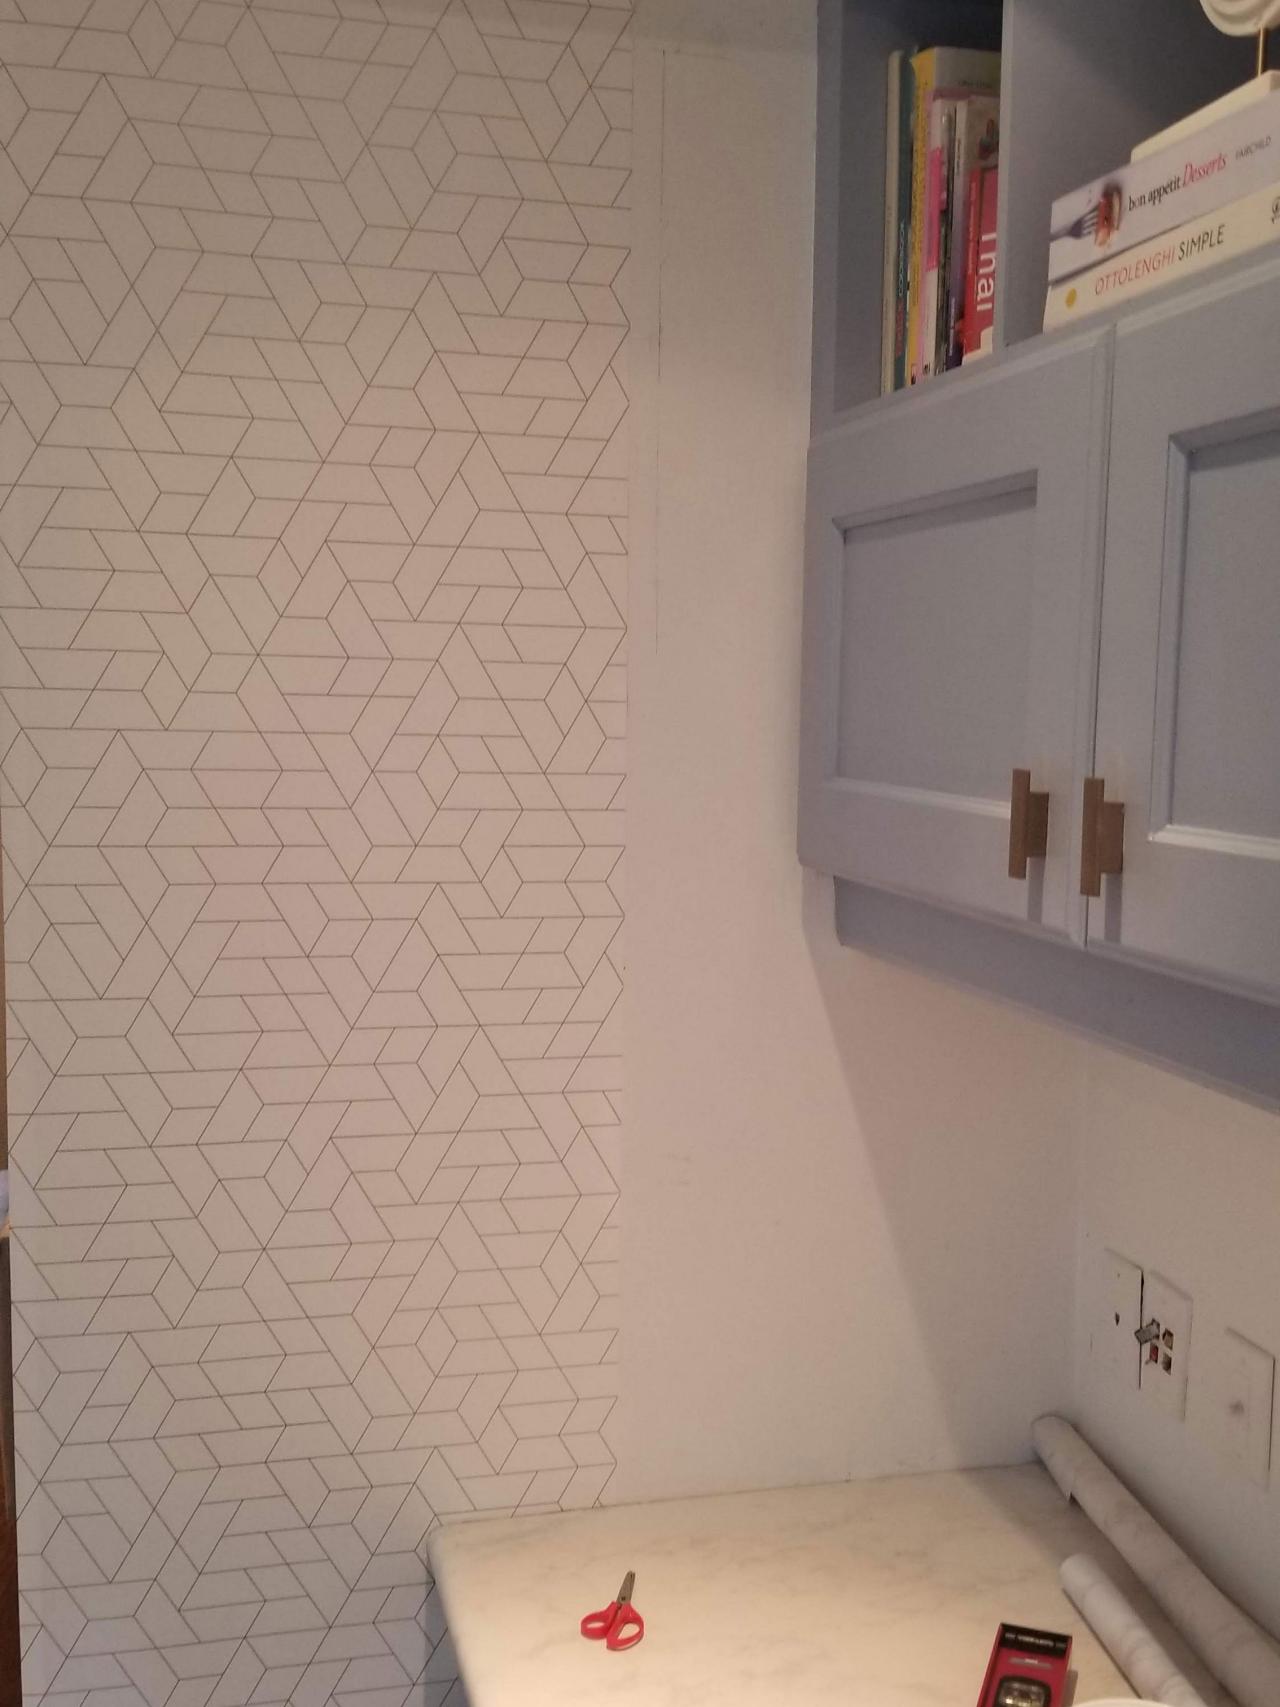
Nina chose to line the walls surrounding the coffee corner with subtle, geometric wallpaper. She used a water-activated wallpaper, but the look can easily be recreated using a peel-and-stick variety if you don’t feel comfortable working with the paste variety. To do this in your space, simply measure the area which you plan to cover and buy the appropriate amount of wallpaper.

Nina Naqvi
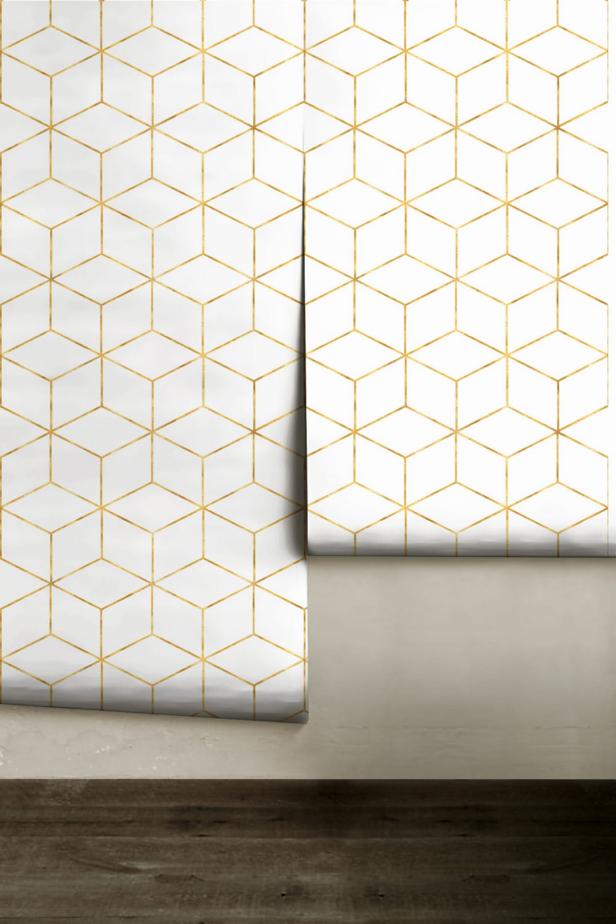
To install wallpaper, start on one side of the wall and work your way over. Use a measuring tape, a straight edge and a utility knife to accurately cut the wallpaper piece to the dimensions of the area you plan to cover. Peel back a short portion of the backing paper to reveal the adhesive, line the wallpaper up at the top and press into place. Use a wallpaper smoothing tool to evenly press and remove any bubbles, peeling back the backing paper as you work downward. Line the side of each strip up with the existing strip on the wall and repeat the process until fully covered. If using a water-activated paste wallpaper, the application process will be similar, however, a spray bottle of water will be necessary to activate the wallpaper’s adhesive.
Install New Countertop
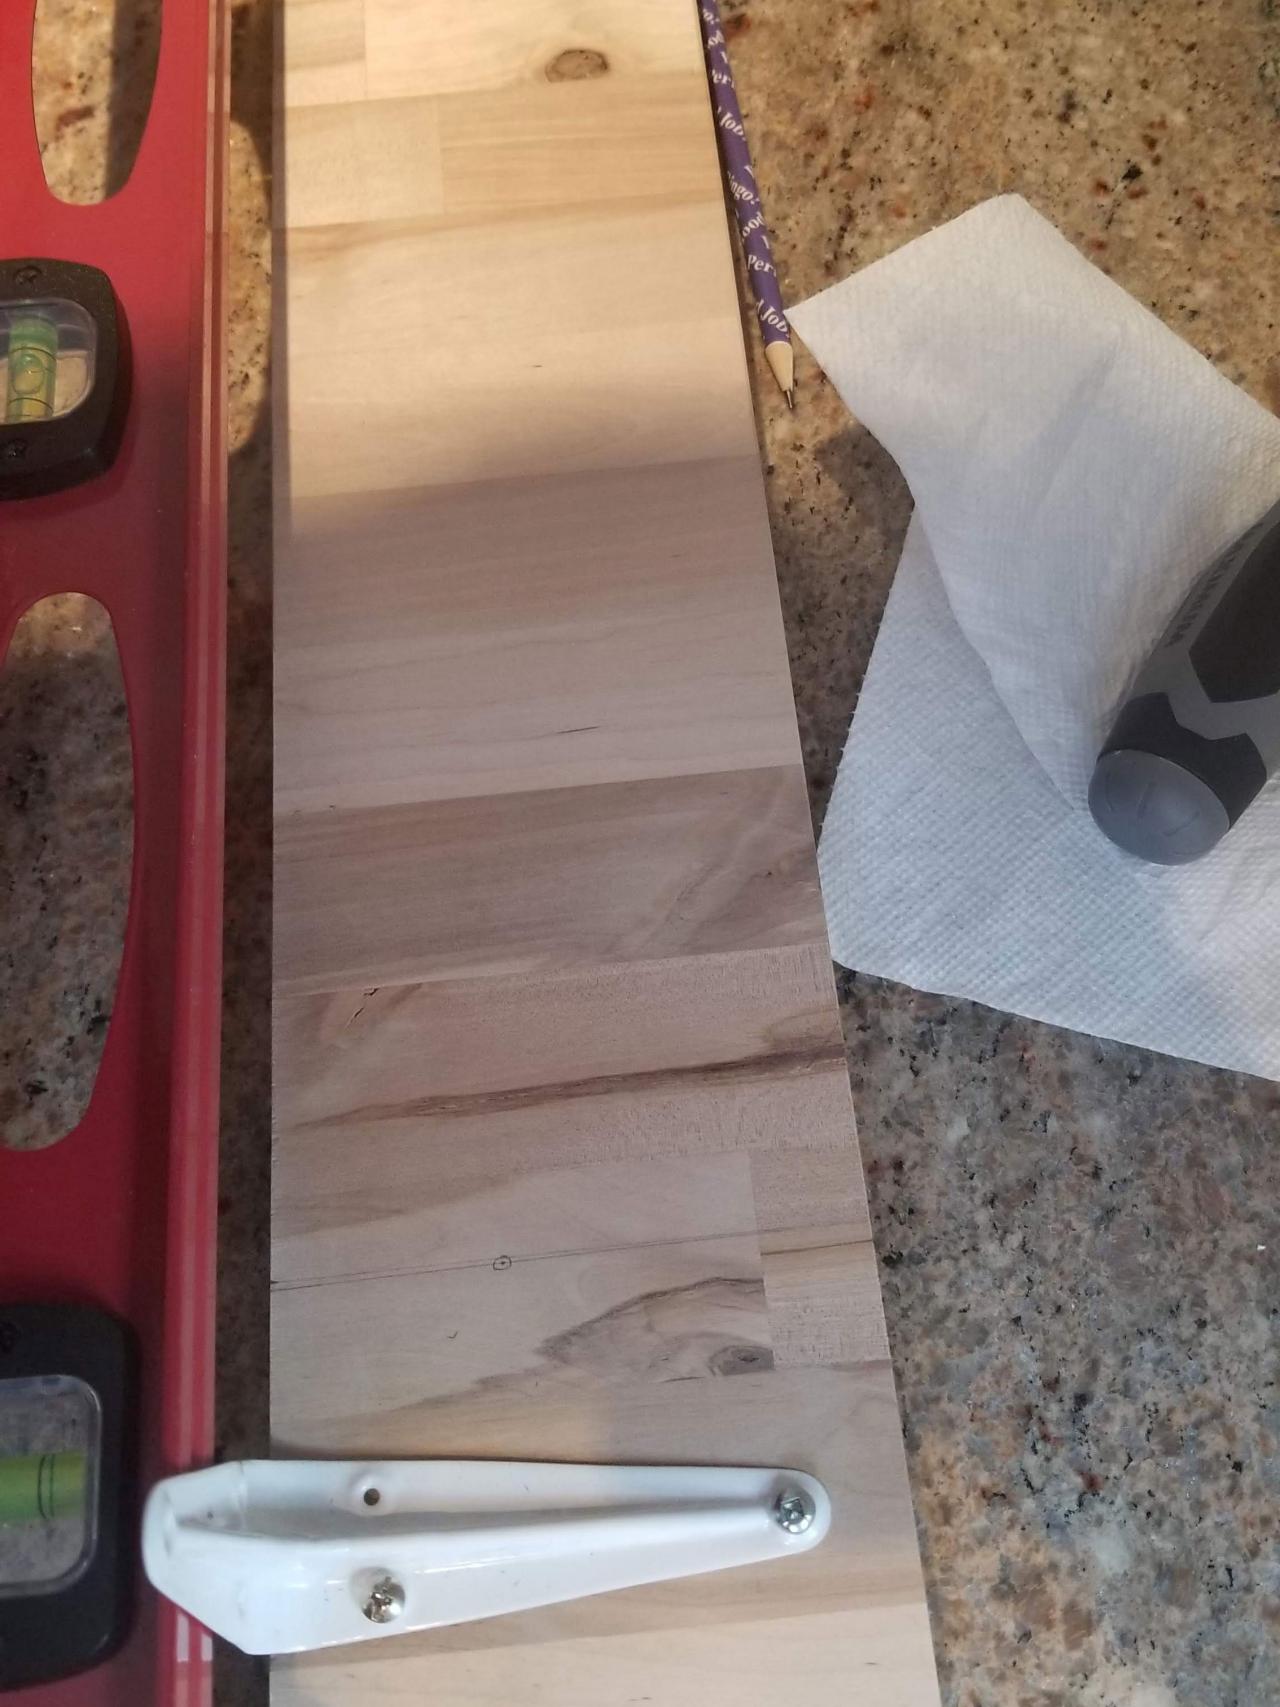
To help reinvent the space, Nina chose to replace the dated marble countertop with a fresh butcher-block piece. To do this, she removed the old top and stored it for future use. She purchased a butcher-block countertop piece from the hardware store and used a table saw to cut it to length. She then used the excess to create a shelf above the countertop.
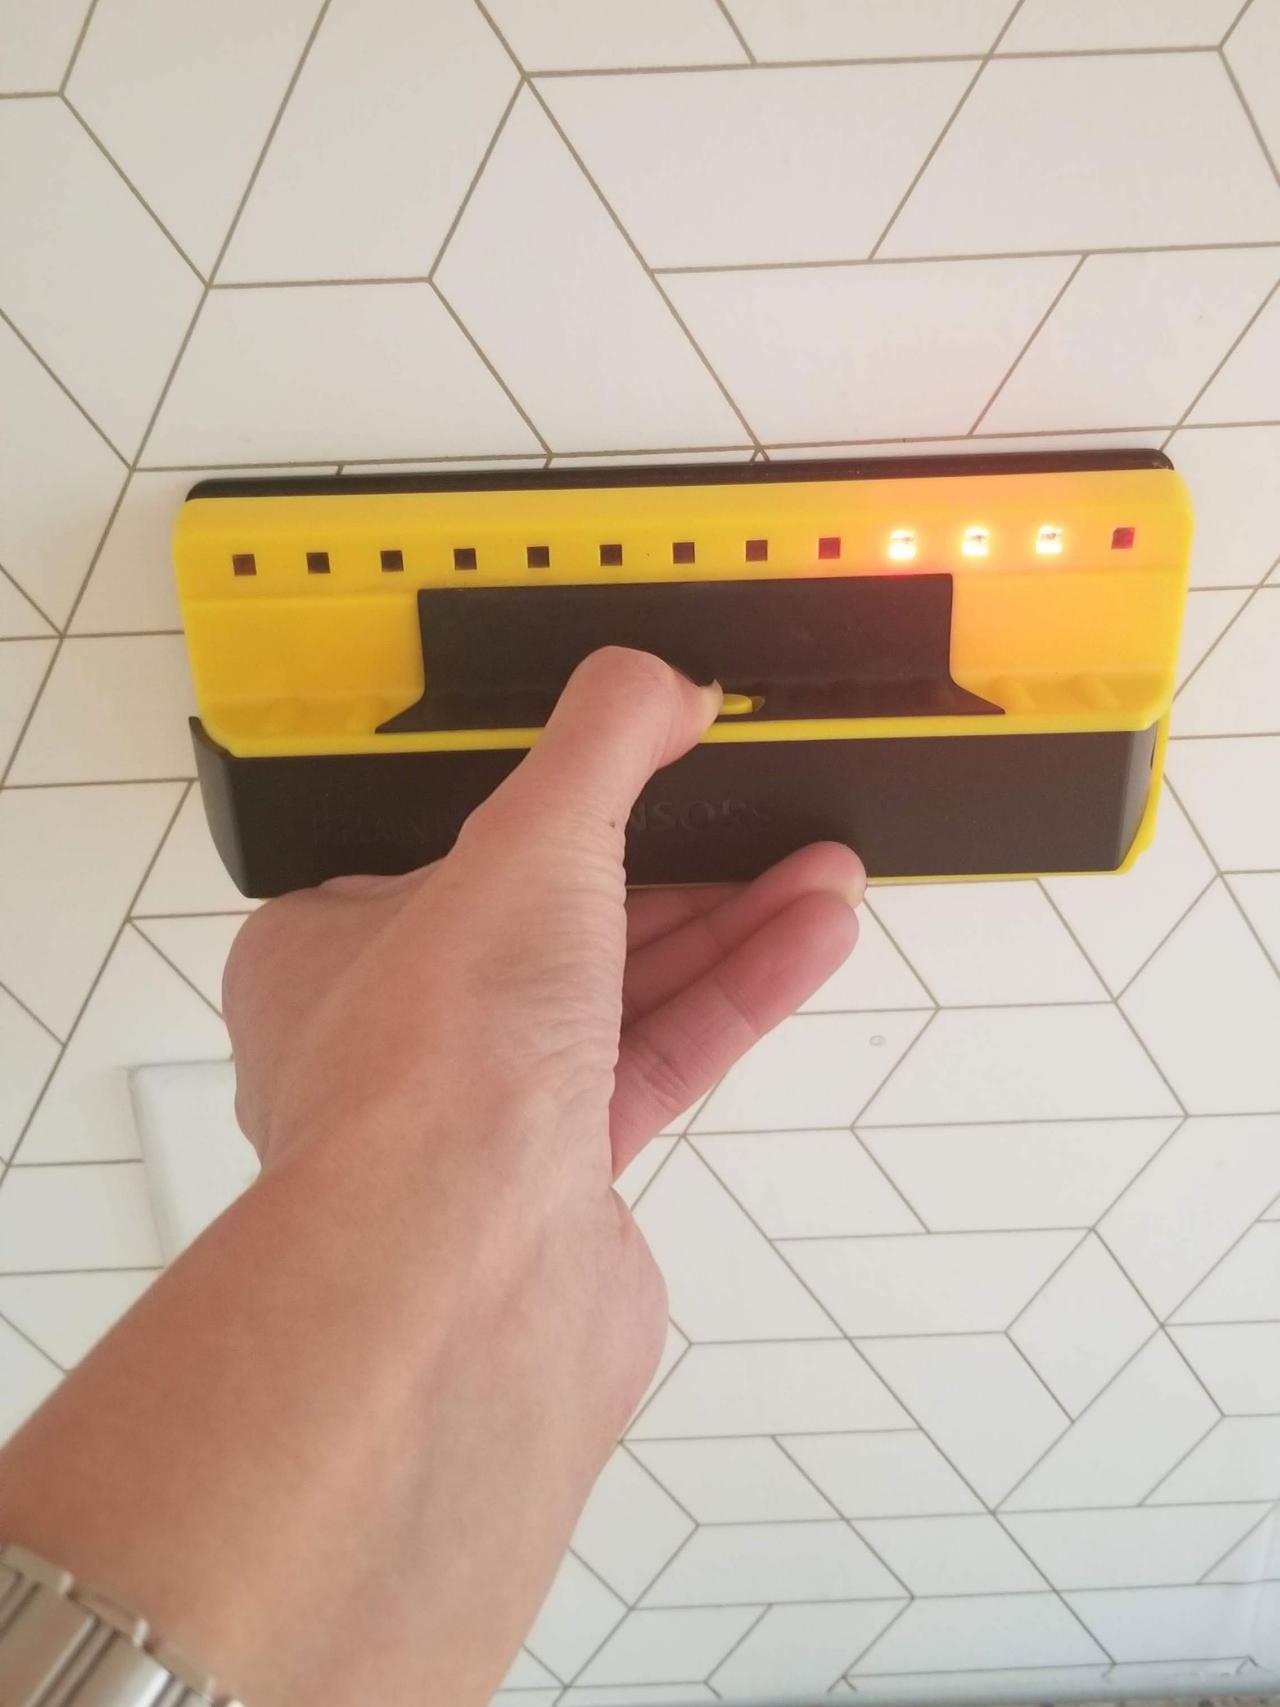
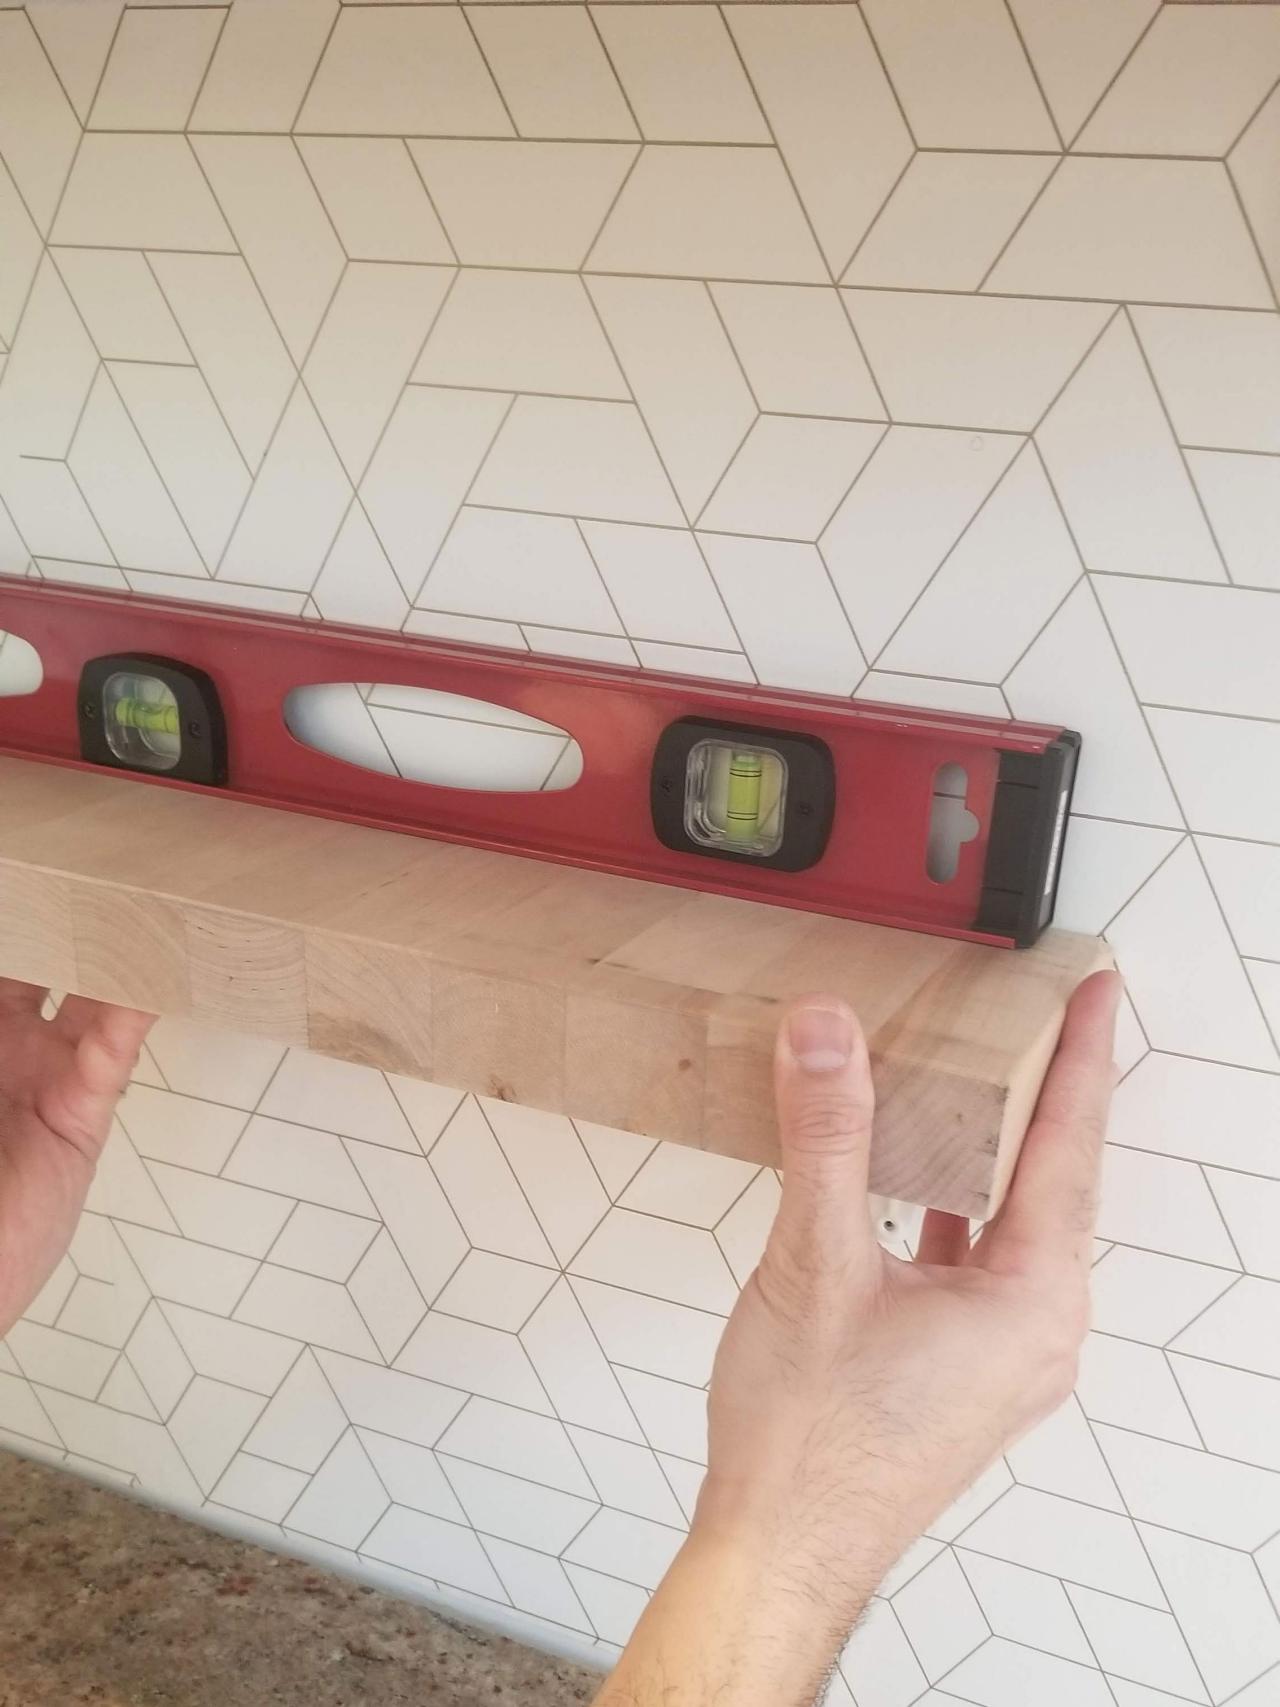
To do this in your space, simply follow Nina’s process. If you don’t have access to a table saw, use a circular saw to cut the piece to length (Image 1). Secure the countertop to the cabinets with small L-brackets by marking and pre-drilling the holes in the butcher-block, then fastening with small screws. To avoid drilling through the top, place a piece of painter’s tape on your drill bit to mark the depth so you know when to stop drilling. If you too have enough leftover butcher-block, use a couple of small shelf brackets to turn it into a shelf. Use a stud finder and level to mark the wall and install the shelf brackets, screwing securely into the studs for strength (Images 2-4).

Nina Naqvi

Nina Naqvi


Nina Naqvi
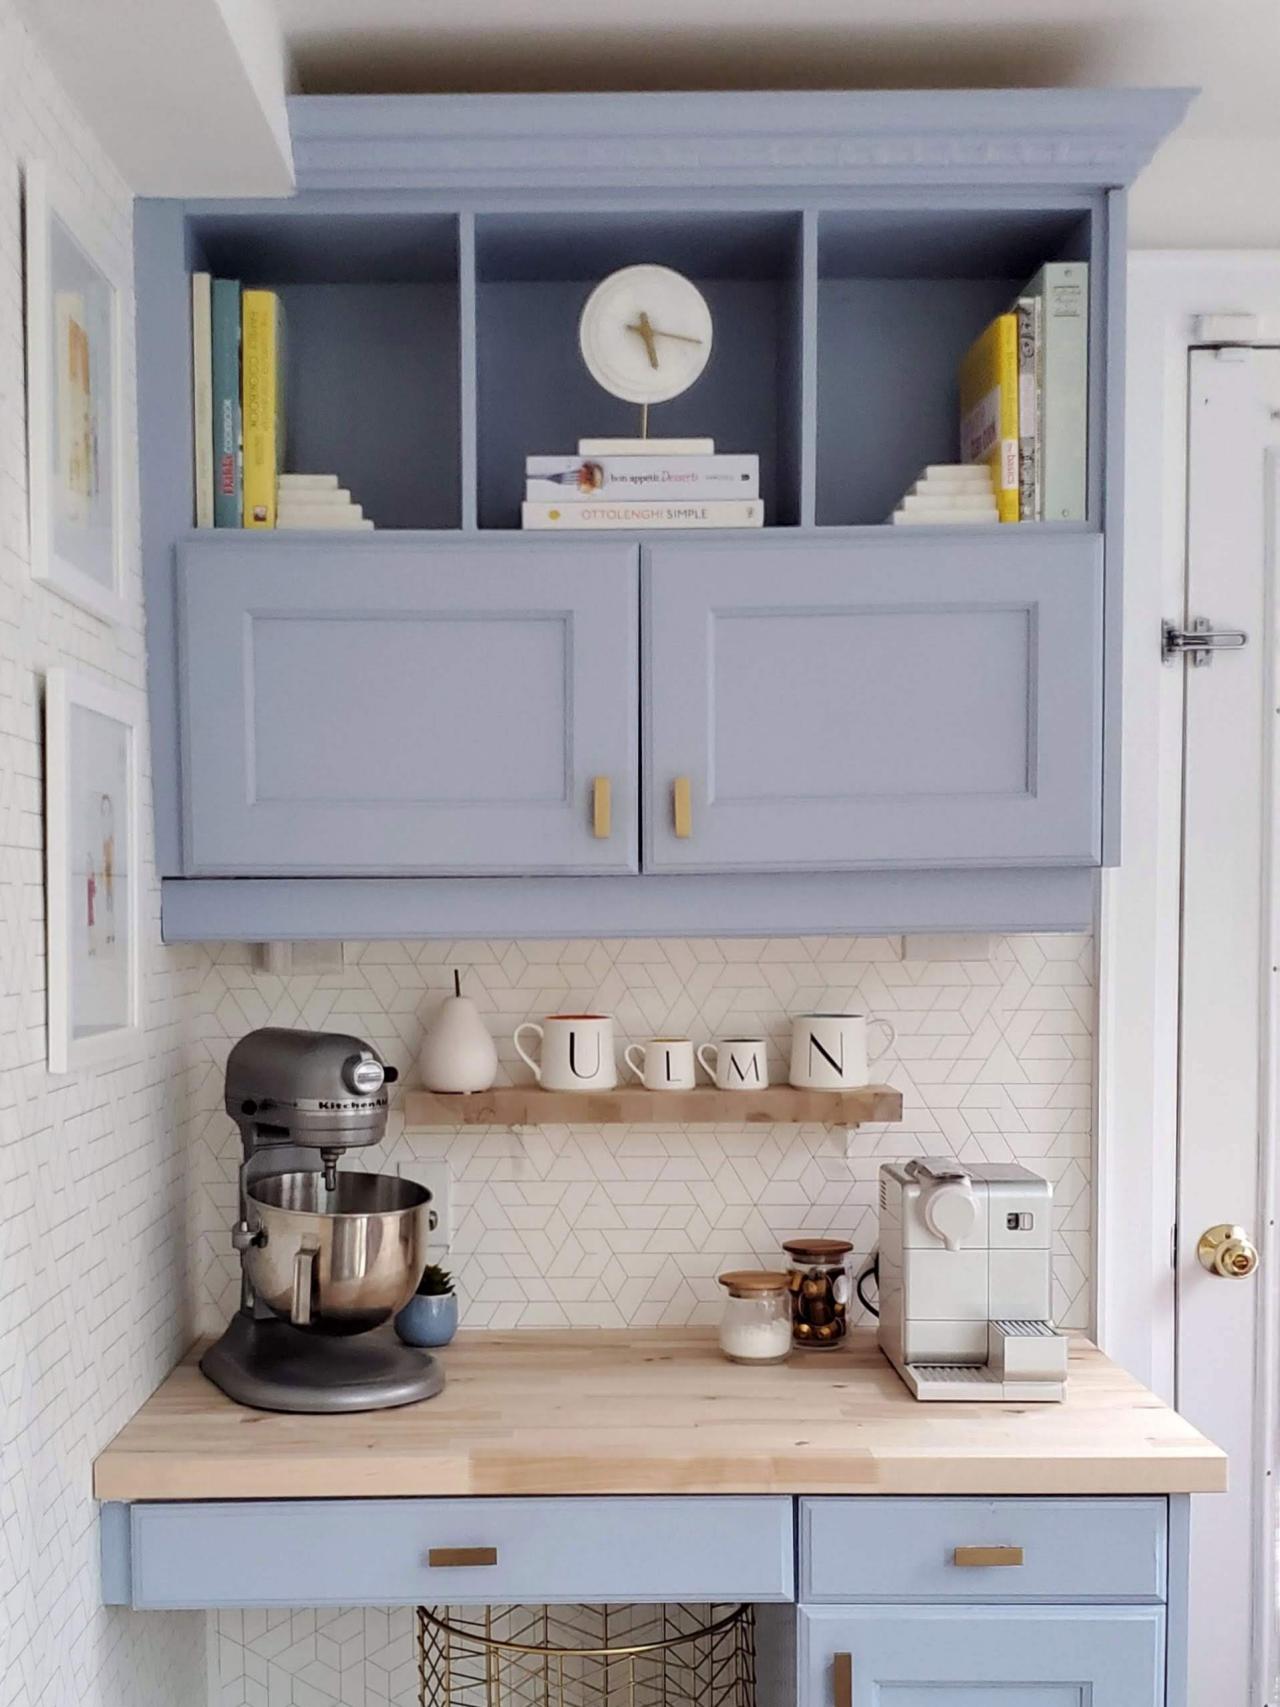
Declutter and Style

Nina Naqvi
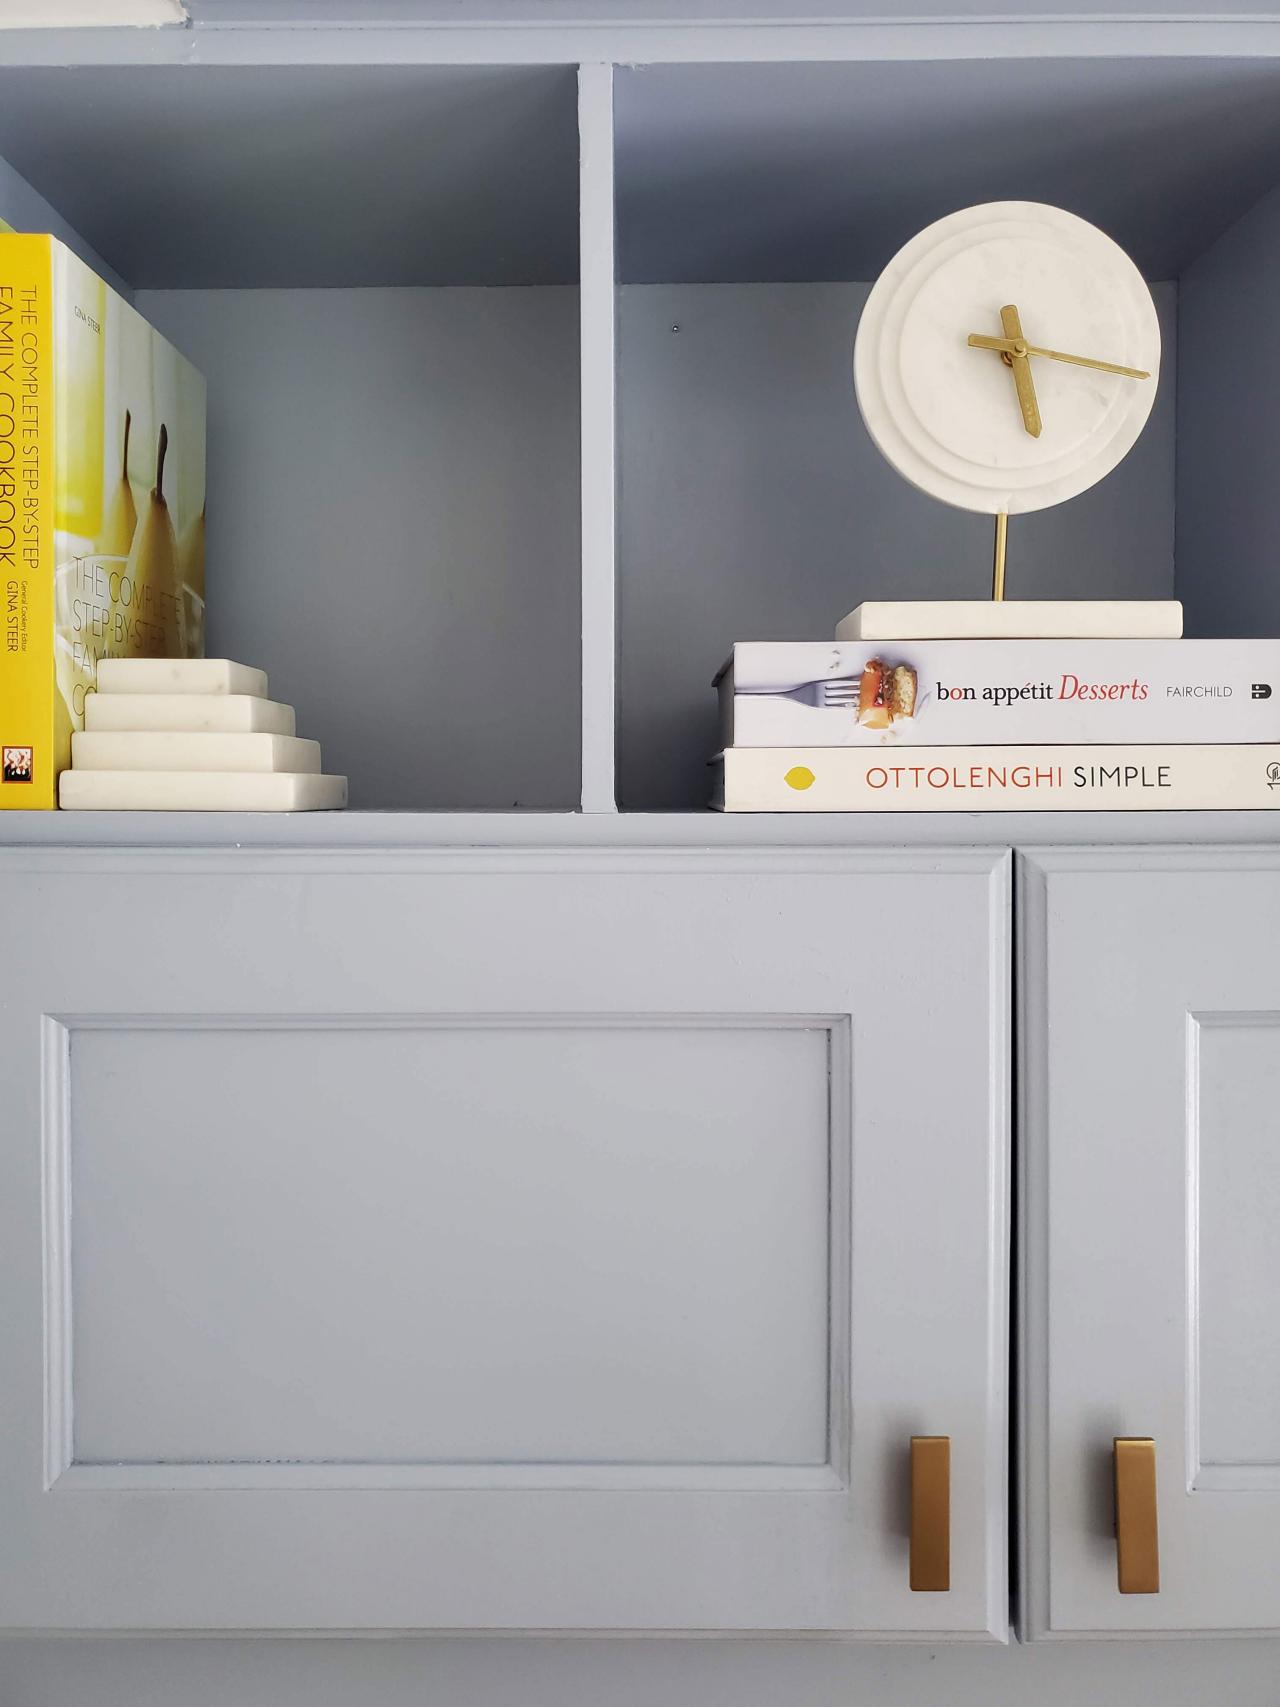
Nina knows that even a beautifully renovated space can’t reach its full potential without proper styling, which is why she is adamant in saying, “Make sure you declutter, declutter, declutter! Sometimes, we end up adding in a space without decluttering and it ends up feeling disorganized and messy.” To do this, she suggests grouping like items and finding a purposeful space for everything.
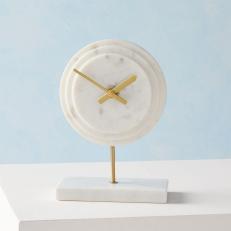
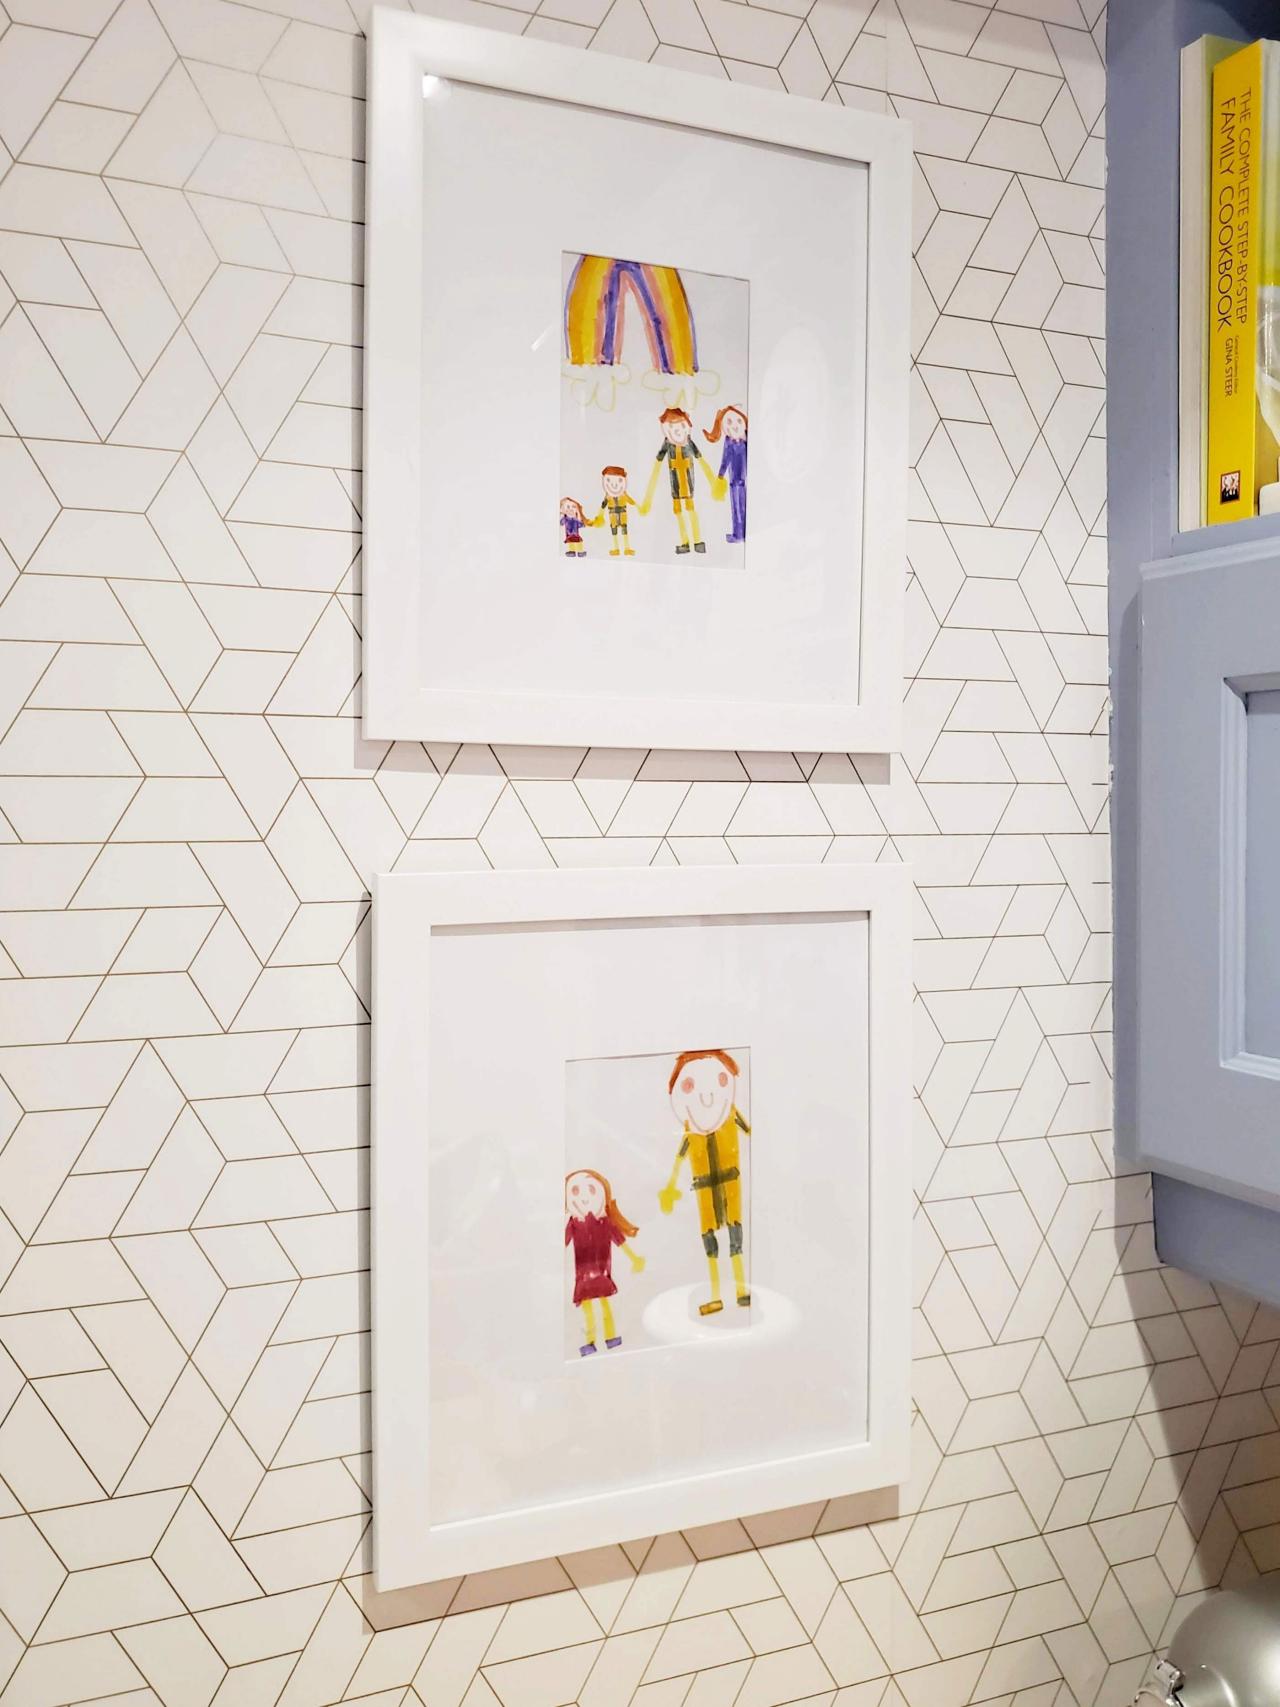
In this type of space, striking a balance between function and form is a great way to style. Items like cookbooks, mugs and even some small appliances look great on open shelving or countertops, while small items such as art supplies, coffees, teas and utensils find their home inside drawers and cabinets. By mixing in decorative items, you can add intentionality to an overall design that features functional items, as Nina did by placing the marble clock atop the stack of cookbooks. “Clearing up the top shelving allowed me to display my recipe books and add in a few cute accessories that I thought would accentuate the corner with a modern touch. The marble accessories did just that,” she says.
Buy It


Pro Tip: When experimenting with styling a space, it can be helpful to take pictures of your different options. This offers a surprisingly different vantage point that can aid in the decision-making process.
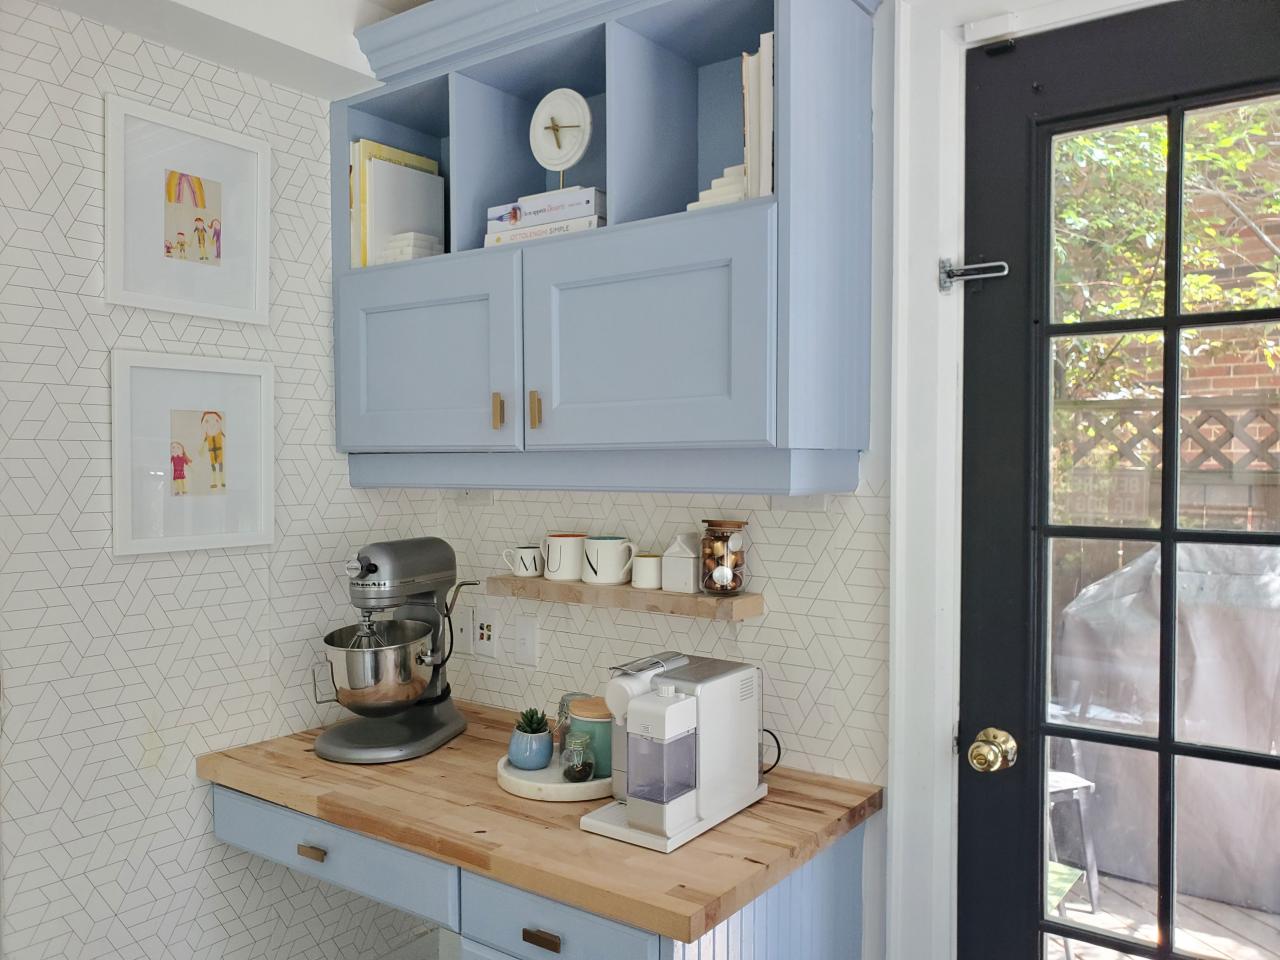
Admire Your Handiwork
Nina Naqvi
Once complete, take a step back and admire your work. As you style the newly renovated space, have fun and find an aesthetic that fits your vision for the space.


