


Child's Favorite Toy Photo Project


Materials Needed:
- object to be photographed
- digital camera
- spray adhesive
- pre-cut luan
- pre-cut 1x3 MDF or pine trim
- drill
- wood screws
- utility knife
- miter saw
- drywall screws
- tape measure
- notepad and pencil
- marker
- stud finder
- wood glue
- wood filler and putty knife
- medium-grit sanding block
- level
- sponge
- bucket of warm, soapy water
- nail gun
- brads
Select Item to Photograph
Sort through favorite toys and objects looking for those with graphic shapes and/or vivid colors. Tip: Stick with easily identifiable objects such as cars, trucks, dolls, teddy bears and army men.
Take High-Resolution Photo
Place item in a well-lit area with an interesting texture in the background. Use digital camera to take a straight-on image because photos taken at an angle can distort objects, making them less recognizable.
Measure Wall
Use tape measure to determine dimensions of wall on which finished project will hang. Jot measurements down on notepad using pencil. Refer to dimensions on note pad when deciding on size for finished project.
Have Image Printed Onto Vinyl
Have image printed in your desired size onto UV-resistant vinyl at a local digital printing house or sign shop.
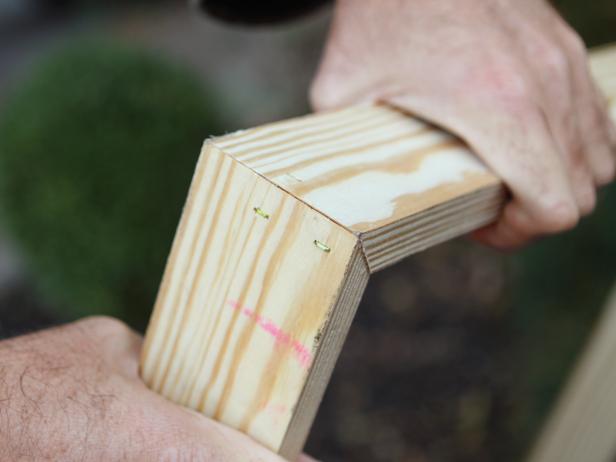
Create Box Frame
Have four pieces of 1x3 MDF or pine trim and one piece of luan veneer cut to size at a local home improvement store. To create a cleat, also have one piece of 1x3 MDF or pine trim cut two inches shorter than width of box frame. At home, miter edges of four pieces of trim using miter saw, then glue mitered edges together to create a wooden frame. Strengthen the bond with screws, brads or staples. Place luan veneer on flat surface, attach frame with wood glue and screws, brads or staples. Fill screw or brad holes with wood filler using putty knife.
Create Cleat
Use miter saw to cut extra piece of 1x3 MDF or pine trim in half. Screw one half of cleat directly to bottom of top piece of box frame trim.

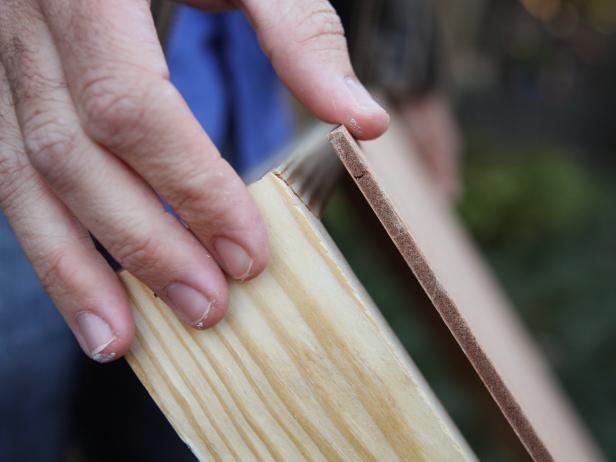
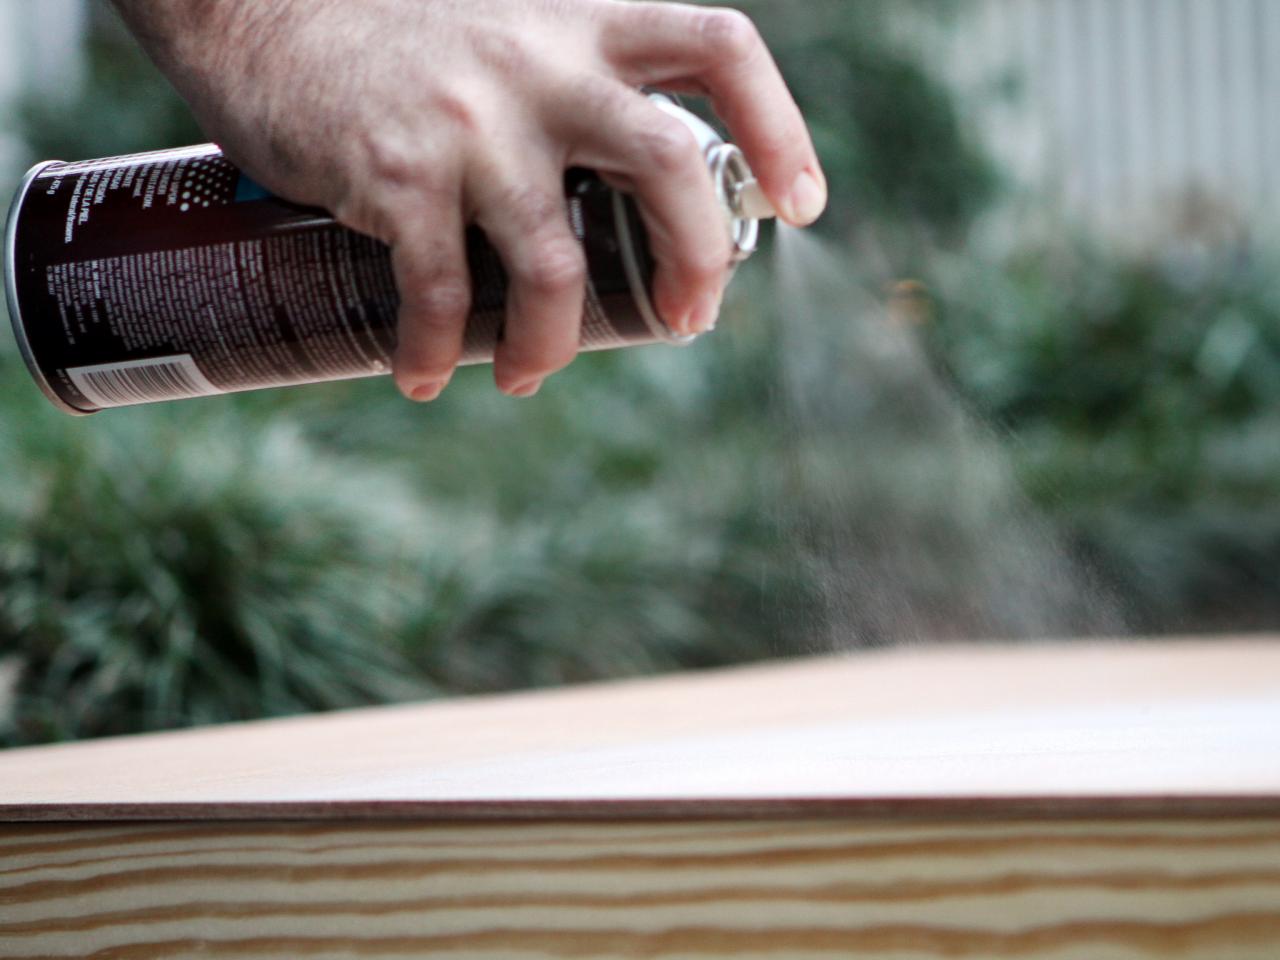
Adhere Vinyl
Flip frame over and place vinyl print on top of luan. Mark to size using marker and level. Cut along marked line using utility knife. Spray vinyl adhesive onto front of luan and press vinyl print into place. Remove any air bubbles using smoothing tool. Wipe surface of vinyl clean using damp sponge.

Attach Cleat and Hang
Mark wall where top of box frame will sit using pencil and level. Attach cleat to wall using drywall screws. Place box frame onto wall-mounted cleat ensuring a tight, secure fit.


