


Fragmented Map Art Project


Materials Needed:
- wall-size vintage map
- level
- pencil and notepad
- tape measure
- frames
- scissors or utility knife
- hammer
- picture hangers
- contractor paper
- marker
- painter's tape
Measure and Mark Map
Spread map out on long, flat surface. Using tape measure, measure inside dimensions of frames; combine this to determine needed width and height of map area to be framed. Mark area on map using pencil and level — a level provides a straight edge perfect for drawing continuous, long lines.

Cut Map
Using scissors or utility knife and level, cut map to size along inside of pencil marks. Place frames on map to ensure correct dimensions. Remove frames, divide map into fragments based on inner dimensions of frames. Mark map using pencil and level then cut out map sections.

Frame Map Fragments
Once all cuts are made, insert each map fragment into a frame. Tip: Be sure to clean glass before inserting map.

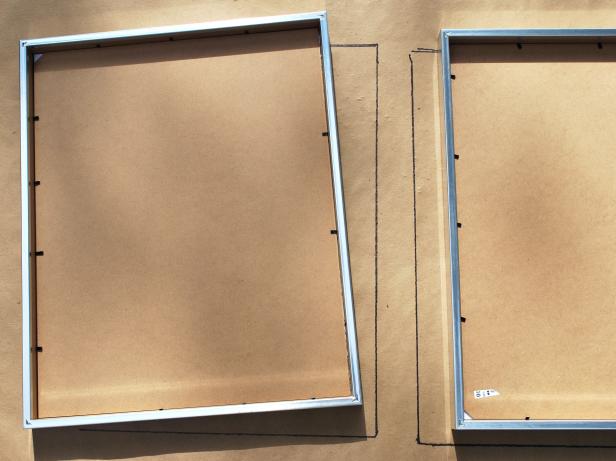
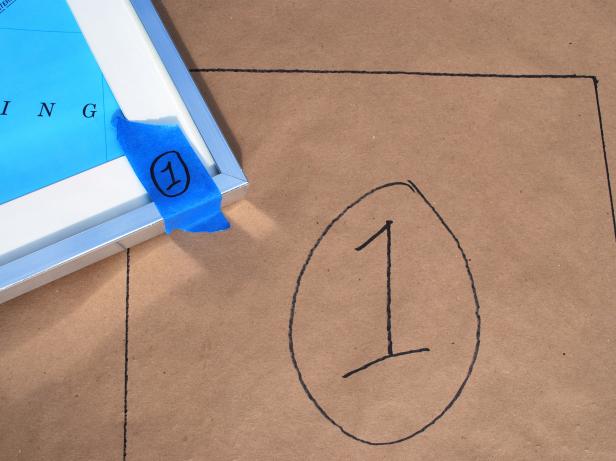
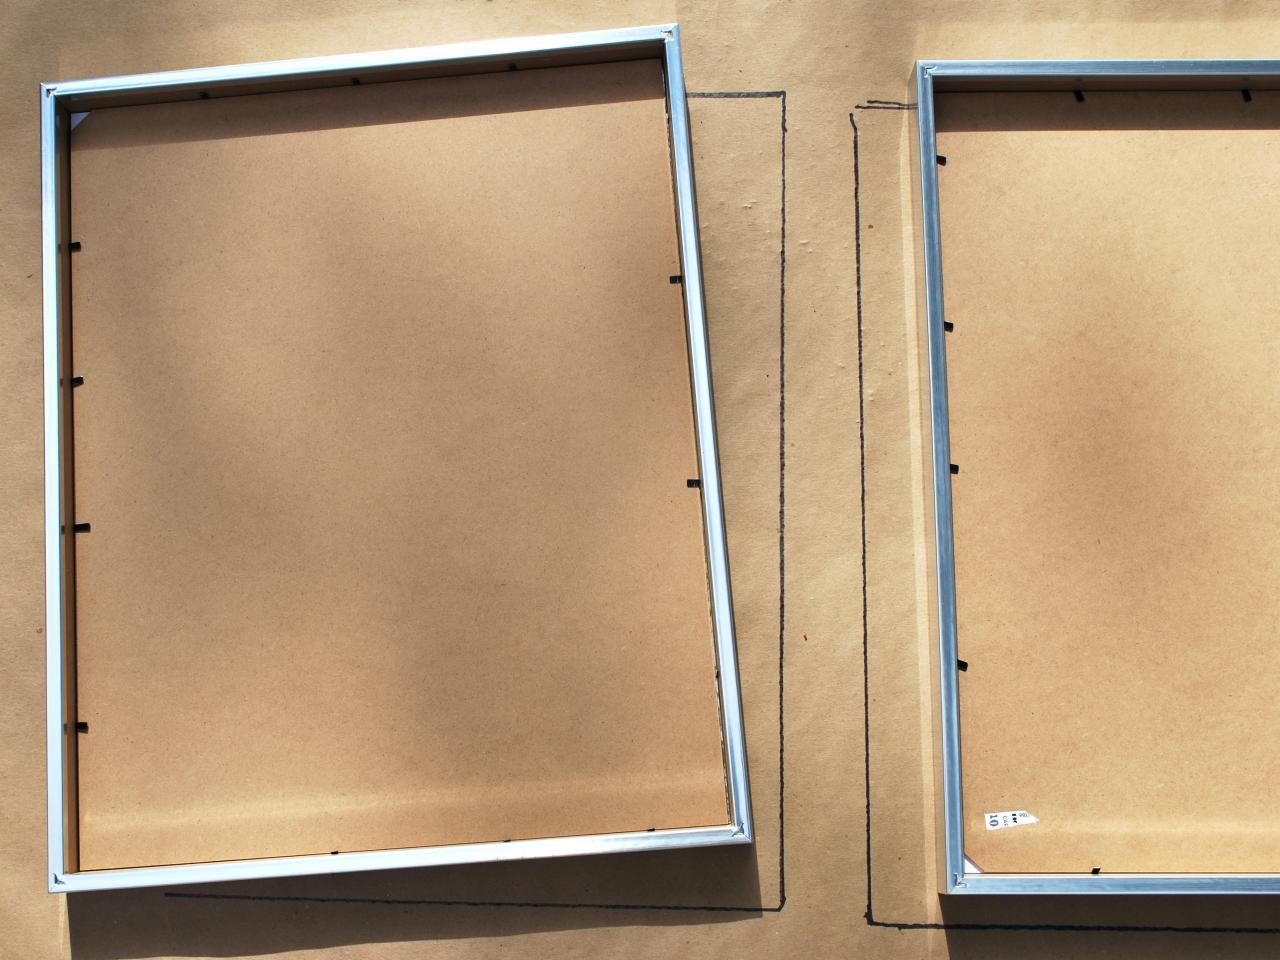
Create a Template for Hanging
Use tape measure to determine height and width of wall area where map will hang. Jot dimensions down on notepad using pencil. Roll out contractor paper on a long, flat surface. Referring to notepad, mark wall dimensions on contractor paper with marker and level. Arrange frames on contractor paper leaving the same amount of distance between each. Trace frame outlines onto paper with marker, number each frame with a piece of painter's tape and note corresponding numbers on the template.
Use Template to Mark Wall
Place template on wall, temporarily securing it with painter's tape. Use tape measure to determine exact placement of each frame's hanger. Once determined, mark with pencil, then create hole by tapping a nail lightly through paper with hammer.
Hang Frames
Once all picture hanger holes have been created, remove template. Fully hammer nails into the wall; hang frames in order to create a complete map. Finally, remove painter's tape numbers from frames.


