


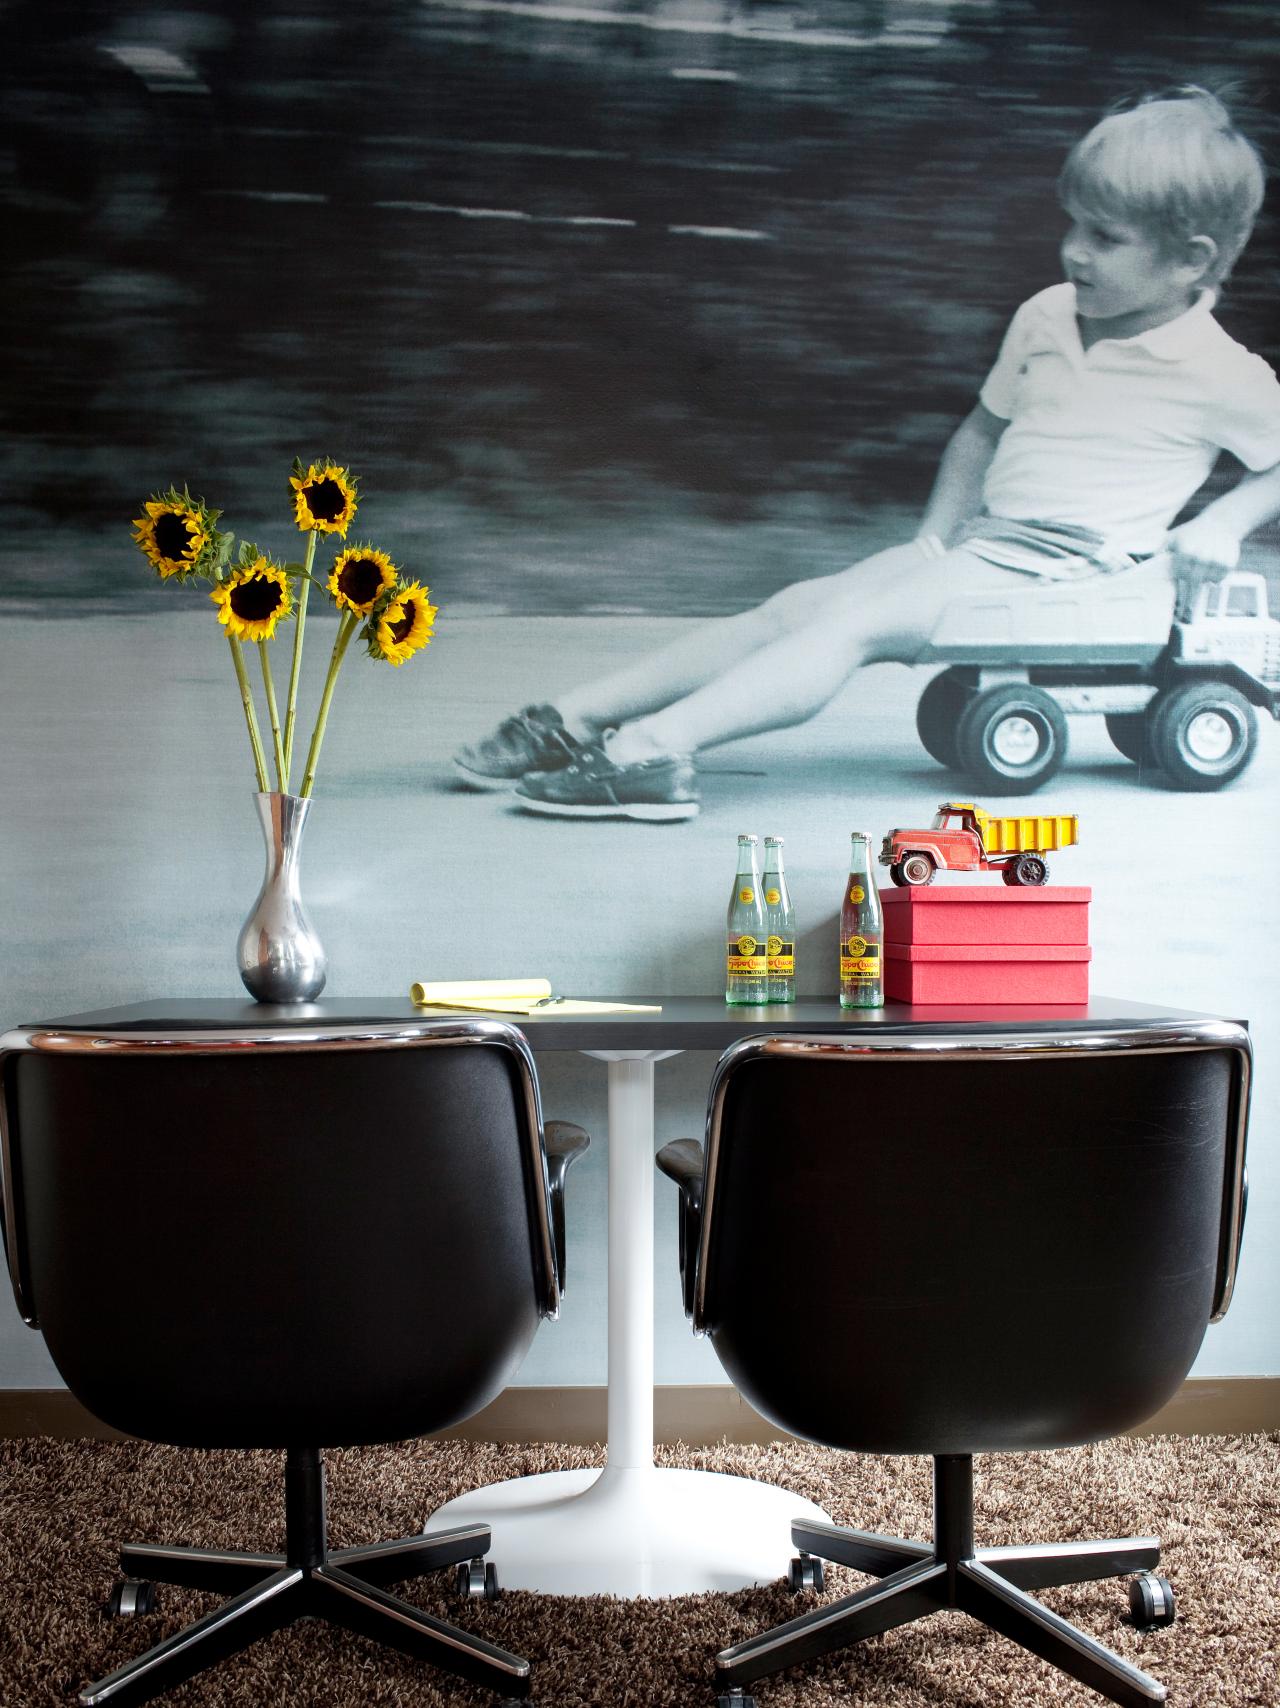
Kids' Photo Wall Mural


Materials Needed:
- high-resolution favorite photo
- wallpaper paste
- wallpaper primer
- roller handle
- roller cover
- paint pan
- pan liner
- utility knife
- bucket of warm, soapy water
- sponge
- spackle and putty knife
- medium-grit sanding block
- notepad and pencil
- level
- wallpaper-smoothing tool
Select Photograph
Choose an image with people or objects that are easily recognizable from far away. Graphic shapes work best. Tip: Black-and-white images are a great choice because they'll work with any color scheme.
Have Image Printed
Drop image off at a local digital printing house; request that image be printed onto UV-resistant vinyl.
Prep Wall
Create a smooth wall surface by filling any nail or screw holes with spackle using a putty knife. Once dry, sand spackled areas with medium-grit sanding block. Pour wallpaper primer into pan liner, add roller cover to roller handle, dip in paint, then prime wall.
Cut Vinyl to Size
Use tape measure to determine height and width of wall. Jot dimensions down in notepad with pencil. Lay vinyl out on long, flat surface. Referring to dimensions, mark vinyl to size with pencil and level, leaving an extra two inches all the way around to account for waste. Cut vinyl to size along pencil mark.
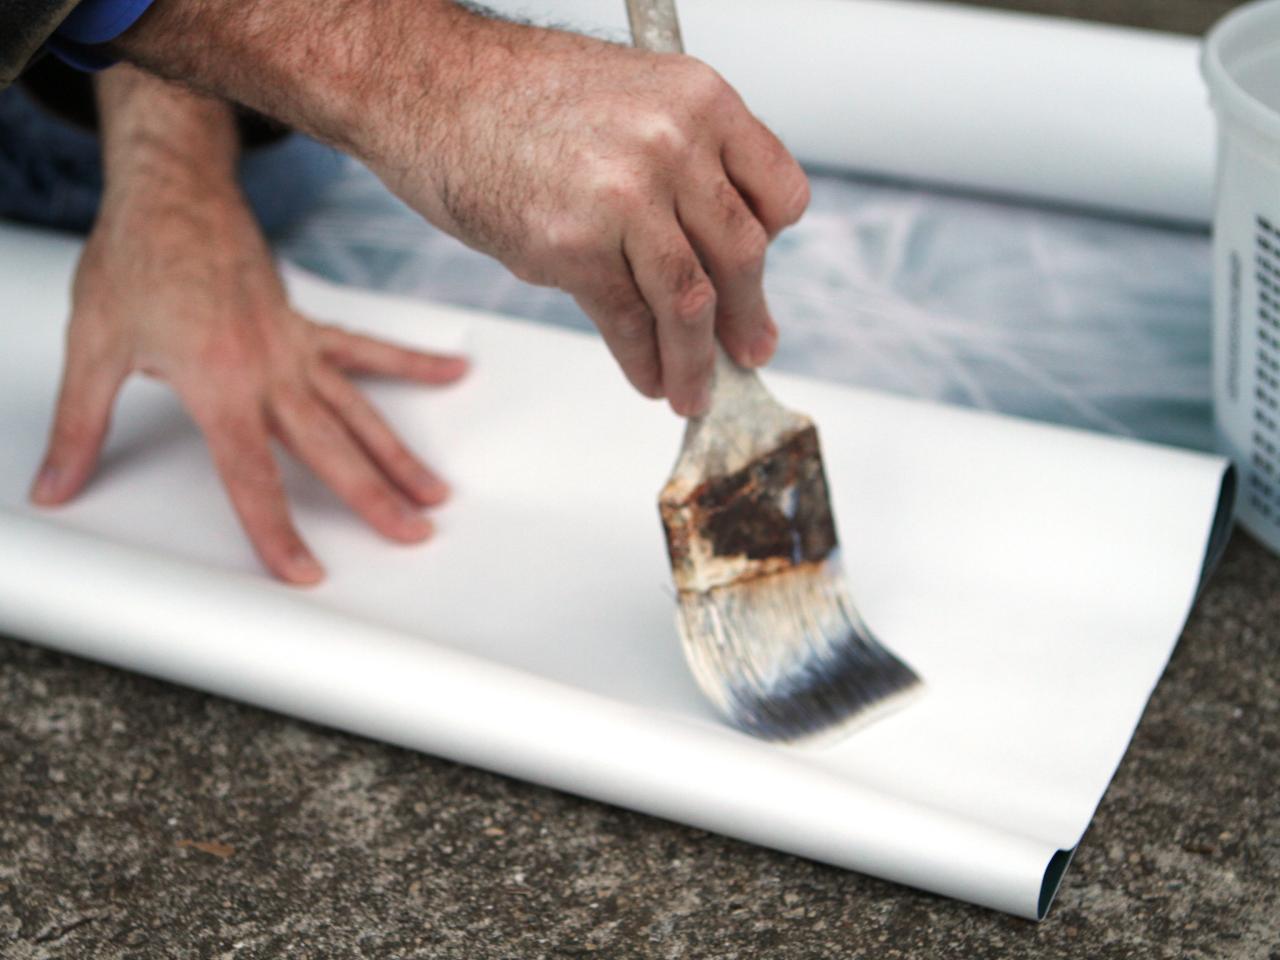
Add Paste
With precut vinyl laid out on a long flat, surface, add wallpaper paste to back using roller. Allow five minutes for paste to cure.

Dry Fit
With the help of a friend, hold vinyl in place on wall, assuring proper fit.
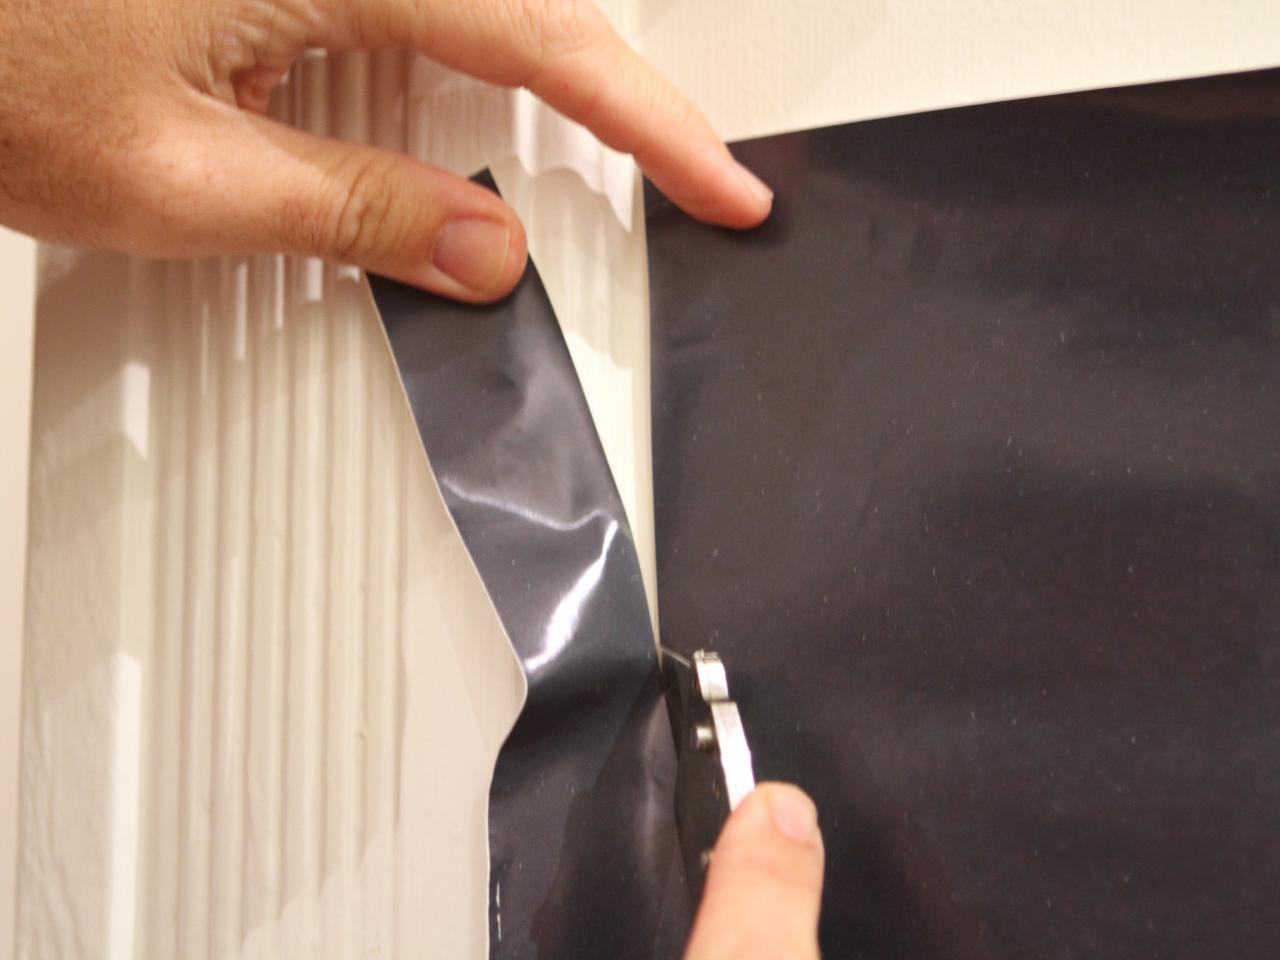
Attach and Cut
Once proper fit is ensured, press vinyl in place. Use wallpaper smoothing tool to remove all air bubbles from vinyl. Cut away excess along molding and baseboards using utility knife.

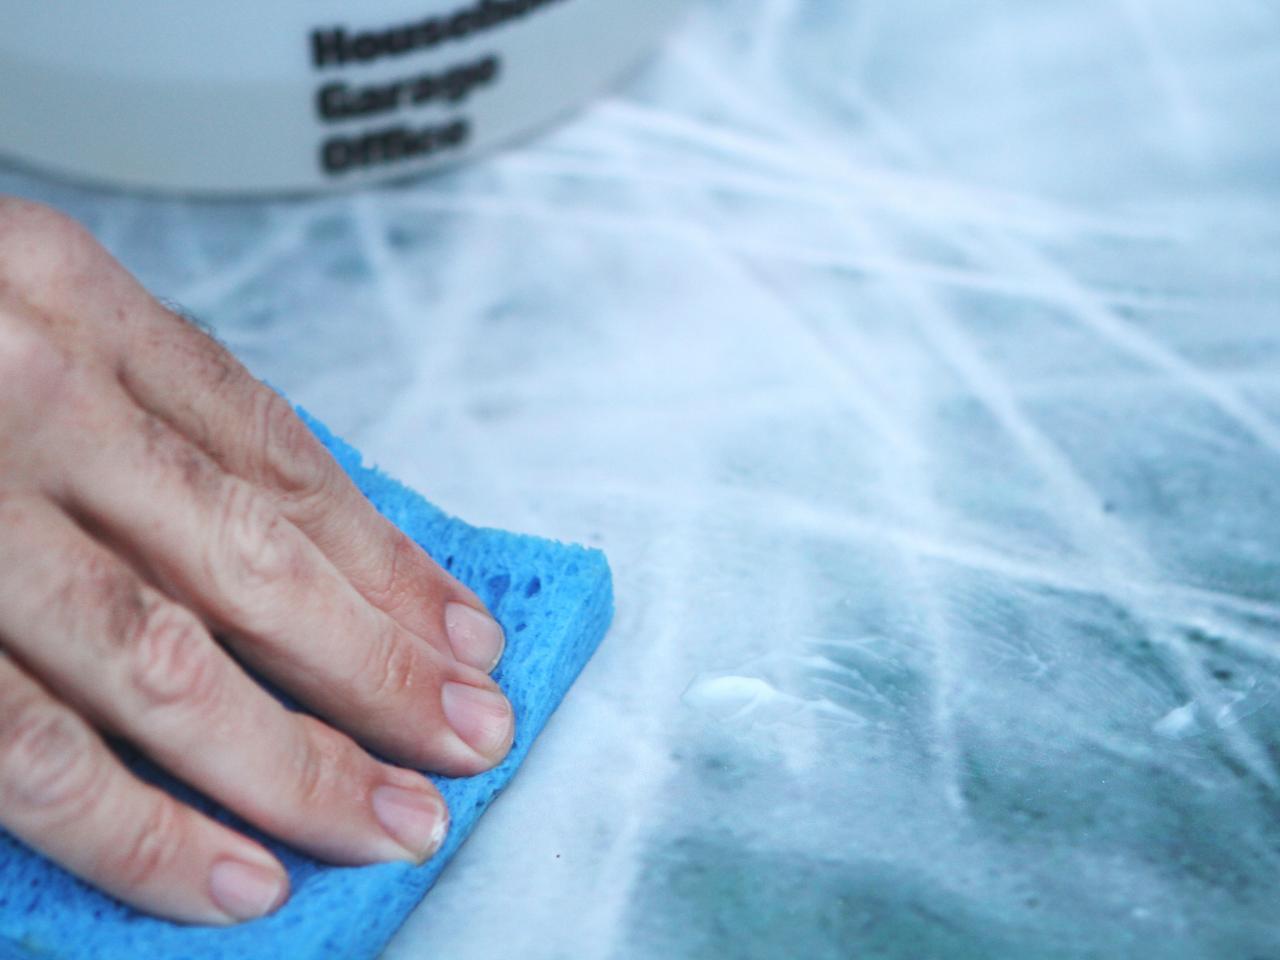
Clean Surface
Once vinyl is adhered, remove paste residue from surface using sponge and hot soapy water.


