


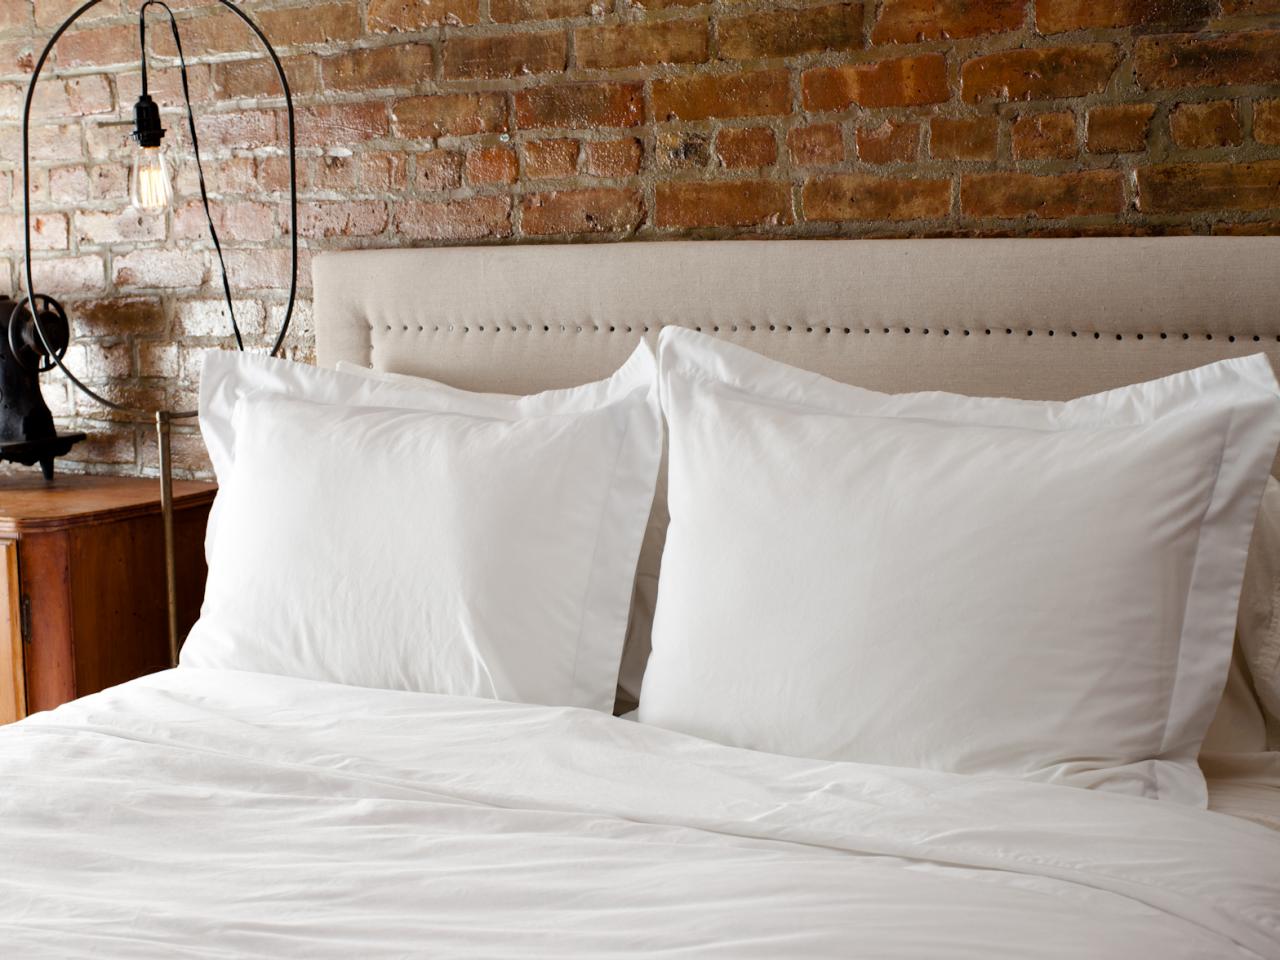
Canvas Headboard With Nail-Head Trim


Materials Needed:
- 4x8 plywood
- chalk line
- batting
- painter's canvas
- string or twine
- nail-in carpet tacks
- spray adhesive
- circular saw
- hammer
- tape measure
- stapler and staples
- scissors
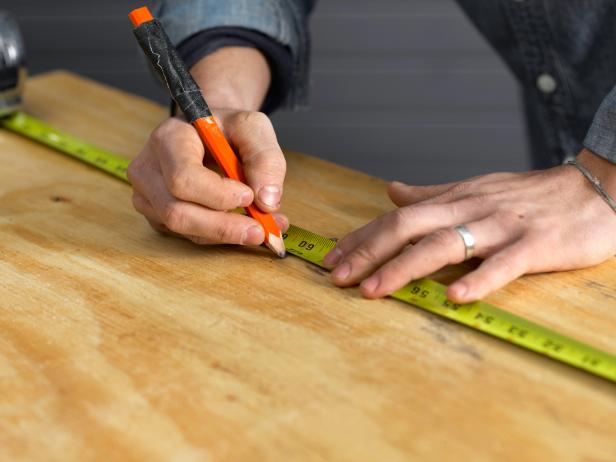
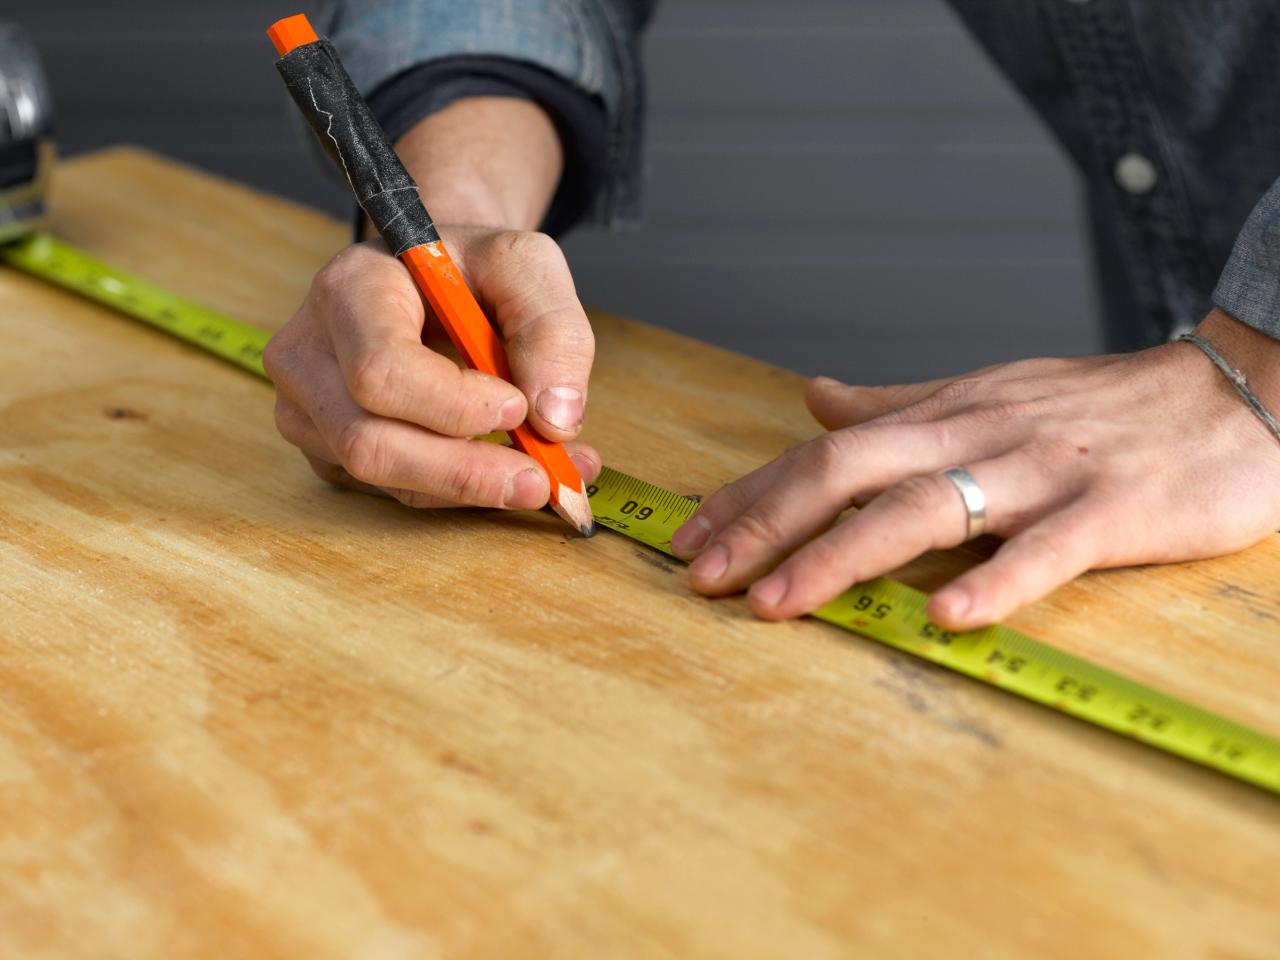
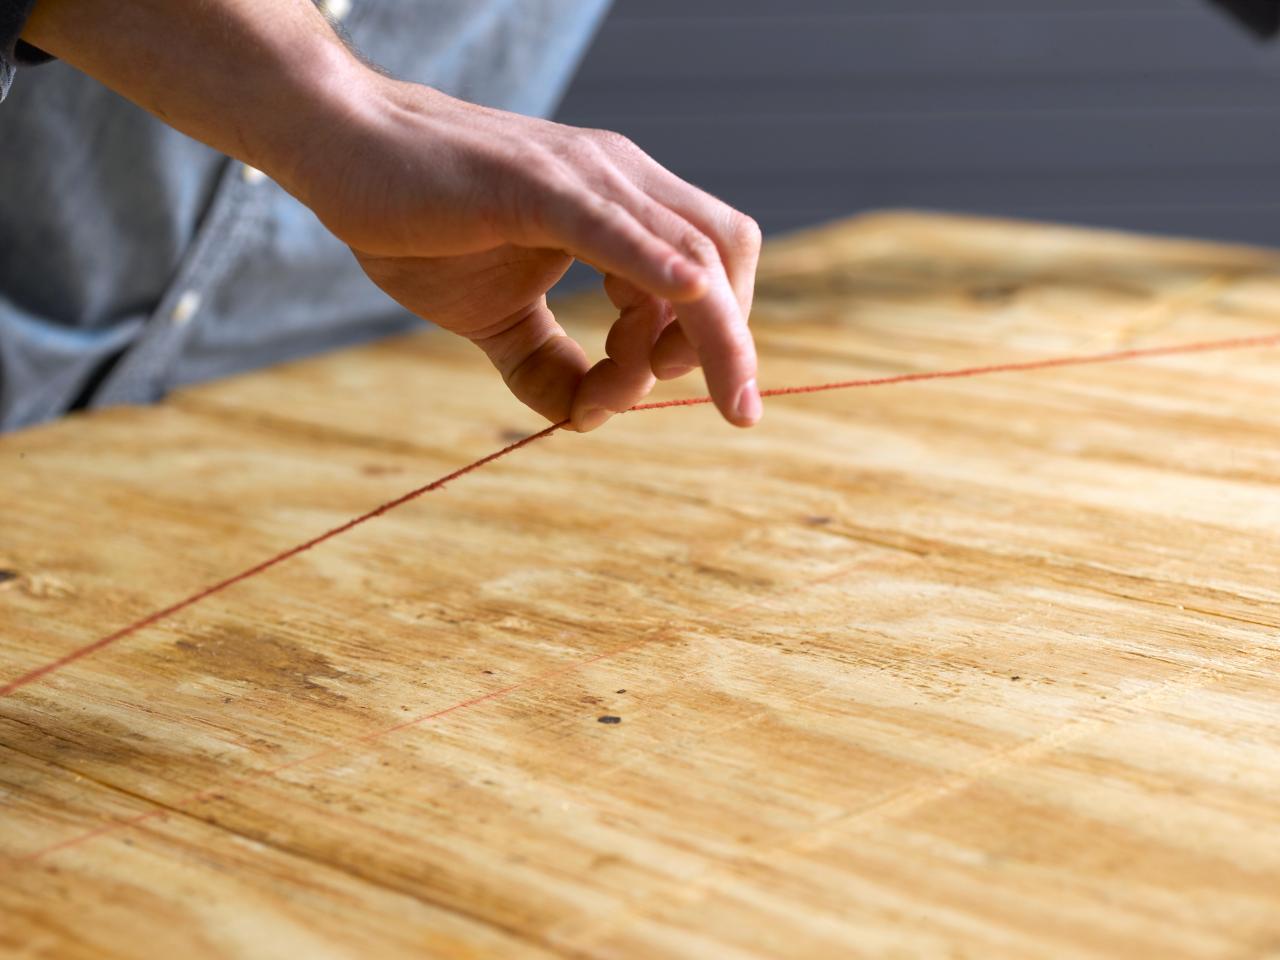
Measure and Mark
Measure the width of your existing bed frame. Lay the 4x8 plywood on a sturdy surface. With the four-foot side as your height, mark the width to match your bed frame.

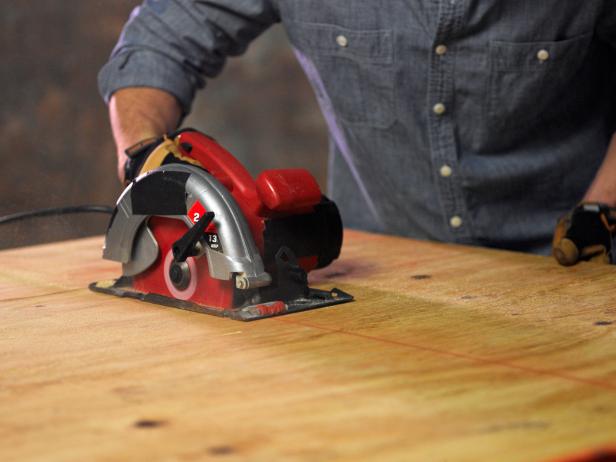
Cut the Plywood
Using a circular saw, cut the plywood to your dimensions. To make sure your lines are perfectly straight, use a chalk line to mark your measured width.


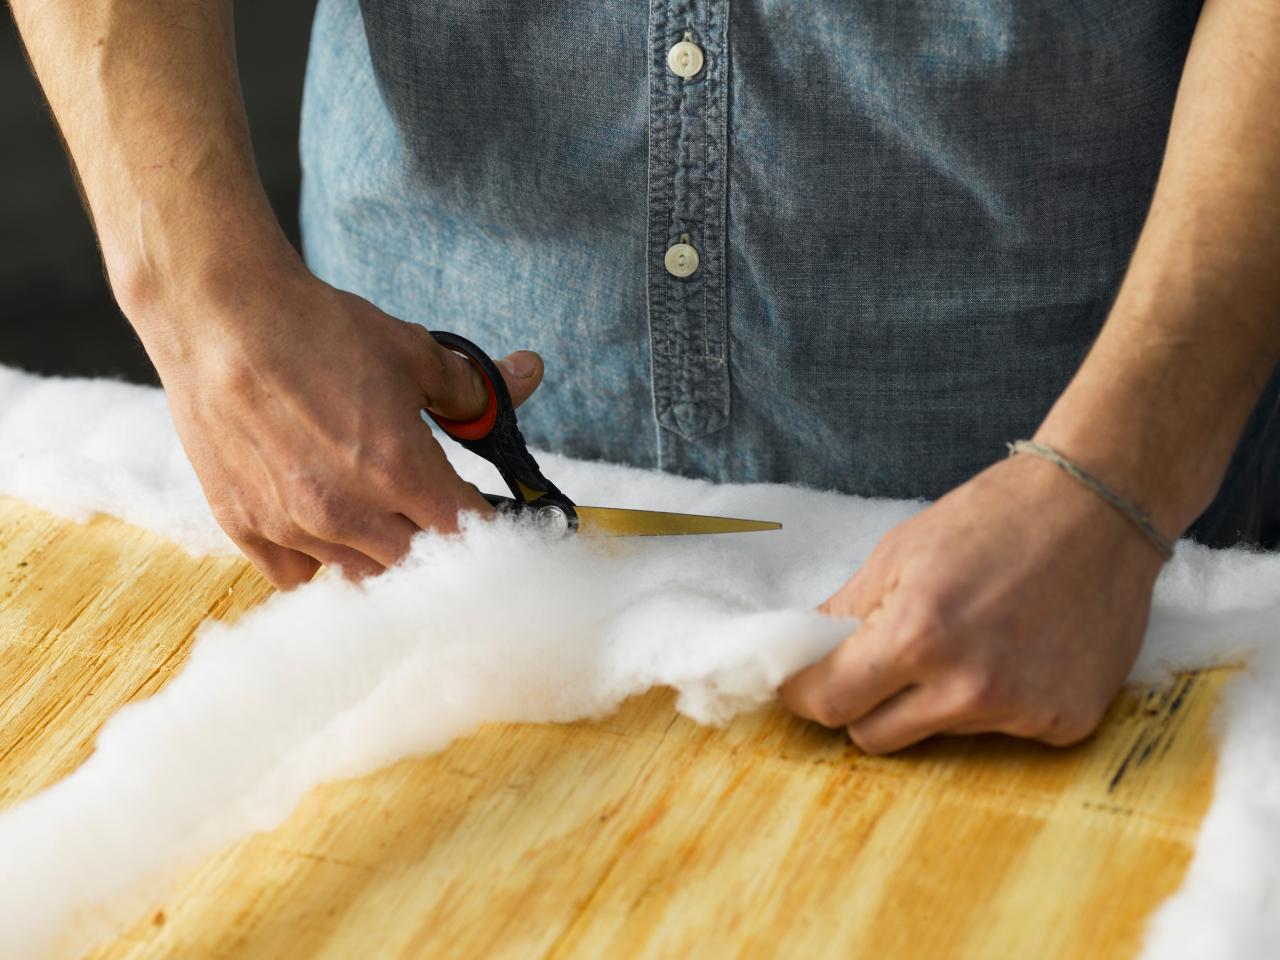
Lay Out Batting
Lay four layers of batting over the plywood, allowing several extra inches of batting on all sides of the plywood.

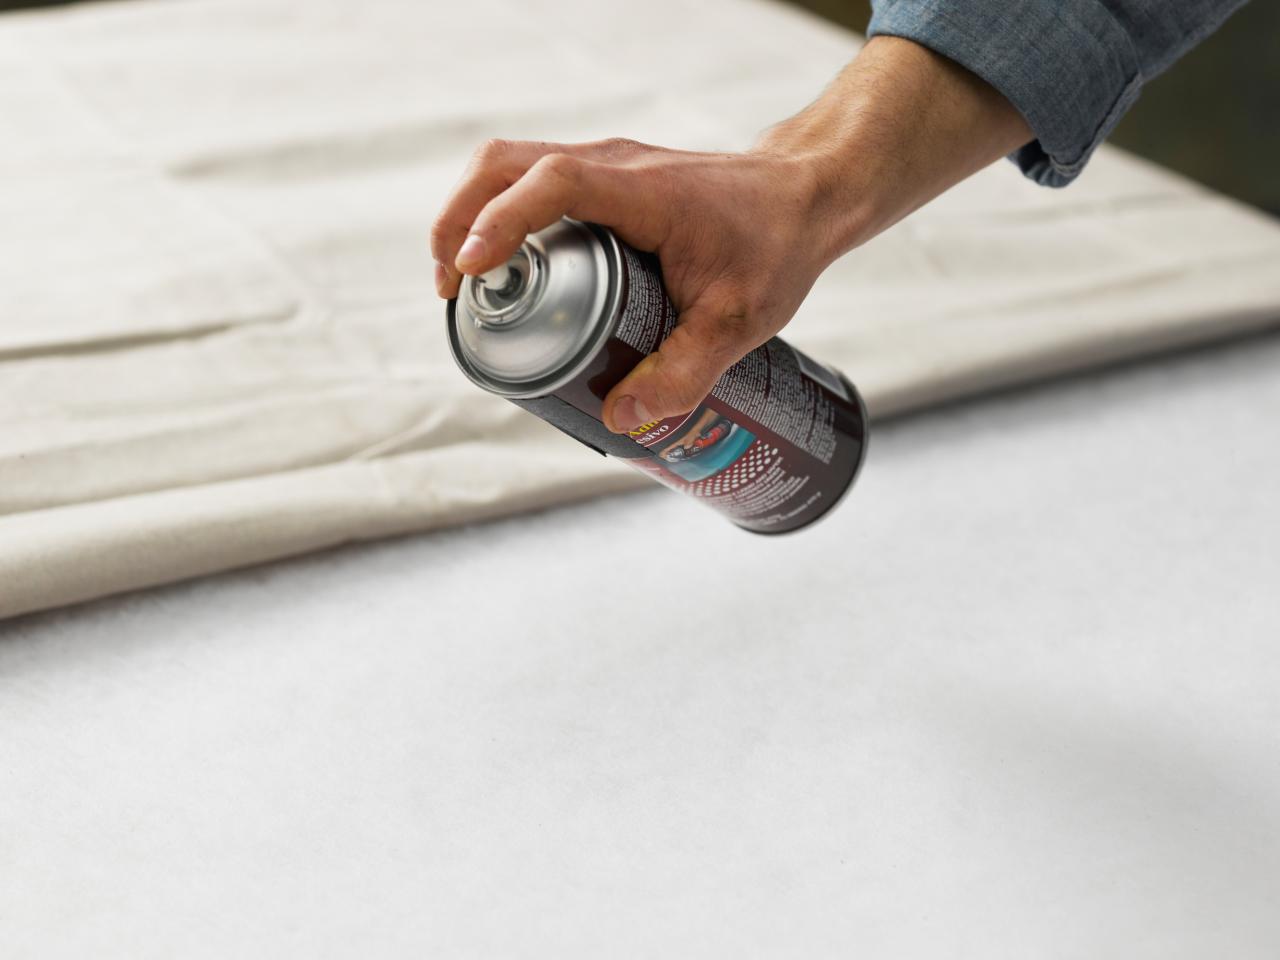
Spray Adhesive
Pull back the batting and spray a generous amount of fabric adhesive on the plywood surface. Place the batting firmly back on to the plywood.

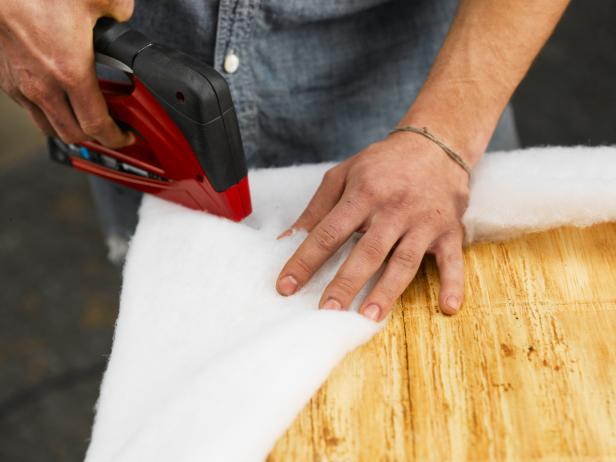
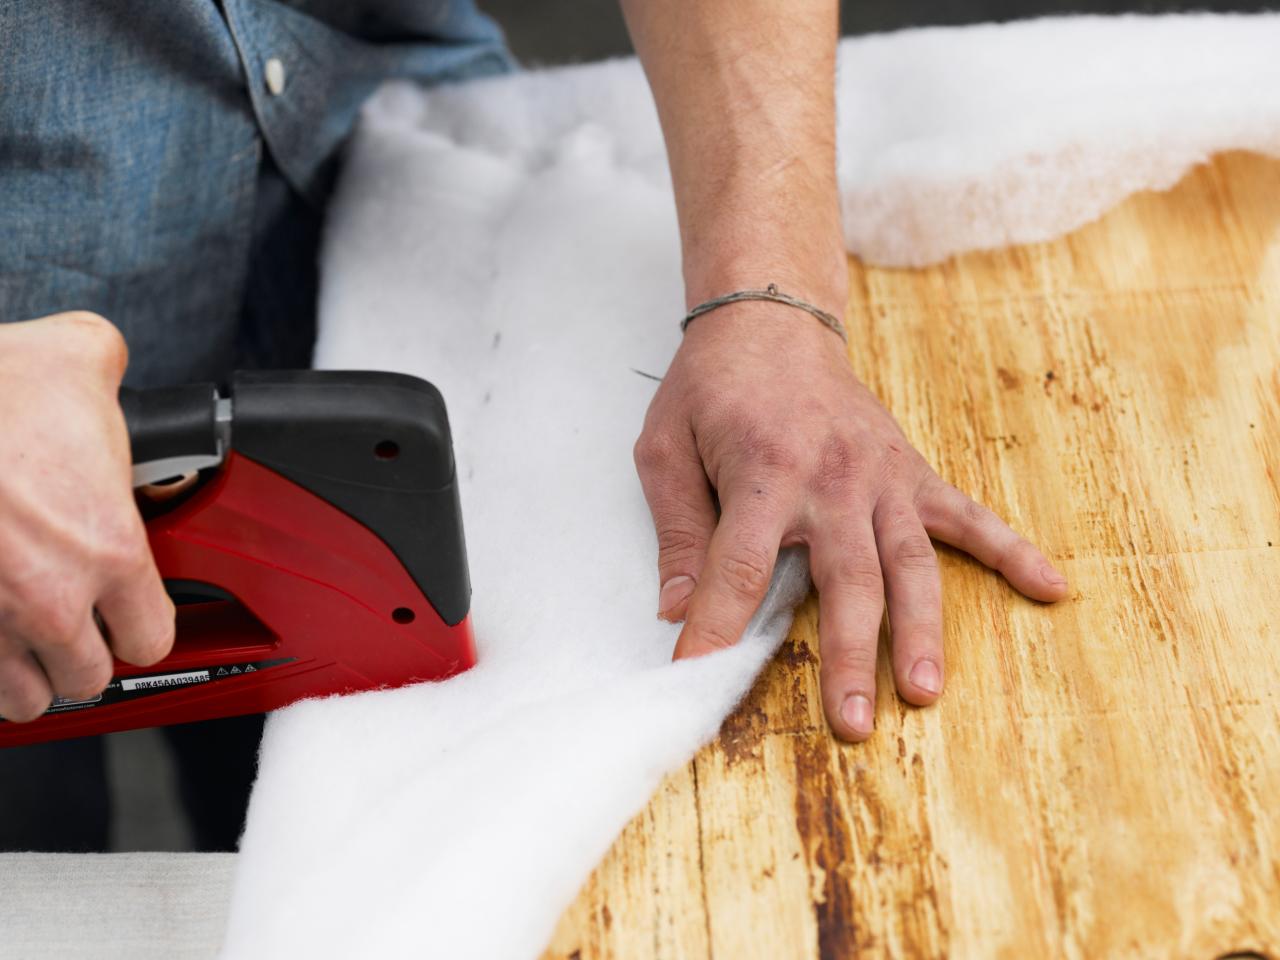
Attach Batting
Flip the headboard over, so batting is facing down, and attach the batting to the back of the headboard. Begin by stapling at center point of each side, and then at each corner, pulling the batting tautly around frame. After sides and corners are stapled in place, continue securing the batting to frame by working from center point to corner. Trim excess material.


Lay Out Canvas and Spray Adhesive
Flip the headboard back over, and drape the painter's canvas on top of the batting, centering it so there are extra inches of canvas on all sides of the headboard. Pull back the painter's canvas and spray the fabric adhesive directly to the top layer of batting. Press the painter's canvas on top of the batting, making sure there are no bumps or wrinkles in the canvas.

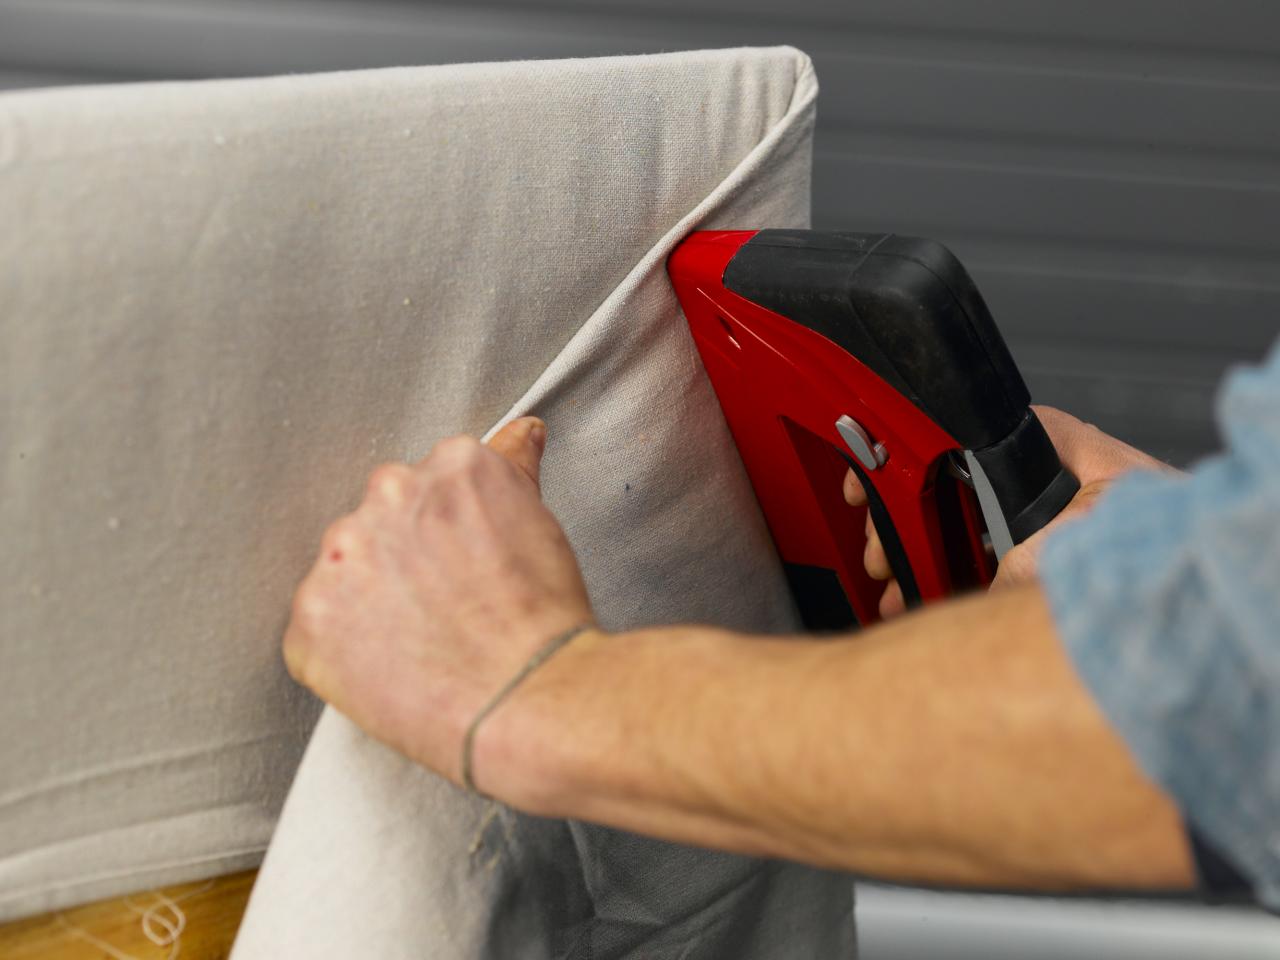
Attach Canvas
After the adhesive is dry, stand the headboard on its side and staple the canvas to the back of the headboard, starting with the top and bottom. Begin by stapling at center point and working out to the sides, pulling the canvas tautly around frame.
Staple Corners
Once the top and bottom are stapled in place, start in one corner, pull the canvas from the side taut and fold over to create a clean seam. Staple into place, and continue stapling down the side until you reach the next corner. Pull the canvas taut and fold over to create a clean seam on this corner and staple into place. Repeat on the other side.

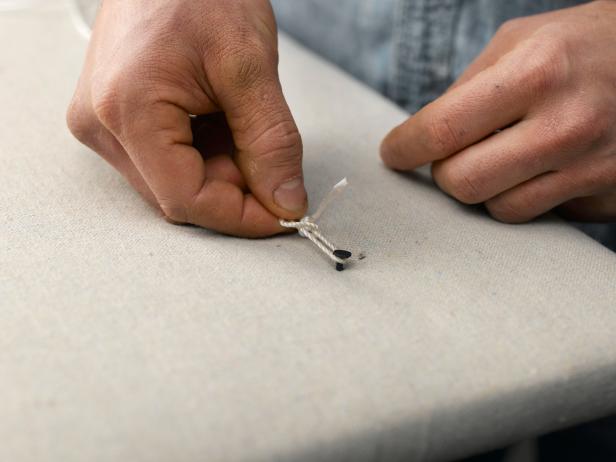
Prepare a String Guide
Measure four inches in on either side of each corner of the headboard. Mark with a fine-tipped marker, and gently tap a nail-in carpet tack over the mark. Do not hammer all the way into the plywood. Loop the string or twine around each carpet tack, creating a straight line guideline for the tacks.


Mark for Carpet Tacks
Take a tape measure, and using a fine-tipped marker, mark a dot every inch. Remove the string guide, and hammer down the corner tacks.

Hammer in Tacks
Hammer in a carpet tack over each marker dot on the canvas.

Secure the Headboard
Secure the headboard to the bed or directly to the wall.


