


Laminate vs. Engineered Hardwood
Both of these manufactured products are good flooring materials for DIY installations but differ in big ways. Let's compare.

Eric Perry, Scripps Networks, LLC. All Rights Reserved
When it comes to laminate vs. engineered hardwood flooring, the options are endless. Each of these two DIY-friendly flooring materials has winning qualities that make them attractive options.
Laminate Flooring
Laminate flooring is made by gluing a decorative top layer to a solid core of pressed wood fibers. The top decorative layer is actually a photograph of various materials. Laminate flooring can imitate all kinds of wood species or can be made to look like stone, ceramic tile and even leather. The top layer is covered with a tough coating of clear plastic resin that resists scratches and fading.
Laminate flooring is also called a “floating floor” because it isn’t fastened directly to a subfloor. Instead, individual planks snap together to create tight seams and are then put down over a thin underlayment pad. That means laminate flooring can go directly over old flooring without nailing, gluing or having to remove the existing flooring — a feature that’s a big plus for DIYers.
Laminate flooring generally is less expensive than engineered hardwood. For many folks, that ends the laminate vs. engineered hardwood debate right there. Laminate runs $1 to $7 per square foot, depending on the quality. Cheaper versions have 1/4-inch cores, and the photo reproductions may not be as realistic as more expensive versions. The best laminate flooring will have cores that are at least 3/8-inch thick and decorative layers that are virtually indistinguishable from real wood and stone. Reputable brands offer limited lifetime warranties against wear and fading.

Engineered Hardwood Flooring
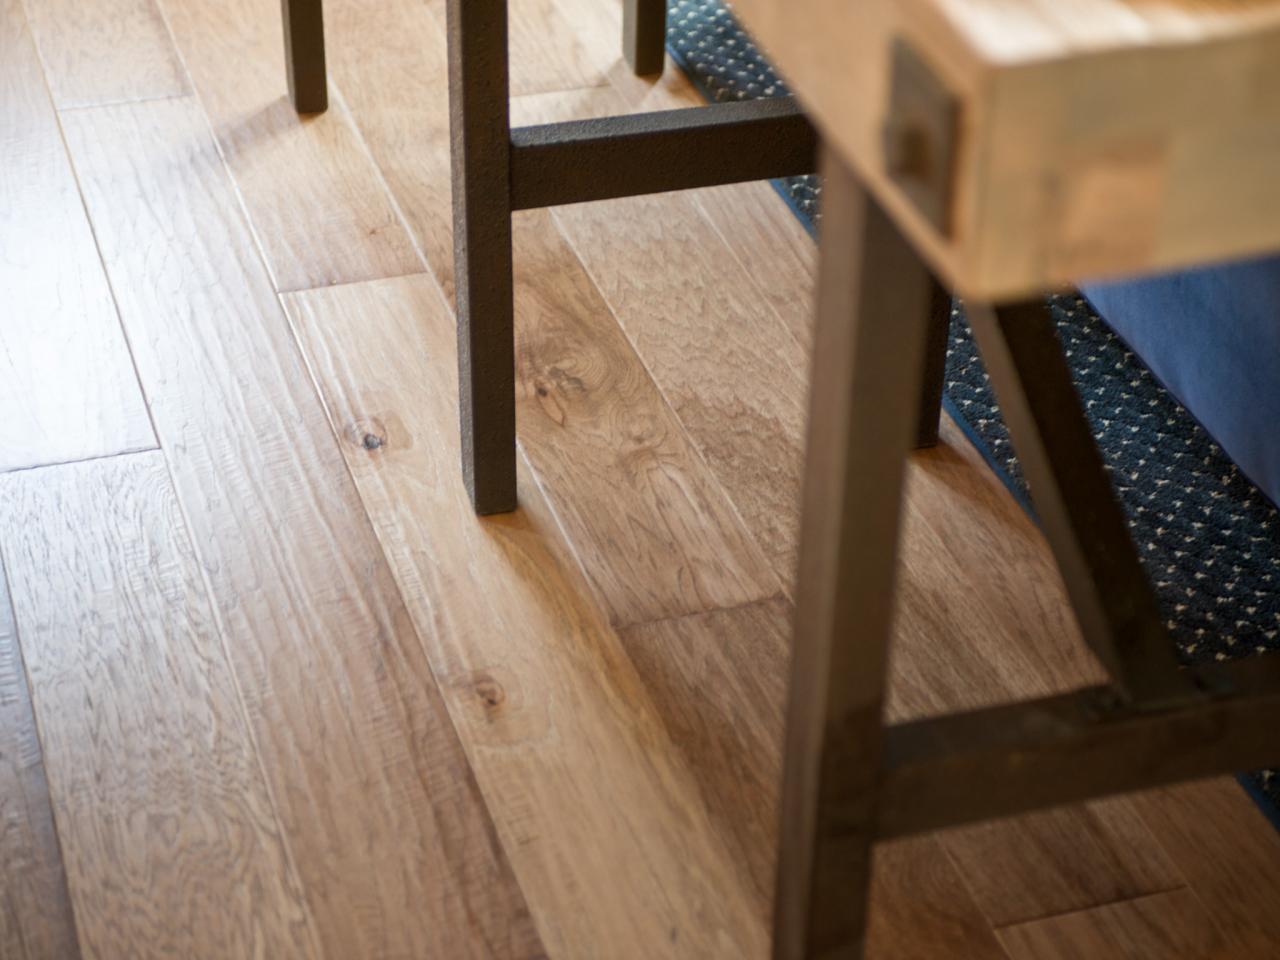
Engineered hardwood flooring has a similar construction as laminate except the top decorative layer is a thick veneer of real wood protected by a coating of clear acrylic. It provides the unmatched beauty of real wood without solid wood flooring’s tendency to shrink or warp. It can be installed in basement locations where moisture and humidity would be problematic for solid wood flooring.
Similar to laminate flooring, engineered wood products have snap-together construction and can be installed as floating floors directly over a subfloor without nailing, making it a DIY-friendly product as well. For new construction, some versions can be nailed or glued directly to subfloors.
Engineered hardwood flooring runs $3 to $10 per square foot. Although laminate may win the laminate vs. engineered hardwood toughness challenge, engineered hardwood can be refinished two or three times over its lifespan. Engineered hardwood also provides a better value point if you should decide to sell your house.
DIY Tips
Although installing snap-together floating floors are good money-saving DIY projects, do-it-yourselfers should note a few things before digging in:
- Installing flooring over old, existing flooring means you’ll be raising the level of your floor. You’ll need to account for the difference at thresholds and where new flooring meets any existing flooring that you plan to keep.
- You’ll need to remove old baseboards before installation. If you can reuse them, great. Otherwise, you’ll have to install new baseboards and trim. Manufacturers typically offer baseboards that match your new flooring. Figure those additional materials will cost $50 to $200 for a 16x20-foot room.
- You’ll likely have to trim off the bottoms of existing door casing moldings so that the new flooring can slide underneath for a clean look. A specialty saw made for the job features an offset handle so the blade stays flat, and you can use the tool without banging your knuckles.
- Both laminate and engineered hardwood flooring can be installed in kitchens and bathrooms. It’s a good idea to add waterproof glue to the locking edges to guard against splashes and spills and prevent moisture from working its way into the seams.


