


5 Easy Steps to DIY Farmhouse-Style Trim
Set aside just a few hours to craft the clean, fresh and oh-so-beautiful farmhouse door trim of your dreams.
We're sorry, there seems to be an issue playing this video. Please refresh the page or try again in a moment. If you continue to have issues, please contact us here.

DIY Farmhouse Trim
01:00Related To:
Dingy, outdated trim can make an otherwise beautiful doorway look like a mess. Luckily, with the right tools and a very basic understanding of carpentry, you can overhaul your door trim in no time. Say hello to dreamy farmhouse door trim handmade by you!
Materials Needed
- (2) 1x4 x 8’ poplar boards
- (1) 1x4 x 4’ poplar board
- (1) 1x2 x 8’ poplar board
- brad nail gun
- pry bar
- utility knife
- hammer
- measuring tape
- miter saw
- safety glasses
- (1) quart interior semi-gloss white paint
- orbital sander + 120-grit sandpaper
- level
- painter’s putty
- white fast-dry caulk
- cloth
- caulk gun
- paint brush
Remove Old Trim


With a utility knife, score the existing caulk and paint where the trim meets the wall. Once scored, use a hammer to wedge the pry bar under the old trim and release it from the wall.
Pro tip: To prevent damage to your wall, place a thin scrap piece of wood between the pry bar and the wall.
Measure + Cut New Trim


The side trim will run from the base to the top of the door. Measure and cut two 1x4s to this length. Next, cut a 1x4 piece for the header. The header sits across the top, so its length will be determined by the distance between the far edges of the side pieces. Next, cut two 1x2 accent pieces. One will sit below the header and one above. The goal is to have an inch of overhang on each side of the header, so cut the 1x2s to the same length as the header, plus two inches.
Paint Trim

Sand all wood until a somewhat smooth surface is achieved. Wipe clean with dry cloth, thn paint the front and sides of all trim with two coats of white paint.
Fasten Trim


Use a level and brad nail gun to put up the side pieces first. Then, place and nail the first 1x2 piece at the top of door with the 1-inch edge against the wall, resting on top of the side pieces and protruding away from the wall. Next, attach the 1x4 header piece flat against the wall above that. Finish the look off with the second 1x2 piece at the very top.
Patch, Paint + Complete


Use painter’s putty to patch all the nail holes. Sand smooth. Run a bead of caulk everywhere the trim meets the wall and smooth with damp cloth while still wet. Once the painter’s putty and caulk are dry, just touch up the paint where needed. Now it’s time to step back and admire your handiwork!

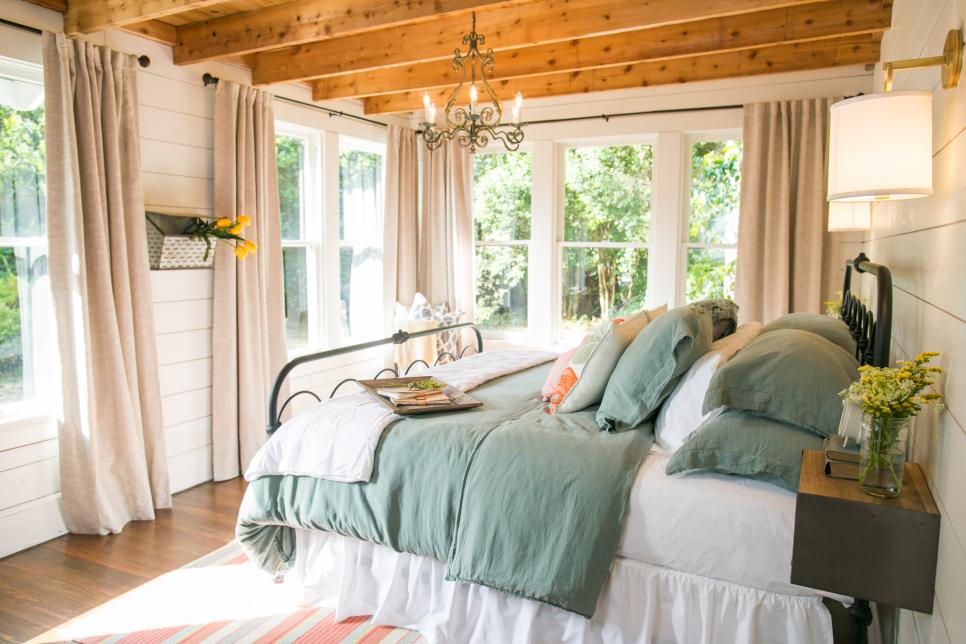
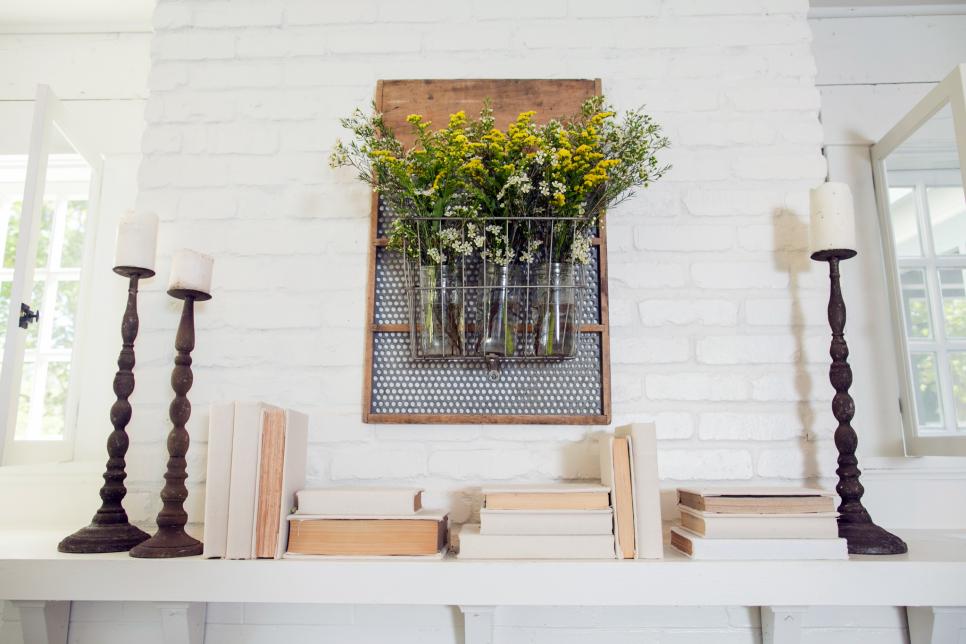
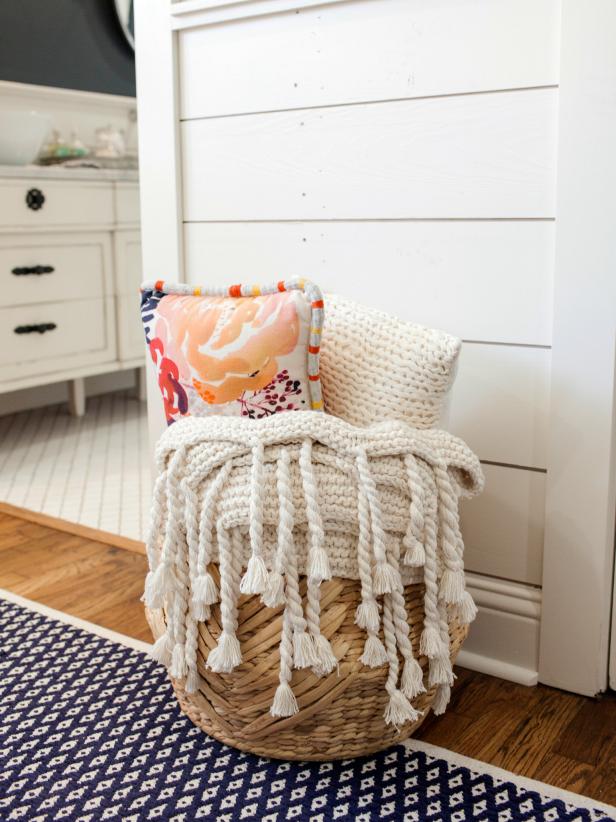
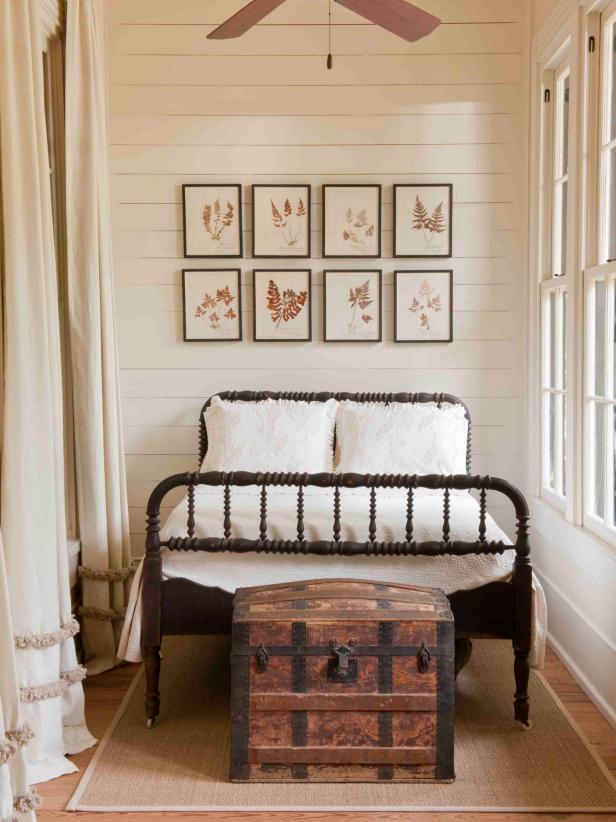
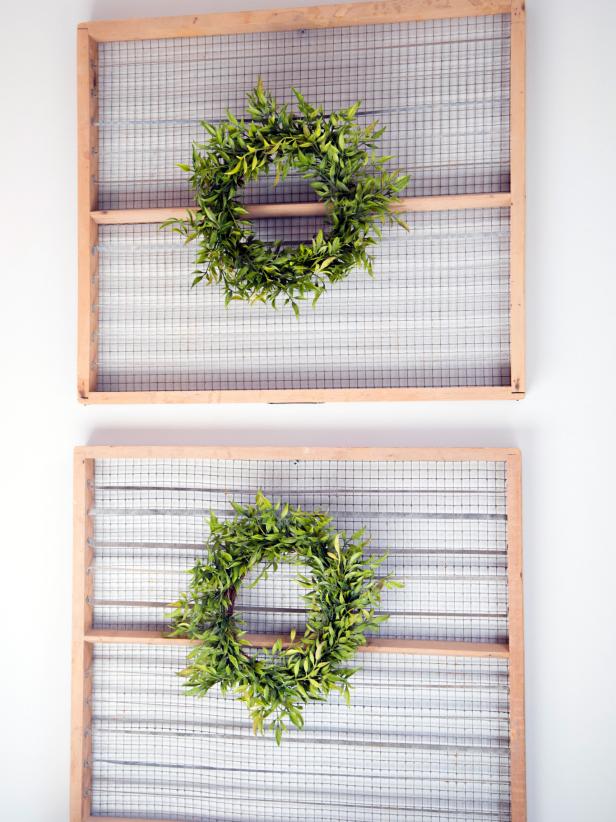
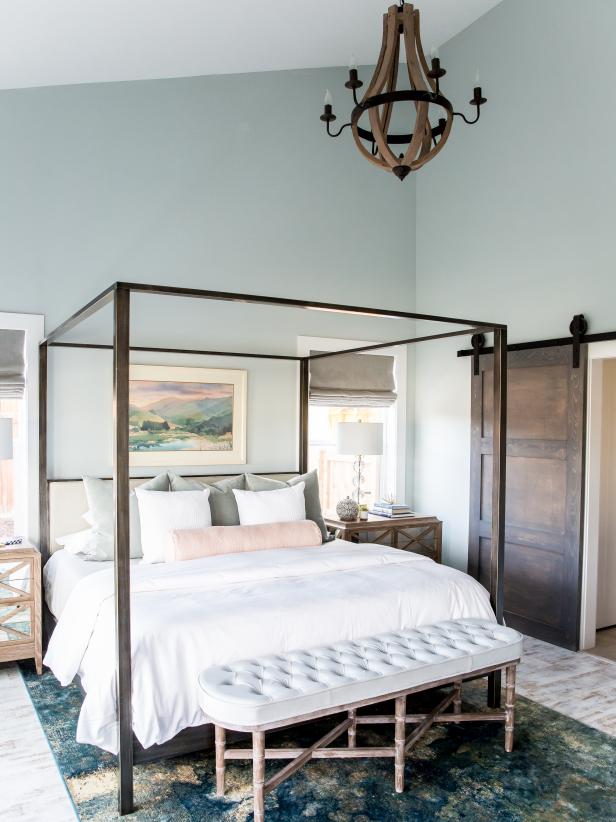
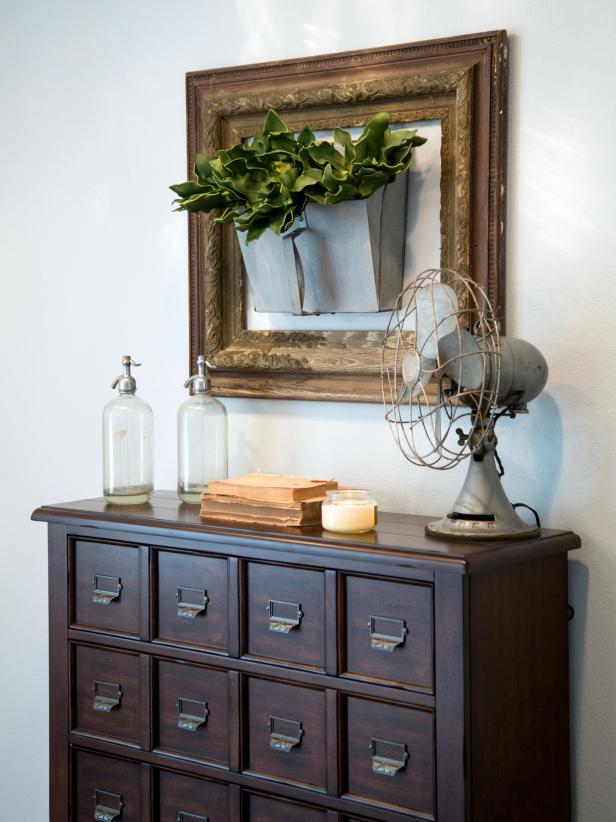
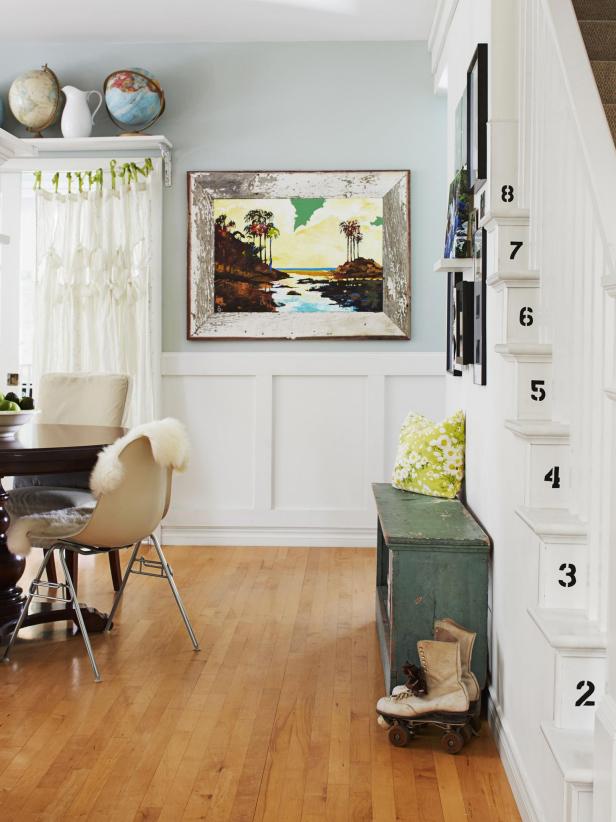
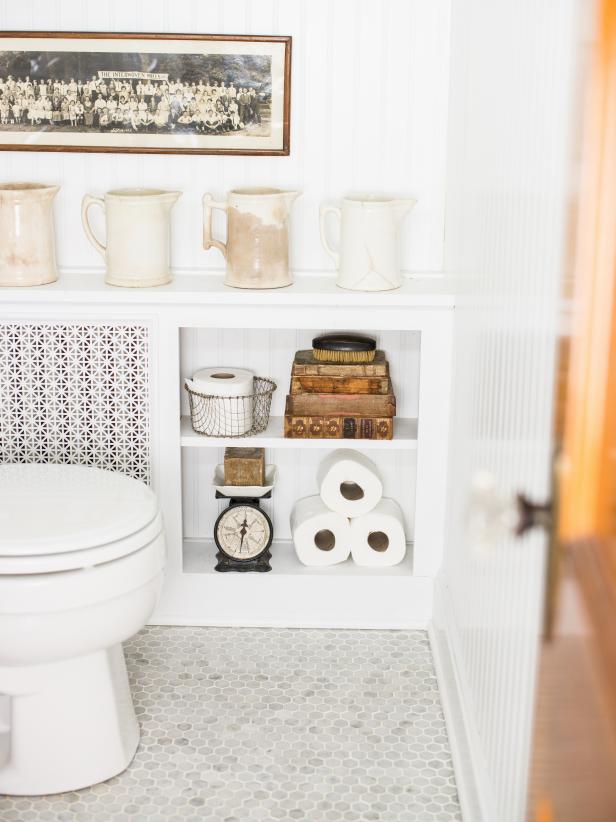
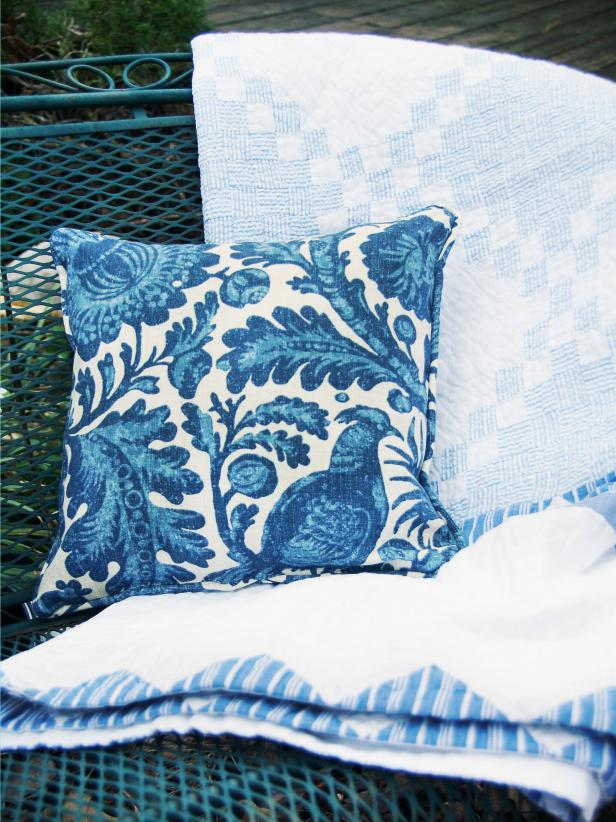
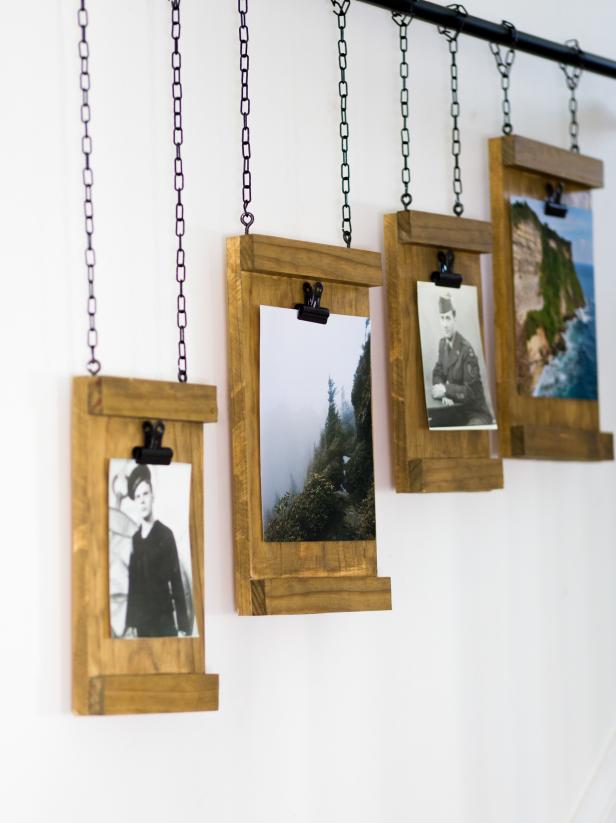
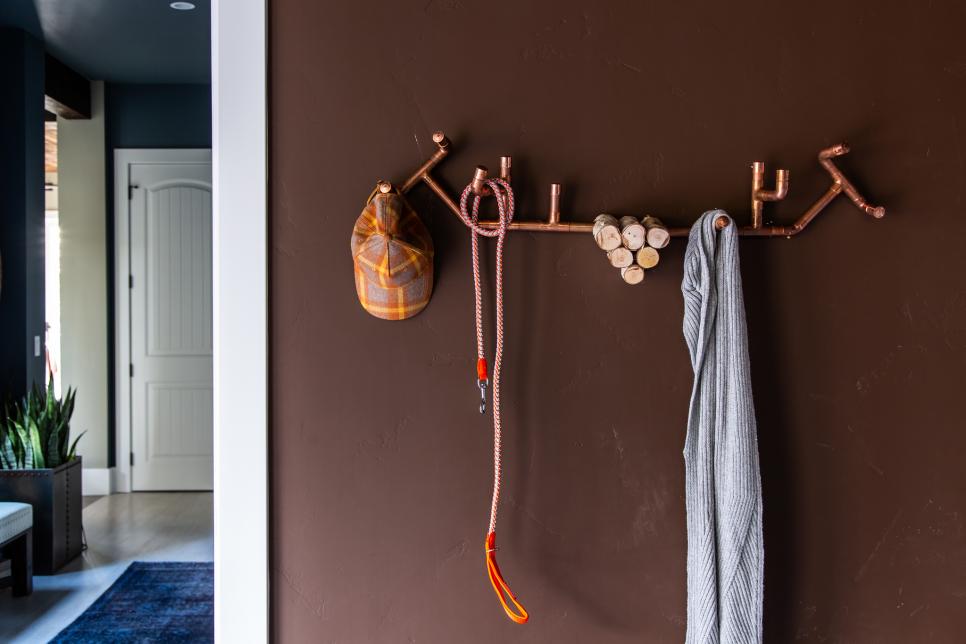
More DIY Farmhouse-Style Decorating Ideas
See All Photos

Next Up

Tour a Calm, Cool and Clutterproof Kitchen

How to Make a Hand-Lettered Farmhouse-Style Tray

Modern Farmhouse Kitchen

Transform a Plastic Trash Can Into a Shiplap-Inspired Planter

How to Install Shiplap

Make a New Basket Look Old for Vintage-Style Storage


