


Make New Pots Look Old for a Cottage-Style Countertop Herb Garden
Fresh herbs will take your culinary skills to the next level — and add a beautiful pop of live greenery to your kitchen. Follow our steps to create a rustic countertop garden by giving terra cotta pots a charming, timeworn patina.


Photo by: Sarah Busby; Styling by H. Camille Smith
Sarah Busby; Styling by H. Camille Smith
Materials Needed
- terra cotta pots in 3 assorted sizes (we used 4", 5" and 6")
- herbs (we used rosemary, mint and basil)
- potting soil
- pebbles for irrigation
- large terracotta saucer
- self-adhesive scrapbook letters
- water-based chalk or craft paint in your preferred color
- chip brush
- sea sponge or cotton rag
- chartreuse reindeer moss
Gather Materials
For our project, we chose pots in 3 assorted sizes to create a stair-step effect when displayed together. A large terra cotta saucer acts as a tray that will catch any drainage.

Sarah Busby; Styling by H. Camille Smith
Paint Pots and Saucer
Remove any stickers and surface dust. Using a chip brush, roughly paint pots and saucer using a dry-brush method, being sure to also coat the inner rim of each pot's top. Tip: Dry-brush is a painting technique that uses a small amount of paint on the tip of the paintbrush to create an uneven, light coat of paint.

Sarah Busby; Styling by H. Camille Smith
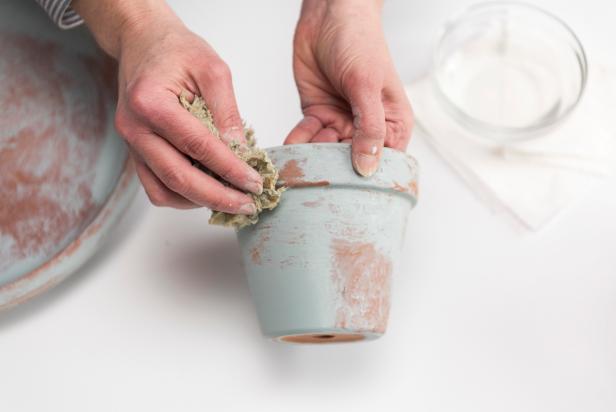
Distress Paint
Using a damp sea sponge or cotton rag, wipe off small areas of the paint to give the finish a timeworn appearance. Tip: When distressing paint, focus your efforts on areas that would have naturally had the most wear, like around the edges or along any raised detail.
Sarah Busby; Styling by H. Camille Smith
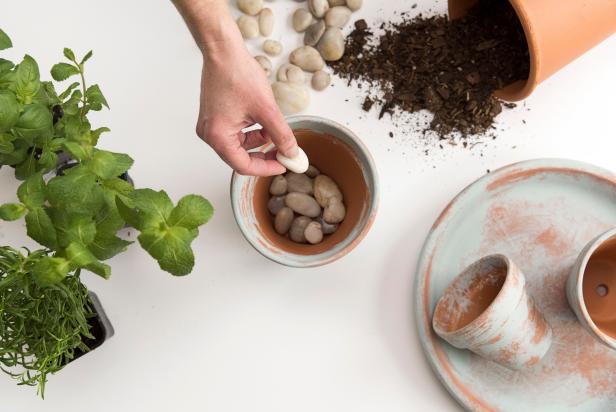
Prep Pots
To ensure your herbs have plenty of drainage to prevent overwatering and decay, add a layer of rocks to the bottom of each pot (Image 1). Top this with a thin layer of potting soil (Image 2).
Sarah Busby; Styling by H. Camille Smith

Sarah Busby; Styling by H. Camille Smith
Repot Herbs
Remove herbs from their existing pots (Image 1) and use your fingers to gently break apart the roots to encourage rooting in the new, larger pot (Image 2). Place the herbs in their newly-painted pots and fill in around the existing rootball with more potting soil (Image 3).

Sarah Busby; Styling by H. Camille Smith

Sarah Busby; Styling by H. Camille Smith

Sarah Busby; Styling by H. Camille Smith
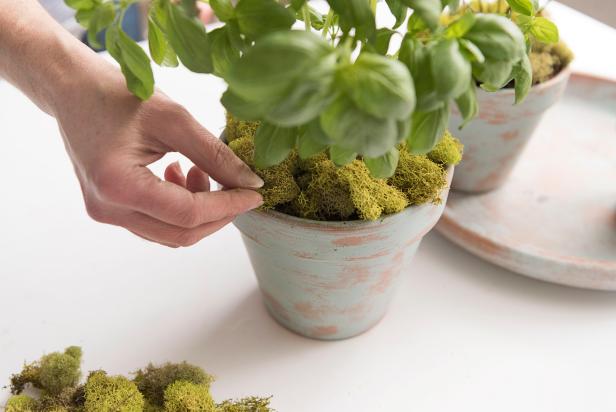
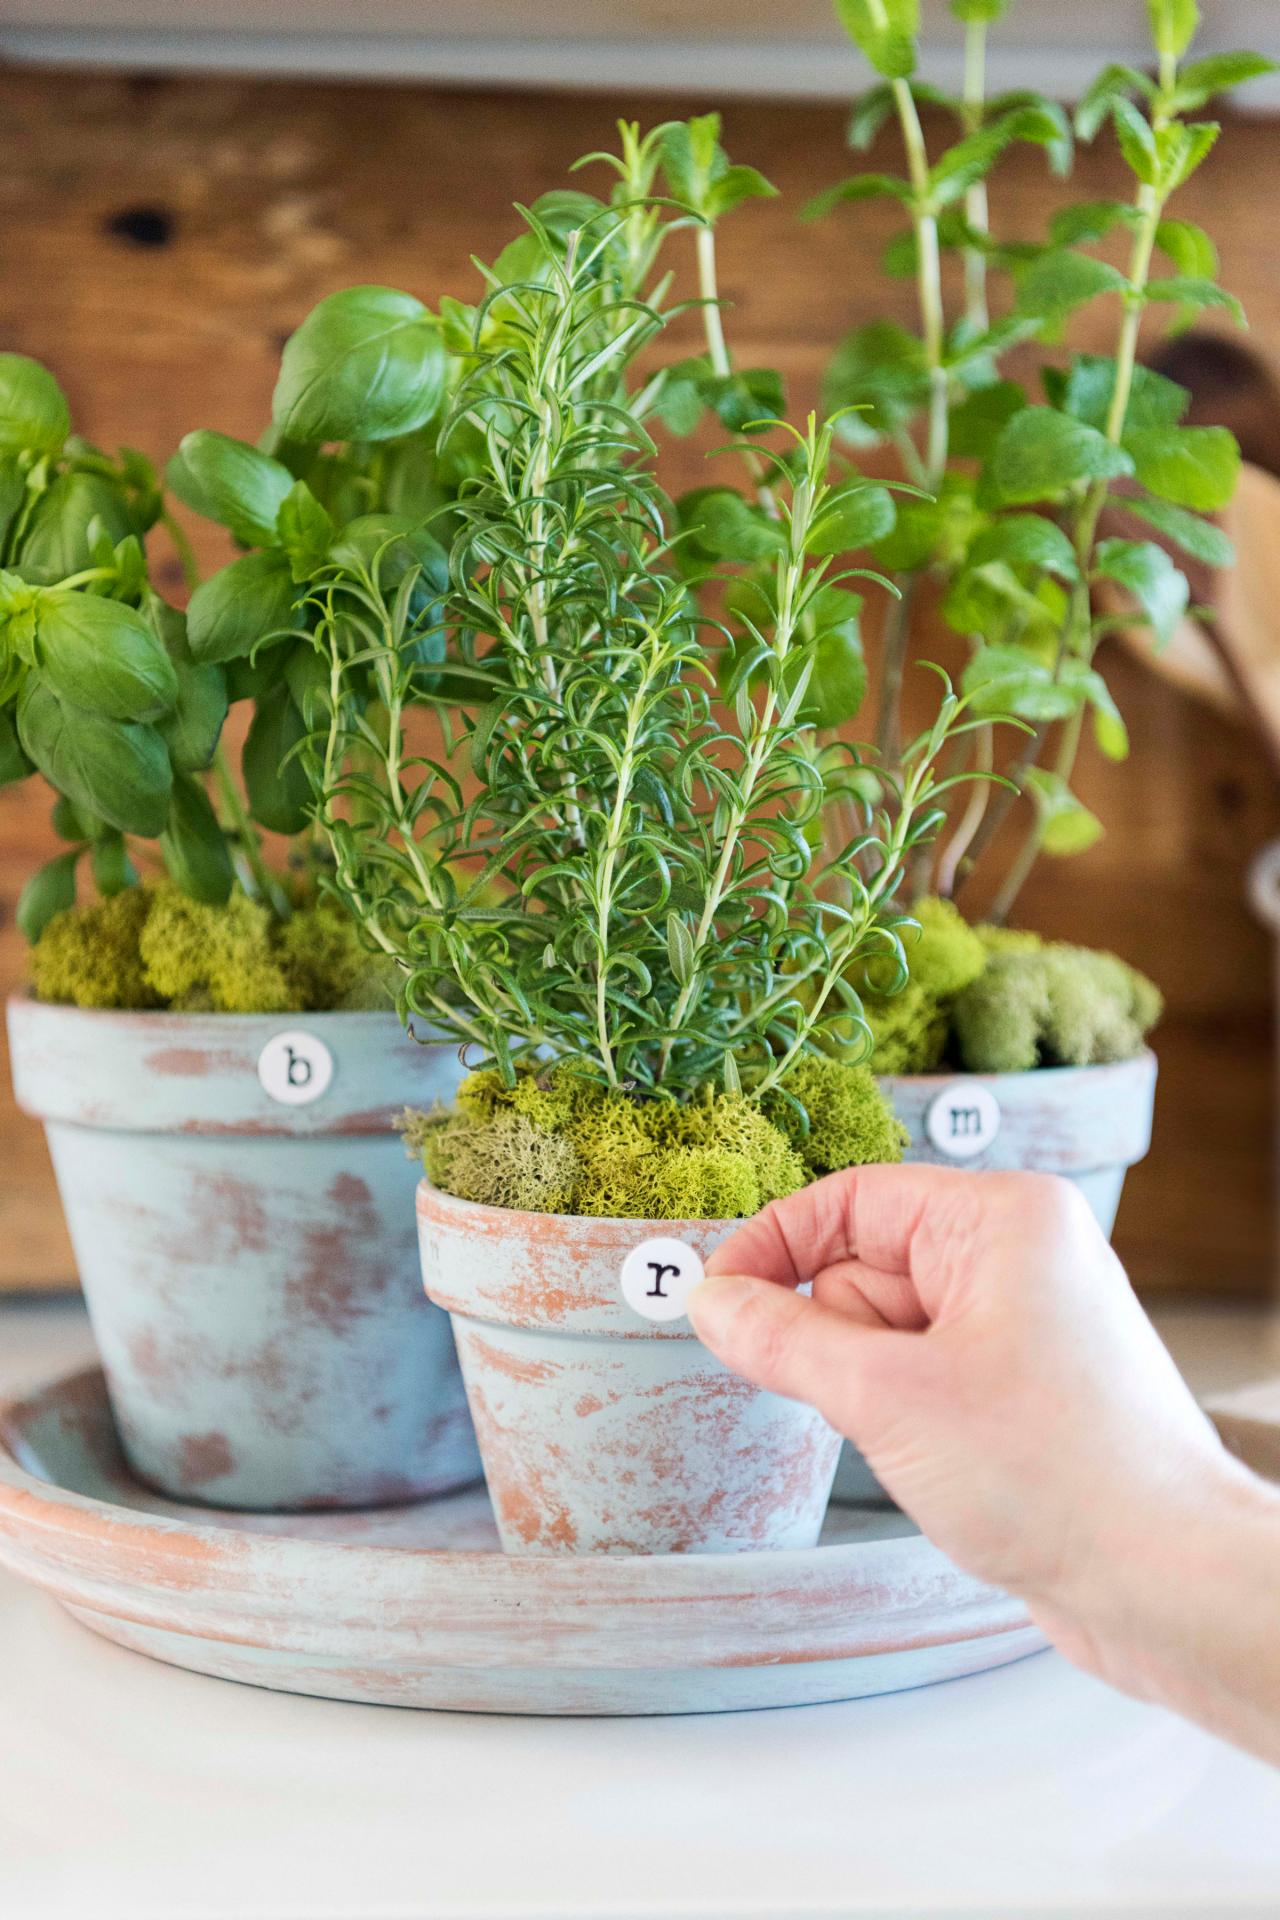
Finishing Touches
To preserve moisture and prevent herbs from drying out too quickly, add a layer of preserved moss to the top of each plant (Image 1). Finally, give each pot a monogram by labeling it with a single self-adhesive scrapbook letter — 'm' for mint, 'r' for rosemary and 'b' for basil (Image 2).
Sarah Busby; Styling by H. Camille Smith

Sarah Busby; Styling by H. Camille Smith
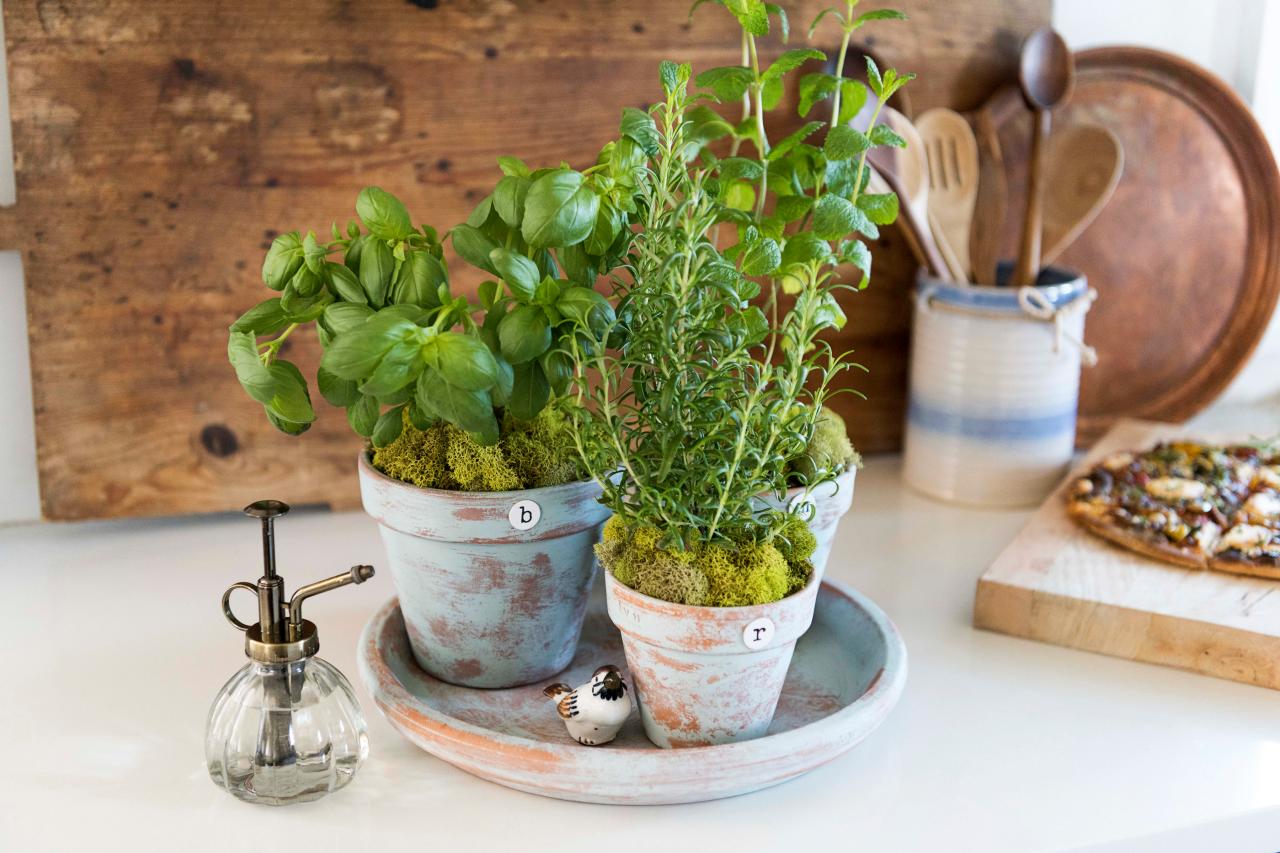
Display and Devour
Proudly display your new-old pots in a sunny spot on the kitchen counter so fresh herbs are always at hand. Potted herbs require regular watering and trimming — in fact, trimming herbs for use in recipes is beneficial for the plant by encouraging new growth and preventing the herbs from flowering which could change their flavor.
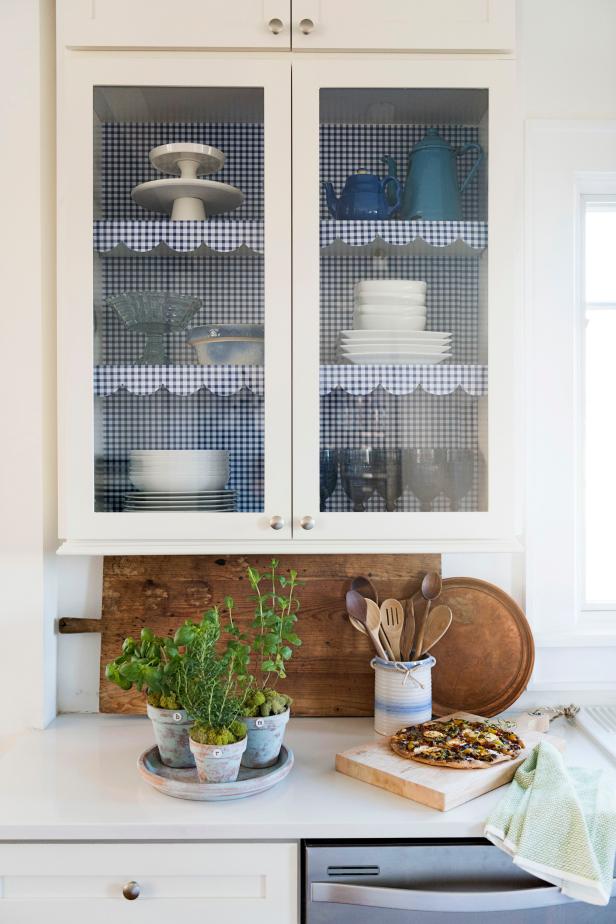
Photo by: Sarah Busby; Styling by H. Camille Smith
Sarah Busby; Styling by H. Camille Smith


