


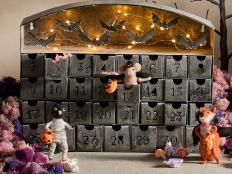
Make a Dead-Branch Centerpiece for Halloween

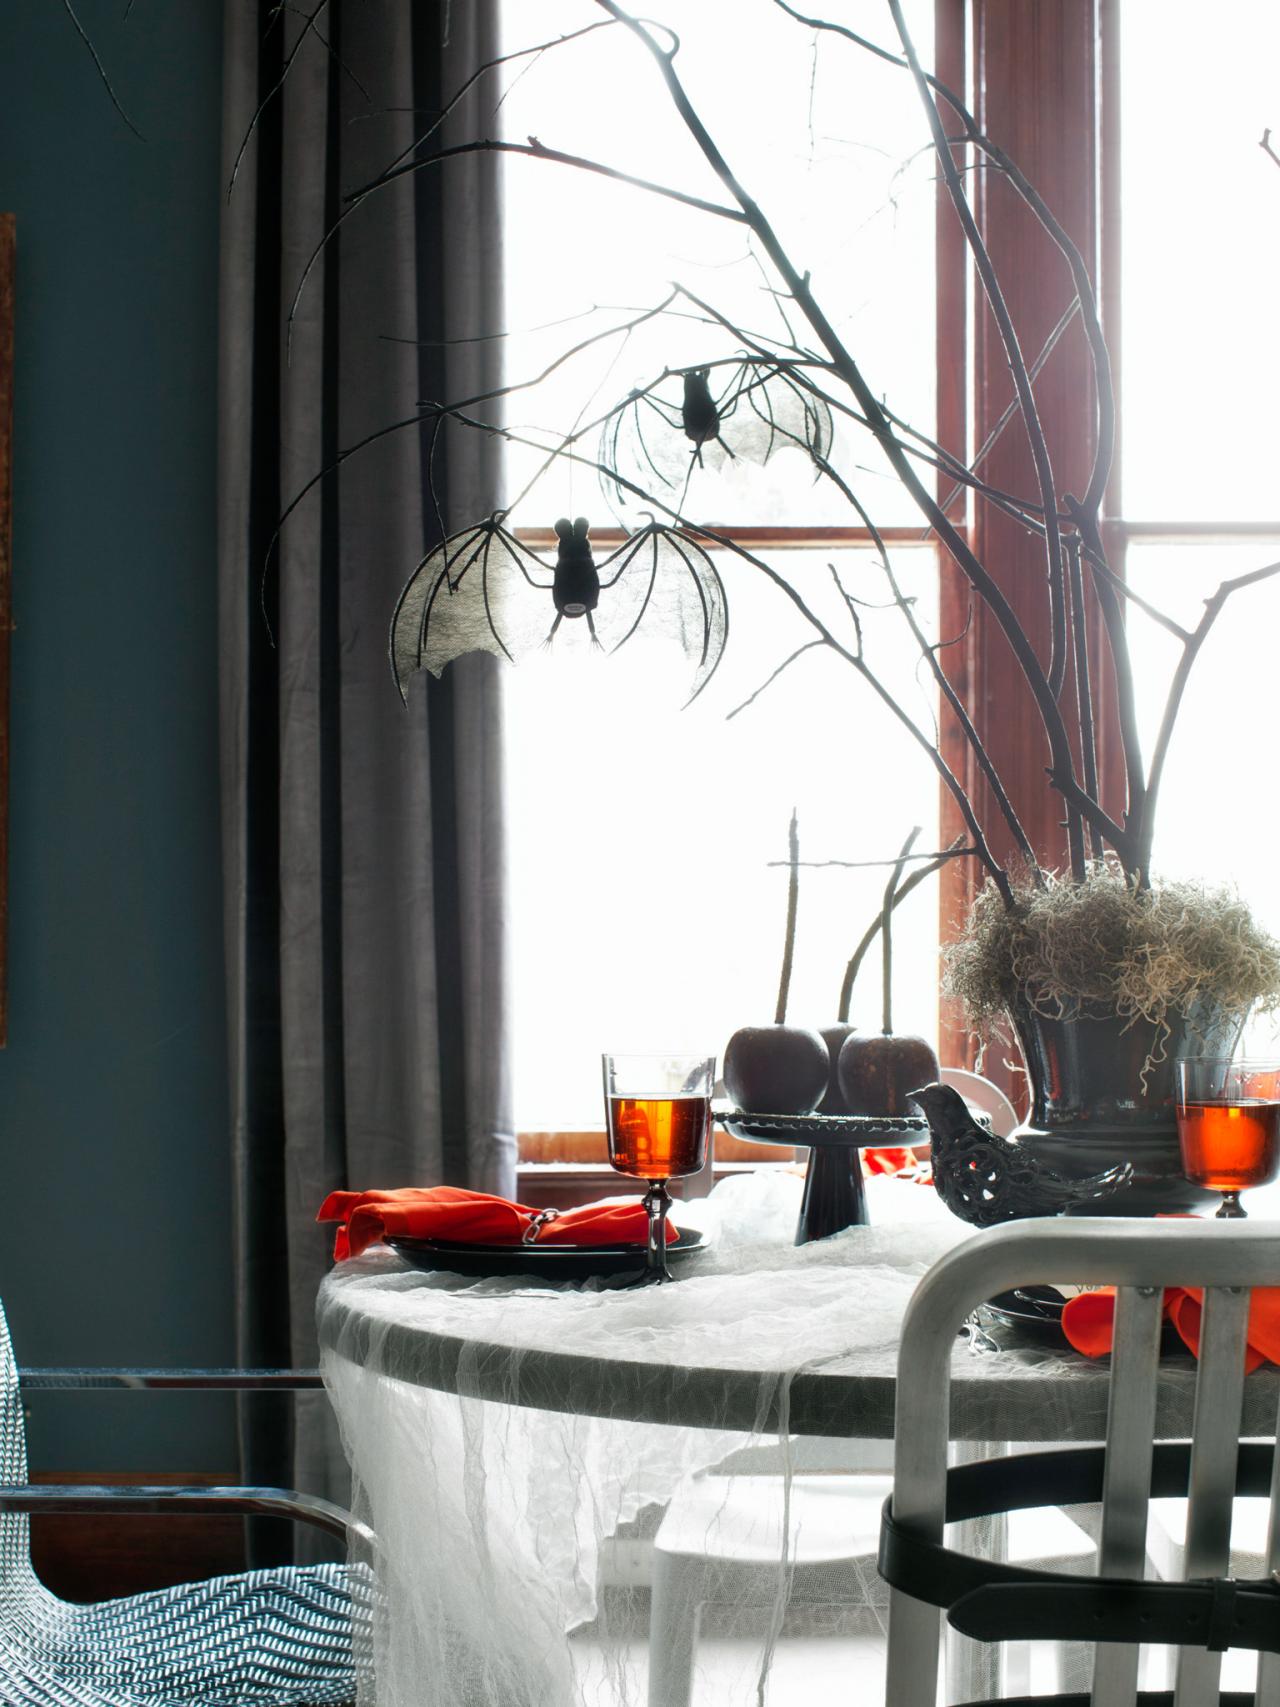
Display your Dead Centerpiece
Once finished, add any desired Halloween-themed decorations to the branches, such as rubber bats, snakes, spiders or mini hanging lanterns.

Materials Needed:
- dome-shaped floral foam
- 10" to 14" diameter urn
- cut branches
- garden shears, reciprocating saw or hack saw
- roll of brown kraft paper
- scissors
- matte black spray paint
- bag of pebbles
- hanging rubber bats (or other Halloween-themed touches)
- tape measure
- hot glue gun and glue sticks
- Spanish moss
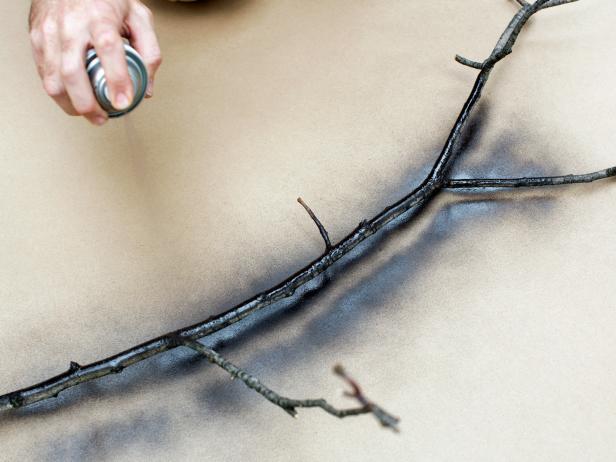
Gather, Cut and Paint Branches
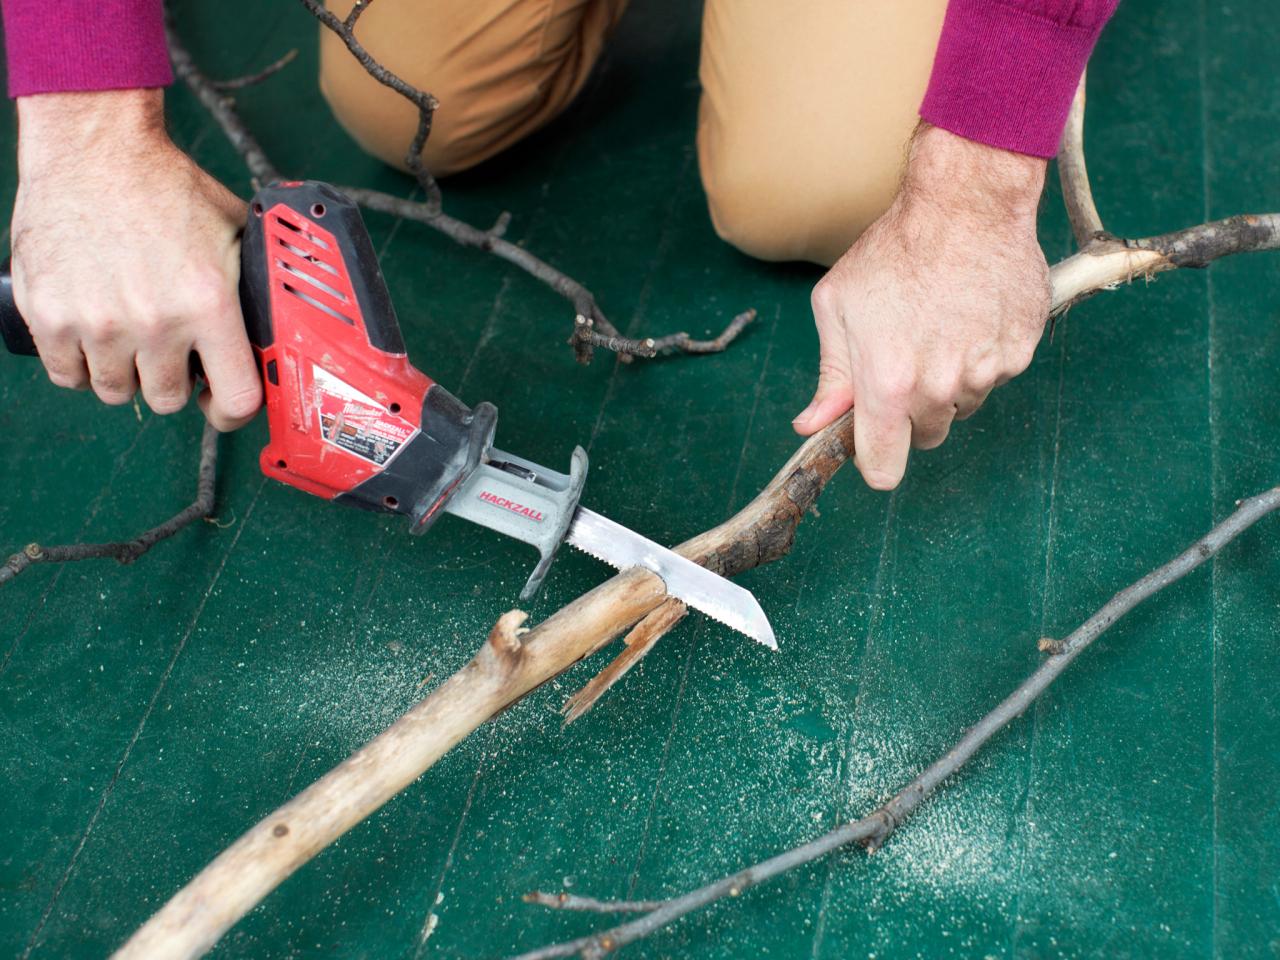
Gather an assortment of fallen tree branches from the yard (Image 1). Use garden shears, reciprocating saw or hacksaw to cut branches to proper height (Image 2). Tip: To determine proper height, measure the distance from the top of the table to the bottom of any light fixture above. Protect work surface with kraft paper then place branches on top. Add two even coats of matte black spray paint to branches (Image 3). For the best finish, hold spray-paint can 6 to 8 inches from surface of branches, moving the can back and forth as you spray.


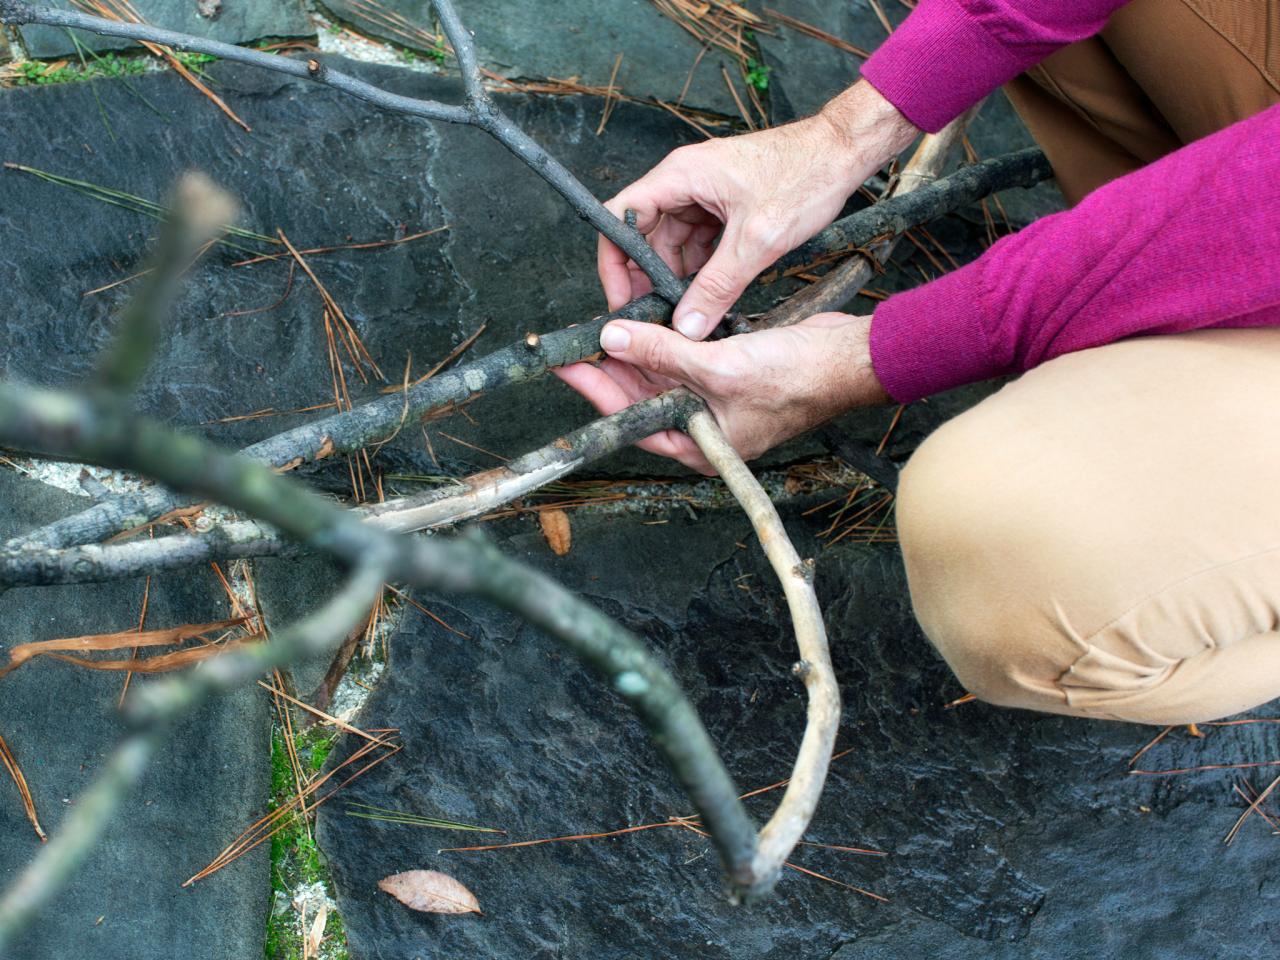
Collect Your Centerpiece Branches
Gather an assortment of fallen tree branches, weeding out any with harsh curvatures, since those are less likely to fit easily into an urn.
Shaping the Branches
Use garden shears, reciprocating saw or hack saw to cut branches to proper height. To determine proper height, measure the distance from the top of the table to the bottom of any light fixture above.
Spray the Branches with Paint
Add two even coats of black matte spray paint to branches, as seen on HGTV.com.
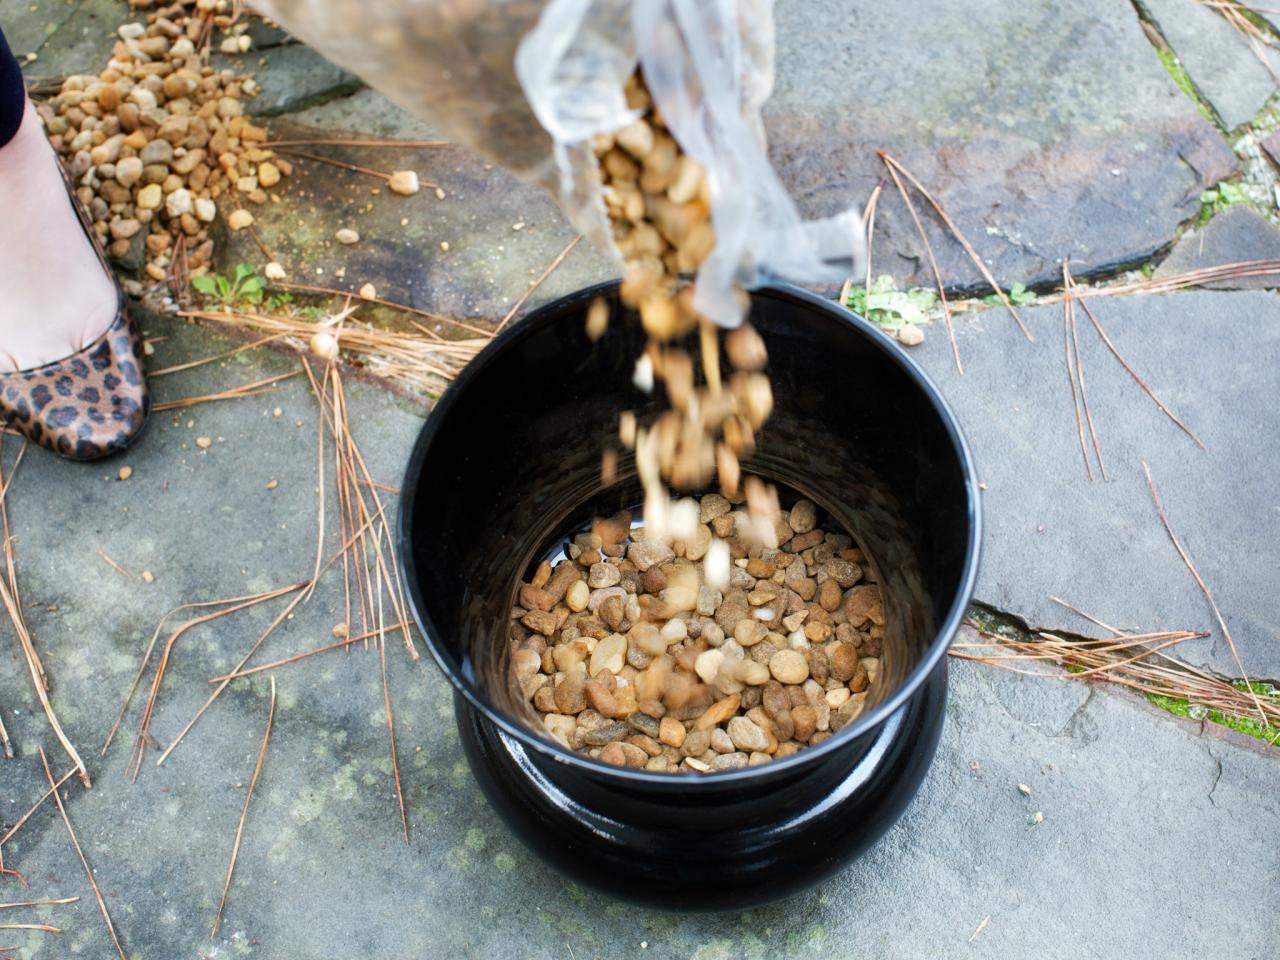
Add Pebbles and Floral Form to Urn
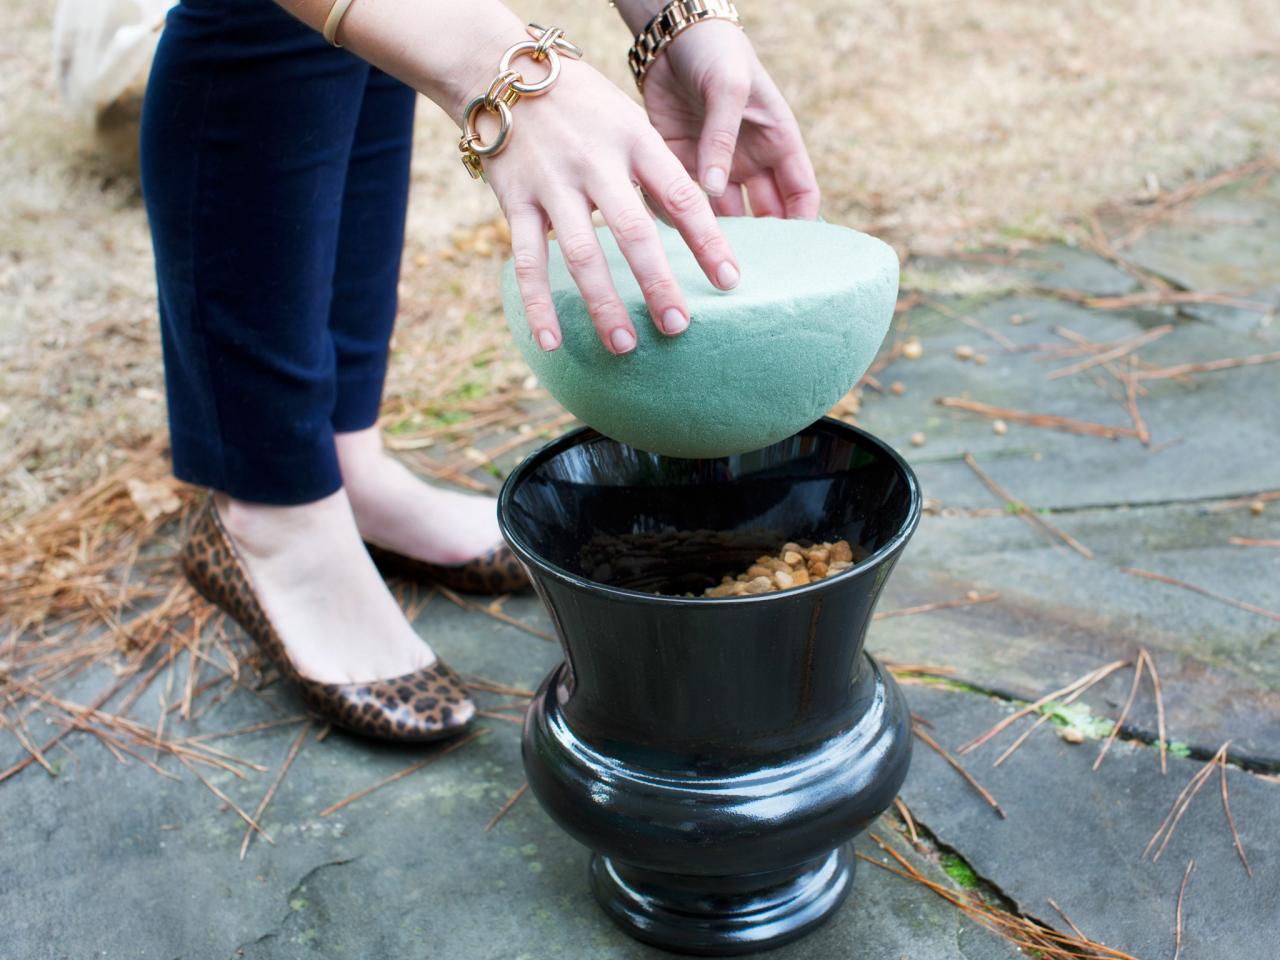
To ensure the urn doesn't become top-heavy once branches are inserted, it's necessary to weight the base with pebbles. Pour an even layer of pebbles into the urn that's approximately 6 inches deep (Image 1). Place dome-shaped floral foam inside of urn with dome side facing down (Image 2). Ensure that foam stays in place by adding a bead of hot glue around the perimeter of the urn.


Stabilizing the Centerpiece
To ensure the urn doesn't become top-heavy once branches are inserted, you'll need to weight the base with pebbles.
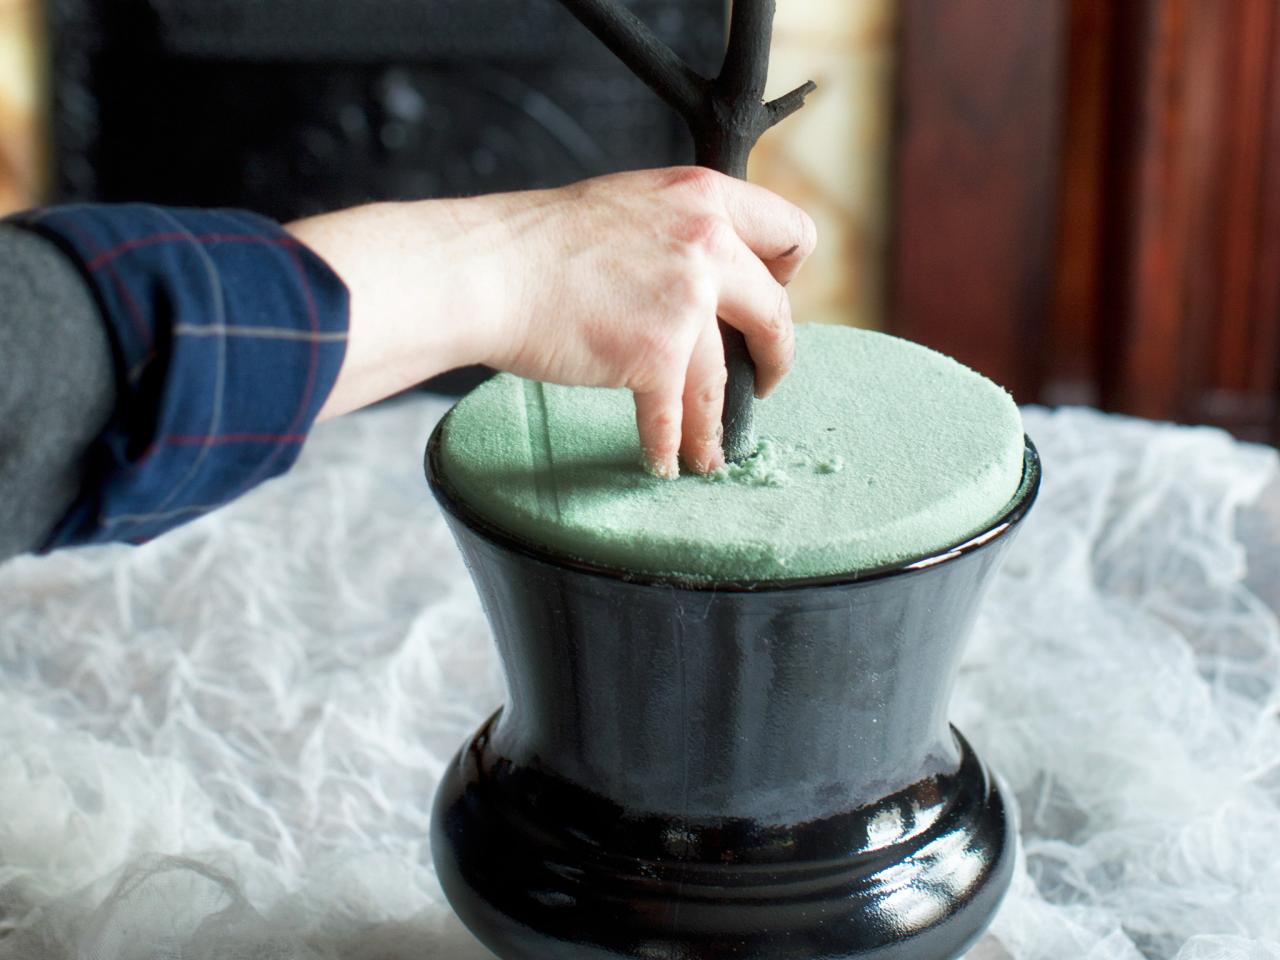
Add Branches and Moss to Foam
Insert branches, one at a time, into foam (Image 1). Focus on keeping them spaced at least one inch apart to keep the look balanced. Cover the surface of the floral foam with moss secured with hot glue (Image 2). Once finished, add any desired Halloween-themed decorations to the branches such as rubber bats, snakes, spiders or mini hanging lanterns (Image 3).


Insert the Branches
Insert branches, one at a time, into foam. Focus on keeping them spaced at least one inch apart to keep the look balanced.
Constructing the Centerpiece
Cover the surface of the floral foam with moss. In order to keep the moss held in place, add a bead of hot glue to the bottom of each clump, then place firmly onto the foam.
Display your Dead Centerpiece
Once finished, add any desired Halloween-themed decorations to the branches, such as rubber bats, snakes, spiders or mini hanging lanterns.


