


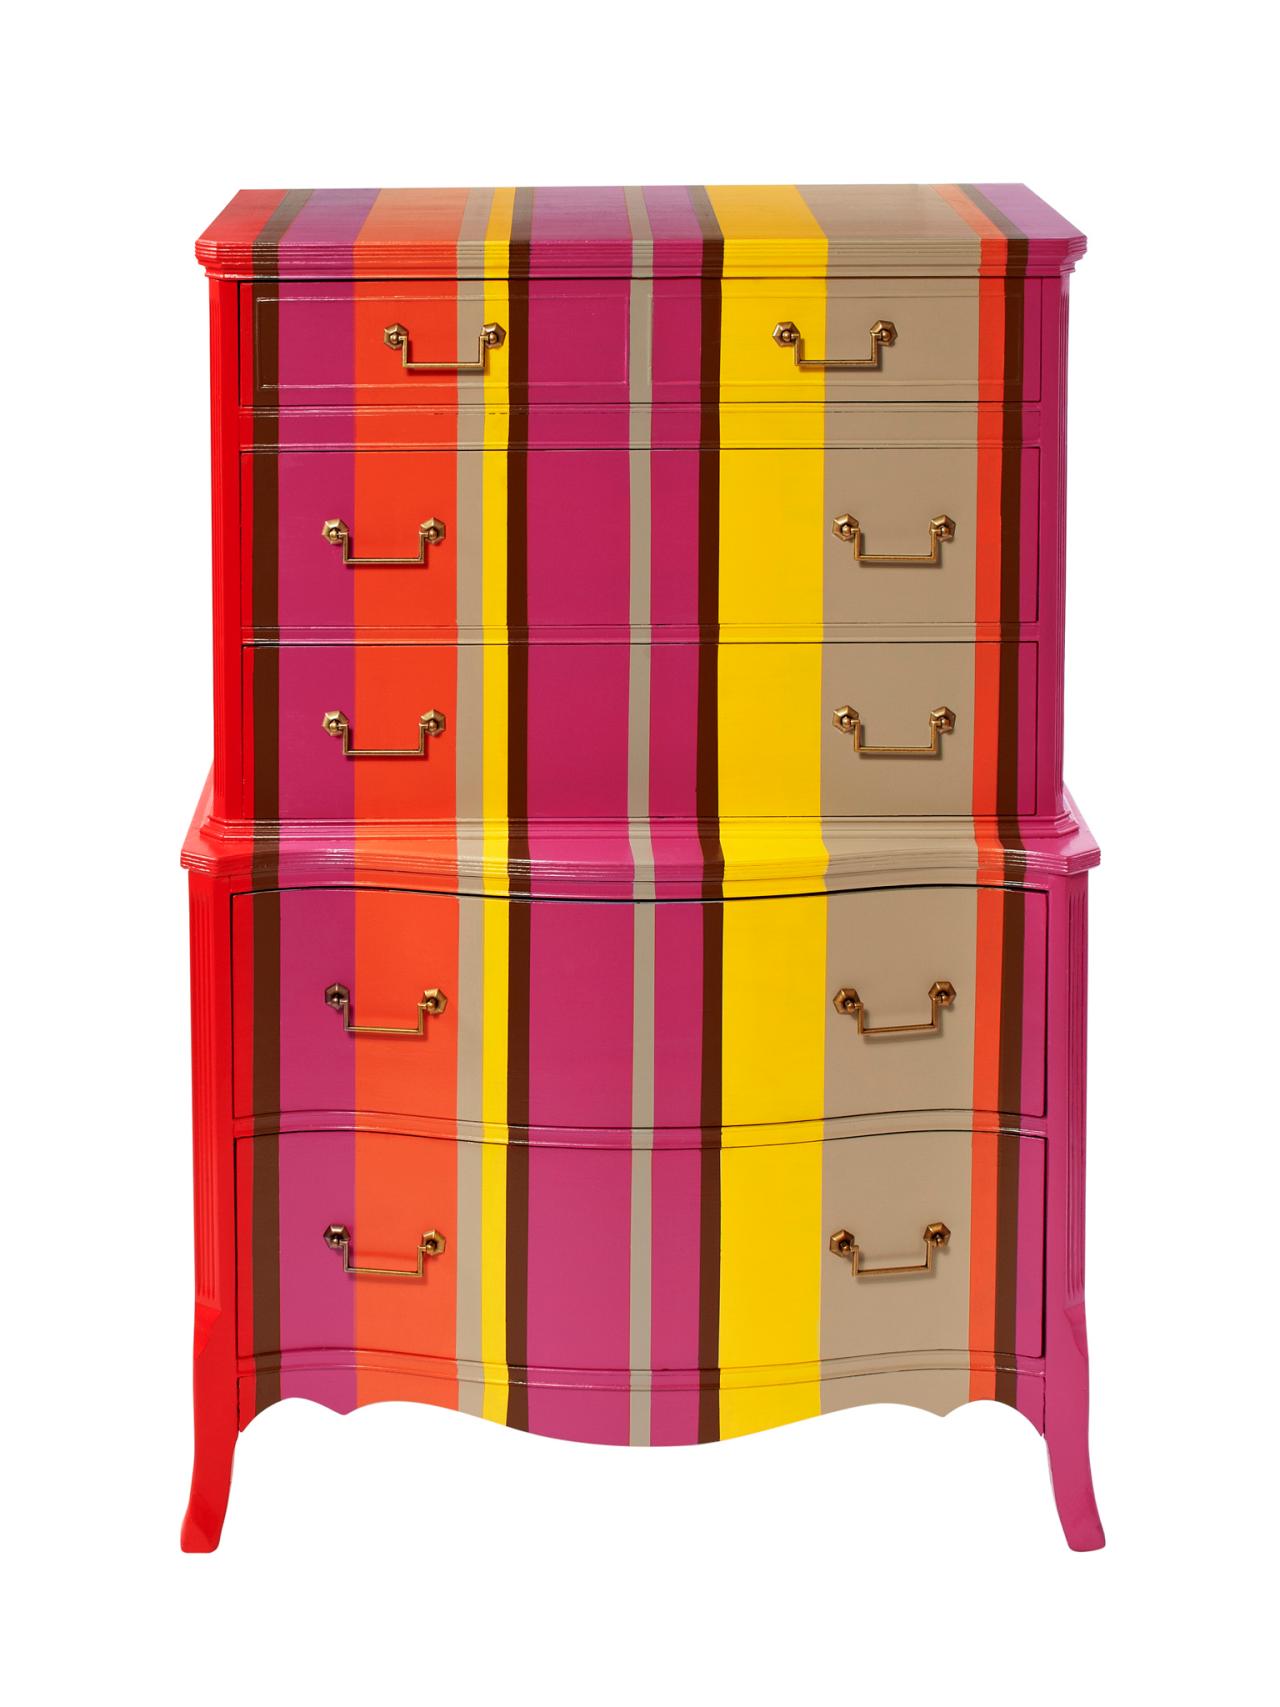
How to Stripe a Dresser

Multi-Striped Dresser DIY
Try this DIY from HGTV Magazine's Flea Market Flip Blowout!
Photo by: Marko Metzinger
Marko Metzinger
Materials Needed
- screwdriver
- wood filler
- paint (multiple colors)
- paintbrushes
- paint roller
- delicate-surface painter’s tape
- drill
- hardware pulls
Step 1
Unscrew the old hardware and patch the holes with wood filler.
Step 2
Paint the left and right sides of the dresser each a different color. Let dry.
Step 3
Starting 2 inches from the dresser’s left edge, use delicate-surface painter’s tape to tape off every other stripe so they’re varying widths. Your last stripe should be 2 inches from the dresser’s right edge. Using a brush, paint each stripe, repeating colors every so often. Peel off the tape while the paint is slightly wet. Let dry overnight.
Step 4
Tape off the remaining stripes and paint them following the directions above. Paint the 2 inches on the far left the same color as the dresser’s left side and the 2 inches on the far right the same color as the dresser’s right side. Let dry.
Step 5
Drill holes in the drawers for the new pulls, and screw them in.
Find even more DIYs in the Flea Market Flips Blowout!


