


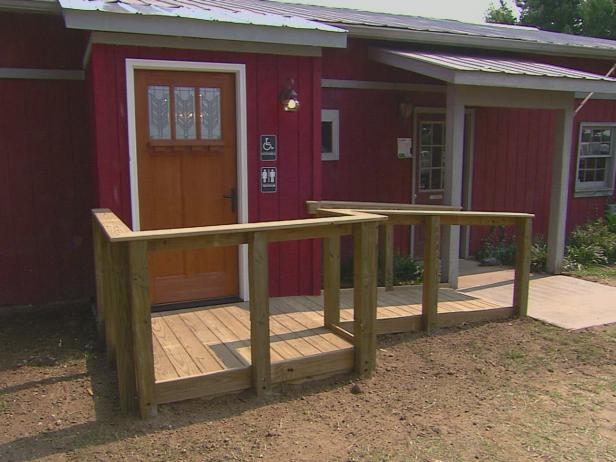
How to Build a Wheelchair Ramp and Landing
Make your home more accessible with this project. Learn how to build a wooden ramp and landing to accommodate wheelchair users and others with mobility issues.
Before building a wheelchair ramp at your home, be sure to review local building codes, your homeowner’s association’s rules, and Americans With Disabilities Act (ADA) guidelines. You may need to secure a permit and/or approval from your HOA before you begin construction. While not all states and cities enforce ADA standards for residential ramps, following them will ensure that your ramp is safe and universally accessible. Consider these ADA parameters for your ramp project:
- Ramps should be 36 inches wide at minimum to accommodate a wheelchair.
- Ramps should have a running slope no steeper than 1:12, meaning there should be no more than 1 inch of rise for every 12 inches of length.
- The rise for any ramp run should be 30 inches maximum.
- If the rise of a ramp run is more than 6 inches, handrails should be provided on both sides.
- Ramps should have level landings at the top and the bottom of each run that are a minimum of 60 inches long. Ramps that change direction between runs should have a landing that’s 60 x 60 inches minimum. This allows someone in a wheelchair to turn completely around in a circle without getting stuck.
- Edge protection should be provided on each side of ramp runs and landings to prevent the wheels of a wheelchair from slipping off.
Learn how to build a wheelchair ramp and landing on top of a concrete base, keeping in mind that your project’s specifications may vary.
Tools and Materials
- pressure-treated wood boards and posts
- galvanized roofing nails
- chop saw
- framing nailer
- level
- shims
- power drill
- masonry bit
- spade bit
- concrete anchors or screws
- circular saw
- lag bolts
- ratcheting socket wrench
- concrete mix
- belt sander
Cut Frame Pieces for Landing
Use pressure-treated wood and galvanized roofing nails to hold up against the outside elements. Using a chop saw, cut frame pieces to size. For our project, we cut five 5-foot pieces for the outside of the frame, plus three additional pieces for cross joists.

Create the Frame
Using a framing nailer, assemble each of the pieces of wood to create a frame (Image 1). For additional support and stability, cut and attach cross joists to the inside of the frame every 16 inches (Image 2).


Put the Frame in Place
Once the landing frame is built, place it flush along the edge of the doorway and flush on the concrete. Check to make sure it is level both horizontally and vertically (Image 1). Add a few shims made from pressure-treated wood where needed to level it up (Image 2) and to provide ventilation.


Attach the Frame to the Building
Furrow the nail gun between the joists. Put a nail about every 8 inches. This distance between nails will ensure that the landing is secure.

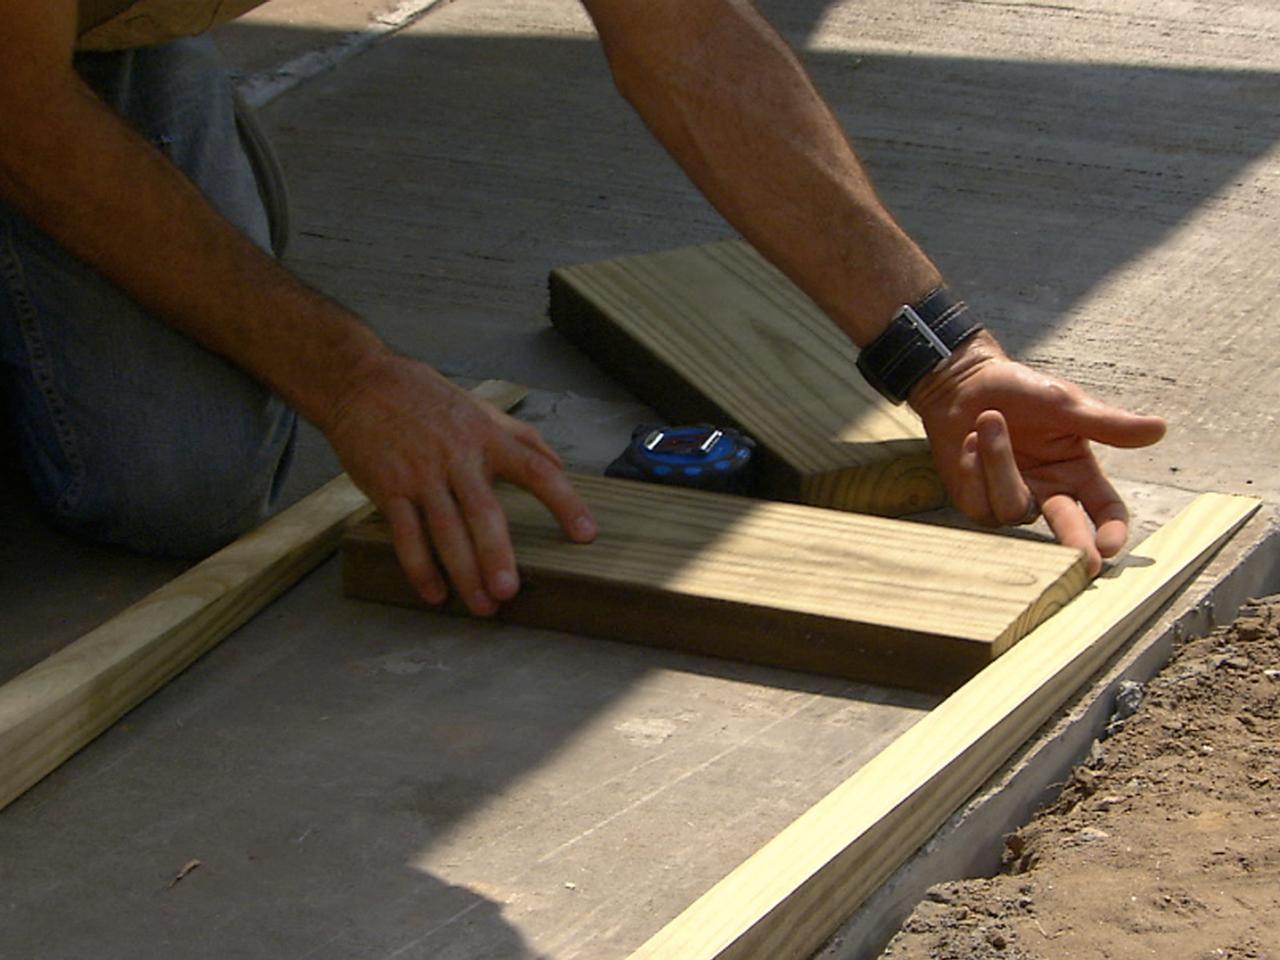
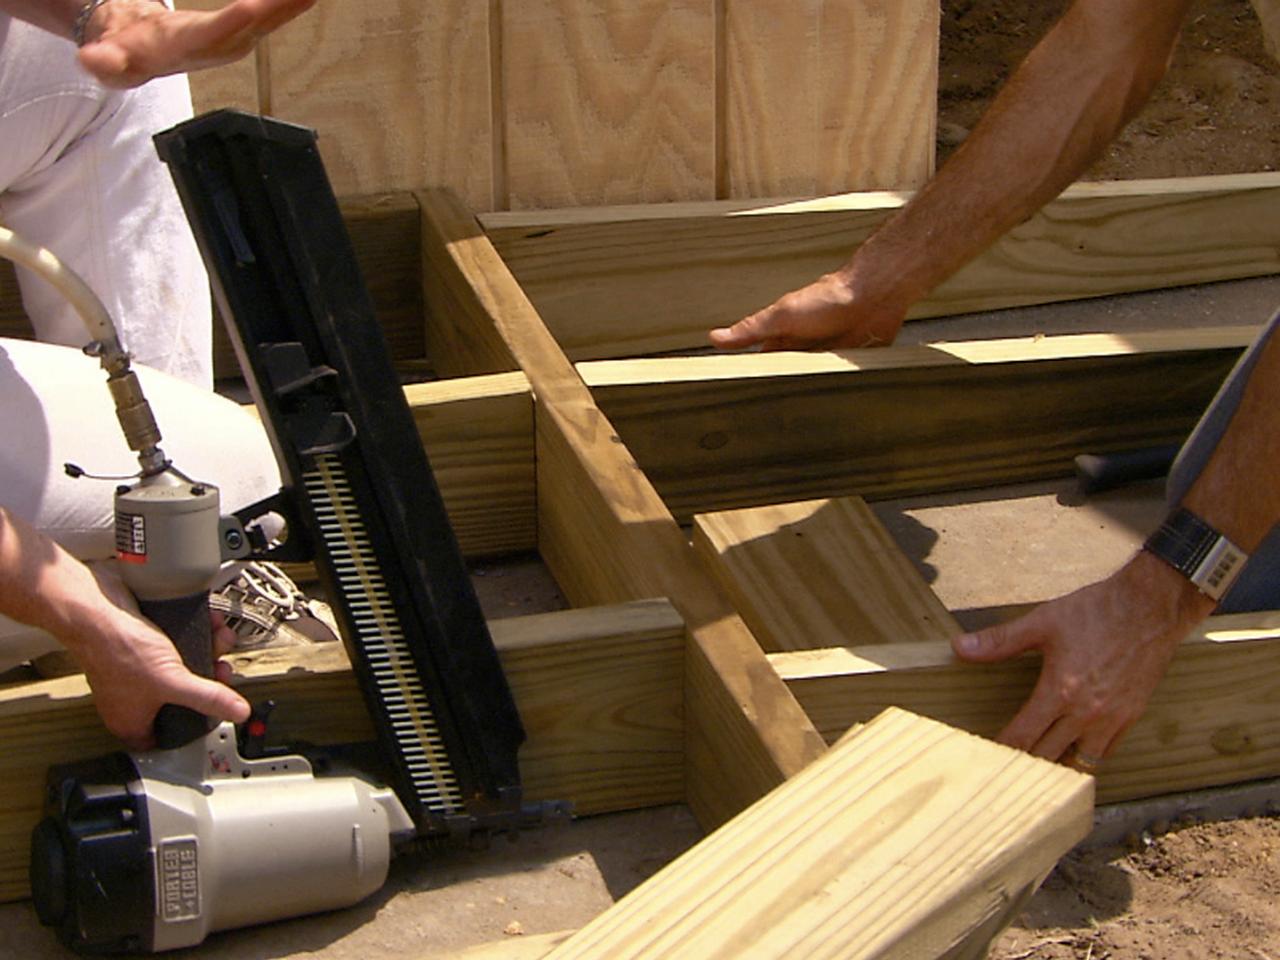
Create Ramp Supports
To create the ramp, measure the distance from the top of the landing to the concrete base. Then cut three boards using this measurement on one end and angling the cut down to a point (Image 1), creating ramp supports. Next, fasten the three ramp supports to the side of the landing frame (Image 2).


Add Braces
To make the ramp more stable, use wood cross braces between each of the three ramp supports. Secure these to the concrete. Drill two pilot holes into each brace using a masonry bit (Image 1) and fasten using concrete anchors or screws (Image 2). Then fasten each of the braces to the ramp supports (Image 3).


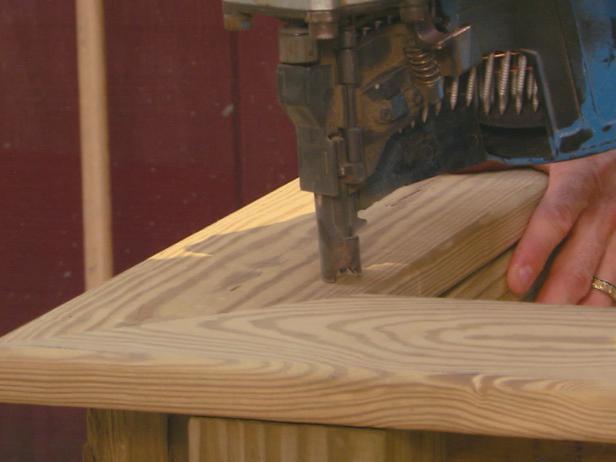
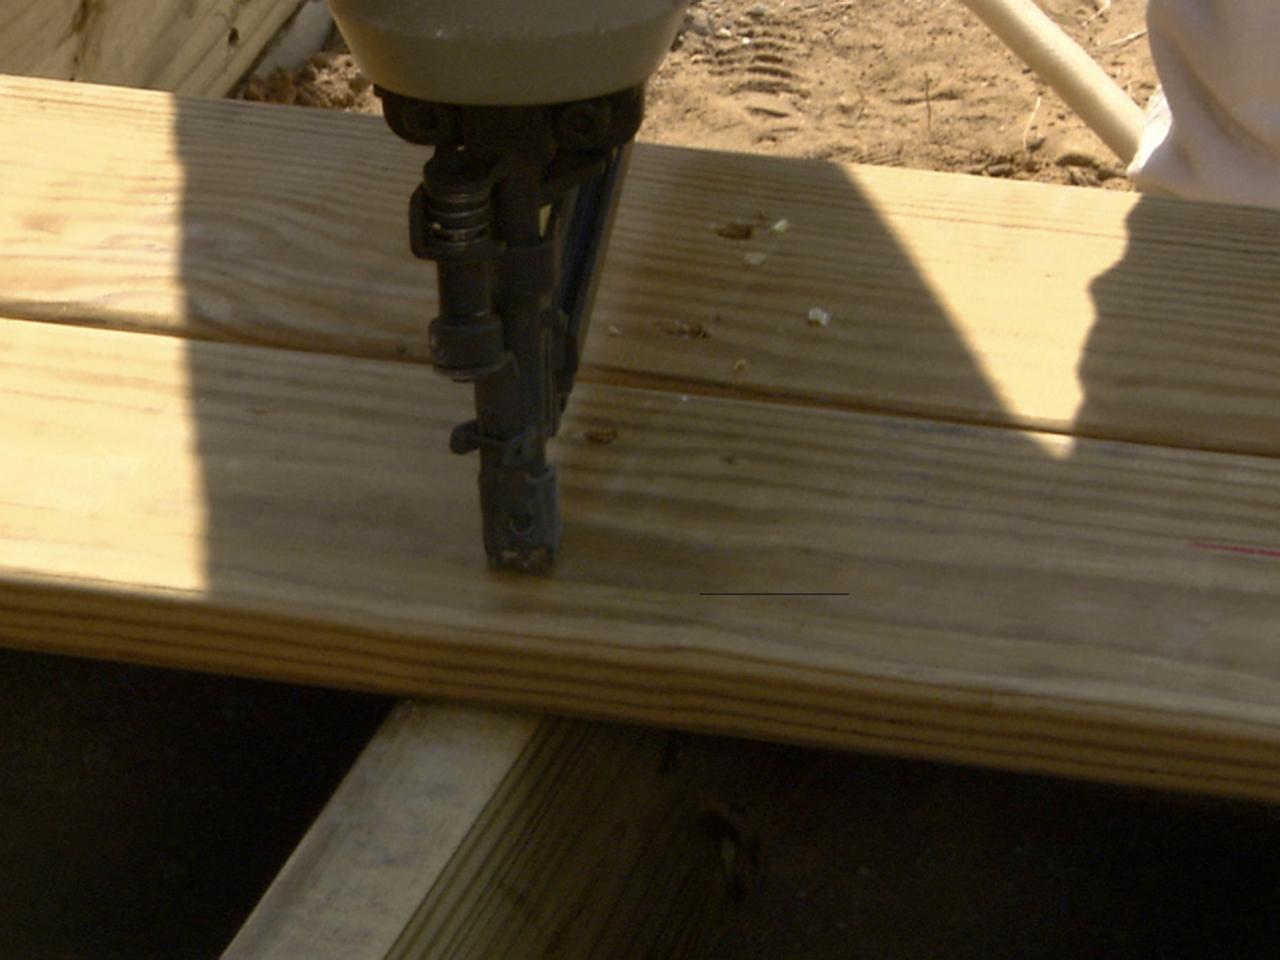
Add the Deck Planks
Add the deck planks across the ramp and the landing frame. Start by placing a full board where the angle of the ramp changes (Image 1). Be sure to orient the boards so that they are crossways or perpendicular to the ramp. Placing the decking this way ensures that a wheelchair’s wheels will not get stuck in the seams between the decking boards. Secure each board with the framing nailer (Image 2).


Trim Off Overhang
Once all the planks are in place, trim off any overhang with a circular saw to make it even with the frame.

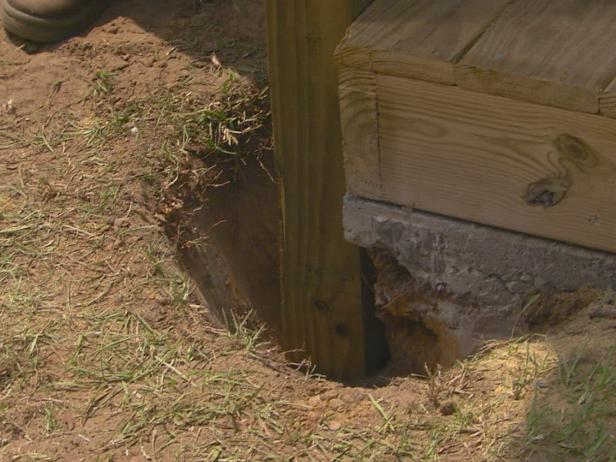
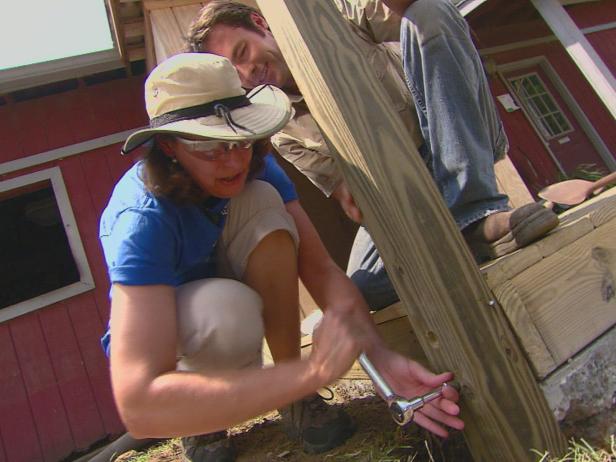
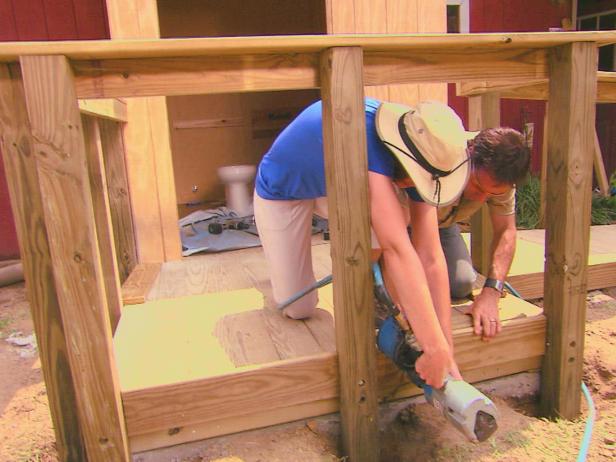
Attach Posts to Landing
For maximum stability, we set our posts in concrete and attached them to the landing frame using lag bolts. Dig a hole for each post at each corner of the landing and ramp (Image 1). Using a spade bit, drill holes to countersink the lag bolts into the posts (Image 2). Use temporary support nails to hold the posts in place while you fasten them to the landing frame (Image 3). Check that the posts are level and plumb, then permanently attach them to the landing by securing lag bolts with a ratcheting socket wrench (Image 4). Set the posts in concrete following the instructions on the packaging.


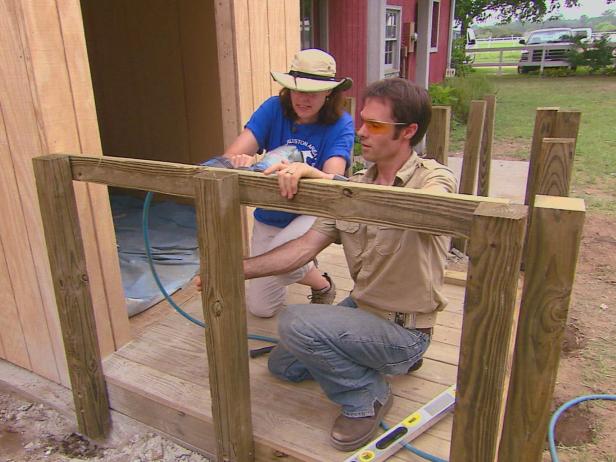
Attach Handrails
Cut wood pieces to size to serve as handrails around the landing and ramp. Fasten them along the insides of the support posts (Image 1), and add finish wood across the top to cap them off (Image 2).
Add Edge Protection
Fasten wood pieces along the edges of the landing and ramp to create a curb. Be sure the boards extend at least 2 inches higher than the deck boards to prevent wheelchair wheels from slipping off.
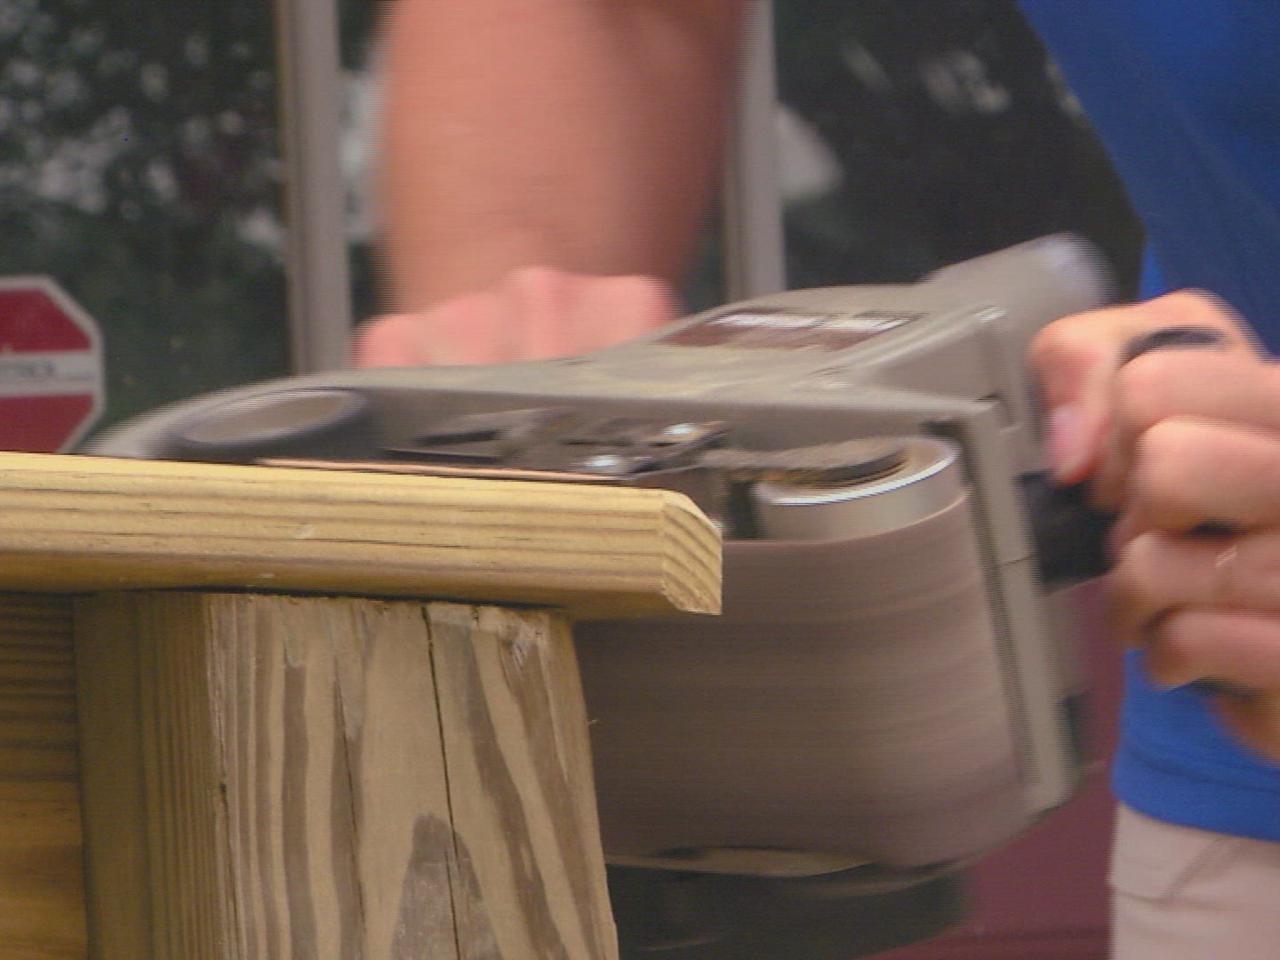
Sand Rough Edges
Smooth out any rough edges on the deck and ramp with a belt sander.


