


How to Make a Monogrammed Pumpkin

Materials Needed:
- pumpkin (choose one that has a flat side)
- wood-carving chisel
- X-Acto knife
- computer and printer
- painter's tape
- napkins or paper towels
- pencil
- black craft paint or permanent marker
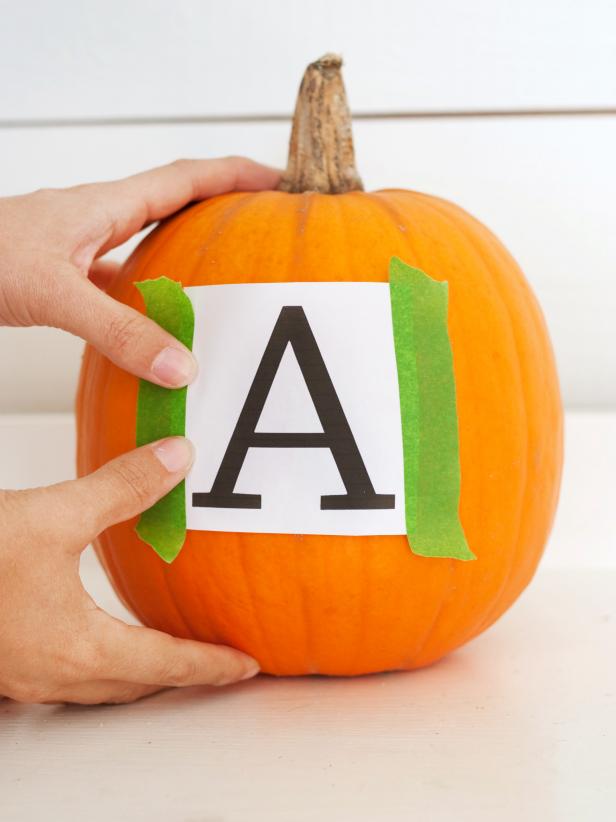
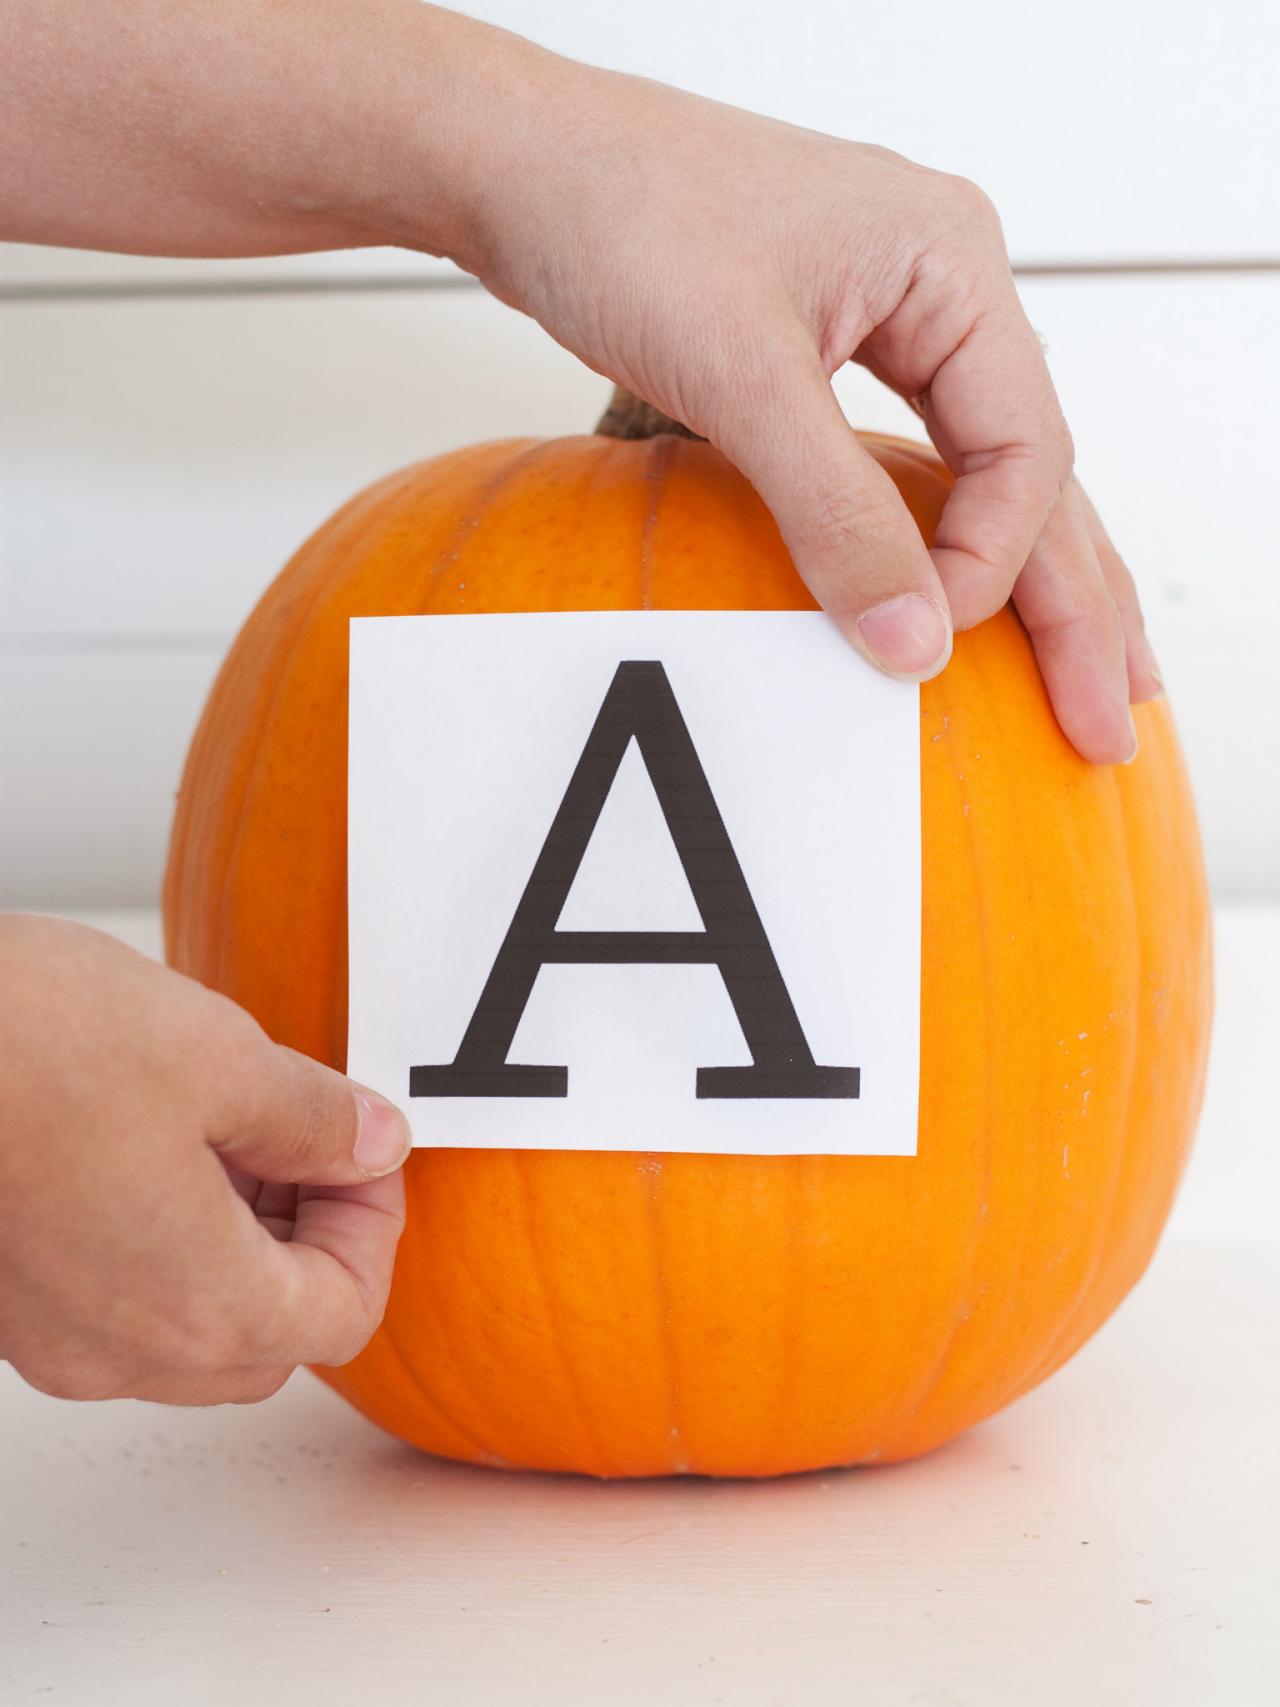
Print and Tape Letter
Measure the front side of your pumpkin to determine what size letter you'll need. Using your computer, select a font you like and print it out. Trim off most of the excess copy paper around the letter, then use painter's tape to attach the letter to the flattest side of the pumpkin.

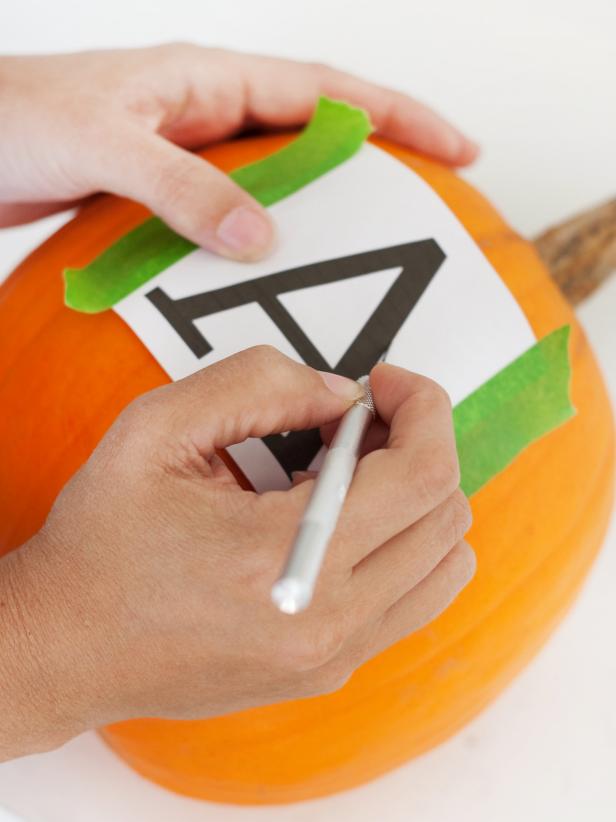
Trace Letter
Using an X-Acto knife, trace the letter's outline onto the pumpkin.
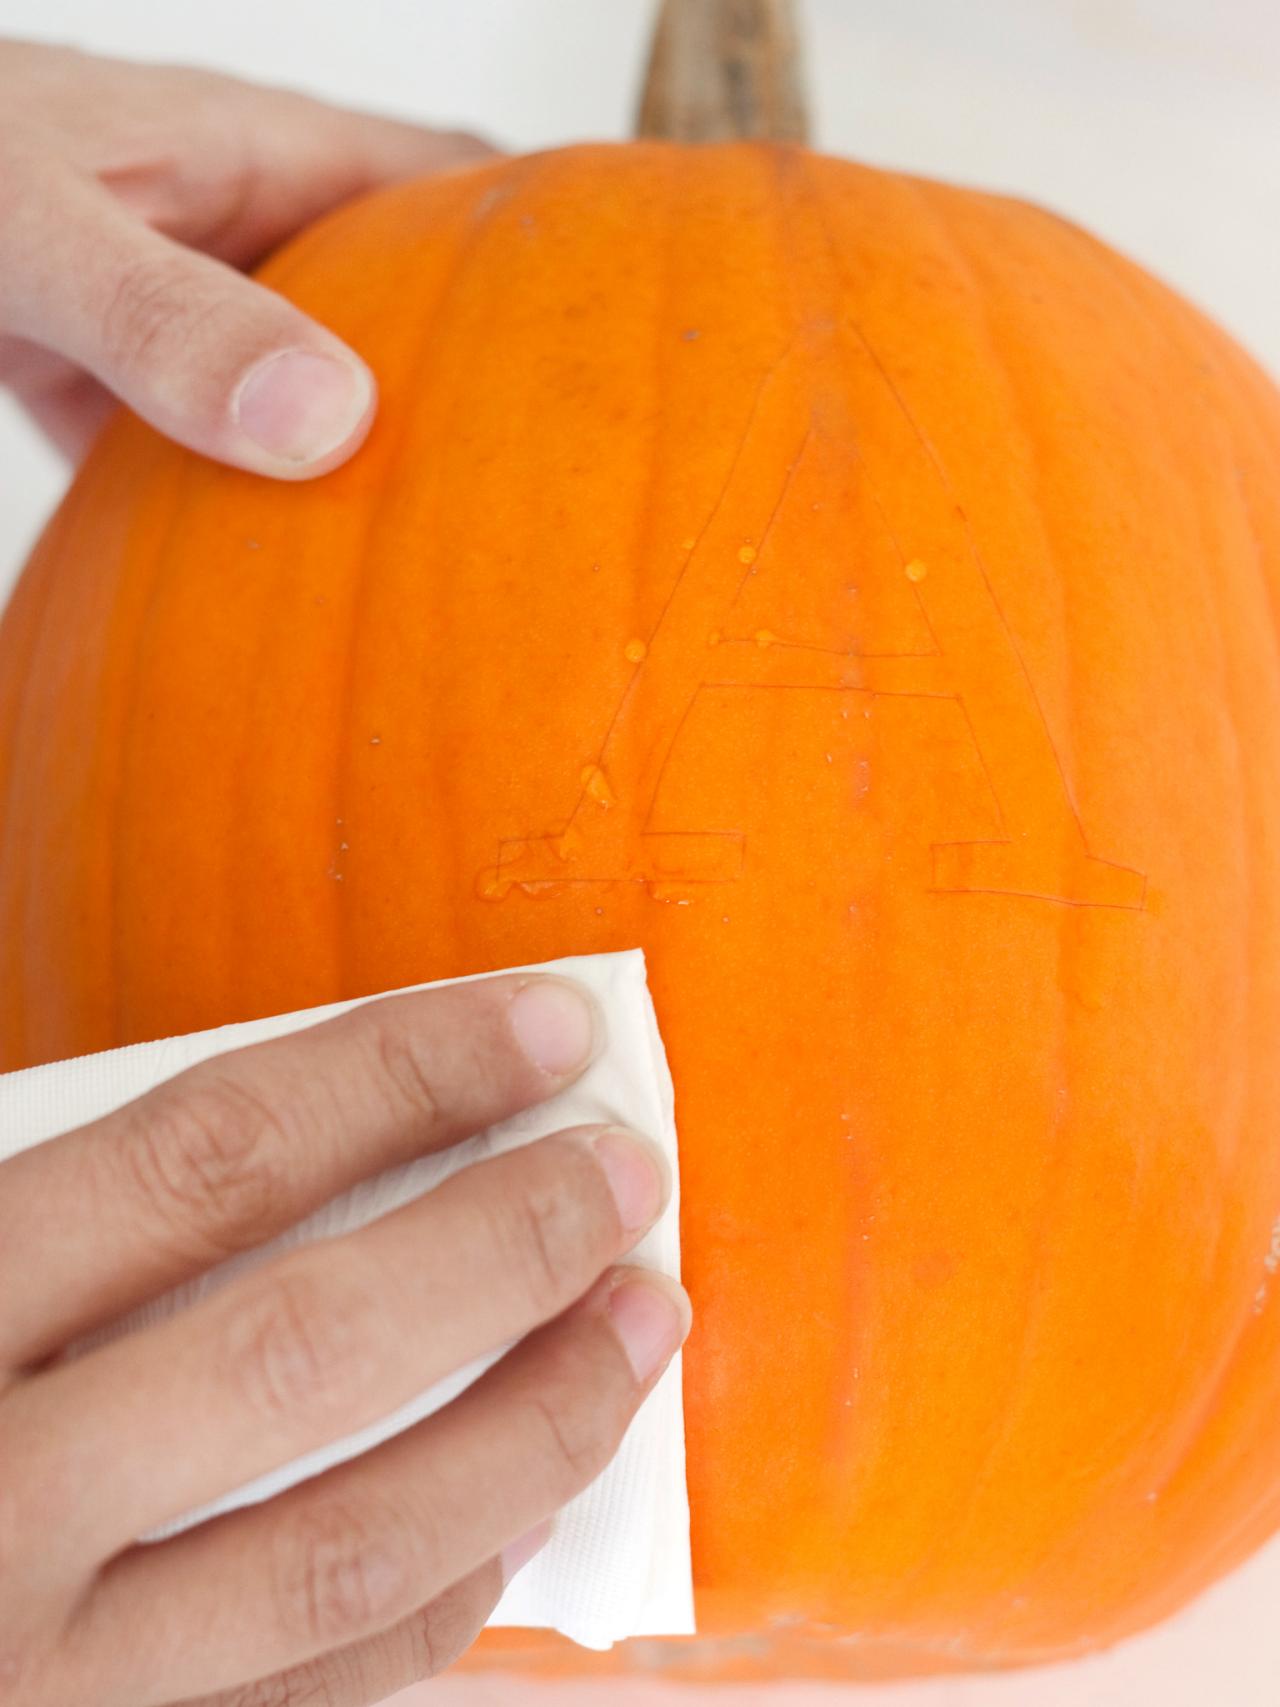
Tip: If the letter has any inside lines, cut those out first. Use a napkin or paper towel to wipe off any juice that may have seeped out during the tracing process.

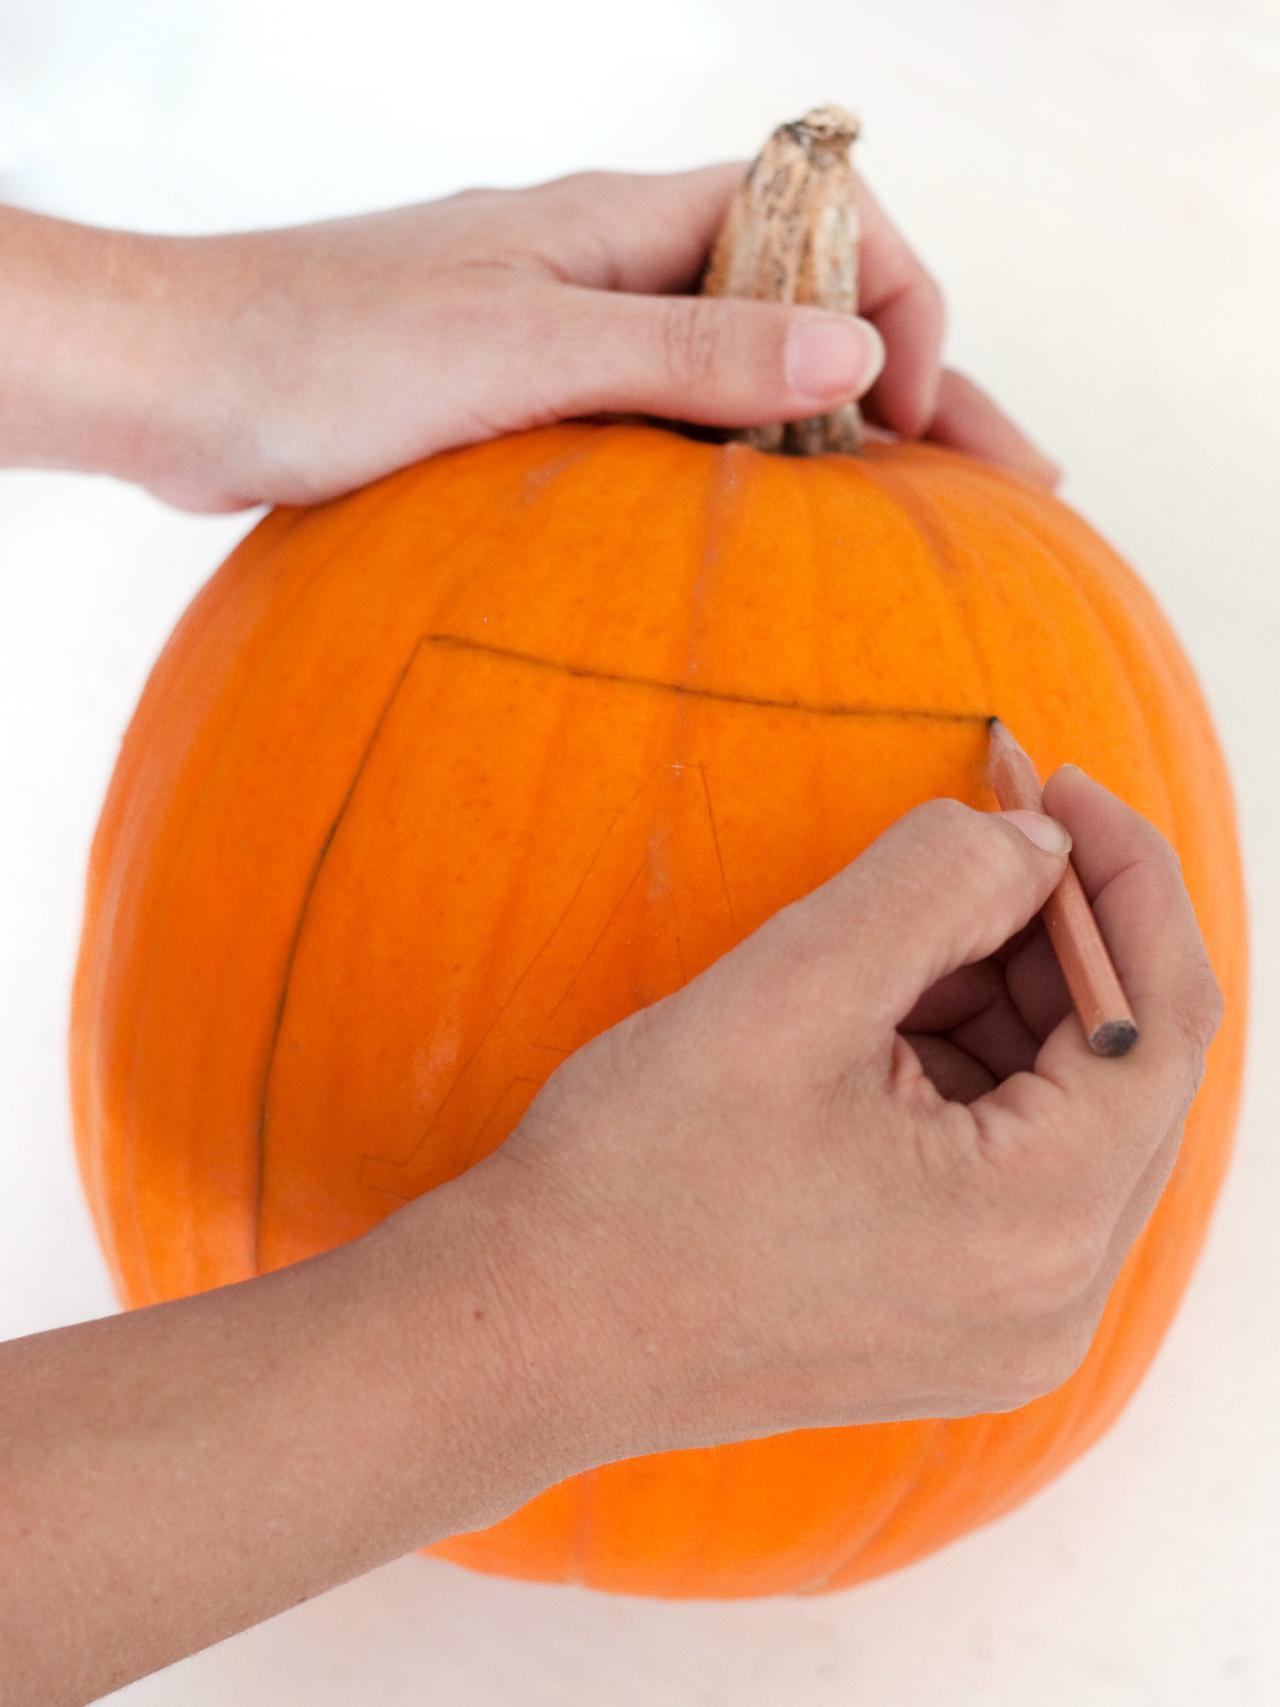
Draw Side Lines
Following the pumpkin's grooves on the left and right sides of the letter, draw two vertical pencil lines onto the pumpkin. The lines should extend an inch above and below the monogram.

Draw Top and Bottom Lines
Complete the square around the monogram by drawing horizontal lines above and below the letter.

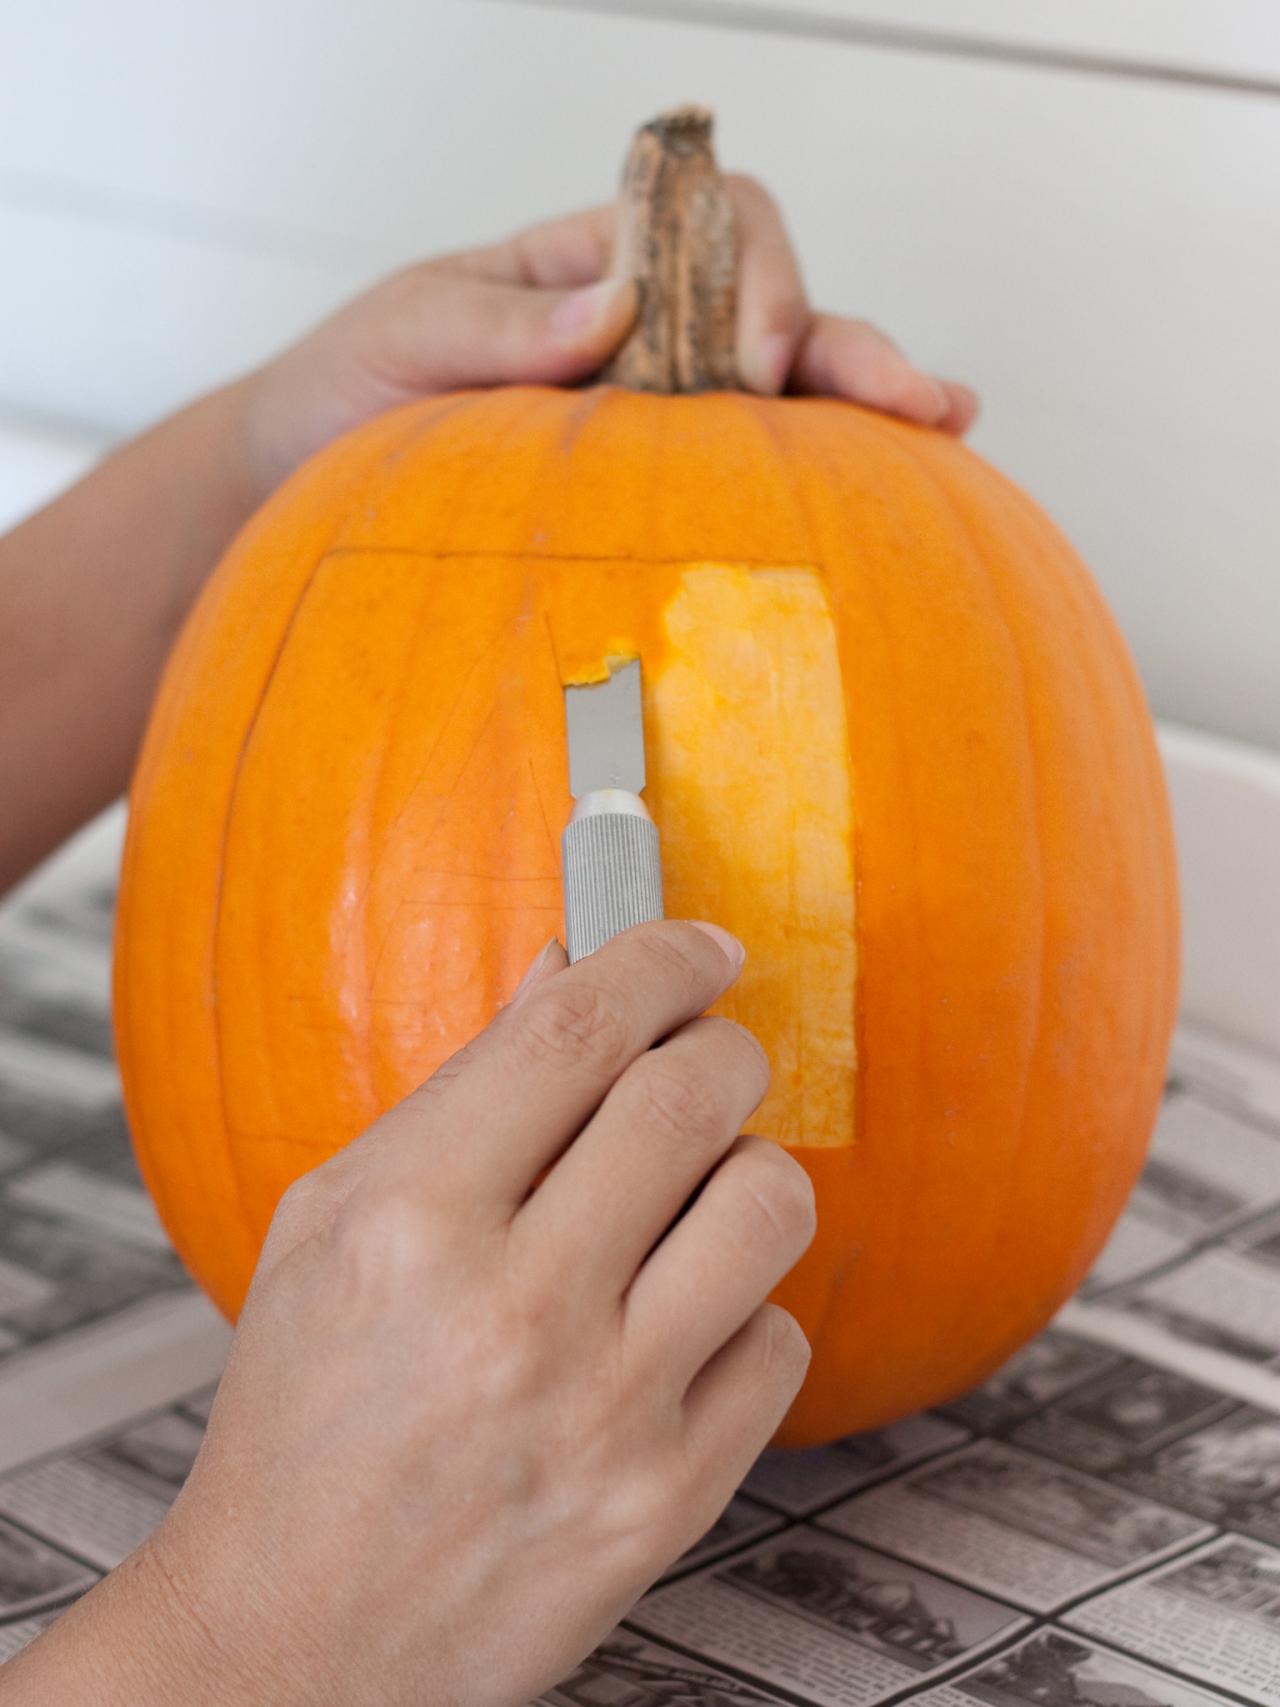
Carve Relief Around Monogram
Use a wood chisel to gently remove the top layer of pumpkin skin around (and inside) the letter until all you are left with is a raised initial. Further highlight the letter by coloring it in with black craft paint or a permanent marker.


 Halloween tradition.")


