


How to Build a Space-Themed Kid's Headboard With Built-In Nightlights
Learn how to make an illuminated space-themed headboard for a child's room using holiday lights and plywood.
Project Overview
- Cost: ⚫⚪⚪⚪
- Skill Level: ⚫⚫⚪⚪
- Time to Finish: Less than half a day
Tools
- Drill with large bit
- Paintbrush or roller
- Level
- Jigsaw or circular saw
- Scissors
- Hot-glue gun
Materials
- Sheet of laminated, furniture-grade plywood
- Semigloss paint
- 12 to 14 screws
- String of clear holiday lights (rice lights, which you can usually find at thrift stores in the off-season)
- Package of glow-in-the-dark stars
- Large paper bag or piece of paper to make templates

Susan Teare
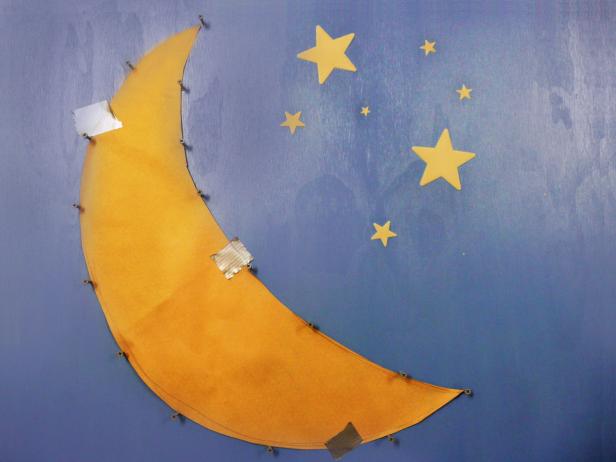
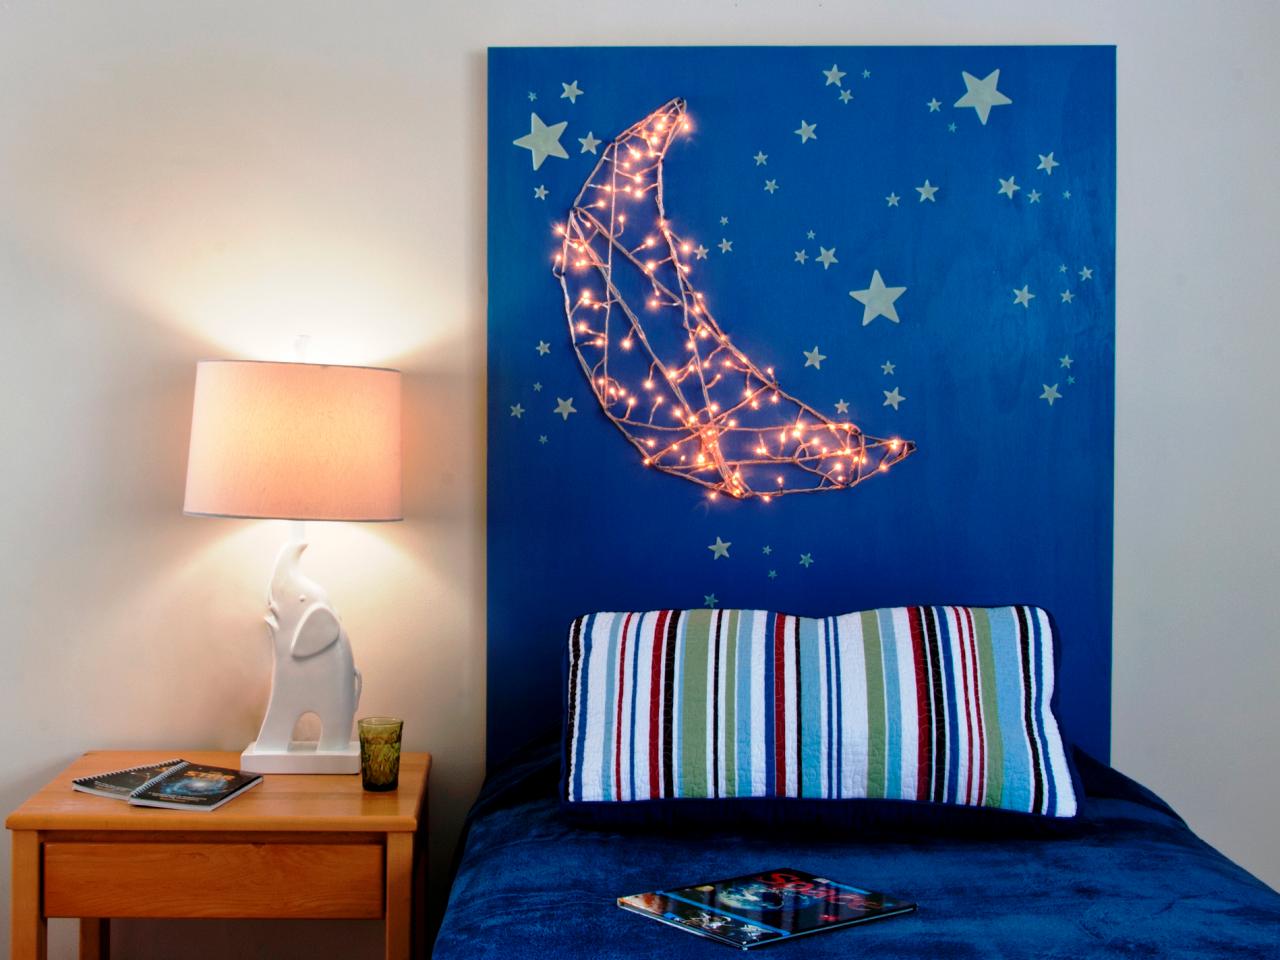
This starry-night headboard will provide a warm glow in your child's room. Have the kids help you make and design the headboard. They can create the shapes, help wrap the lights and add self-adhesive stars.
Cut the Headboard to Size, and Paint "Sky"
Cut the piece of plywood to the size of the bed. The lumberyard or retailer where you buy it will often cut it to your exact dimensions.
Paint the plywood the color of your choice. We used rich blue paint to represent a nighttime sky. Let the first coat dry completely and then apply a second coat if necessary.
Create the Template
Create the moon template on paper. A large paper bag works well because it is thick and sturdy.
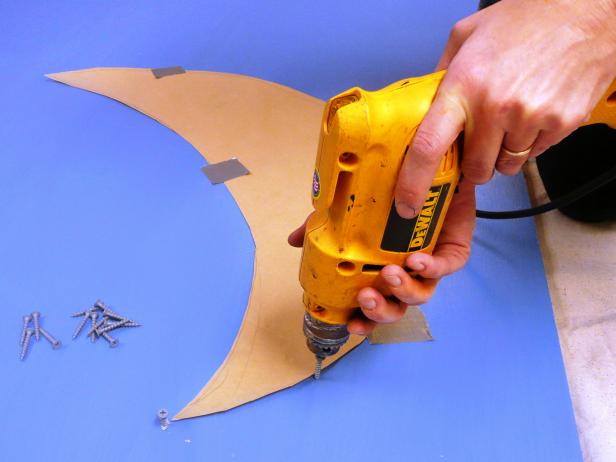
Outline the Template
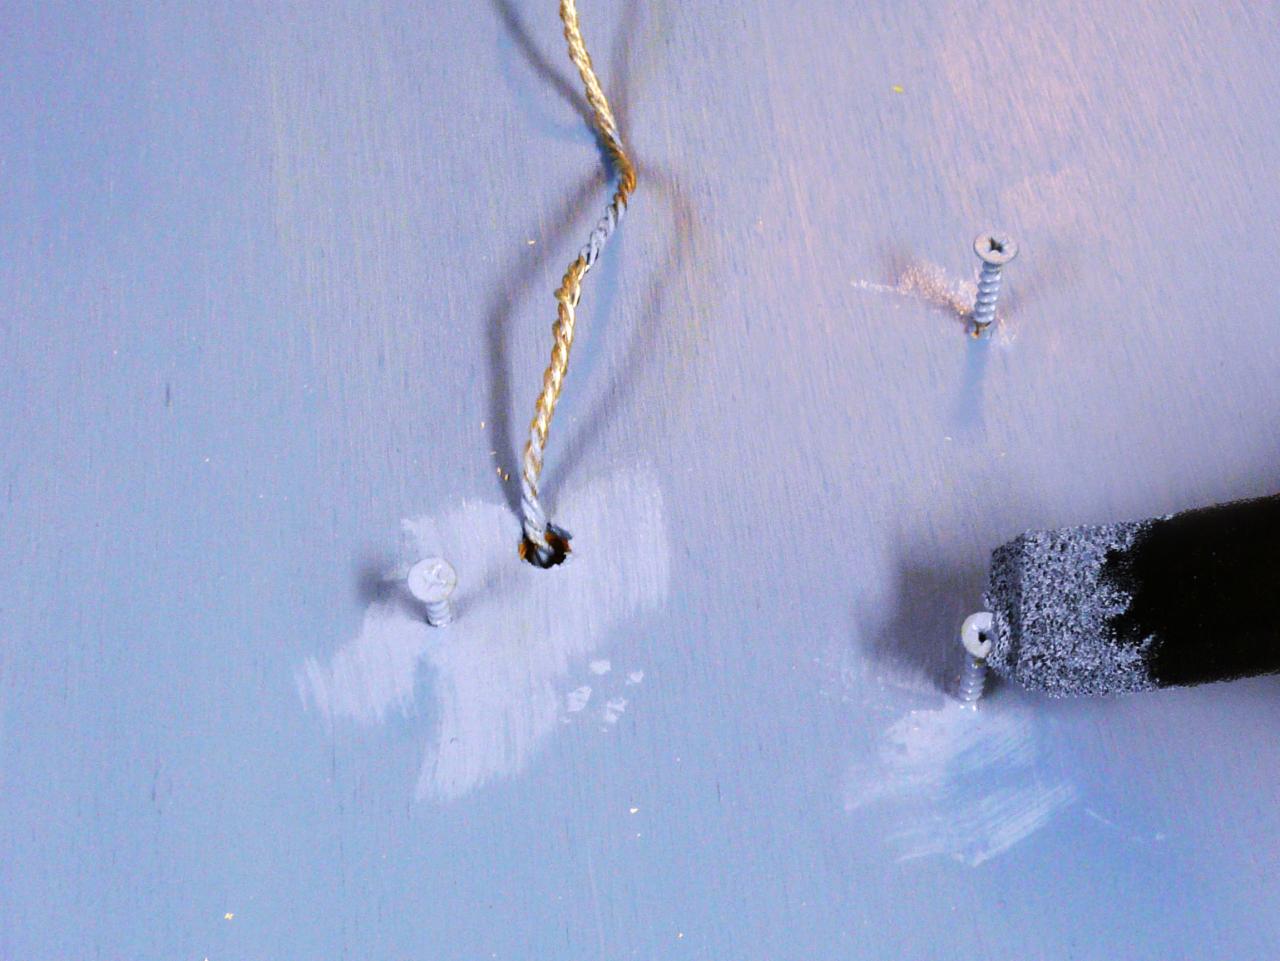
Place template on the wood and insert screws around template. Keep the entire pattern on the top half of the board, leaving room at bottom for pillow to rest against.
Insert the screws halfway through the plywood; make sure they do not poke through the back. If you have a hard time not going all the way through the wood. Wrap a little piece of masking tape around each screw at the point where you want the drill to stop. It will prevent you from drilling too far into the wood.

Drill for the Lights
Drill hole large enough for the lights to get through near the bottom of the moon where it can be hidden.

Touch Up Holes
Use paint to touch up the holes and paint the tops of the screw heads.
Thread the Lights Through the Holes
String the lights through hole leaving the plug in the backside of the plywood.

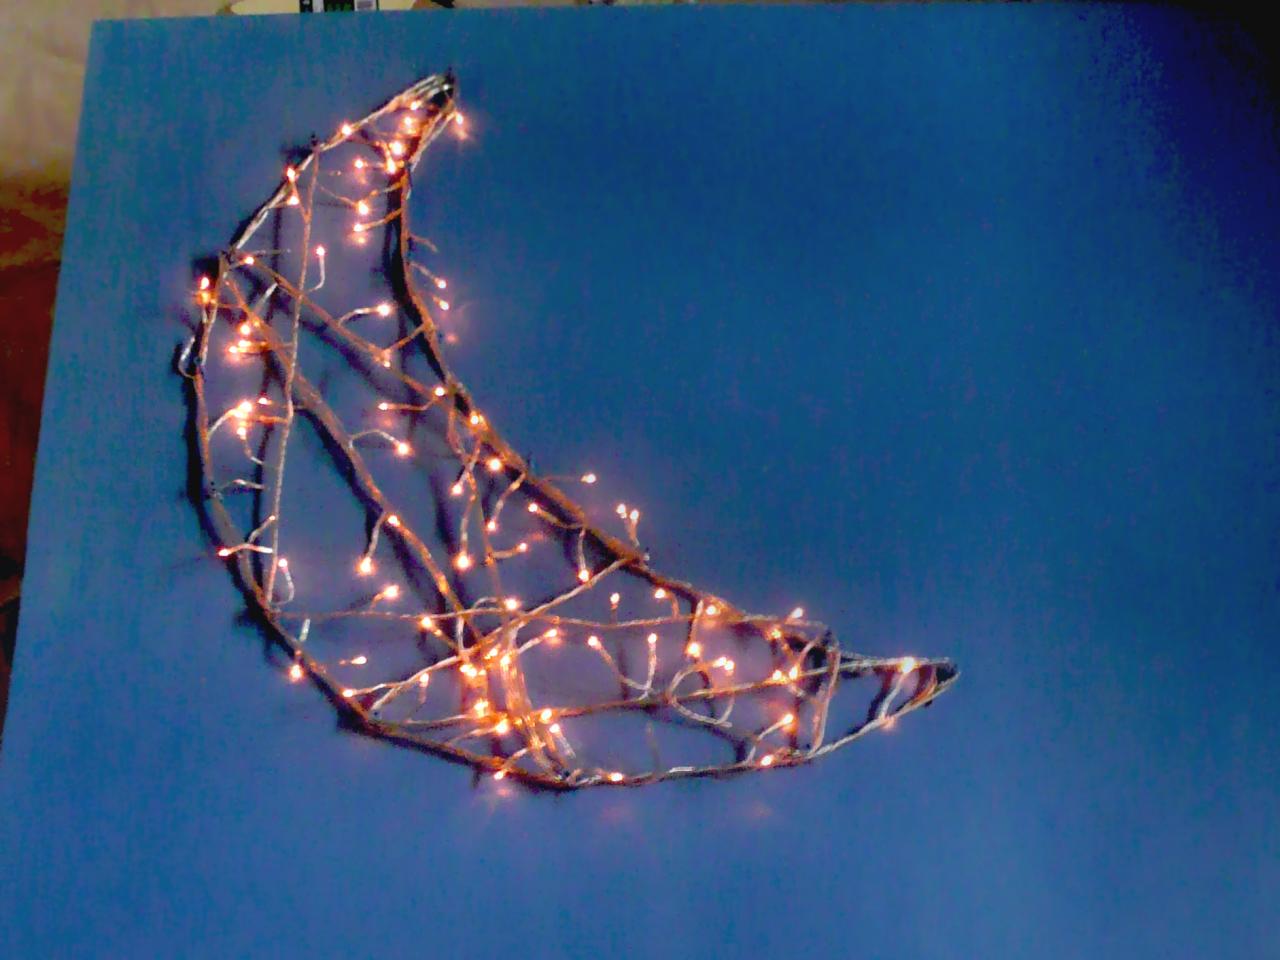
Wrap the Lights
Wrap the lights around the screws in a variety of directions, creating a moon shape, tucking in the stray lights.

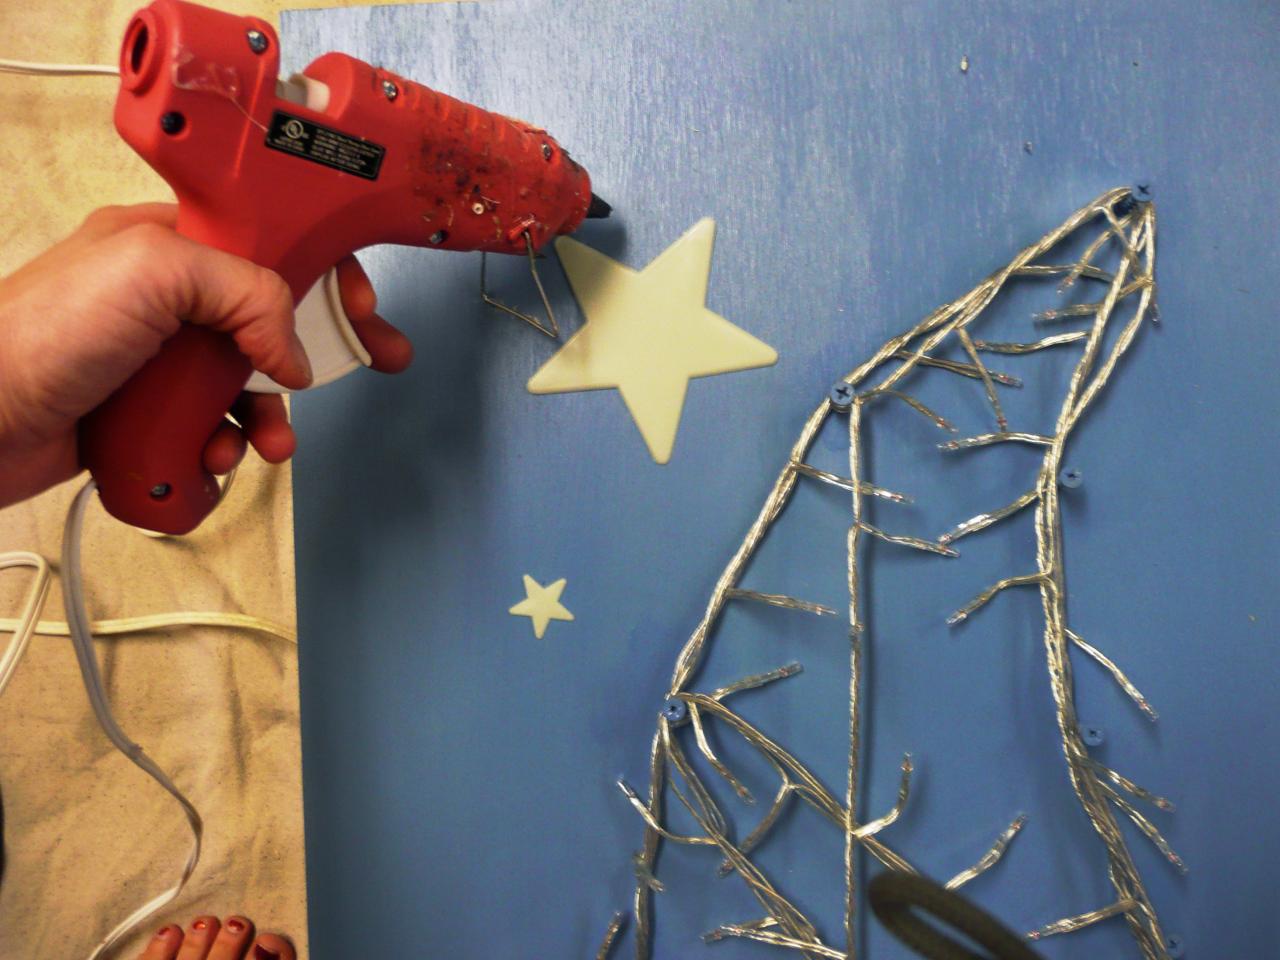
Add Stars
Use hot glue to adhere the glow-in-the-dark stars around the moon. Save at least four large stars to cover the screws that will be used to attach the board onto wall.
Add Pads to the Back
Place foam floor protector pads (normally used for chairs) on the back of the board to keep it slightly off the wall, allowing the plug to come out the back.

Attach Headboard to Wall
Place the headboard in position on the wall behind bed. Make sure it is level and screw into the wall studs. Place four screws near the top third of the board. Cover the screws with the stars.
Joanne Palmisano is the author of Salvage Secrets (W.W. Norton, September 2011). Visit her blog, also called Salvage Secrets.


