


How to Build a Free Library Box With a Living Roof
Little free libraries are popping up in neighborhoods everywhere. Sharing your favorite books is a great way to connect with your neighbors and encourage kids to read.
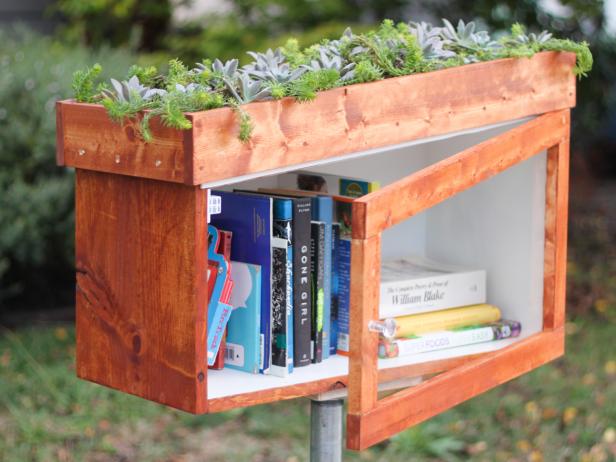
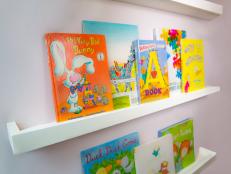
This modern version of a library box is also a planter box. The neighbors are sure to be impressed. If your house is near the school bus stop, entice the kids to read by filling the box with their favorite books.

Tools and Materials
- miter saw
- table or circular saw
- power drill
- staple gun (optional)
- drywall knife
- shovel/post hole digger
- 1x12 x 10’ exterior-grade wood
- (2) 1x4 x 6’ exterior-grade wood
- 24” x 18” plexiglass
- small hinges
- cabinet latch
- cabinet knob
- wood glue
- galvanized screws in assorted lengths
- wood filler
- sandpaper
- exterior paint/wood stain
- foam weather stripping
- silicone caulking
- plastic sheeting (such as Visqueen) (optional)
- pebbles
- potting soil
- sedum and succulent cuttings
- 4x4 wood post or 1-1/2” galvanized pipe with flange
- concrete
Step 1: Cut Back, Sides and Base
Use a miter saw to cut the 1x12 into the following lengths:
- 25 inches for the base (bottom)
- 25 inches for the back
- 15 inches for the taller side
- 13 inches for the shorter side.
Cut the top edge of the two side pieces at a five-degree angle.

Step 2: Assemble
Attach the side pieces to the outside edges of the base. Pre-drill the screw holes and apply wood glue before screwing the pieces together. Repeat with the back piece.

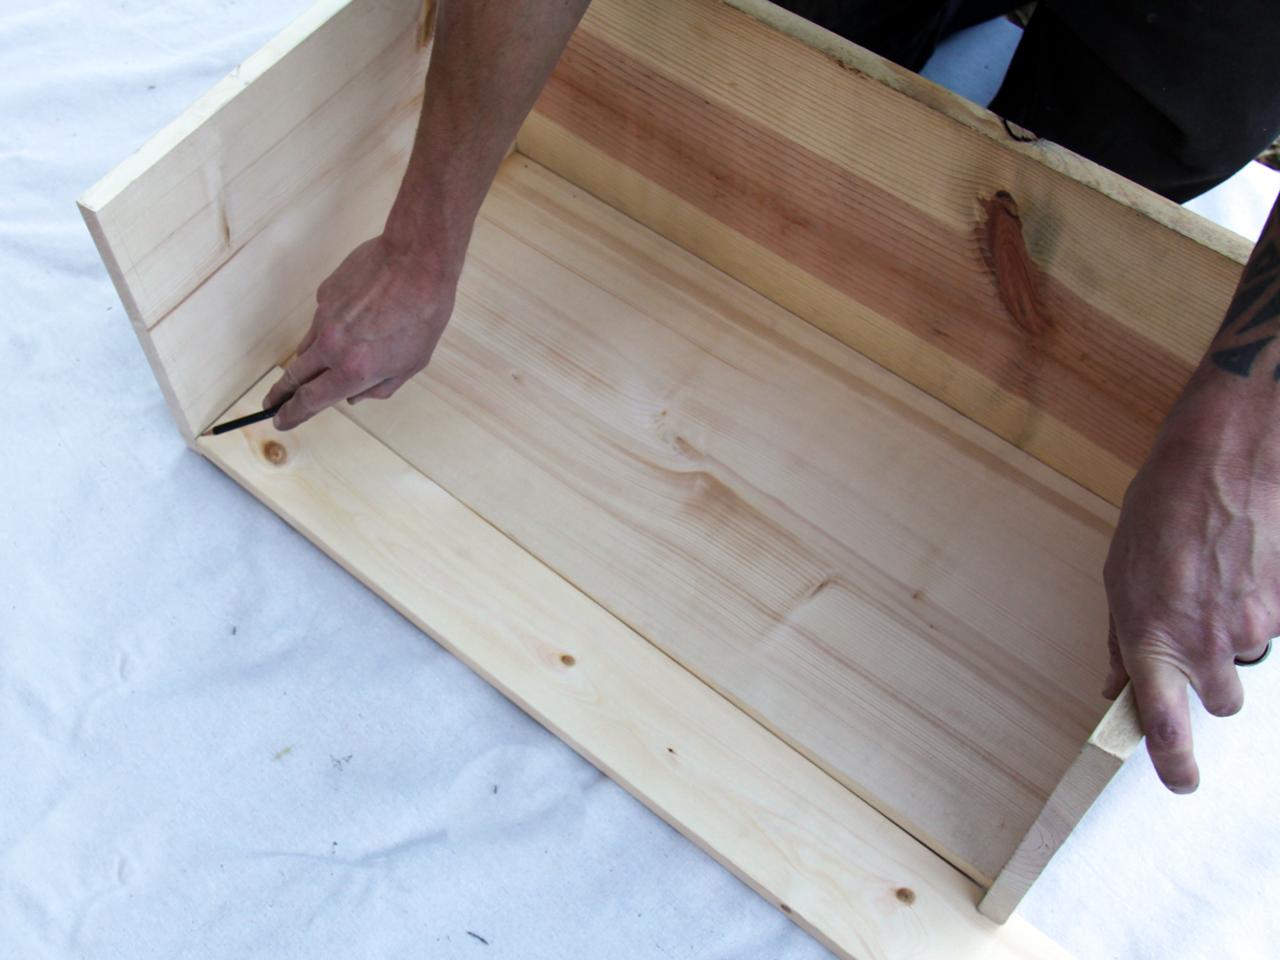
Step 3: Make Wedge Piece
Measure, cut and then attach the back wedge. Lay the library on its back and place a 1x4 board where there is a missing wedge. Draw on the board where you need to cut in order to fill in the gap. Use a circular or table saw to make the cuts. Attach in the same manner as the previous step.

Step 4: Cut Top Piece
Keep the miter saw set to the same angle (five degrees) as you cut the top of the side pieces, cut the roof piece to span the top of the library box (26-3/4 inches). Attach the roof as you have attached all prior pieces.

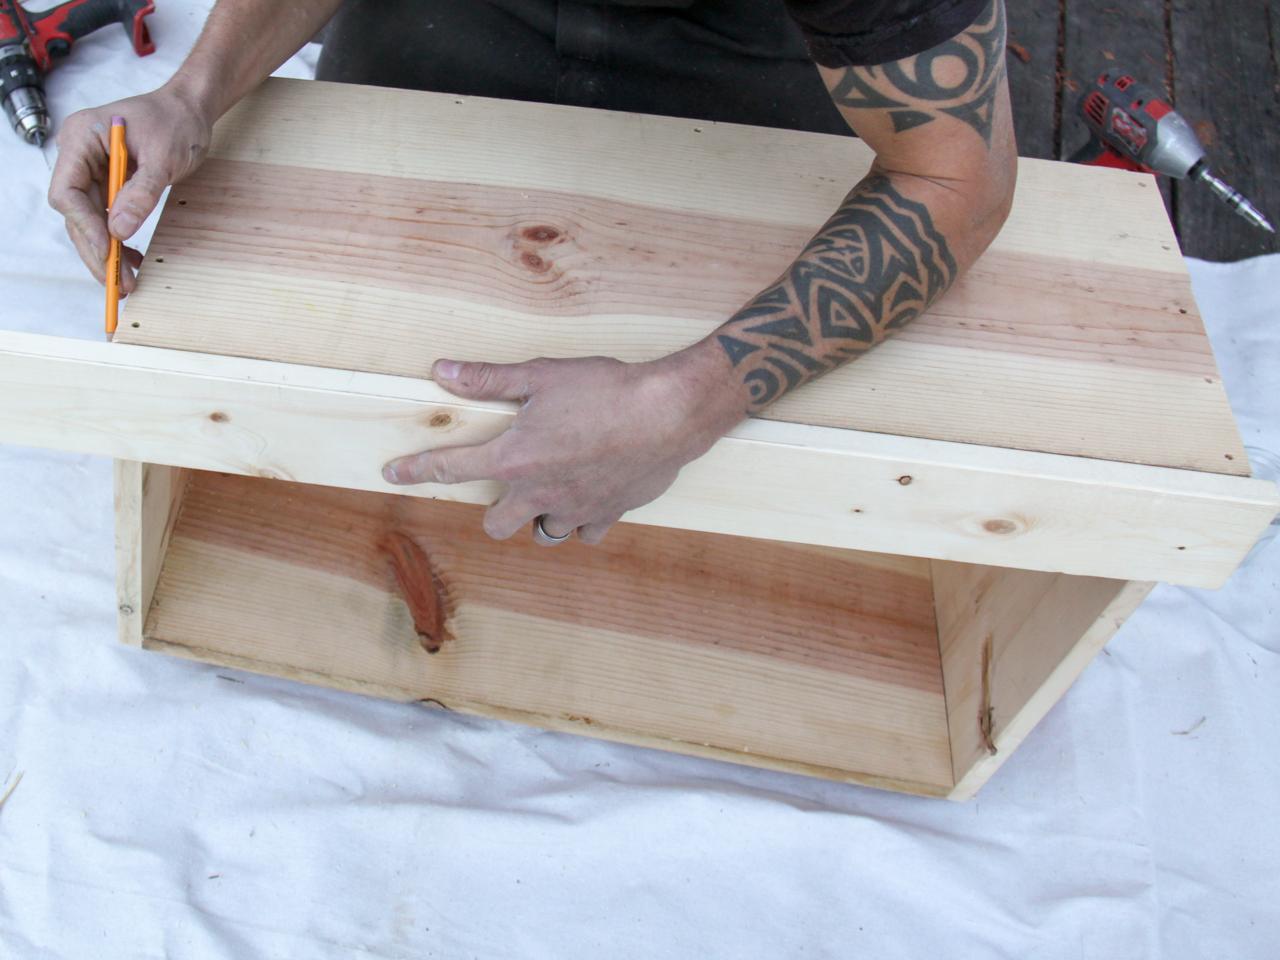
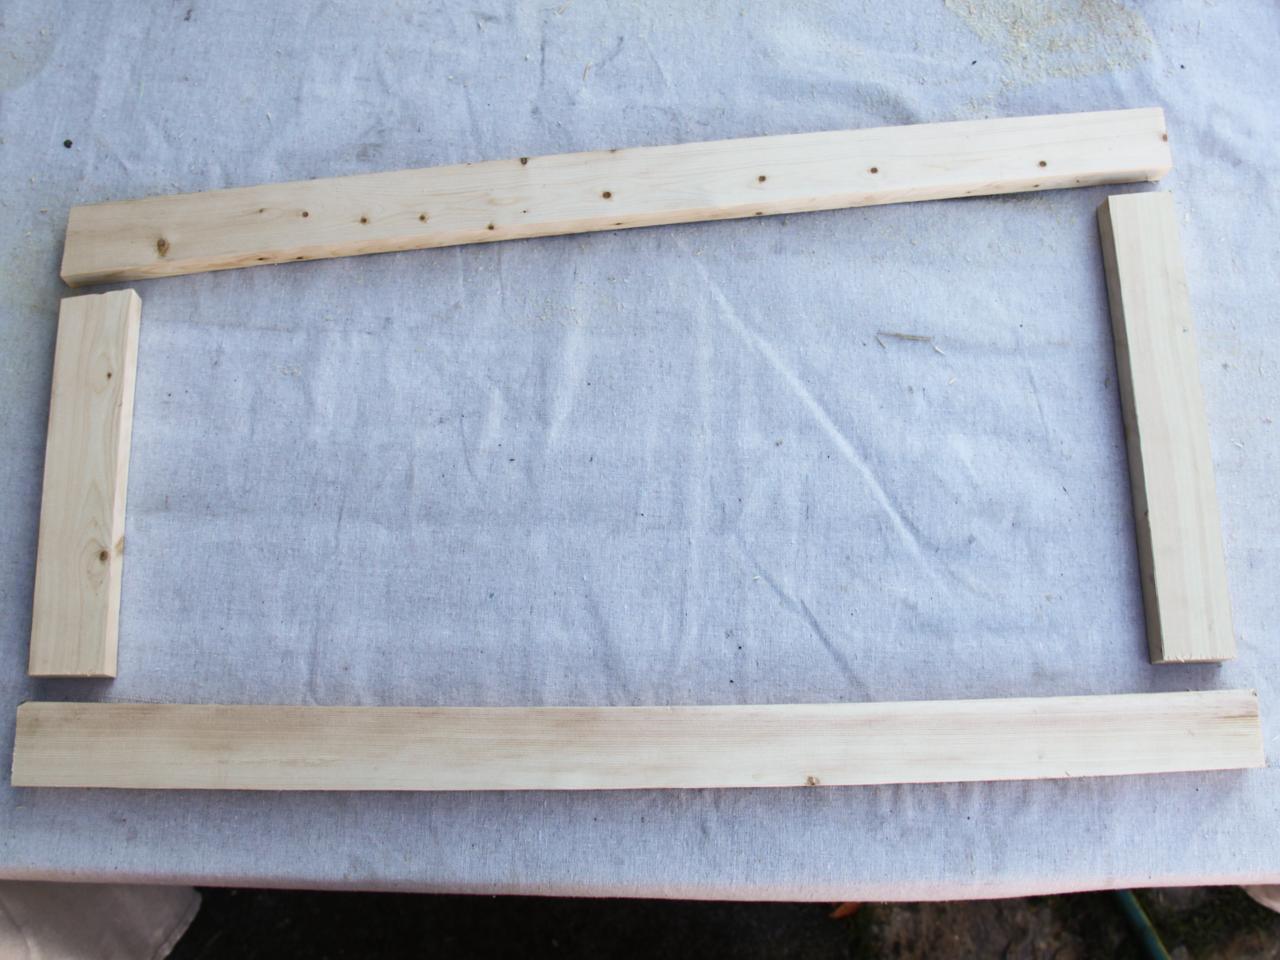
Step 5: Make Frame Around the Top
Measure and install the frame for the living roof. Hold the 1x4 board up to the front of the box and mark where you need to cut it to create a frame around the box. Make sure to account for a 3/4-inch overhang on each side to accommodate the side pieces. Cut two of these and two side pieces that are as long as the short sides of the library are wide (11-1/8 inches).

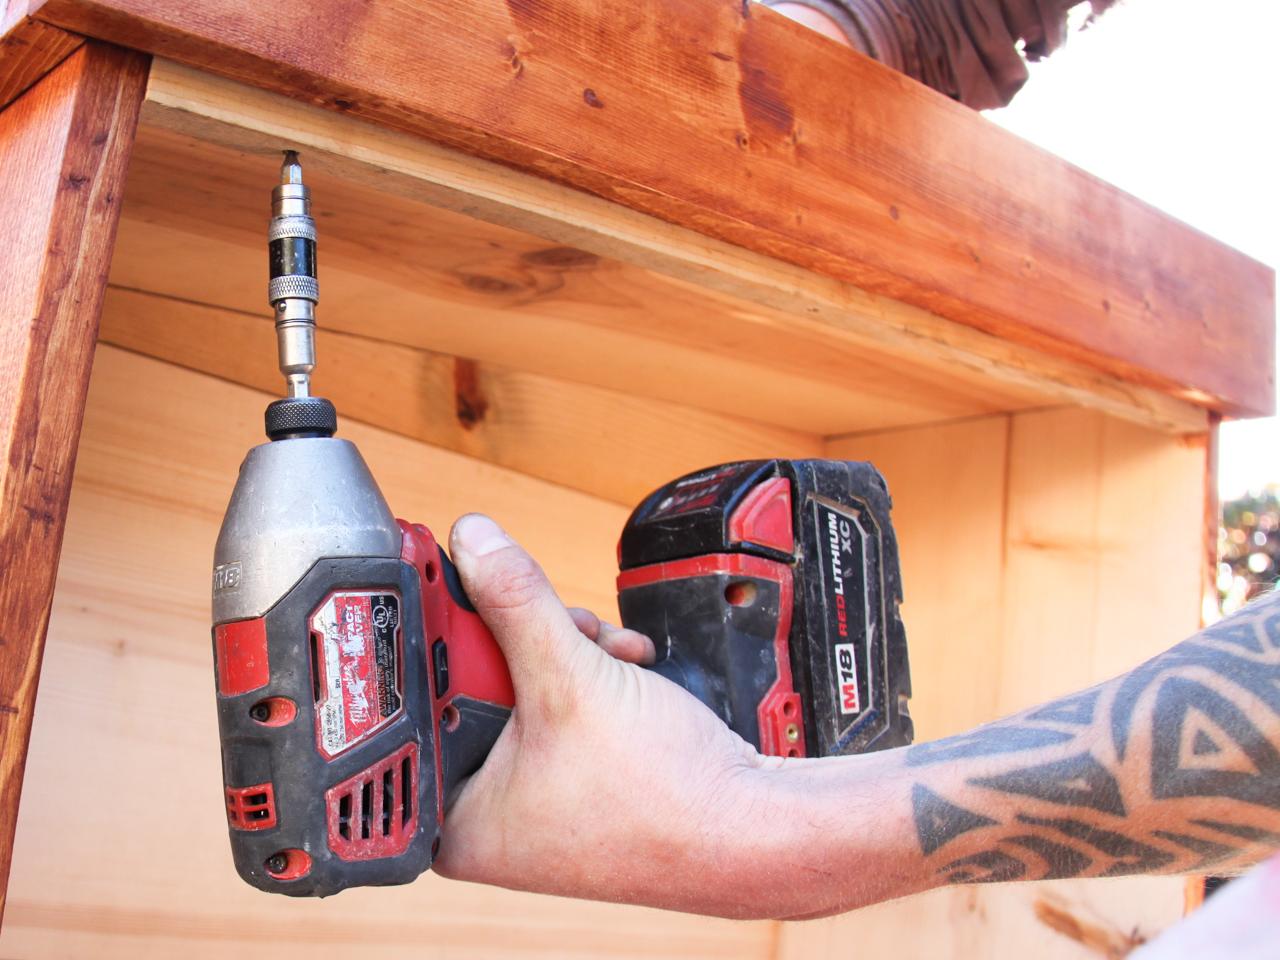
Step 6: Nail Frame to Top Piece
Attach the frame to the top piece so that it creates a planter space that is 2-1/4 inches deep.

Step 7: Make Door Frame
Measure, cut, and assemble the door pieces. Using a circular or table saw, rip a length of the 1x4 in half, creating two 1x2 pieces. From those, cut a frame that will fit the front of the library box. Determine the size of your cuts by holding the 1x2 pieces up to the box and marking where they lay flush with the sides. Once measured and cut, assemble your door by screwing the pieces together.

Step 8: Install Upper Door Jamb
Install an upper door jamb. From a scrap of wood, cut a small piece to fit the top edge of the opening of the box (1 x 25 inches) and attach it to the roof behind the planter frame.

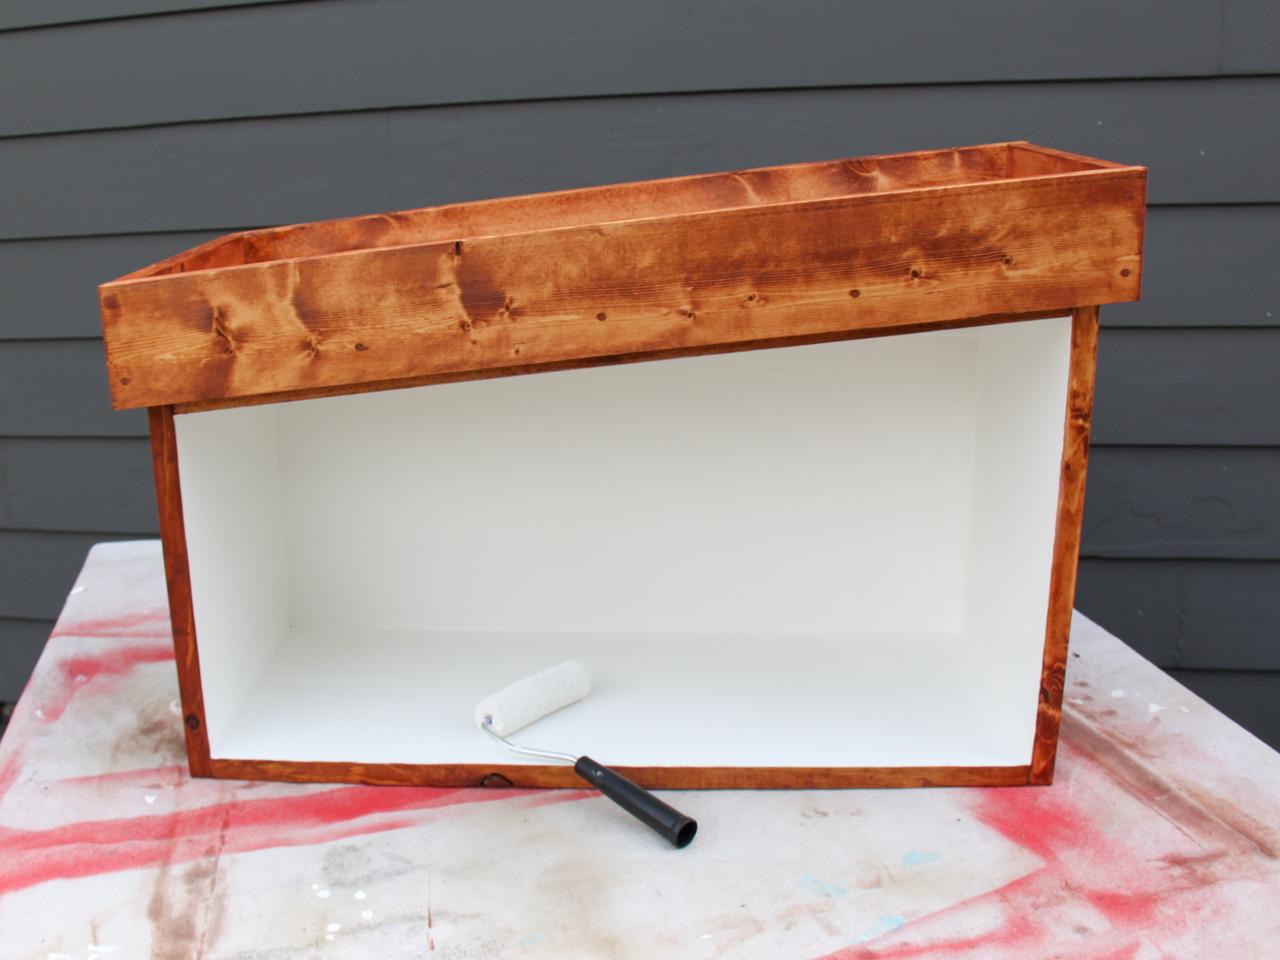
Step 9: Prep and Paint
Fill all the small holes where the screws were installed with wood putty. When they’re dry, sand the entire library inside and out. Paint or stain the entire library, including the door, and inside the planter box. We used a wood-protecting stain outside and exterior-grade white paint on the inside.

Step 10: Add Plexiglass
Measure, cut and install the plexiglass window inside the door frame. Lay the plexiglass over the door frame and mark it where it needs to be trimmed. Cut the plexiglass by first scoring it deeply on both sides with a drywall knife. Lay the edge you want to remove over the side of a table and with a forceful whack, hit it so that it breaks along your scored line. Attach it to the inside of the door frame by pinching it under large-headed screws or short screws with small washers added to them.

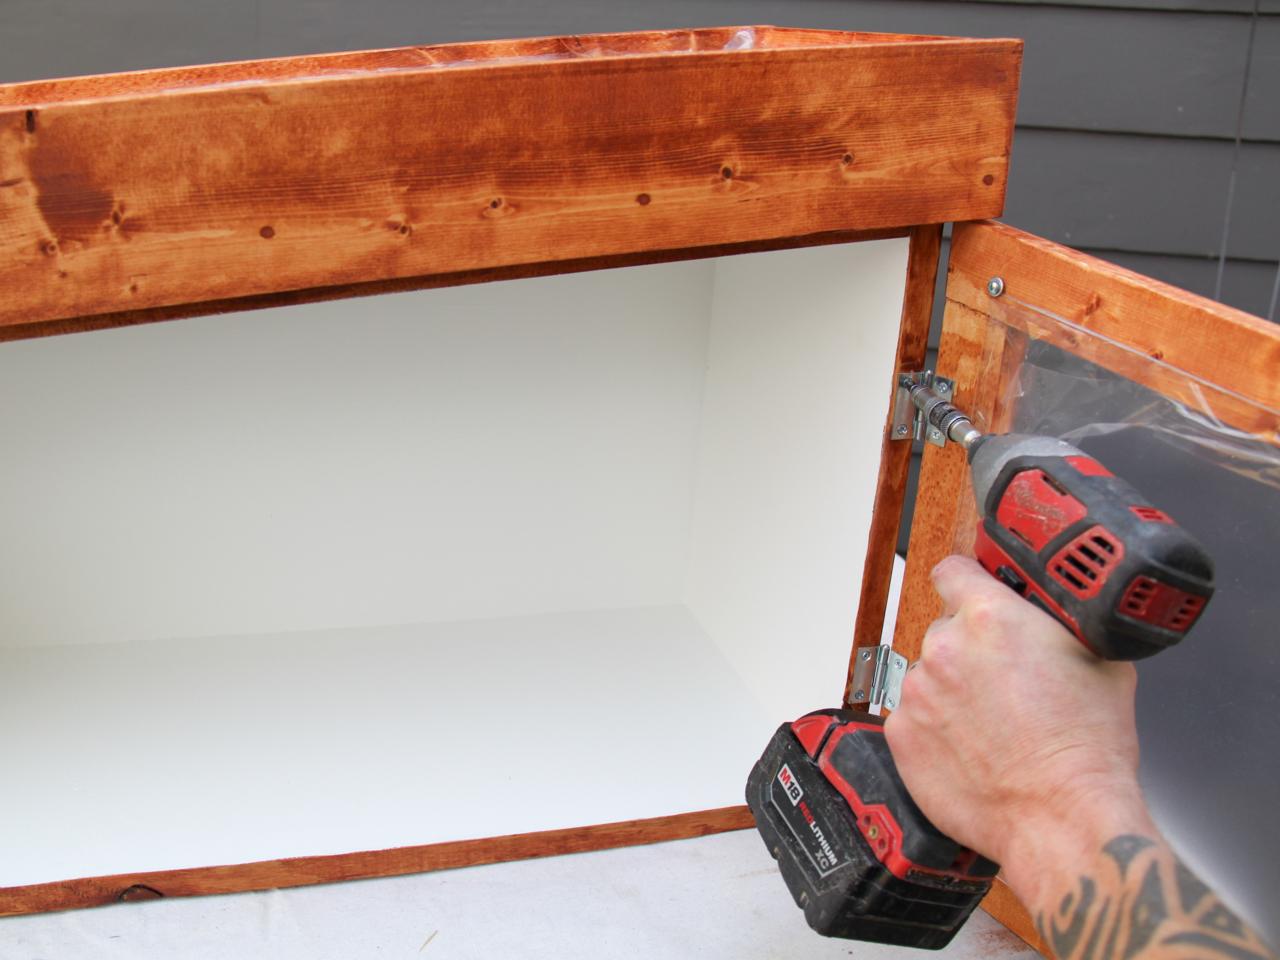
Step 11: Attach the Door
Install the hinges on the taller side of the door first. Hold the door up to the box and start by tacking one screw into each hinge. Test the door and make adjustments before adding and tightening all the screws.

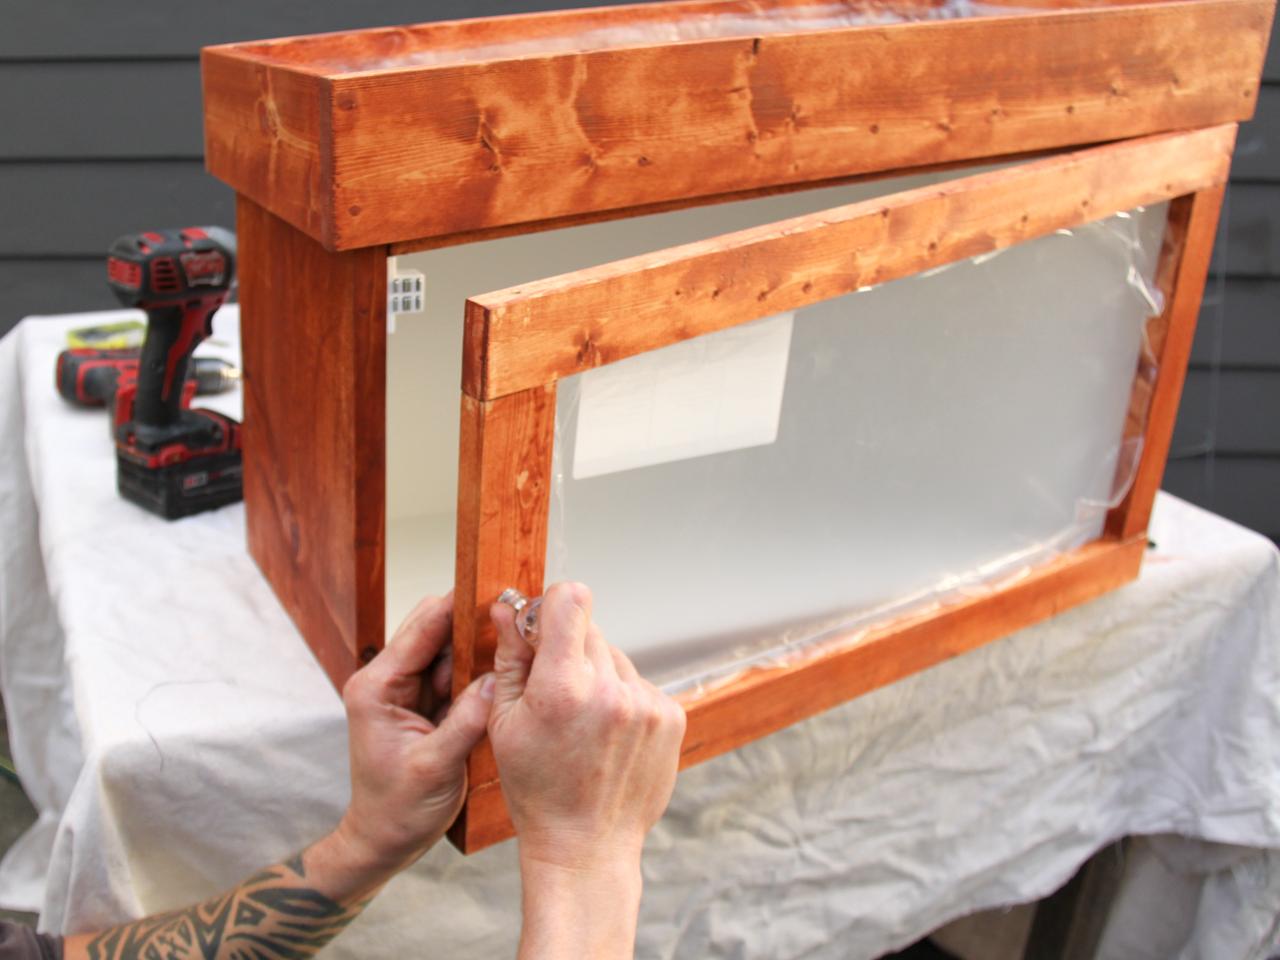
Step 12: Install Latch and Knob
Test the finished seal of the door and install foam weatherstripping either along the top edge or all the way around to ensure a tight seal and a nicely closing door.

Step 13: Prepare Roof for Planting
Apply silicone caulking around the inside, bottom edges of the planter. For extra protection, you can line the top with plastic sheeting and staple it into place. On the side of the roof that is the lowest, drill three small holes on the sides to allow for drainage.

Step 14: Fill Planter Box
Fill the roof with a thin layer of pebbles and top that with potting soil. Plant your roof with sedum and succulent cuttings.

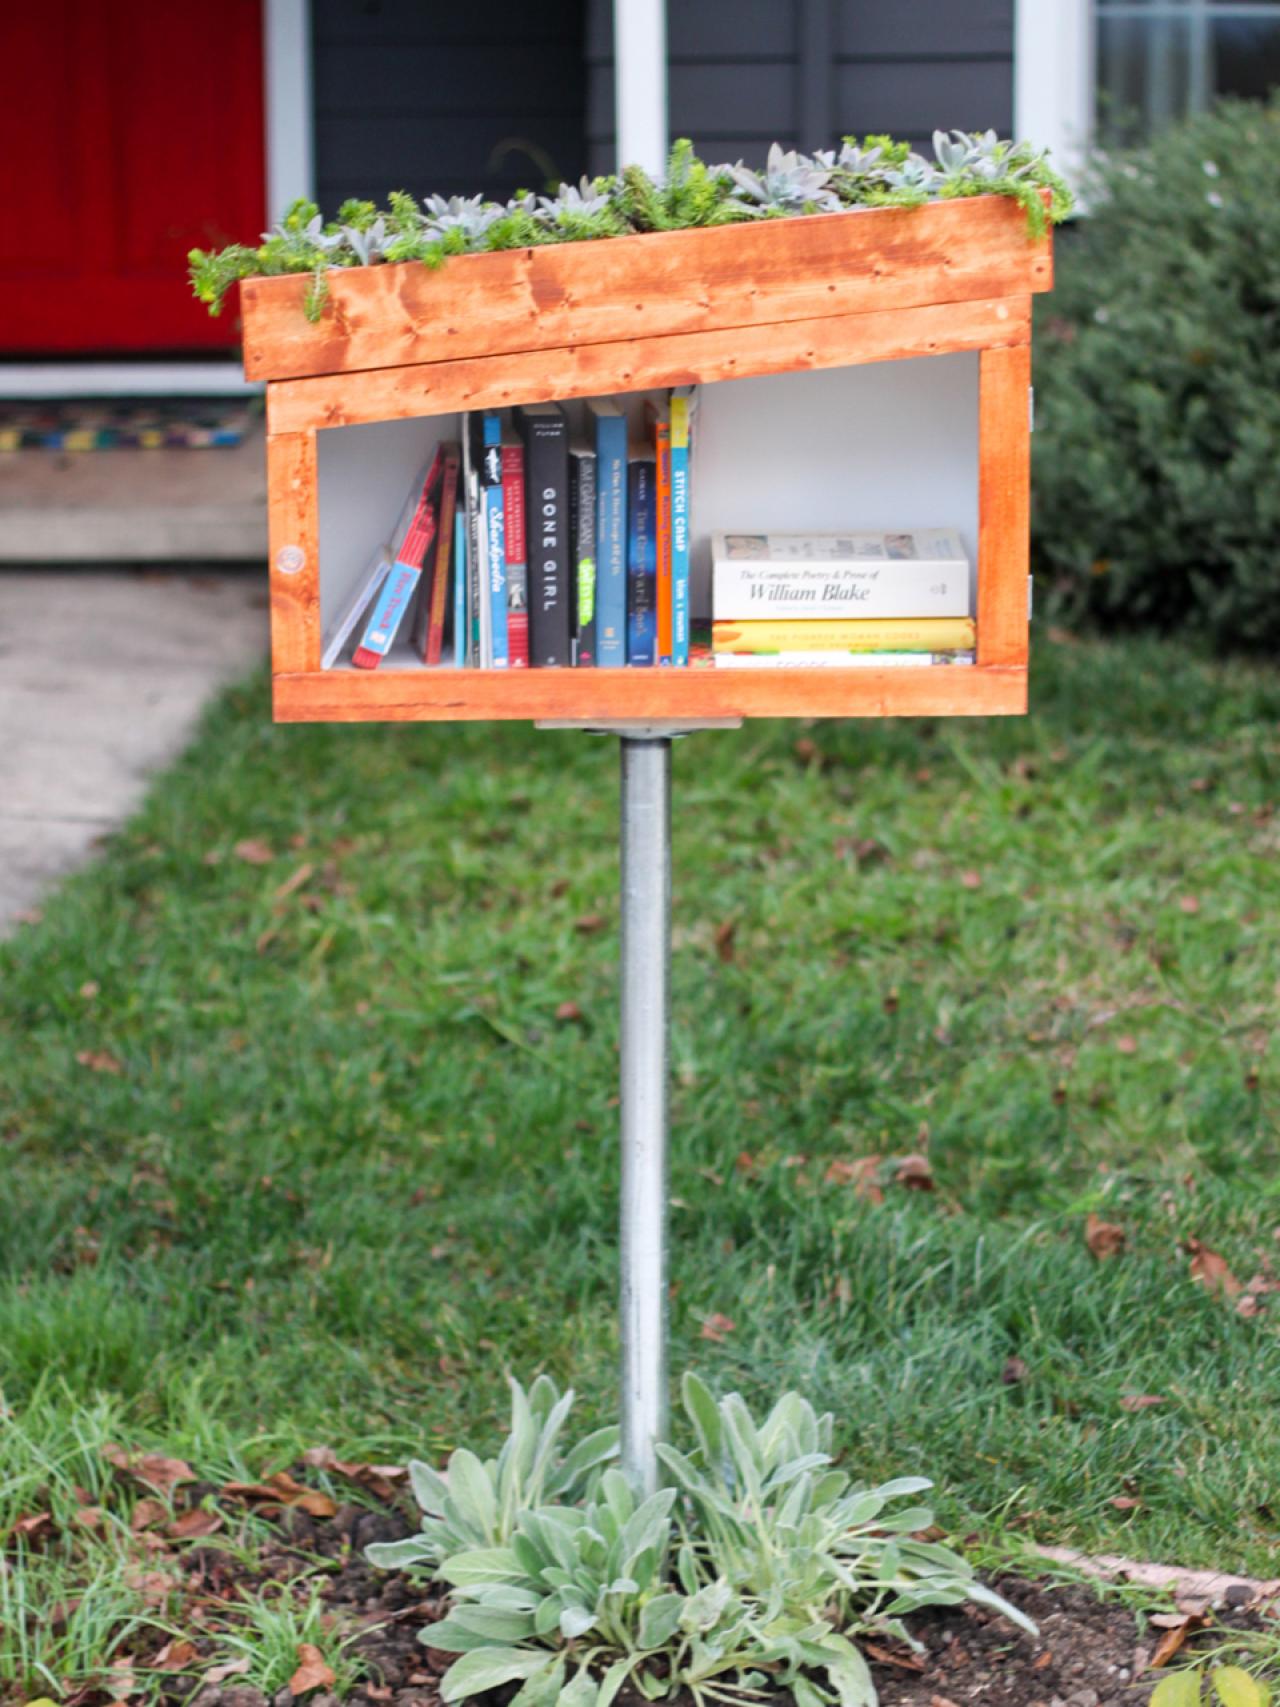
Step 15: Install Post
Dig a hole where you want to install your library. Place your post in the center and fill the hole with concrete, make sure your post is level before the concrete sets.

Step 16: Add Books
Attach the library box to the post, fill it with books to share and wait for the neighbors to cheer!


