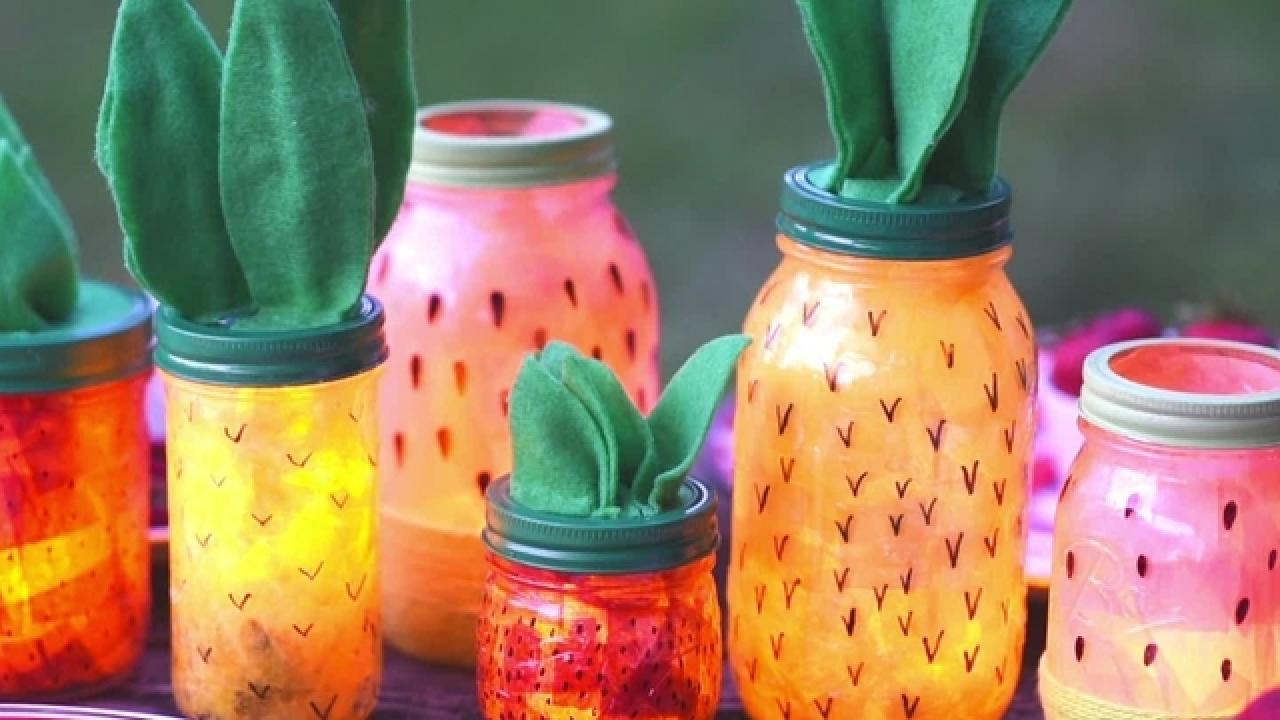
DIY Mason Jar Fruit Lanterns
Summertime has never been so sweet! These perfectly scrumptious luminaries are certain to transform any dull tabletop into a fruit-filled fiesta.

Materials Needed
- tissue paper
- scissors
- Mason jars
- decoupage glue
- paint brush
- yarn
- green acrylic paint
- felt
- permanent marker
- hot glue gun and glue
- pipe cleaners
- battery-operated tea lights
Cut Tissue Paper
Cut the tissue paper into small squares, preparing enough to cover the interiors of the Mason jars thoroughly.
Decoupage Mason Jars
Remove the jar lids, and use a paint brush to coat the inside of the Mason jars in decoupage glue. Place the cut pieces of tissue paper inside the jar until the entire jar is covered. Coat the tissue paper with another layer of decoupage glue, and let dry. Quick Tip: Use your sticky paint brush to pick up and place tissue paper inside the jar.
Decorate the Jars
Sketch fruit markings (seeds, leaves, etc) onto the outside of the jar with a permanent marker. We suggest sketching small seeds for watermelons and berries and small arrows for pineapple, which gives the illusion of its signature prickly skin. To finish the berry and pineapple jars, cover the lids in a layer of green acrylic paint. Finish the watermelon jar by gluing several layers of green yarn to the base to represent the rind.
Attach Felt Leaves
Cut leaves out of green felt according to the fruit you are replicating. Secure small leaves to the lid of the jar with a dot of hot glue. For larger leaves, glue a pipe cleaner down the center of two felt leaves, then attach to the top of the lid with hot glue.
Finish the Lanterns
Once the lanterns are completely dry, add some battery-operated tea lights, and light up your life all summer long (and keep them around to sweeten up any season!).