


How to Make Fizzy Sinus-Relief Bath Bombs
Make your bath time more relaxing and wholesome with handmade mentholated bath bombs.

Whether self-care is at the top of your resolution list or you are fighting a raging case of allergies, making bath bombs are a DIY skill you won't regret learning. Bath bombs are surprisingly easy to make. With a bit of practice getting the right consistency of the ingredients, you will be bathing in mentholated luxury in no time.

Jennifer Perkins
Materials + Tools
- 1/2 cup cornstarch
- 1/2 cup citric acid
- 1 cup baking soda
- 1/2 cup Epsom salt
- 2 tbs oil (coconut, almond or olive)
- 1 tbsp water
- 10-15 drops peppermint essential oil
- 10-15 drops eucalyptus essential oil
- colorant (dry skin safe pigment, food coloring or soap coloring)
- mixing bowls
- bath bomb molds
Prepare Ingredients
Just as if you were baking, first sift and mix the dry ingredients in one bowl. In another bowl, mix the wet ingredients except for the essential oils and scent. TIP: Melt the coconut oil first if it has congealed.

Jennifer Perkins
Divide Mixture
Combine the mixtures slowly. You do not want to activate the citric acid. Knead the mixture together; using your hands works best. Divide the mixture into two bowls. In each bowl add the color and essential oils (orange bowl and blue bowl). A color pigment that is safe for dry skin can also be used in place of food coloring. Knead the ingredients together. Wear gloves to prevent staining your hands.

Jennifer Perkins
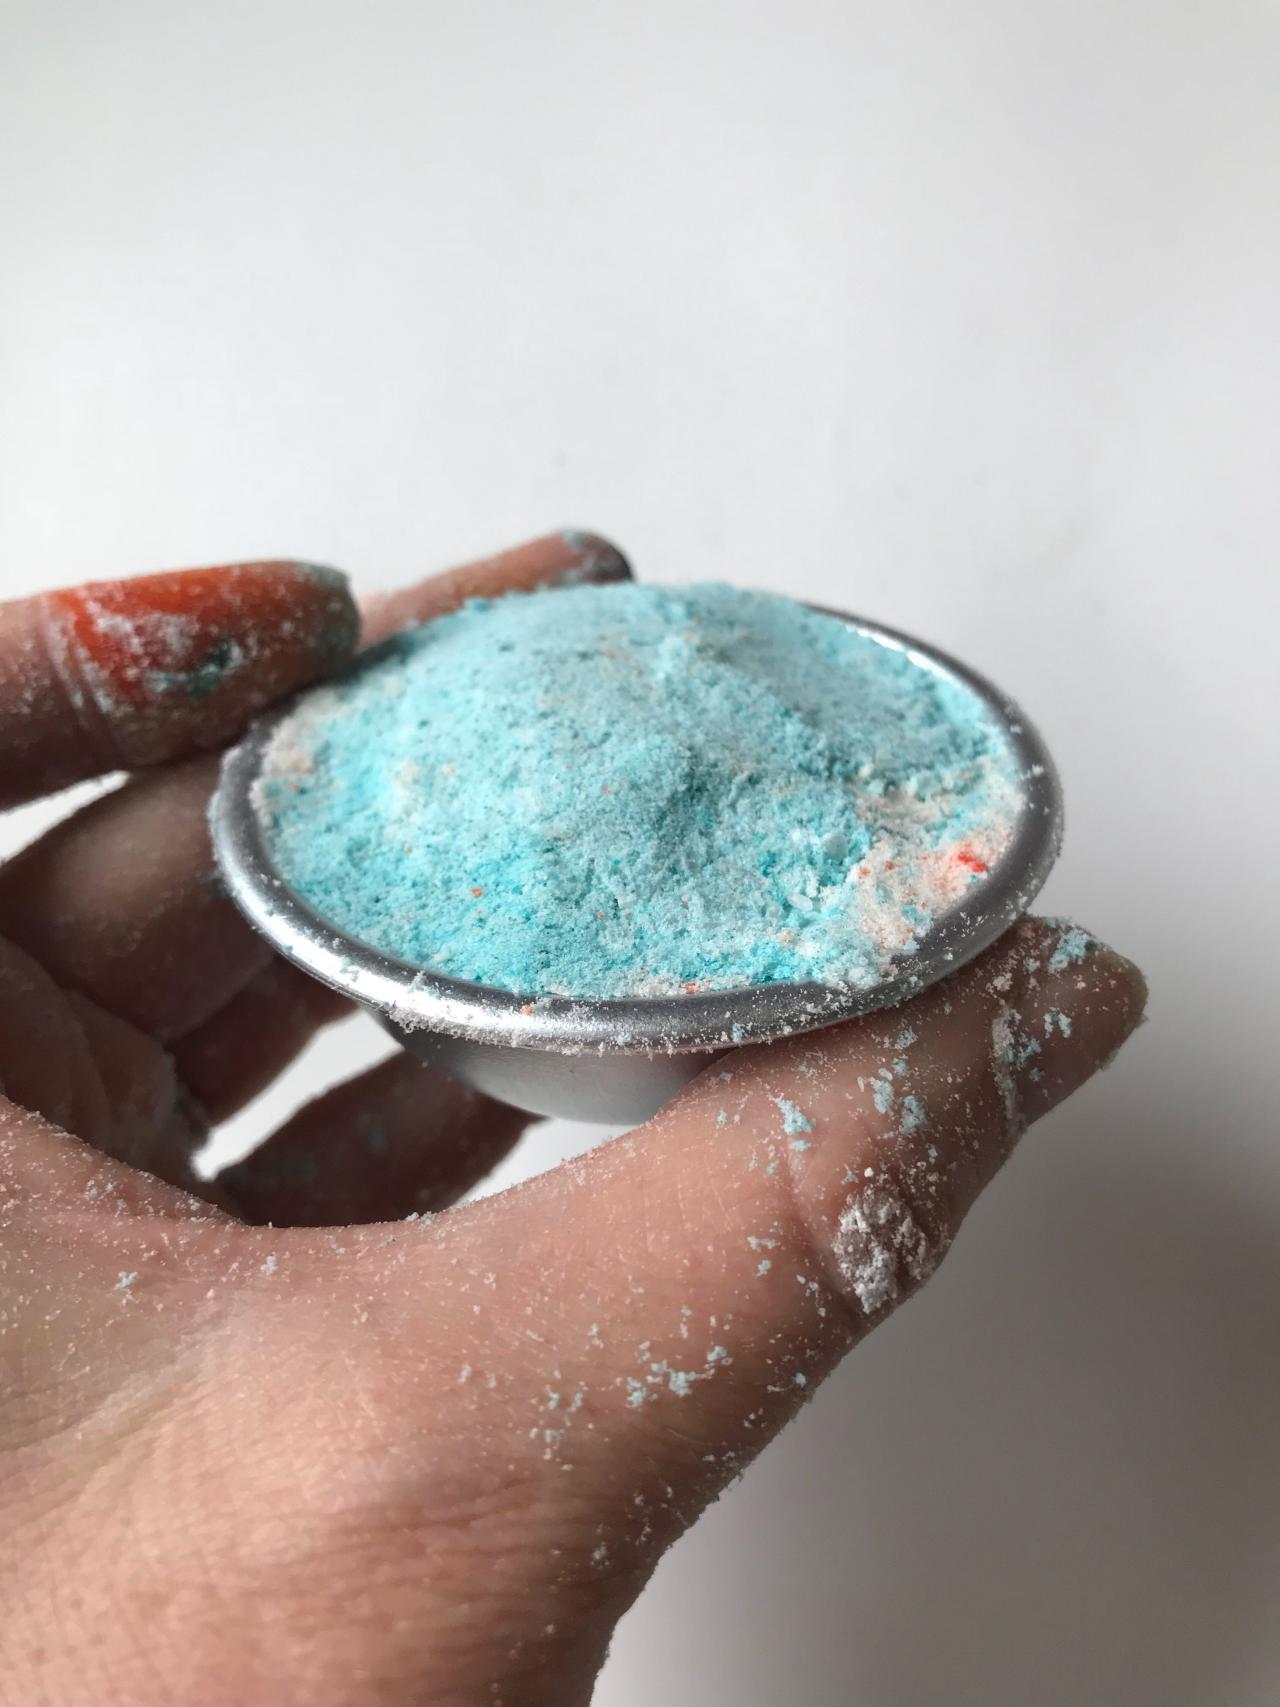
Pack the Mold
When you can pack the mixtures together like wet sand, it is time to fill the mold. If your mixture is not sticking together, add a bit of water or witch hazel. One color at a time, layer scoops into each half of the mold. Make sure to compact each level tightly. Think of molding a sand castle. Overstuff each side of the mold. This is the layer that will attach the two sides.

Jennifer Perkins

Jennifer Perkins
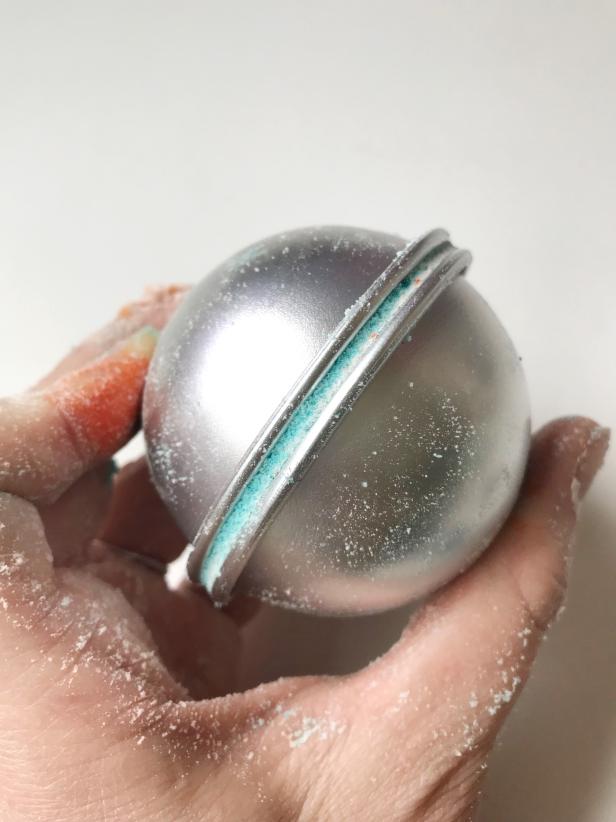
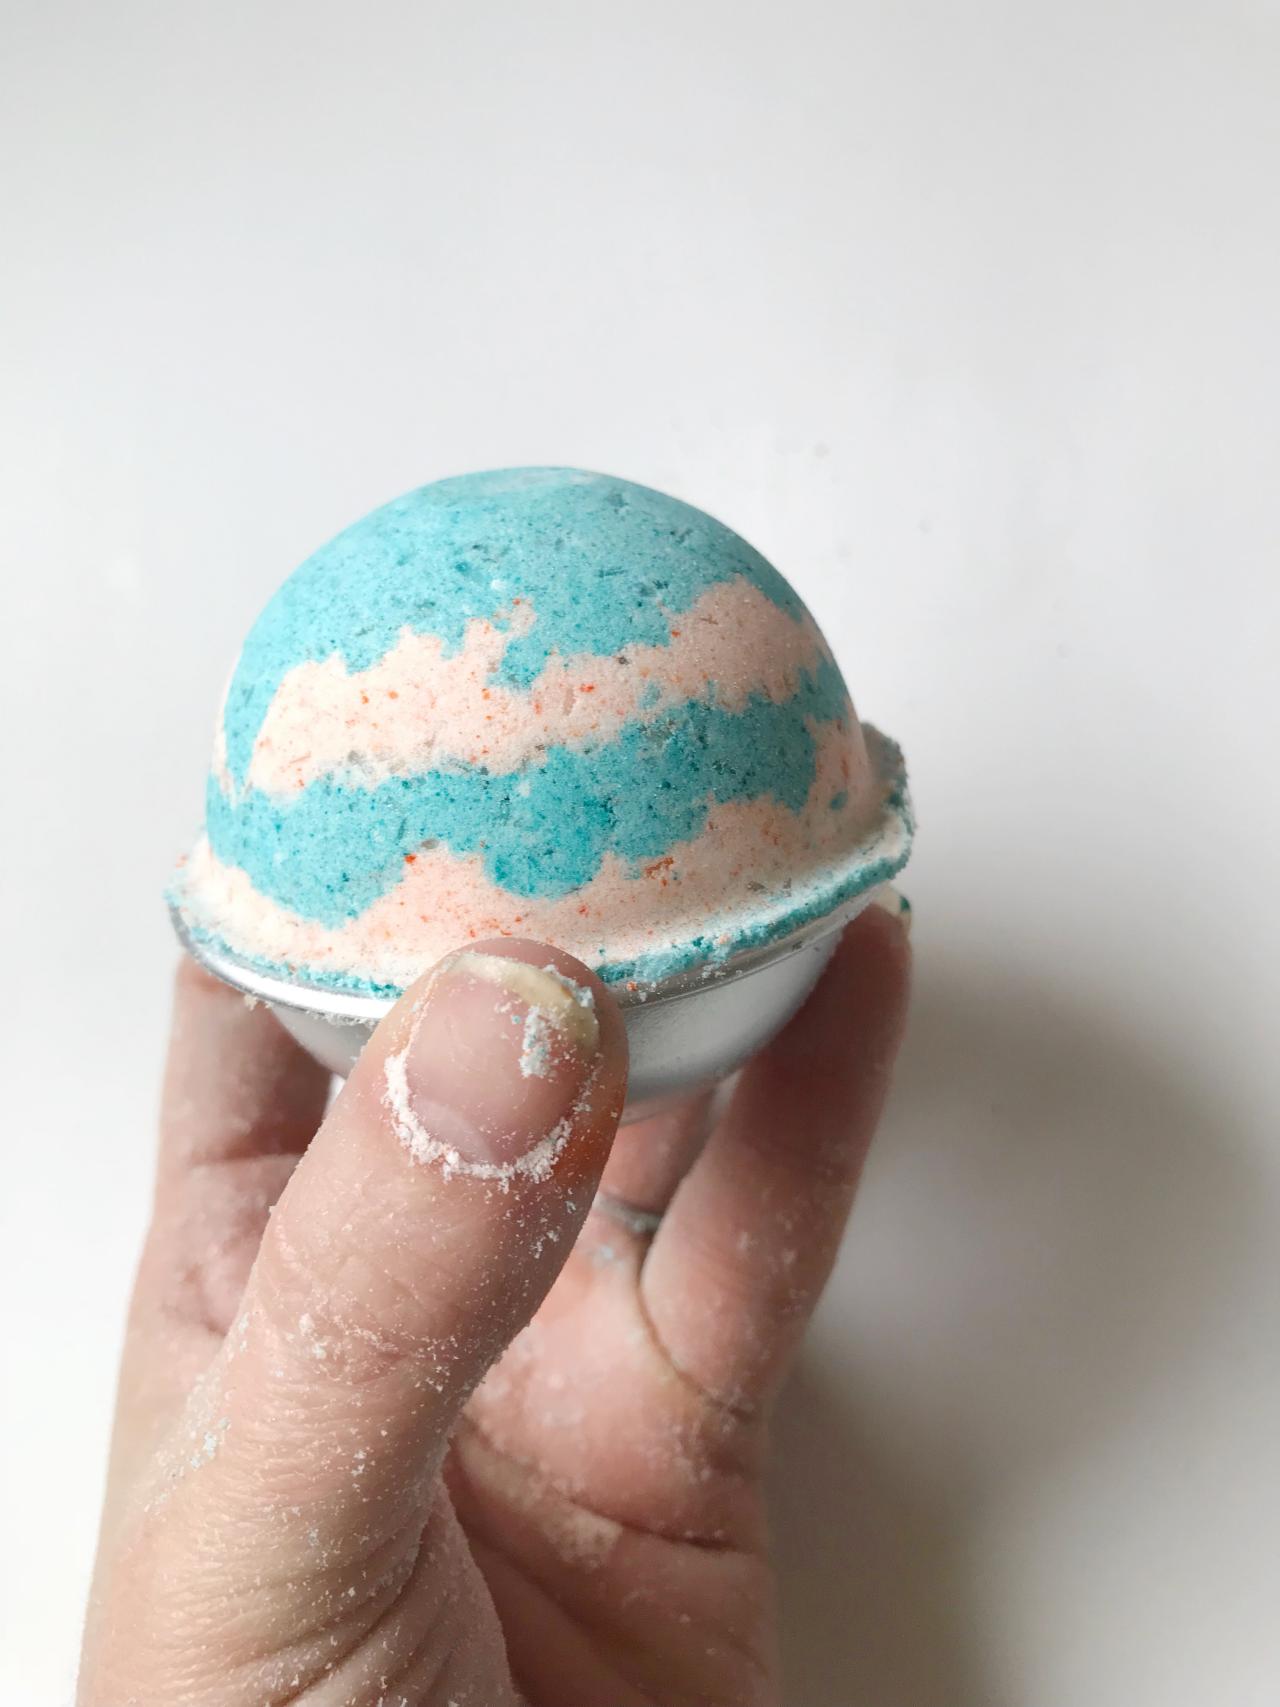
Push Together Mold to Form Bath Bomb
Join the two sides of the mold together and gently twist and tap. Squeeze until the two metal sides are almost touching. Do this over another bowl so you can catch and reuse the excess over-stuff that falls. Remove one side at a time. If your mixture crumbles when coming out of the mold, you can always start again with a bit more liquid (water or oil).
Jennifer Perkins

Jennifer Perkins
When you have created a batch of the bath bombs allow them to dry and harden for 24 (better yet 48) hours. Some people recommend placing them in the freezer to speed up this process.
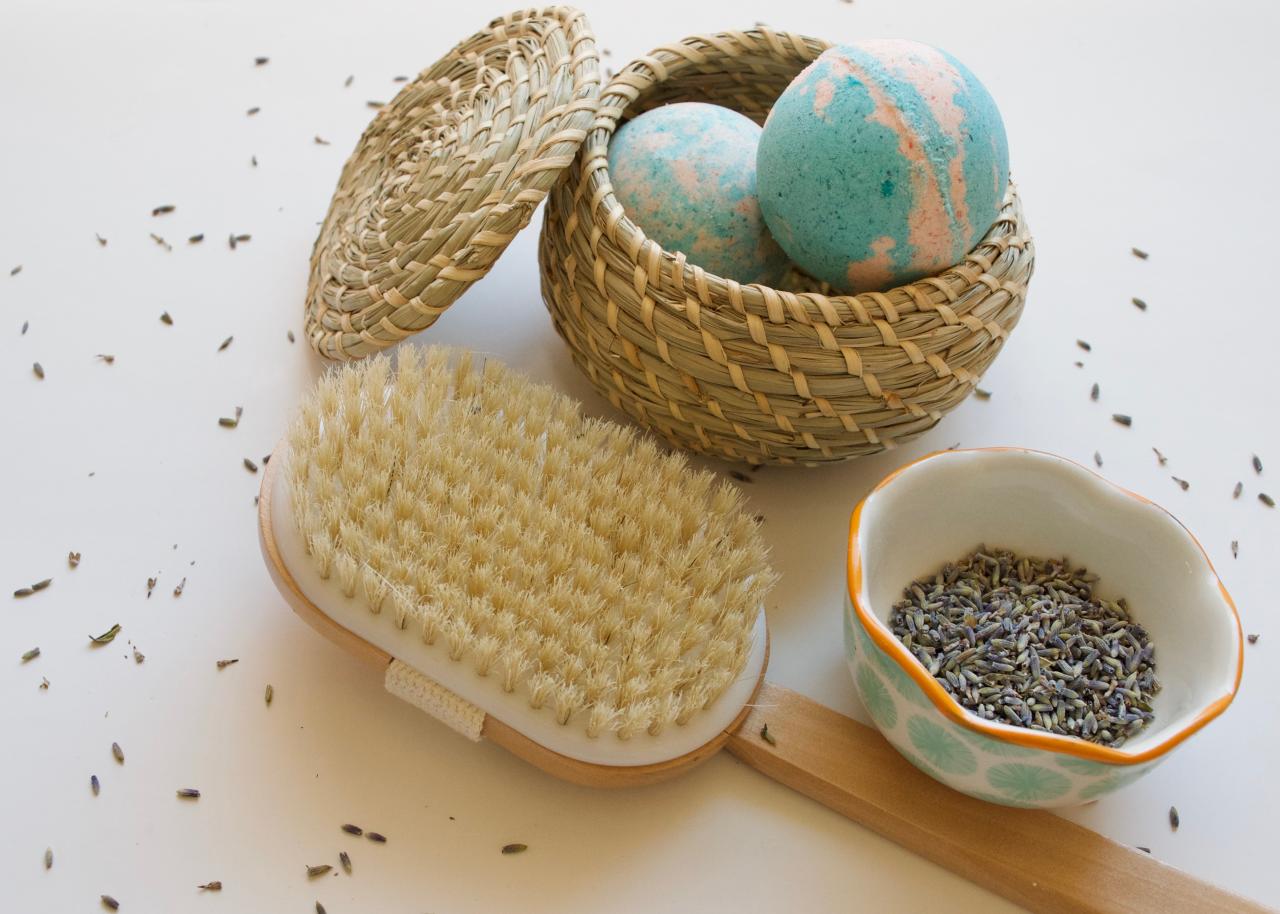
Using Your Bath Bomb
To use your bath bomb, drop it into a full warm bath. The citric acid will activate and will bubble like soda water. At this point, the oils for your skin are being released into the bathwater and the smell should be mentholated and strong helping to clear your sinuses. Soft skin and being able to breathe - a winter win-win.

Jennifer Perkins
More DIY Bath Bombs

Craft These Conversation Heart Bath Bombs for Valentine's Day
Nothing says Valentine's Day like conversation hearts. Take that concept to the bathtub with heart-shaped bath bombs.

Make These Easy Easter Egg Bath Bombs
Mix up this spring DIY in a jiffy using plastic Easter eggs and some basic kitchen and bath supplies. Then sneak a few bath bombs into an Easter basket.

Feeling Congested? Whip Up These DIY Shower Steamers
Say goodbye to the sniffles with the help of these essential oil-packed pods you can make in a muffin tin.


