


Simple Stenciled Basket


Materials Needed:
- willow basket
- dark walnut wood stain
- chip brush
- clean rag
- satin polyurethane spray
- 1" round, stiff-bristled brush
- blank stencil
- permanent marker
- craft knife
- cutting board or mat
- painter's tape
- cream acrylic or latex paint
- computer with word processor
- printer
Stain and Seal Basket
Using a chip brush, apply dark walnut wood stain to entire basket, inside and out. Work in small sections, wiping off excess with a clean rag. Allow to dry until stain is no longer tacky. This may take several hours. Once dry, spray a coat of satin polyurethane over entire basket. Allow time to dry.
Make Custom Stencil
Using a computer, design stencil in a word processor program and print. (Old English font in 400 point was used for this project.) The design can be a monogram, significant date or random typography. Using a permanent marker, trace printed design on blank stencil. Tip: Simple lettering is best for a custom-cut stencil.
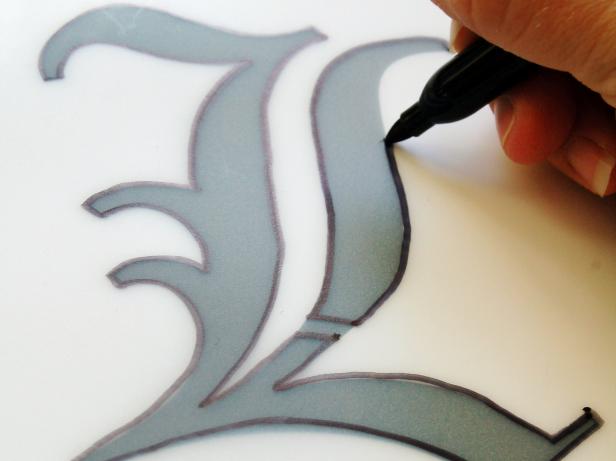
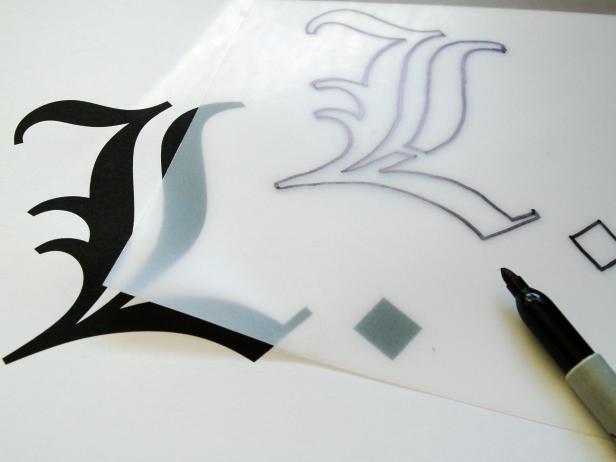
Trace Lettering for Stencil
Using a computer, design stencil in a word processor program and print. (Old English font in 400 point was used for this project.) The design can be a monogram, significant date or random typography.
Make Custom Stencil
Using a permanent marker, trace printed design on blank stencil. Tip: Simple lettering is best for a custom-cut stencil.
Cut Stencil
Use a sharp craft knife to cut stencil on traced lines. Protect work surface by using a cutting board or mat.

Cut Personalized Stencils With Craft Knife
Before starting any stenciling project, design your own stencil with stencil-specific material and gather a sharp-tipped marker and a craft knife. Use the knife to cut stencil on traced lines. Protect work surface by using a cutting board or mat.
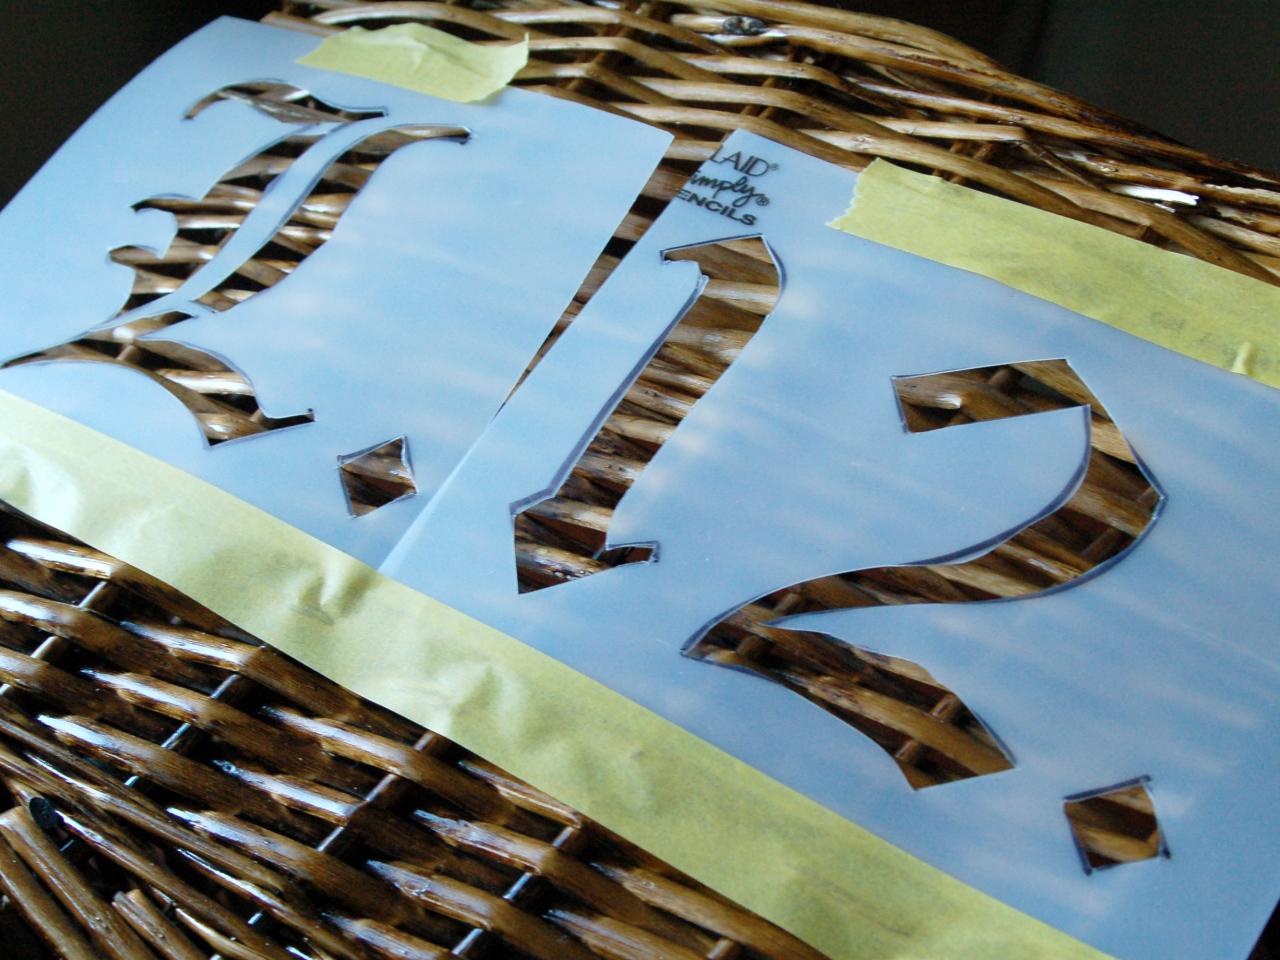
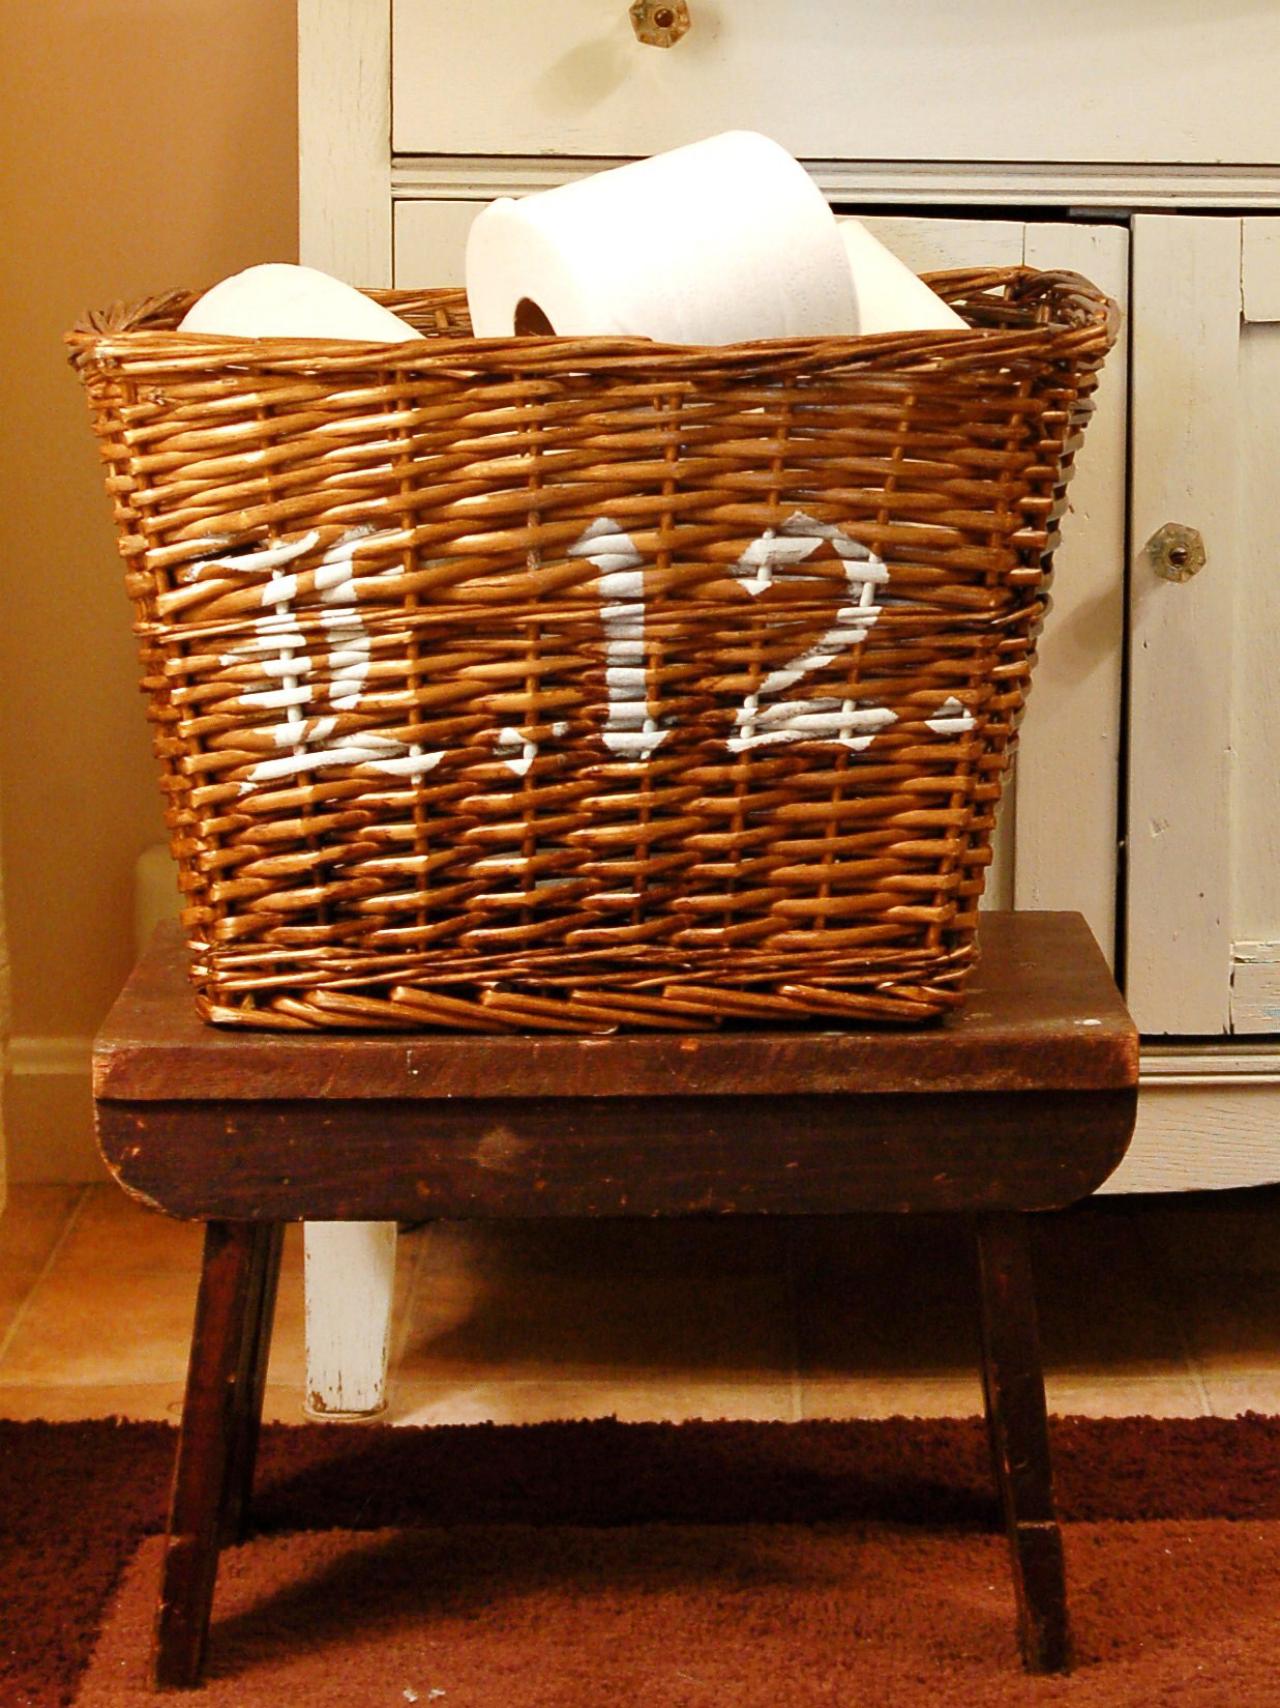
Stencil Design
Tape stencil into place with painter's tape. Dip a 1-inch-round, stiff-bristled paintbrush into cream acrylic or latex paint. Remove excess paint on a paper towel, leaving brush mostly dry. Hold brush perpendicular to basket surface and apply paint with a pouncing motion. Remove stencil and allow paint to dry.

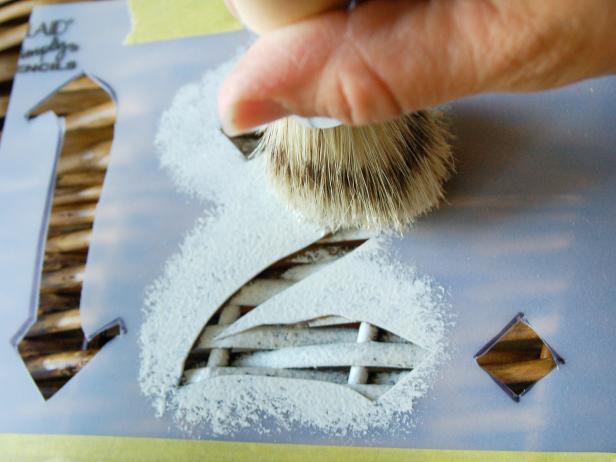
Tape Stencils to Basket
Tape stencil into place with painter's tape. Dip a 1-inch-round, stiff-bristled paintbrush into cream acrylic or latex paint. Remove excess paint on a paper towel, leaving brush mostly dry.
Use Stencil To Paint Numbers On Basket
Hold brush perpendicular to basket surface and apply paint with a pouncing motion. Remove stencil and allow paint to dry.


