


How to Make Floral Wall Art With Coffee Filters

Coffee Filter Art
Coffee filters are good for more than just a fresh cup of joe. Dip (fresh) filters in fabric dye to create a colorful, flower-inspired piece of temporary wall art.

Use removable double-stick tape or glue dots for this project to make it rental- or dorm-friendly.
Materials Needed:
- small white coffee filters (30)
- large white coffee filters (20)
- yellow cardstock
- removable glue dots or double-stick tape
- 1" circle hole punch
- purple liquid fabric dye
- medium-sized bowl
- plastic sheeting
Mix Dye
Fill a bowl with one cup of water and 1/4 cup of dye.
Tip: The ratio of dye to water can be adjusted based on how dark you want your color to be. Dip a few coffee filters to make sure you're happy with the shade before continuing with the project.
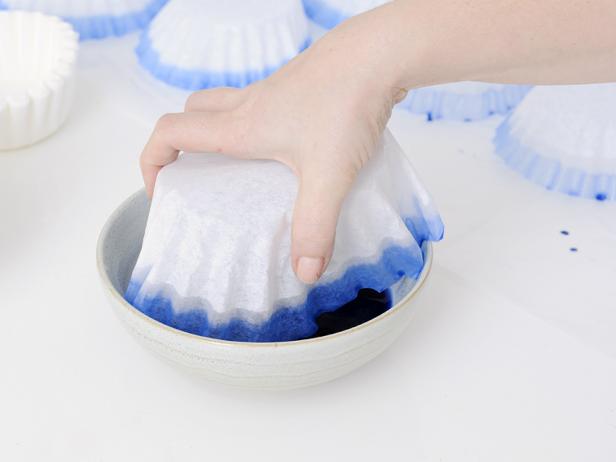
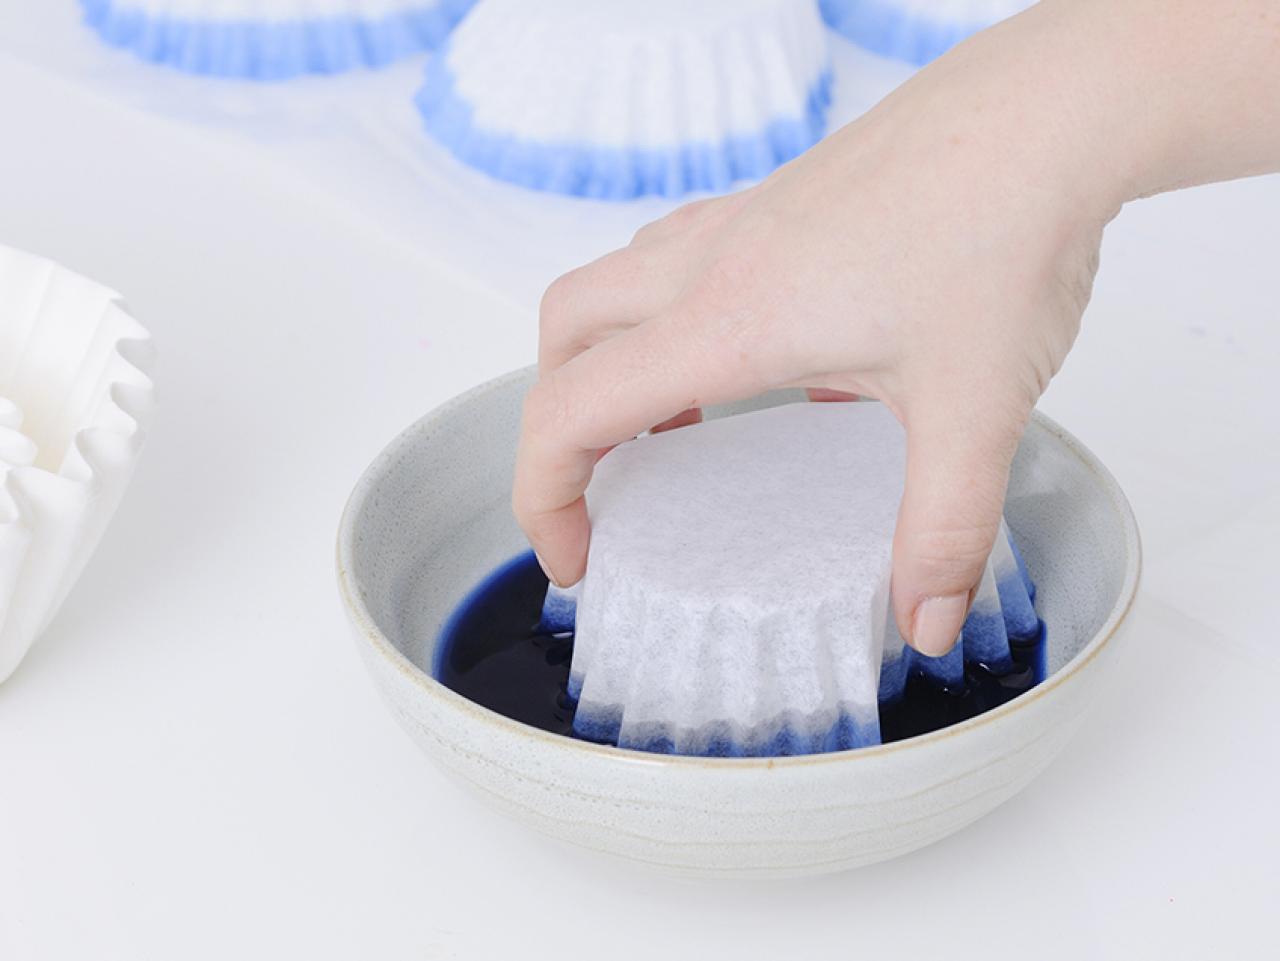
Dye Small Coffee Filters
Cover a large countertop or table with plastic sheeting or a drip-proof drop cloth. Dip a small coffee filter 1” into the dye. Set dip-side down on a flat surface. Repeat this process with 30 small coffee filters.

Original_Michelle-Edgemont-Coffee-Filter-Art-Step-1b-Dip-Filters_h
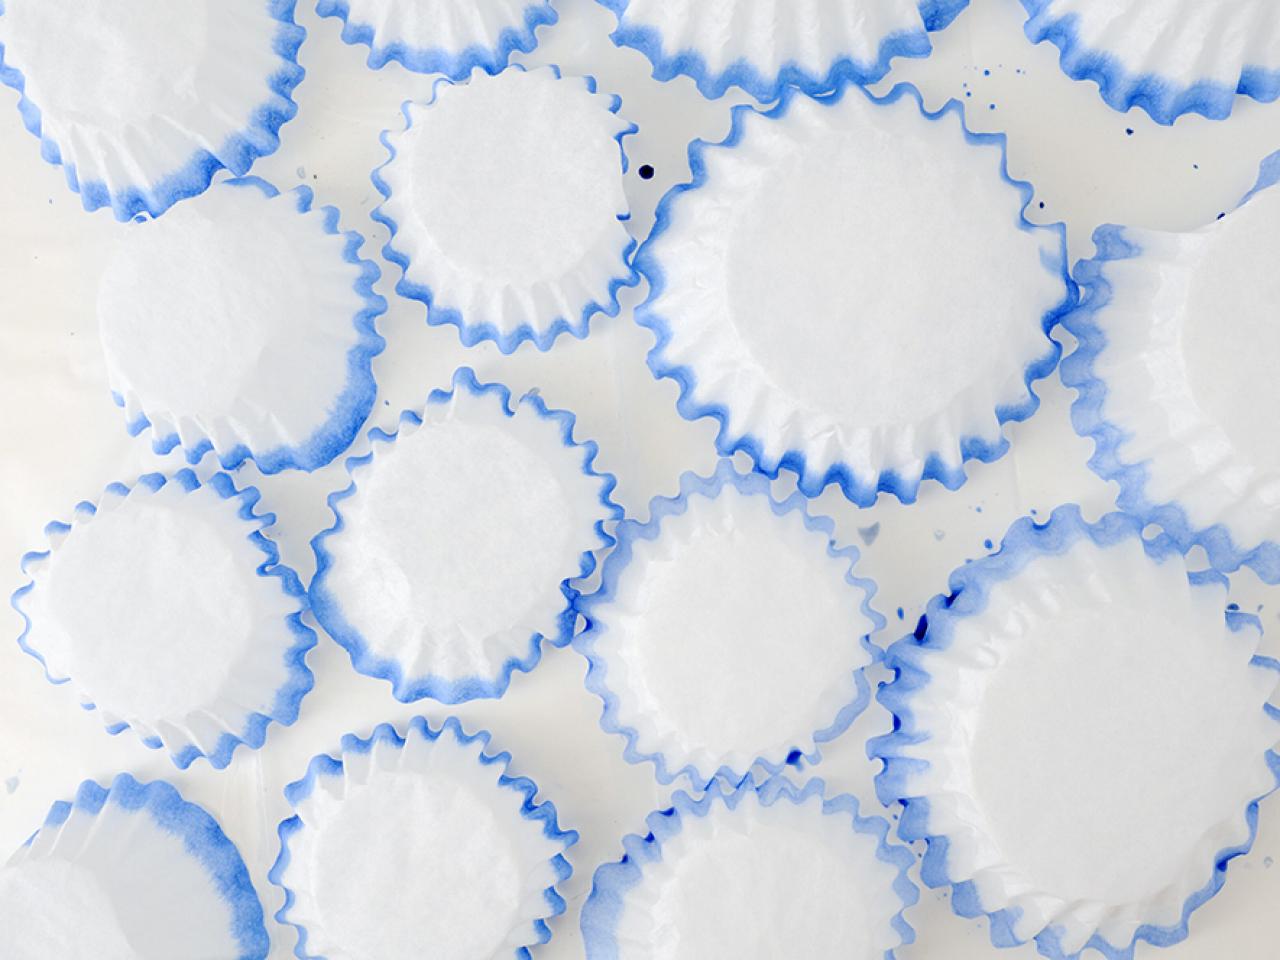
Dye Large Coffee Filters
Dip a large coffee filter 1" into the dye. Set dip-side down on a flat surface. Repeat this process with 20 large coffee filters. Let all the dipped coffee filters dry overnight.

Original_Michelle-Edgemont-Coffee-Filter-Art-Step-1f-Dip-Filters_h
Original_Michelle-Edgemont-Coffee-Filter-Art-Step-2-Let-Dry_h
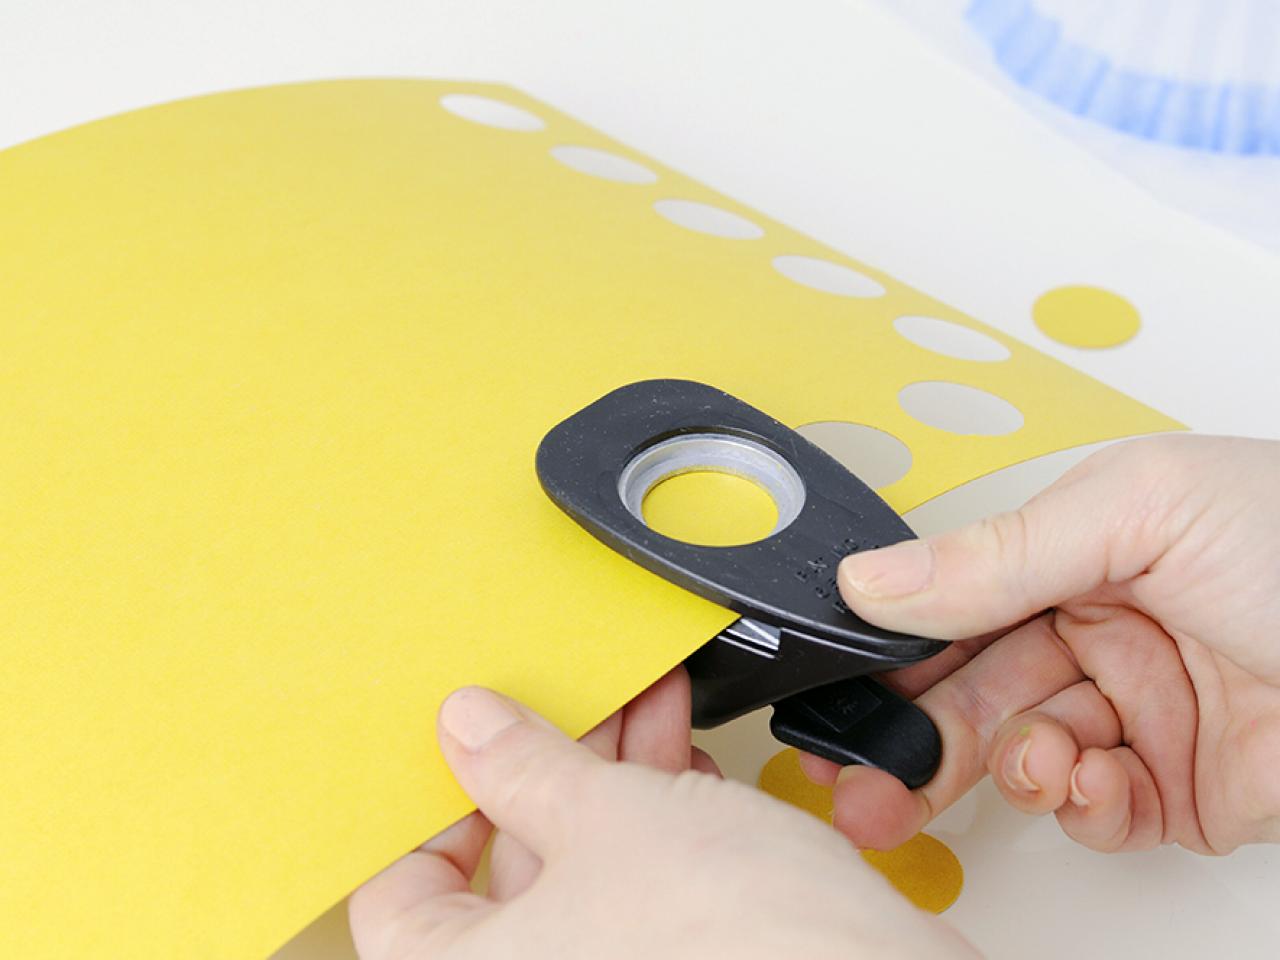
Cut Yellow Accent Pieces
Using a 1" circle punch, cut 15 circles from yellow cardstock.

Original_Michelle-Edgemont-Coffee-Filter-Art-Step-3-Add-Paper-Center_h
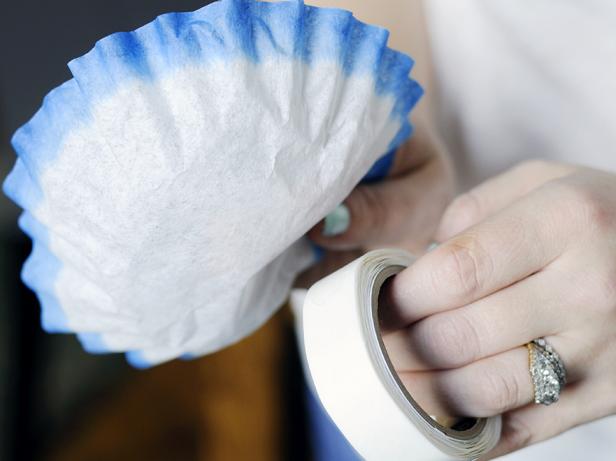
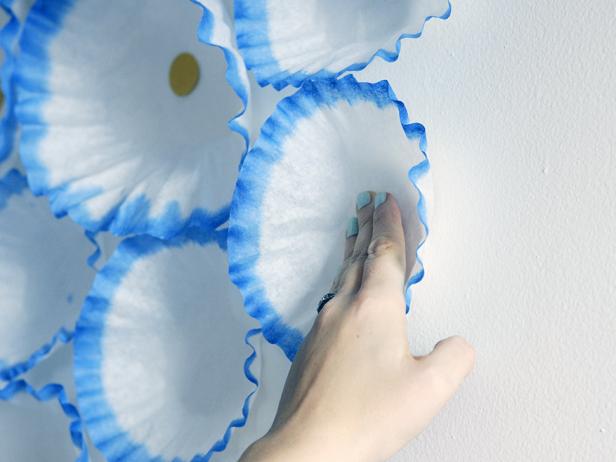
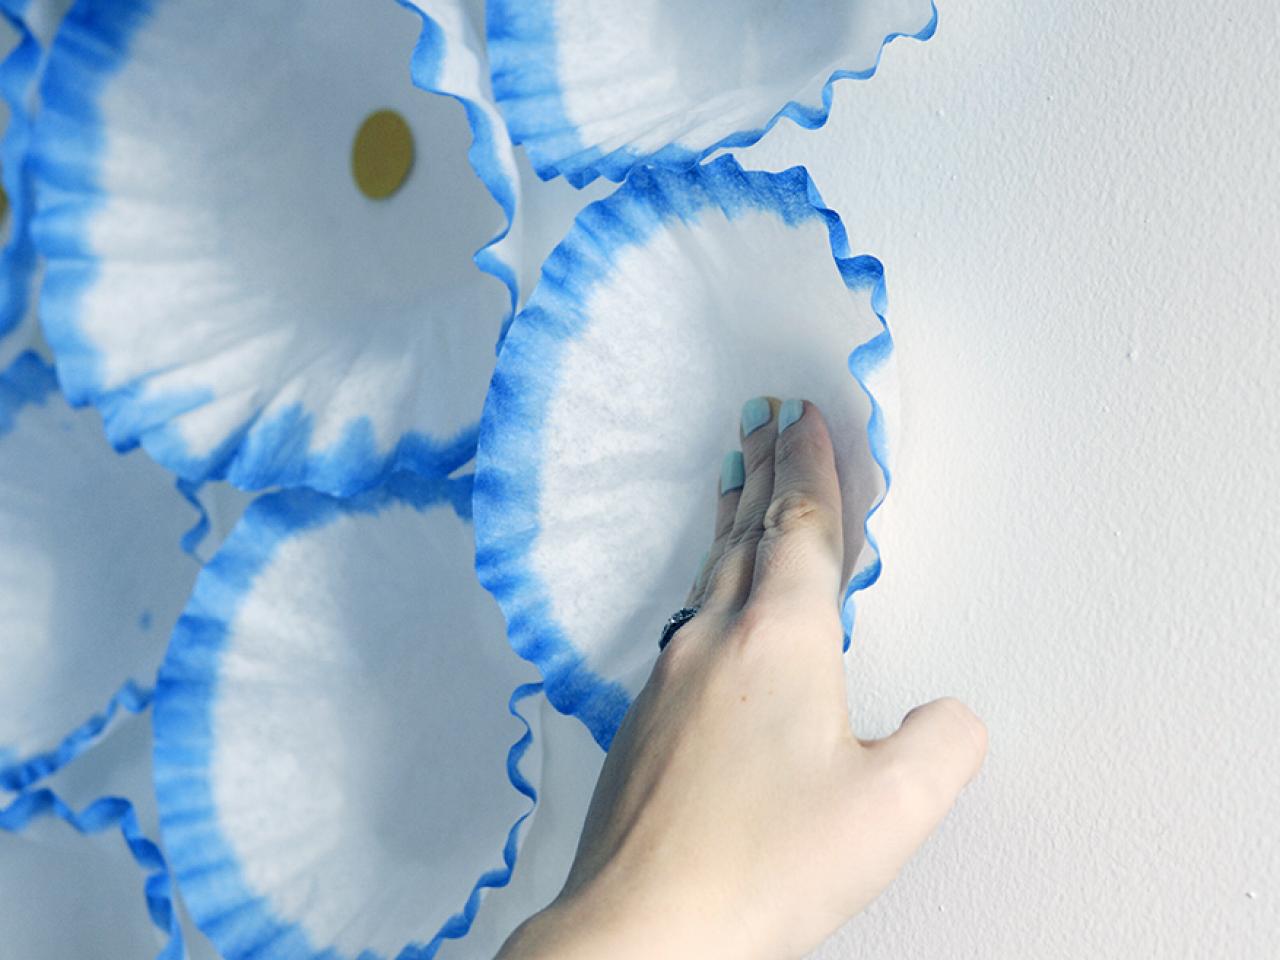
Create Wall Arrangement
Stick a glue dot or a piece of double stick tape to the back of a filter. Place on a blank wall. Tape small and large filters onto the wall in a random pattern creating a wave-like formation. Tape the yellow dots in the middle of a few large filters. This will make them look like flowers.
Tip: After every 3 or 4 filters, step back and look at the shape you are creating. Adjust as necessary to fit your space.
Original_Michelle-Edgemont-Coffee-Filter-Art-Step-4-Add-to-Wall_h
Original_Michelle-Edgemont-Coffee-Filter-Art-Step-4c-Add-to-Wall_h
Original_Michelle-Edgemont-Coffee-Filter-Art-Step-4d-Add-to-Wall_h
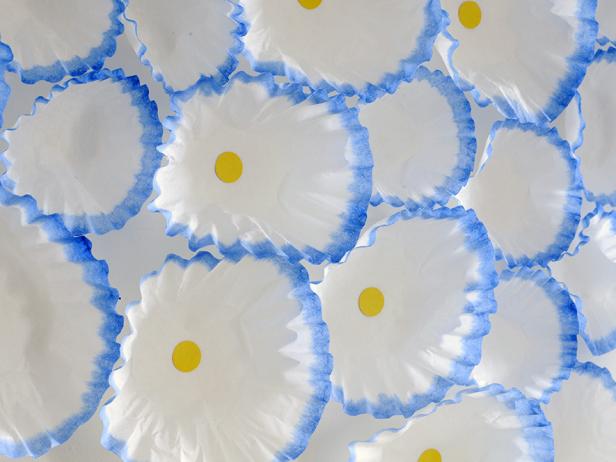
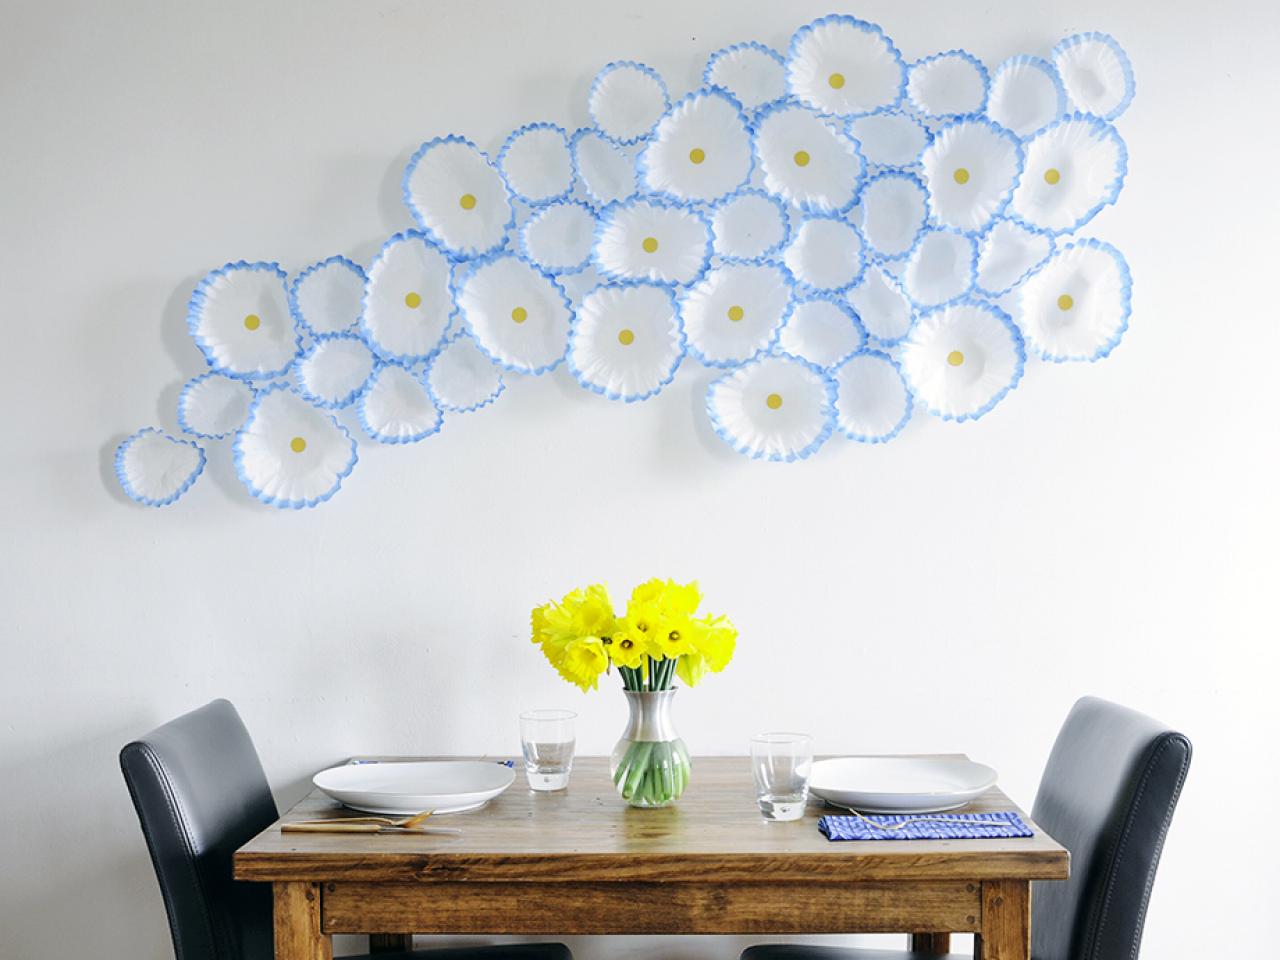
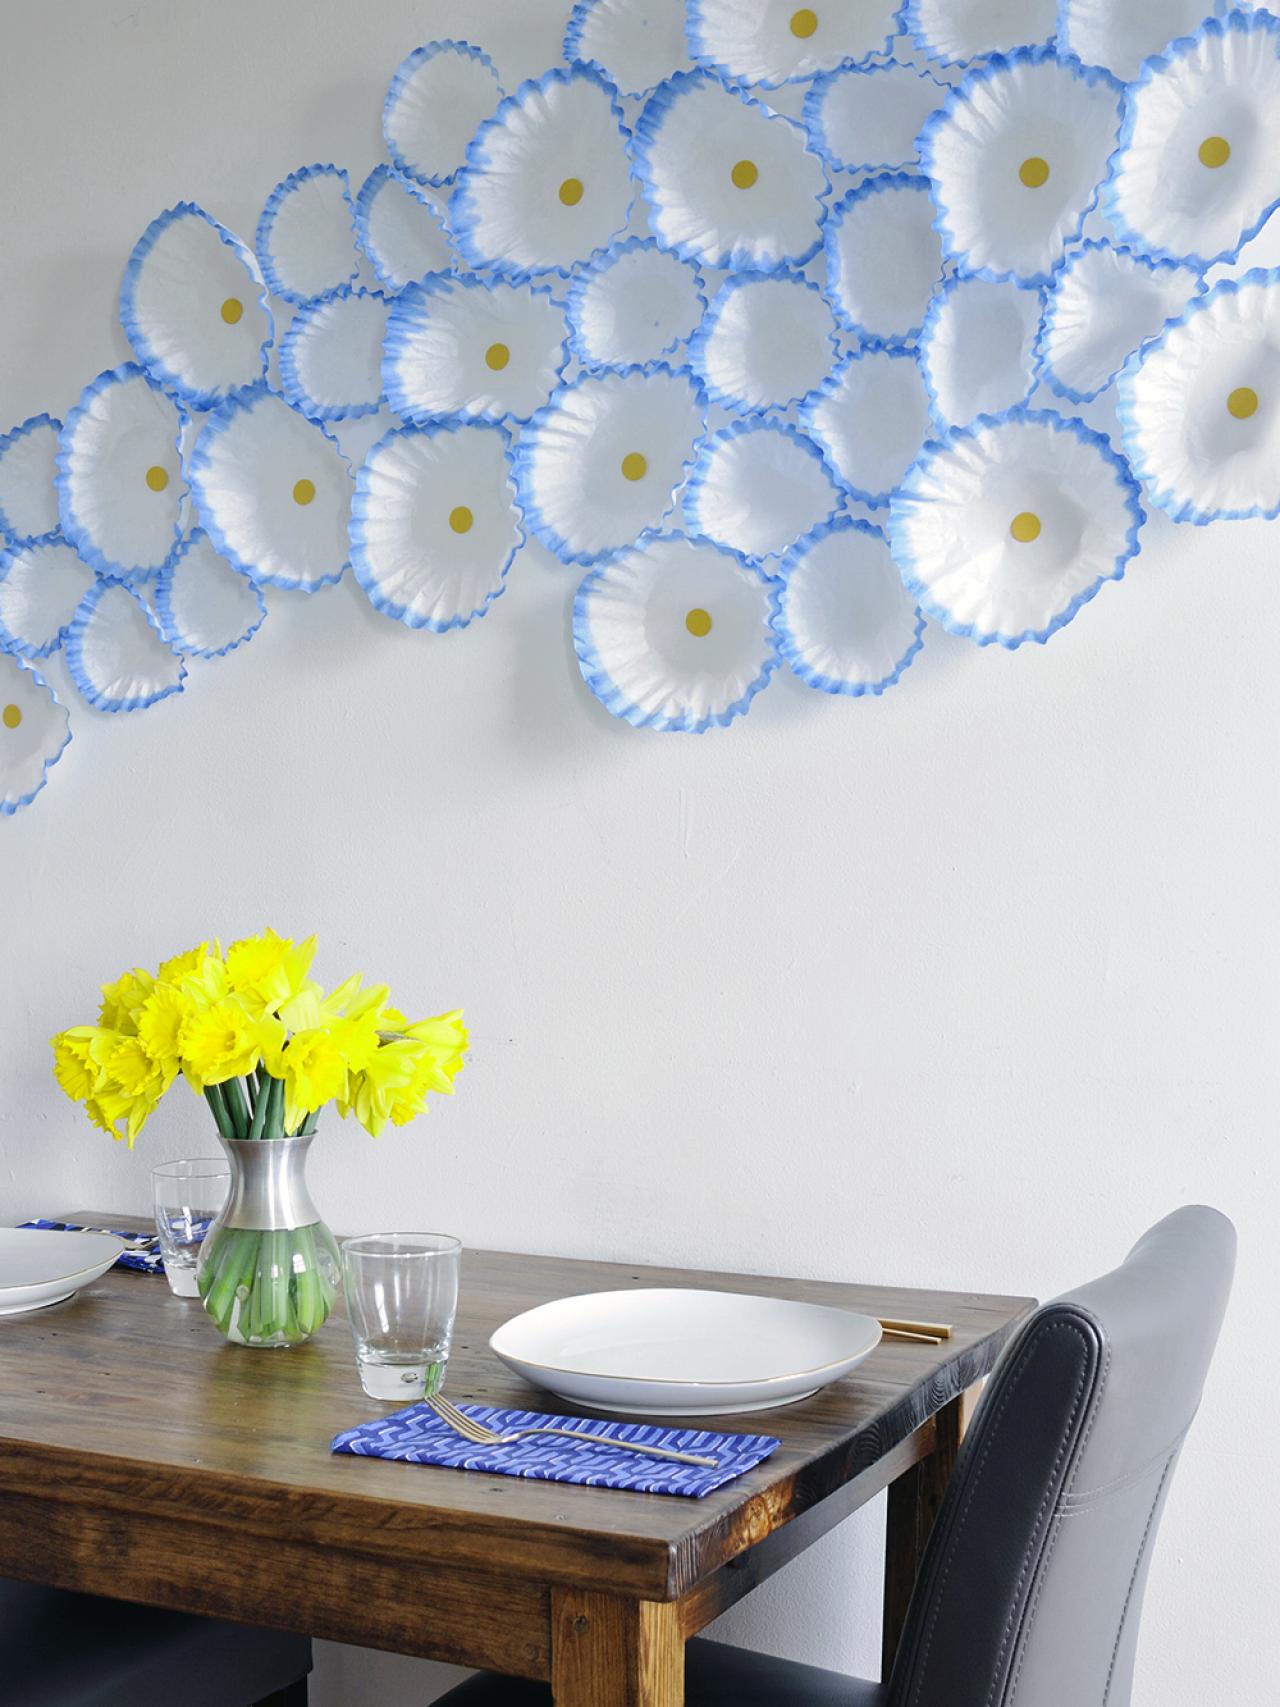
The Finished Product
Now, step back and enjoy your new art piece!

Coffee Filter Artwork
A blank wall is turned into a creative canvas for DIY artwork. Coffee filters dipped in blue form a flowing, floral pattern above the dining room table.


