


Build Floating Shelves to Wrap Around a Corner Wall

Materials and Tools:
table saw
screw gun and 3" wood screws
brad nailer and nails
level
T-bevel
T-square
planer
3/4" birch plywood
2x4s
polyurethane
brushes
wood glue
Steps:
1. Cut strips of plywood to match the length of the wall space you’re trying to cover.
2. Stain the birch plywood. Don’t worry about staining the 2x4s because they will be covered up.
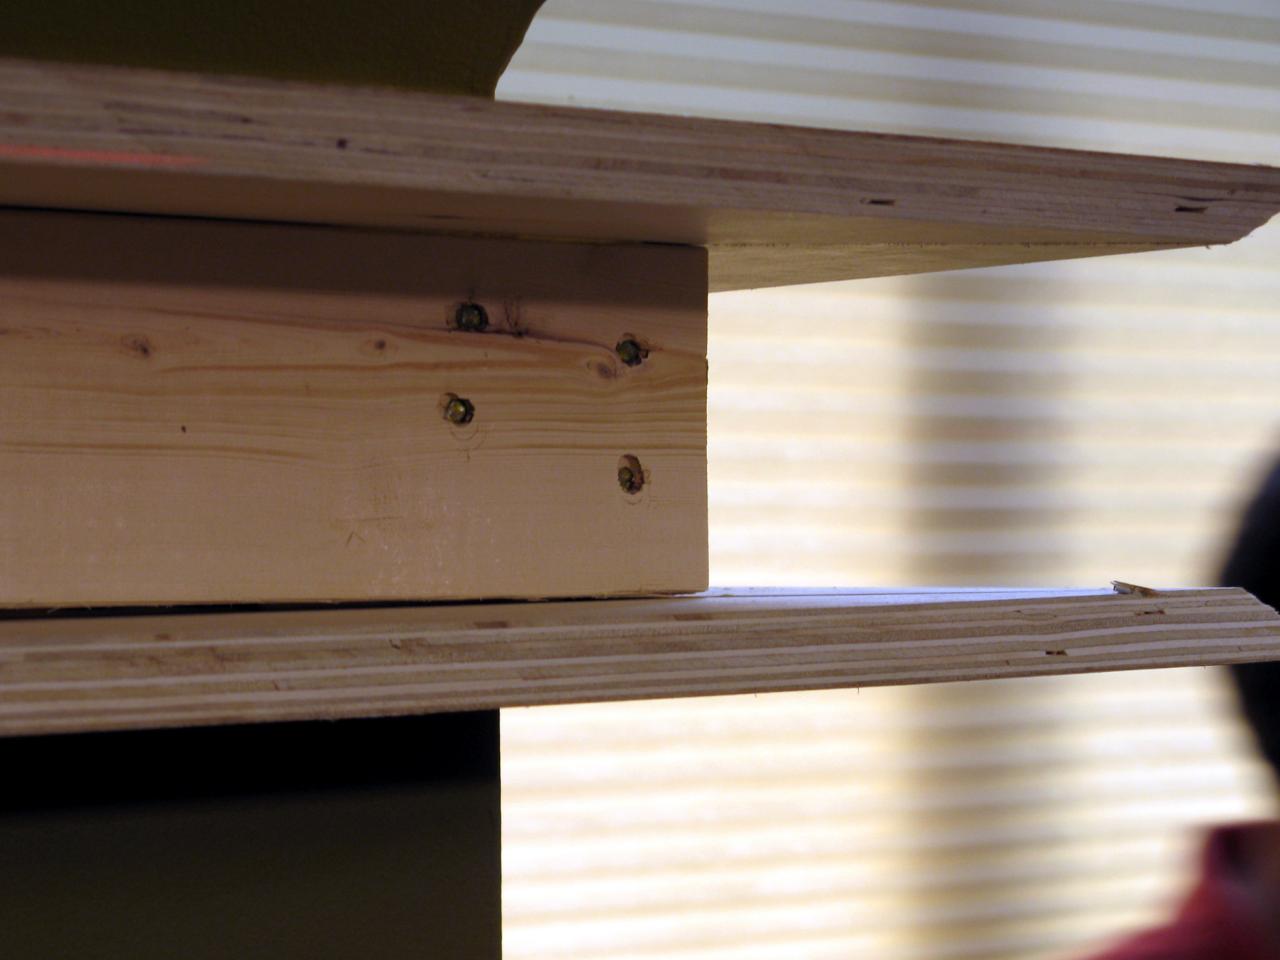
3. Cut the 2x4s to the length you want your shelves. Attach them to the wall with the screw gun and wood screws, making sure to screw them into the studs.

4. Cut the pieces of plywood the length of the shelves at whatever thickness you’d like the depth of your shelves. You will need a front, top and bottom piece of plywood for each 2x4. We cut ours down to 6 inches, meaning they will stick out four inches past the edge of the 2x4s.
5. If you’re building a straight shelf, disregard step 6, if you are building a shelf that wraps around a corner, follow along.
6. Since our shelf wraps around a corner, we need to use mitered cuts on our plywood to ensure we have a seamless corner. Make mitered cuts on the ends of the top and bottom pieces. Lay them out to ensure that they fit together snugly and use a T-square to make sure the inside corner is square.
7. Because you’re using plywood and the edges are unfinished, you need to use mitered cuts on the front edges (both top and bottom) whether you’re wrapping your shelves around a corner or not. To do this set the table saw blade to 45 degrees and rip down the front edge of the top and bottom pieces and both side edges of the front face piece that goes in between the two.

8. Test fit to make sure everything lines up. Fasten the bottom piece to the 2x4 using glue and brad nails. Then attach the top piece to the 2x4s in the same manner. Once these are in place, attach the front face piece gluing the mitered edge to those to the top and bottom pieces and securing it with the nailer.
9. If you’re building a corner-wrapping shelf, repeat the process on the other side making adjustments by planning the edges on the table.
10. Fill in nail holes and any gaps with wood filler.


