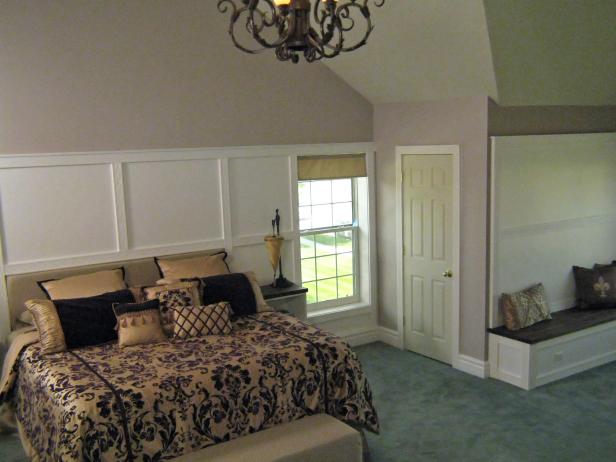
Wall Paneling with Fluted Molding
Tools and Materials:
table saw or circular saw
finish nail gun and nails
paintbrush and roller
stud finder
level or laser level
3/4” 4 x8’ medium-density fiberboard (MDF)
fluted molding
primer and paint
caulk
Steps:
1. Cut the MDF to the size of the wall you wish to cover. Layout your grid pattern and determine your cut list. Our grid has equally spaced squares.
2. Cut the molding to size. The pieces will butt-joint, so make sure the ends are cut straight and clean.
3. Prime and paint the MDF and molding. MDF is very porous, so more than one coat may be necessary.

4. Nail the MDF to the wall studs, double checking that the panels are level before you nail. Try to nail around the edges of the MDF, so most of your nail holes will be covered by the molding. Wall studs should be spaced every 16 inches and can be located with a stud finder.
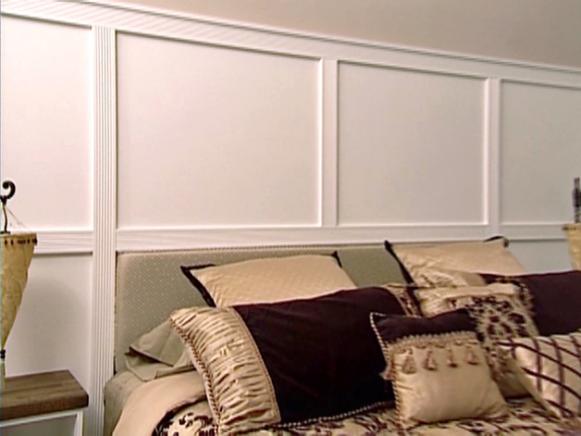
5. Nail the fluted molding over the seams of the MDF. Place the nails on the edges of the fluted molding, not in the curved grooves.
6. Touch up nail holes with caulk.


