Painting Dos and Don'ts

Follow these helpful hints for your next painting project.

By: Jennifer Huskey

Related To:

Dos

DO buy a quart first instead of a large quantity in case you're not committed to the color. Paint a piece of foam board and move it around the room to see how the light affects the color at different times of the day.

Paint cans and wall samples.

Paint Samples

Before painting an entire wall one color, paint test samples on the wall to help decide which color you prefer.

DO take the time to prep the area. Gather artwork and accessories in one box and place out of the way. Move furniture to the center of the space (or into another room altogether), wipe down walls and tape off molding. Cover the floor with a drop cloth, because plastic sheets can be slippery and messy.

Preparing to paint a room by taping windows and covering furniture.

Painting Preparation in Bathroom Remodel

Before starting a painting project, take out all furniture that can be removed and cover the fixtures that cannot be removed. If there are windows, tape up plastic covering and remember to remove outlet covers and tape around awkward edges.

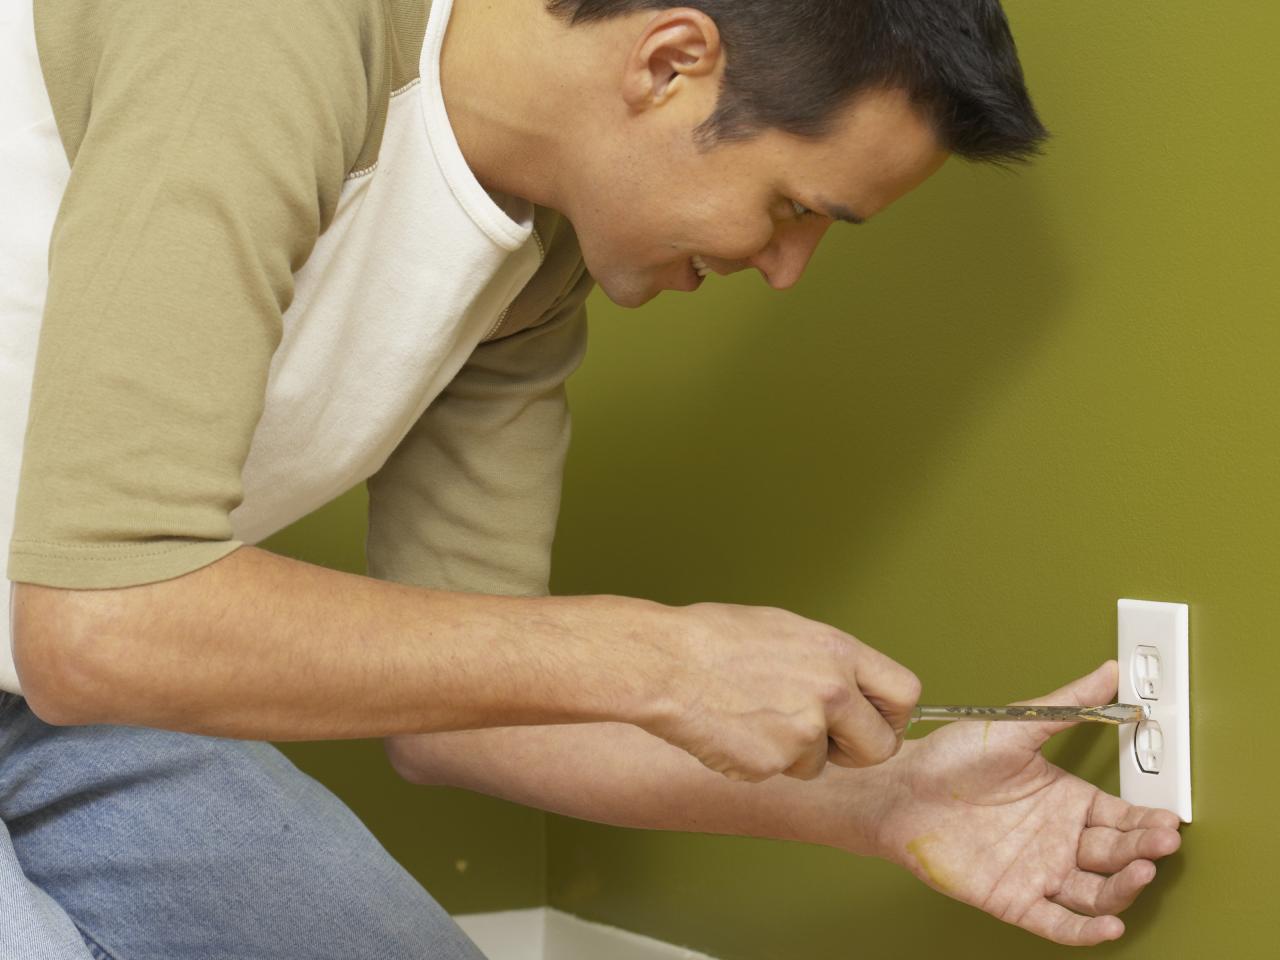
DO remove all of the hardware — switchplates, doorknobs, drapery hardware, etc. — and place the parts in a plastic bag.

A man removing an outlet color to prepare for painting.

Painting Prep

Remove all hardware before painting any room, this includes outlet covers.

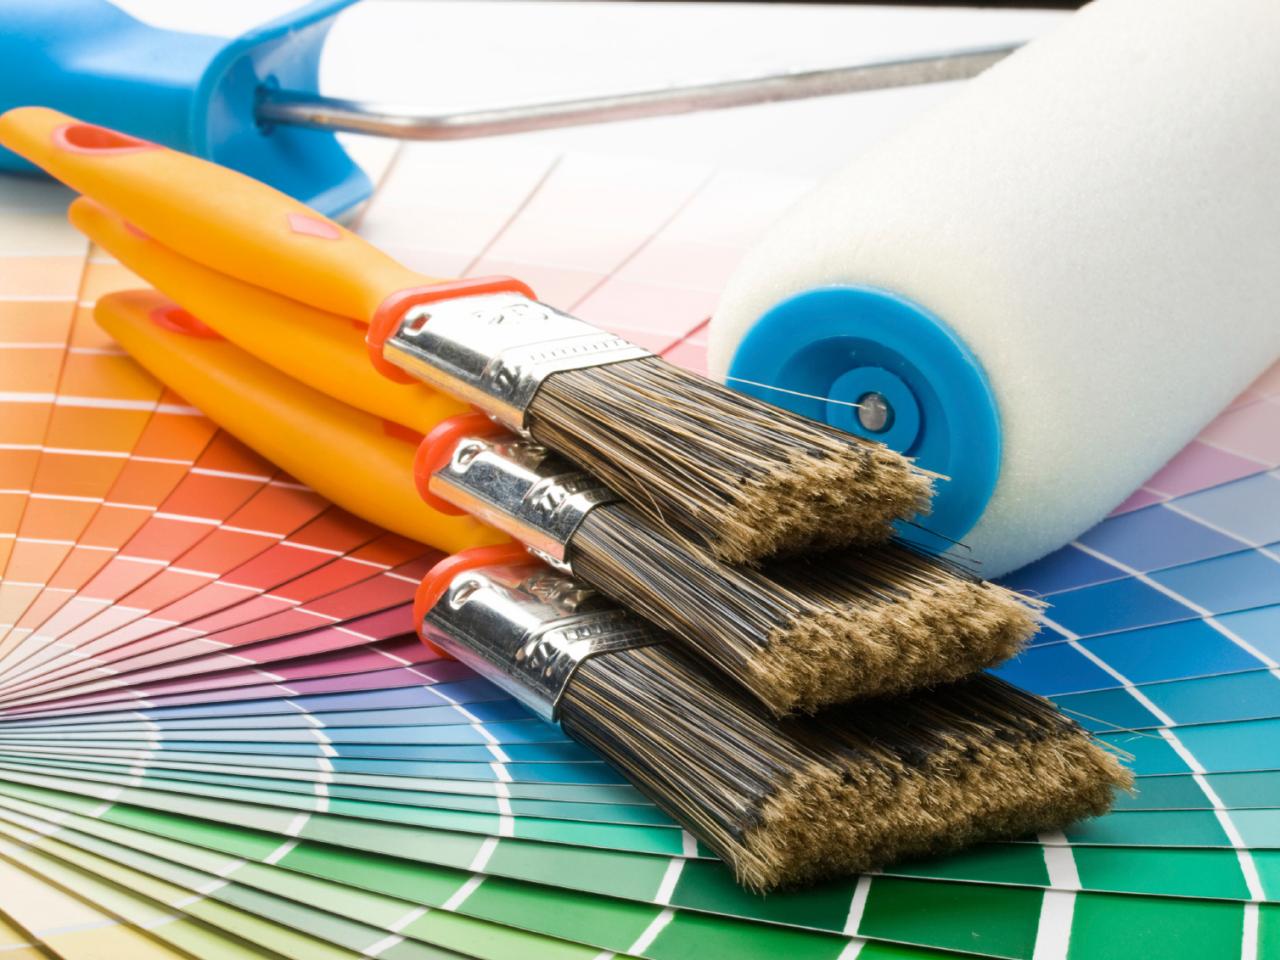
DO gather everything you'll need to get the job done and set up a "paint station" in or near the room. Include a paint tray, painters' tape, brushes, rollers, stir sticks, a paint can opener, rags, paint thinner, a screwdriver, hammer and ladder.

Clean paintbrushes, paint cans, trays, and swatches.

Paint Supplies

Before you paint anything, make sure you have all of your supplies at hand including brushes, rollers, paint trays, paint cans, and drop cloths.

DO purchase one good paint tray and line it with inexpensive disposable plastic tray forms. Aluminum foil works well in a pinch.

Paint, paint roller, and paint tray.

Paint Roller and Tray

If you're painting a large surface with a roller, make sure you pour your paint into a paint tray for easier application.

DO calculate how much paint you'll need. It's always best to get it mixed at one time.

DO choose the appropriate rollers and brushes. Specific rollers are required depending on the paint's viscosity (i.e. how well it rolls onto the surface) and the wall's texture. Brushes with angled tips are best for painting on and around trim.

Paint supplies including swatches, brushes, and rollers.

Paint Supplies

Before you paint a room, make sure you've picked out several paint swatches and determined which color you want to use. Then gather your supplies including rollers, paint brushes, paint trays, painter's tape, and drop cloths.

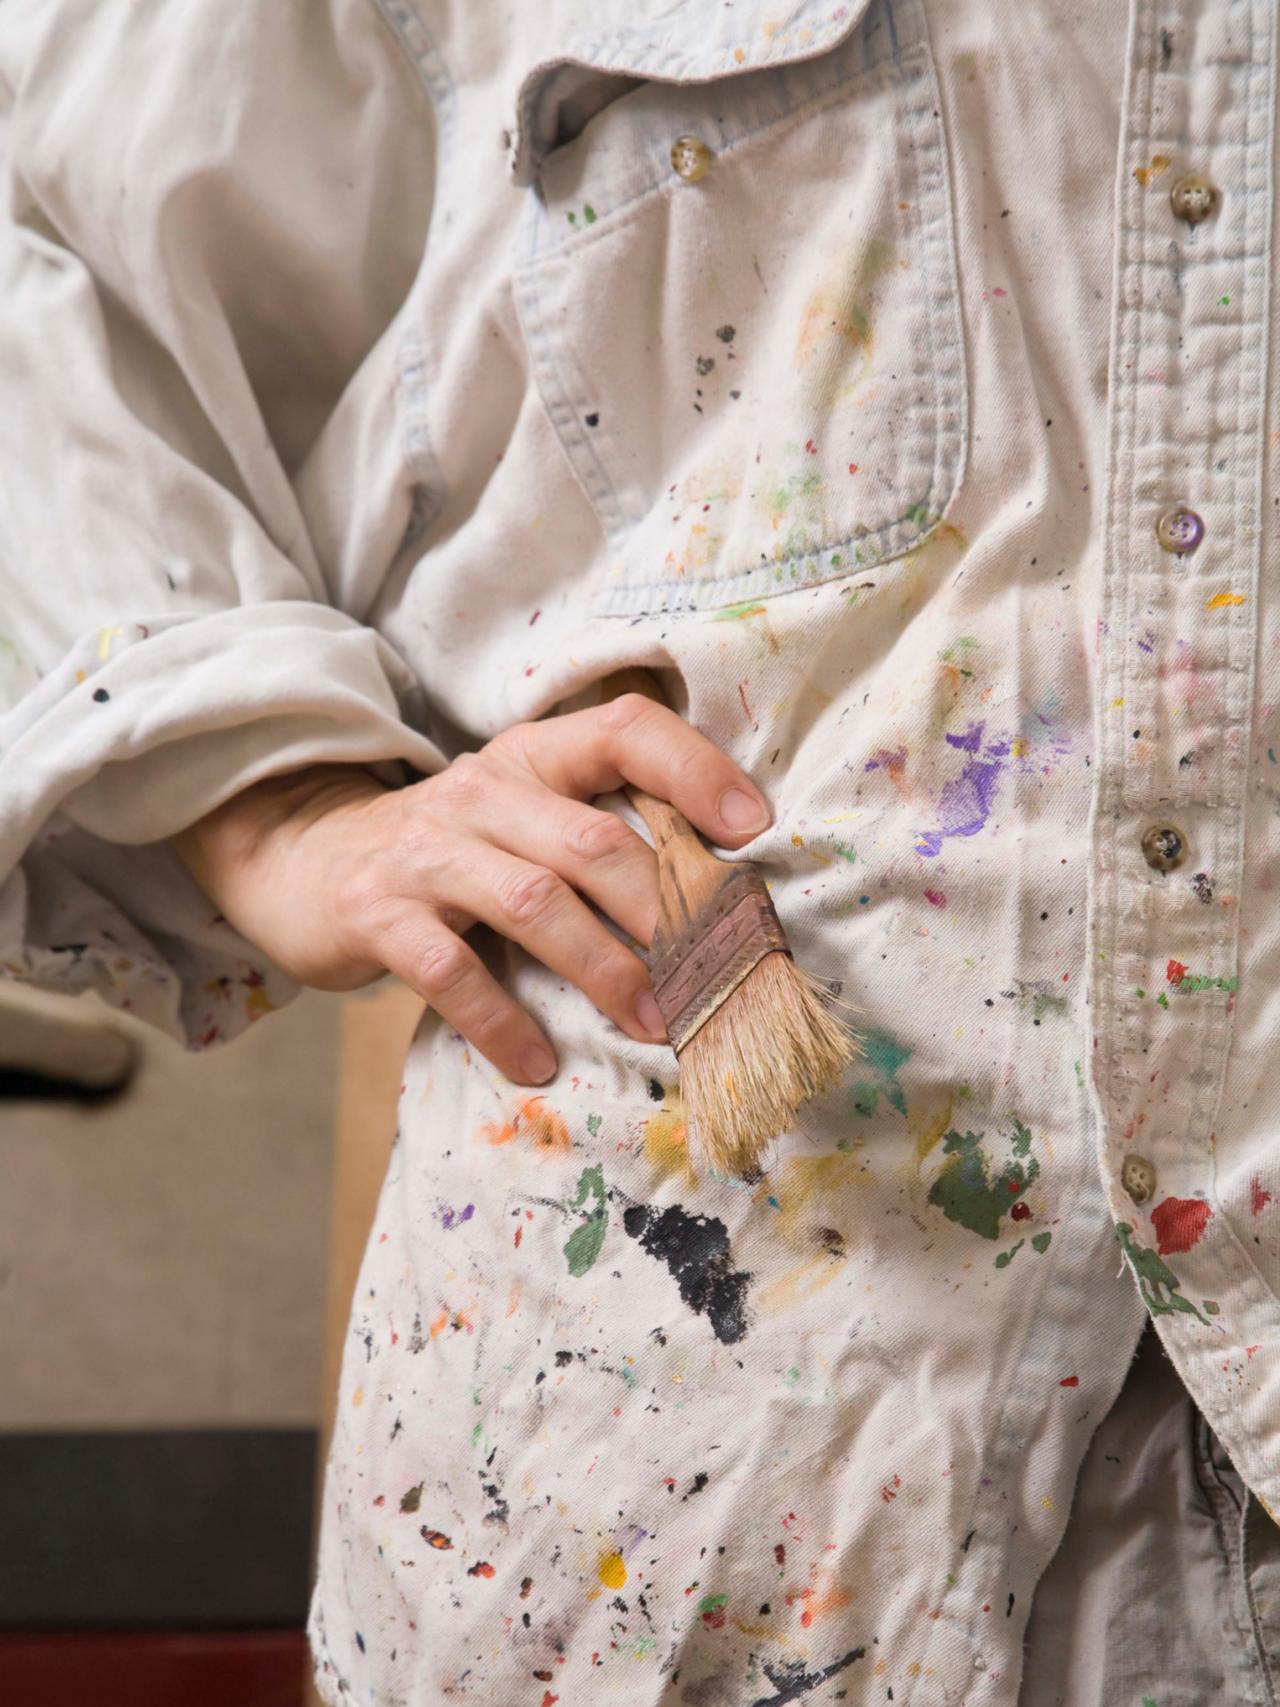
DO wear appropriate clothing (you will get paint on you somewhere) and slip-on shoes for easy access in and out of the room.

An artist stands in a smock covered with several colors of paint.

Creativity Can Be Messy

Before you get started painting, make sure you protect your clothes with a painter's smock or wear something you don't mind getting dirty.

DO prime the walls if going from one extreme color to another. For instance, if the walls are tan and you want deep green, paint first with a primer tinted to match your intended top coat to ensure you'll end up with the true color.

Two people priming walls with rollers.

Prime the Walls

For the best results, make sure you prime the walls before painting with new color.

DO expect to apply at least three coats when painting walls red — one coat of primer and two coats of paint.

Orange paint being rolled on a wall.

Sierra Orange Paint

A small paint roller applies a deep shade of sierra orange to an interior wall.

DO keep a stash of paint for touch-ups in a small plastic cup or glass jar, like margarine containers or baby food jars (thoroughly cleaned, of course). Be sure to label each container with the color and brand name.

DO keep inexpensive foam and artists' brushes (dollar-store variety) on hand for touch-ups on trim and hard-to-reach spots.

Paint brushes in different sizes with paint residue.

Well-Loved Paint Brushes

Glass Mason jars hold a variety of well-used and loved paint brushes, some still containing paint.

Don'ts

DON'T rush. You'll achieve the best results if you practice a little patience. Plan on making it a full-day affair and you won't get frustrated.

DON'T pour the paint from the can until you notch holes into the paint can rim. Simply hammer holes around the metal rim with a nail to create holes for the paint to drip back down into the can.

DON'T paint out of order — start with the ceiling, then walls, doors and woodwork and finish with the floor.

Painting the ceiling with a extended handle roller.

Painting a Ceiling

The best way to paint a ceiling is to tape the walls and use a paint roller with an extended handle.

DON'T apply latex on an oil finish and vice versa without first sanding the walls (remember to wear a mask) and wiping away the dust particles with a tack cloth. Apply a primer of the same composition (oil or latex) of the intended topcoat.

A construction work sanding walls.

Sanding Walls

A construction worker sands drywall, wearing a mask for safety.

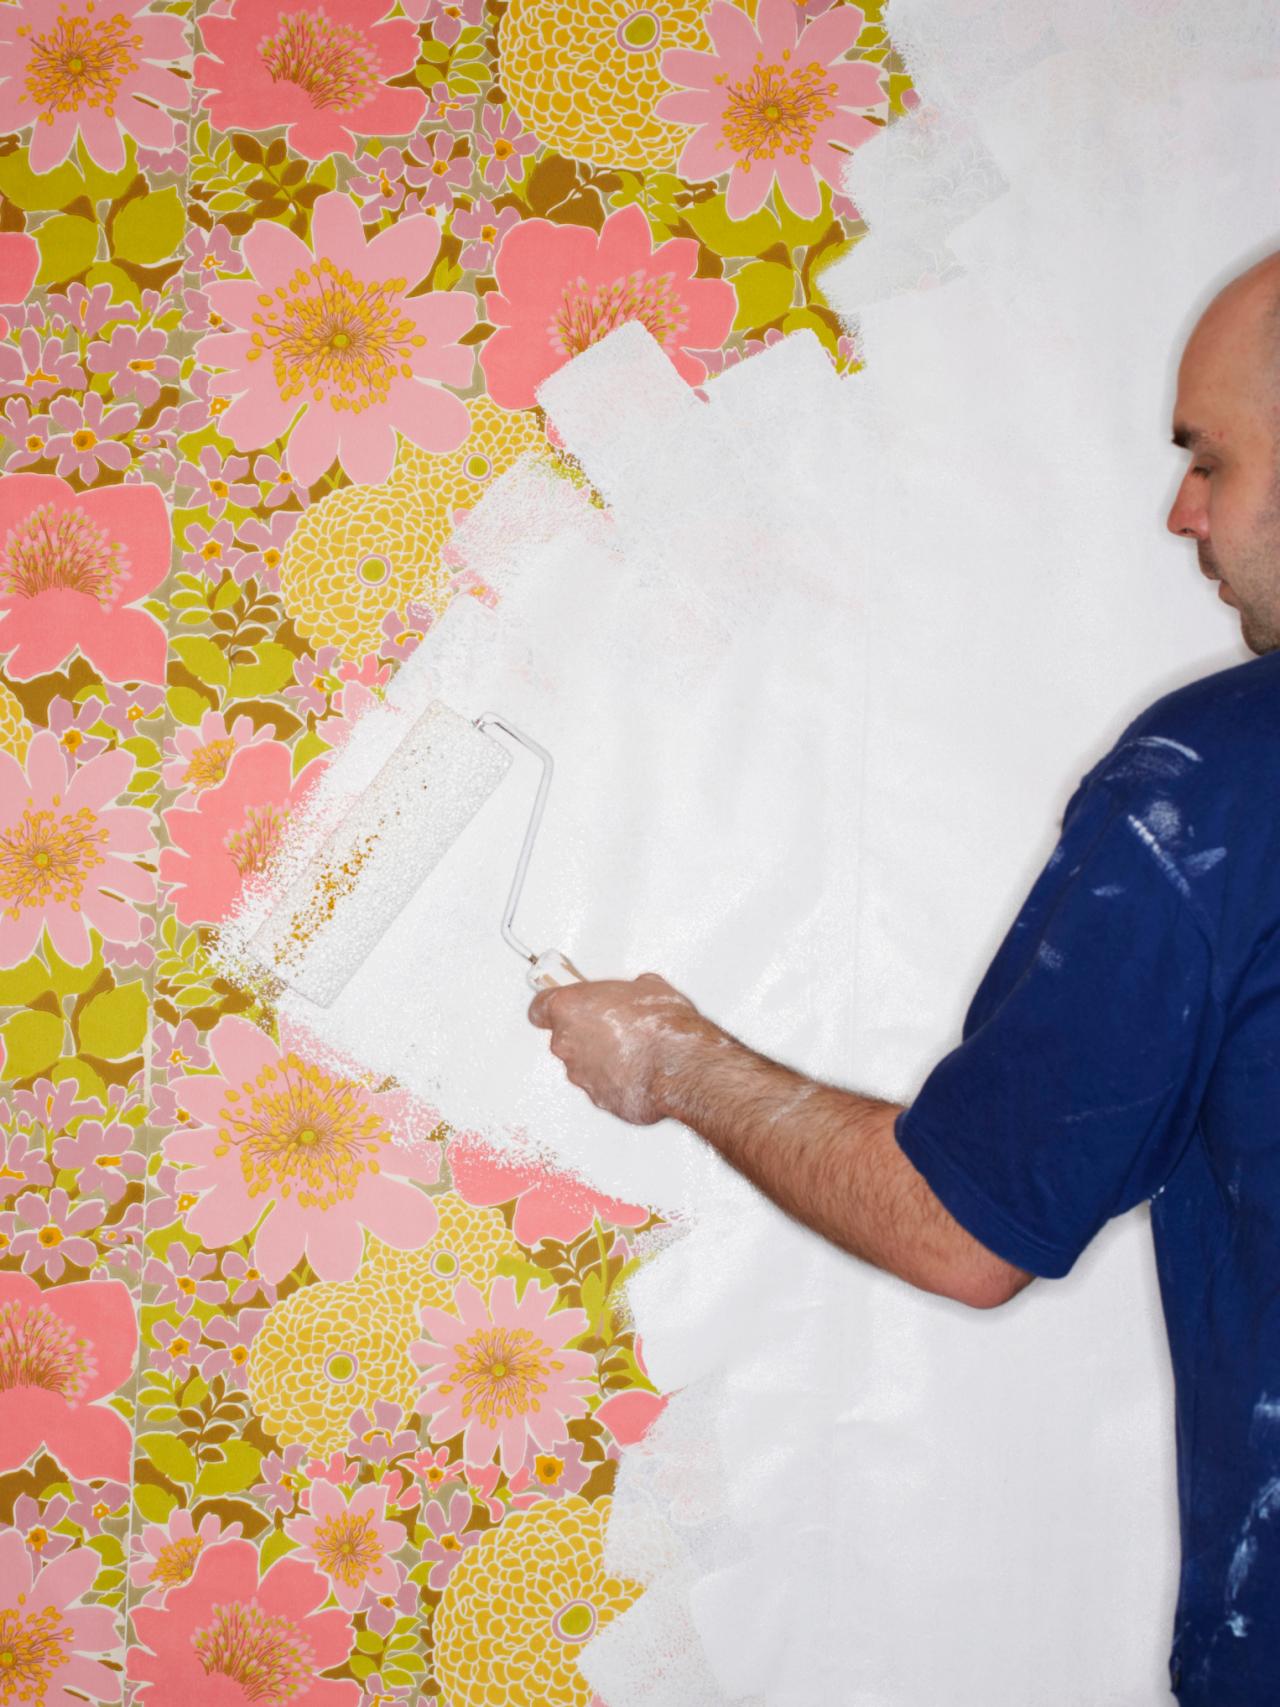
DON'T paint directly over wallpaper. If possible, remove it all with a steamer or paper-removing solution and prime. If it's old and not coming off, remove the loose pieces (repair with joint compound to smooth out the surface), sand and wipe with a tack cloth, then prime.

A man painting over wallpaper.

Painting Over Wallpaper

Have unsightly wallpaper? As long as it is in good condition, you can paint over it.

DON'T close off the room. Keep doors and windows open to allow for proper ventilation.

DON'T underestimate how long it'll take you to get the job done. Allow at least 24 hours to dry before bringing everything back into the room. Allow two weeks to 30 days to cure before washing or wiping.

How to clean paintbrushes.

Cleaning Paintbrushes

Paintbrushes should be washed by hand in warm water.

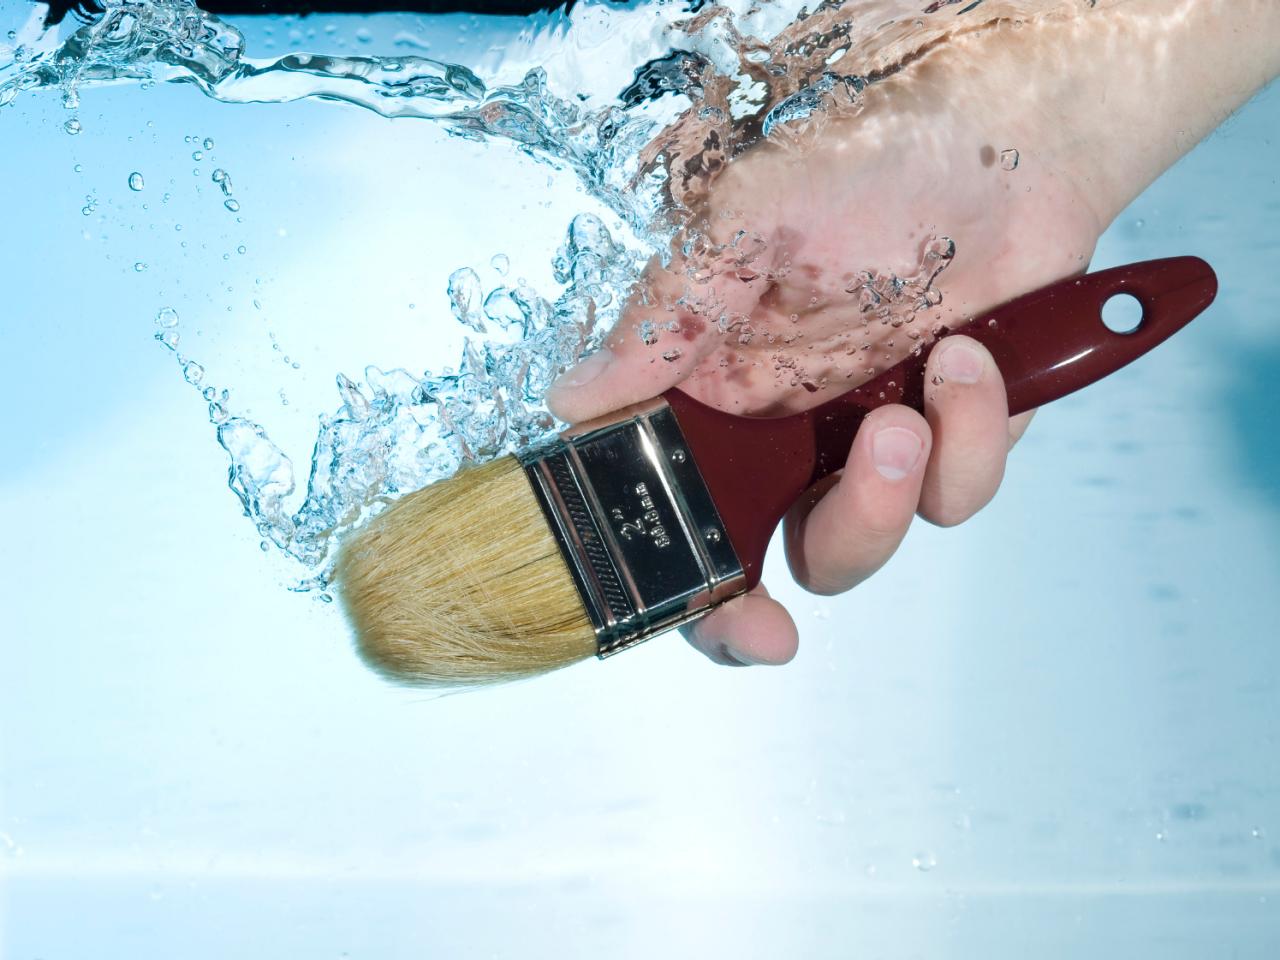
DON'T put off cleaning your brush and rollers if you plan to use them again.

DON'T dispose of paint irresponsibly. Check your area for local hazardous waste recycling centers.

DON'T reattach the lid without cleaning the rim of the can. Also, to further prevent inadvertent splatters, place a paper towel or rag on top of the lid, then hammer to secure.

Next Up

16 Ways to Make Painting Less Painful

It's one of the easiest ways to transform a room, but painting can be tough! HGTV Magazine shares tips to ease the sting.

Paint Glossary: All About Paint, Color and Tools

Learn what type of paint to use, which tools will work best and the basics for picking color schemes.

How to Properly Paint Your Home's Exterior

Give your house a fresh, updated look with exterior paint.

Painting Kitchen Backsplashes

Find out everything you need to know about painting your kitchen backsplash, plus our favorite techniques to inspire your next DIY project.

The HGTV Stars' Favorite White Paints

Choosing the best white paint for your space can be a challenge. Our experts and designers are here to help.

The Ultimate Guide to White Paint

If you’re painting your walls white, the options are endless. This handbook from HGTV Magazine will help you find the right one.

Top 10 Ways to Paint Like a Pro

For a professional-looking paint job, do what the experts do.

How to Paint Wood Furniture

Learn how to strip, sand and paint wood furniture.

25 Brands You Didn’t Know You Can Shop on Amazon

Take advantage of fast, free shipping — and returns — while still buying our favorite bedding and linens, appliances, kitchenware and more.

Talk to a Toolman: Q&A With Chip Wade

Should you hire a pro or do that home repair yourself? HGTV Magazine asks Elbow Room’s Chip Wade to weigh in on five common questions.

More from:

HGTV Painting Guide

Go Shopping

Get product recommendations from HGTV editors, plus can’t-miss sales and deals.

On TV

Follow Us Everywhere

Join the party! Don't miss HGTV in your favorite social media feeds.