How to Paint Metal Shutters
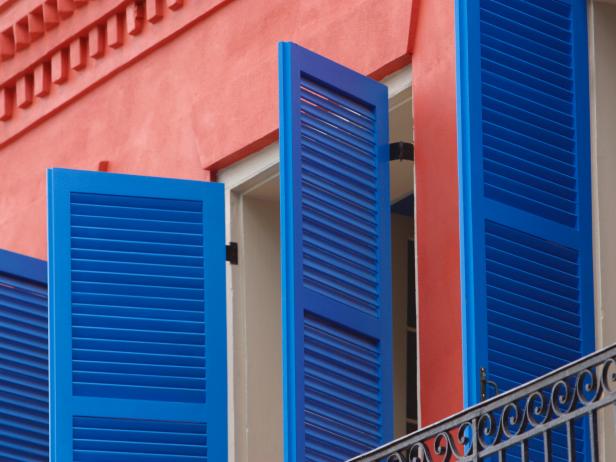
Materials Needed:
- high-velocity, low-pressure (HVLP) paint sprayer
- screwdriver
- sanding sponge
- scrub brush
- mixing bucket
- garden hose
- spray can primer
- trigger-action adapter for spray can
- old piece of cardboard or wood (to practice using paint sprayer)
- rubber gloves
- plastic gloves
- protective gloves
- dust mask
- paint
- soap
Steps
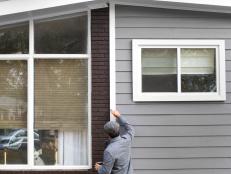
1. Use a screwdriver to remove the shutters from the house.
2. Stand a shutter in a large mixing tub, and clean thoroughly with soapy water and a scrub brush. Tip: If the shutters are dirty, the paint won't adhere properly to the surface.
3. While the shutter is still in the bucket, wet sand loose paint from both sides with a sanding sponge. Use a fine-grit paper to avoid scratching the surrounding area.
4. Hose down the shutter, and set aside to dry.
5. Repeat cleaning and sanding process for the remaining shutters.
6. Wearing eye protection, a dust mask and plastic gloves, spot-prime the shutters with spray can primer. Tip: Snap on a trigger-action adapter to make things easier on your index finger.
7. After spot-priming, spray an even coat of primer on shutters in both vertical and horizontal strokes to even the coat out. Let primer dry for 30 minutes.
8. Pour paint into the sprayer cup of the HVLP paint gun, snap the cup on top of the gun and connect the air hose. Tip: Take some practice sprays on a piece of wood or cardboard to get a feel for the sprayer.
9. Spray a top coat onto the shutters using smooth, even strokes. Follow the instructions included with the HVLP sprayer, as different makes may have slightly different methods of use.
10. Let the shutters dry completely before reattaching to the house.


