


How to Replace a Drop Ceiling With Beadboard Paneling
Drop that drop ceiling and give your space a major style upgrade with grooved paneling and new lighting.
Is your acoustic ceiling looking dated and dull? Replace i inches with tongue-and-groove wood ceiling panels. We used pre-primed 8 feet long x 7 inch wide panels, then installed new crown molding all the way around to finish off the look. Using planks this size is easier than cutting down 4 x 8-foot sheets of beadboard. Most of the time, it only required one person for installation.

Shain Rievley
Tools and Materials
- pre-primed MDF beadboard planks
- pre-primed crown molding pieces
- chalk gun and tubes of white interior fast-drying paintable caulk
- 1-1/4” (32mm) 18 gauge finish nails (brads)
- safety glasses and disposable masks
- fast drying lightweight spackle
- latex satin paint
- latex flat paint
- paint roller with extender pole
- work gloves
- steel molding pry bar
- nail compressor
- chop saw
- jigsaw
- 2" metal putty knife
- tarps
- rubber mallet
Step 1: Remove Old Ceiling
Wearing a mask, work gloves and safety glasses, use a pry bar to remove drop ceiling tiles. Old tiles may break apart as you are taking them down. Place a large tarp on the floor to catch all of the debris for easy clean-up.

Shain Rievley

Shain Rievley
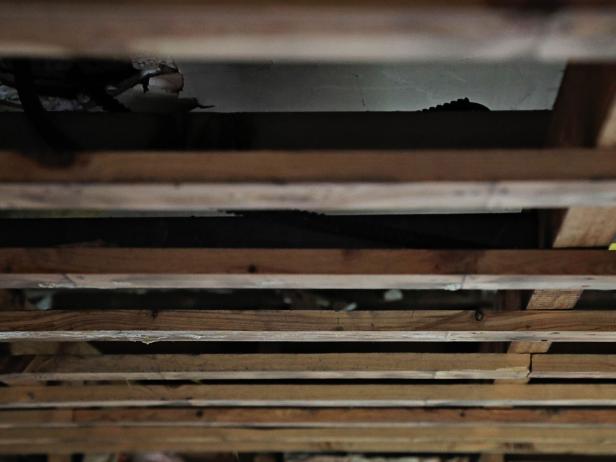
Step 2: Prep Ceiling Joists
Repair any damaged framing in the ceiling. Our beadboard panels are 8 feet long by 7 inches wide, so we needed to add a few boards between the ceiling joists to ensure there was something to nail the beadboard planks to. If you need to do this, match the size of the existing lumber in your ceiling.
While we had the ceiling open, we took the opportunity to install new can lights. Installation is easier and more efficient with the ceiling out.

Shain Rievley
Shain Rievley

Shain Rievley
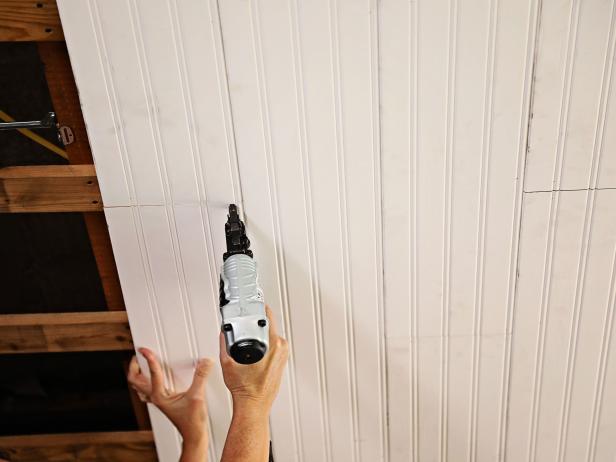
Step 3: Install Planks
Start from one end of the room and work your way to the other. Cut the planks to size with a chop saw. Use a rubber mallet to help lock in the tongue and groove. Secure panels to ceiling trusses using a nail gun, shooting a nail in about every 18 inches. Use a jigsaw if you need to cut around can lights or ceiling fixtures. When you get to a wall, use a pry bar to push the panel into place.

Shain Rievley
Shain Rievley
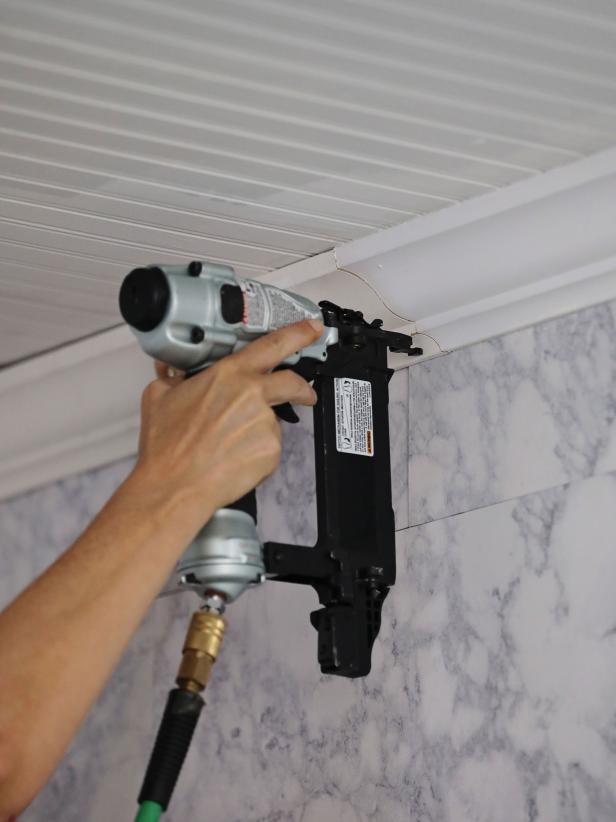
Step 4: Attach Molding
Install crown molding using a nail gun. Cut corner pieces to meet at a 45-degree angle. TIP: If you have to be on the countertop to install the molding, place a gardener’s mat under your knees.

Shain Rievley
Shain Rievley

Shain Rievley
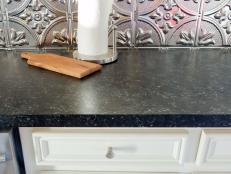
Step 5: Smooth Seams
Run a thin bead of caulk over the seams where planks meet and immediately smooth it out with a damp rag. Do the same where the crown molding meets the paneling. Use spackle to fill in nail holes. Sand after it has dried and wipe with a damp cloth.

Shain Rievley

Shain Rievley

Shain Rievley

Shain Rievley

Shain Rievley
Step 6: Paint
Paint the entire ceiling with flat paint. Paint trim in satin finish interior paint. Both the molding and ceiling may require two coats of paint.

Shain Rievley
Step 7: Install Lighting
Re-install or replace light fixtures.

How to Install Crown Molding
Crown molding is an inexpensive and easy way to add visual interest and value to your home. With just a few tools and basic carpentry knowledge, you can achieve a stylish upgrade within any space.


