How to Cover Exposed Air-Conditioning Ducts
Not crazy about the exposed-ducts look? This project shows you how to hide them behind drywall.
Materials and Tools:
ladder
step stool
workbench
long level
short level
C-clamp
circular saw
power drill
wrapping paper
scraper
utility knife
tape measure
carpenter's square
stud finder
T-bevel
dust mask
safety glasses
2-by-4-inch boards
drywall
nails
screws
Steps:
1. Locate studs in the vicinity of the ducts with a stud finder and mark the center of the studs, using a long level and carpenter's pencil.
2. If the ceiling is angled, use a sliding T-bevel to measure the angle, and transfer it to your 2-by-4's. Wearing safety glasses and a dust mask, use the circular saw to cut the 2-by-4.
3. If one 2-by-4 isn't long enough, clamp a second 2-by-4 to the first and hold them in place. Use the T-bevel to mark the end of the second board so you can cut it to fit flush against the ceiling. Attach the two boards permanently with screws and remove the clamps.
4. Use the first runner as a template for cutting your second one. Attach on either side of the ventilation duct with screws. Pre-drill holes for screws and make sure you're attaching the assembly to studs.
5. Cut more 2-by-4's to build a frame around the ducts.
6. Make templates for cutting the drywall pieces by pressing old wrapping paper against the frame. Score the drywall with a utility knife and cut the pieces to fit.
7. Attach the side piece of drywall to the frame with screws. Insert screws about every four inches around the perimeter of the drywall piece.
8. Before attaching the drywall sheet across the bottom, mark the position of the 2-by-4 cross-braces on the wall and on the new drywall. Have an assistant hold the piece in position while you attach it with screws. Make sure to drive screws into the cross-braces.
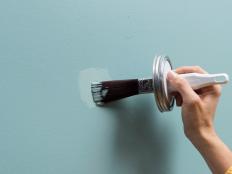
9. Prime and paint the drywall.


