


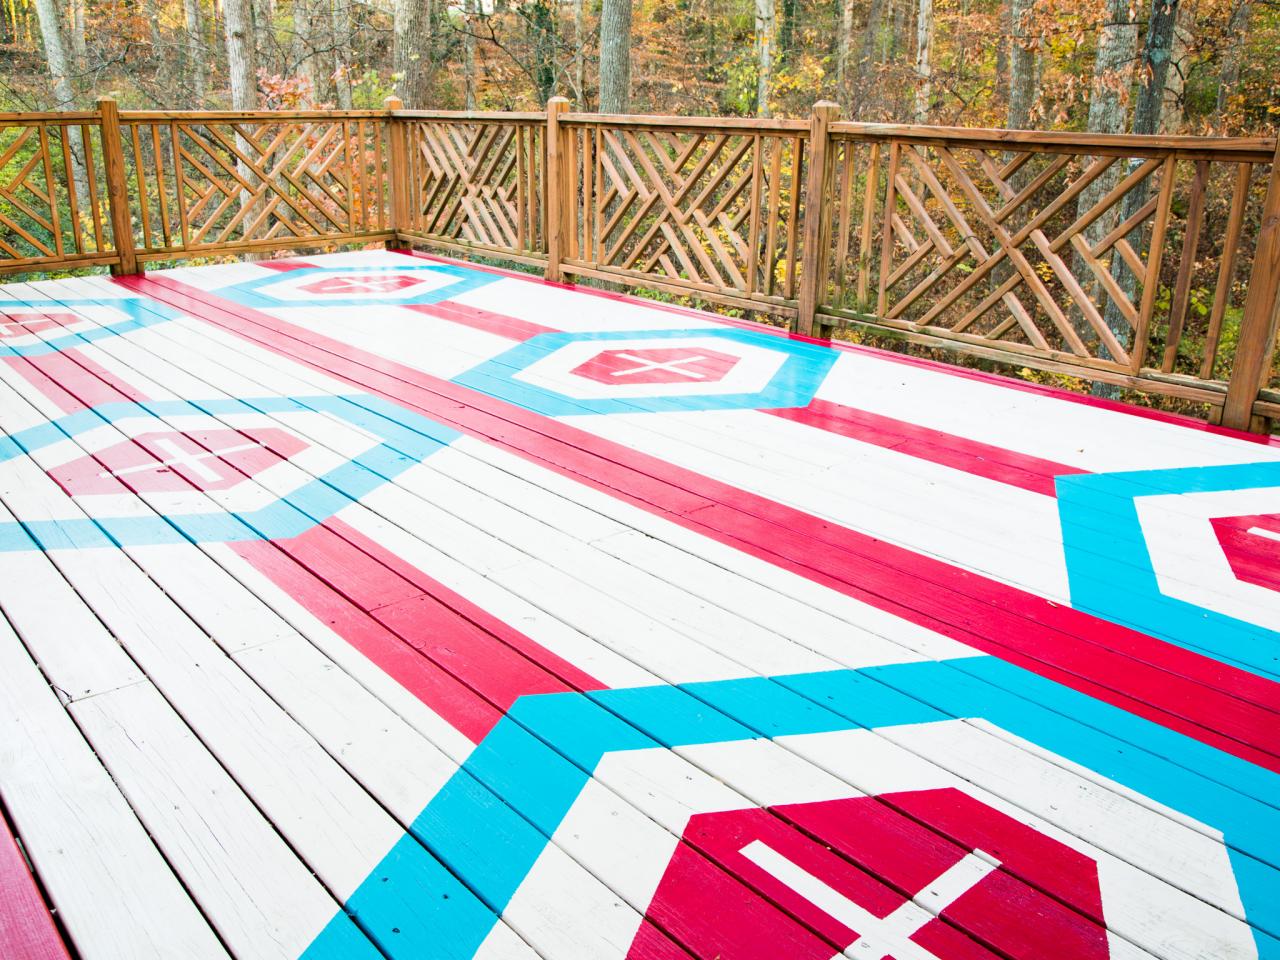
How to Stencil a Geometric Pattern on a Deck


Materials Needed:
- porch and deck paint for background and 2 accent colors
- image of desired geometric pattern
- paint roller handle and sleeve
- paint pan
- painter's tape
- 3" angled paintbrush
- pressure washer
- broom or leaf blower
- waterproof sealant
- extender pole
- measuring tape
- pencil
- burnisher or credit card
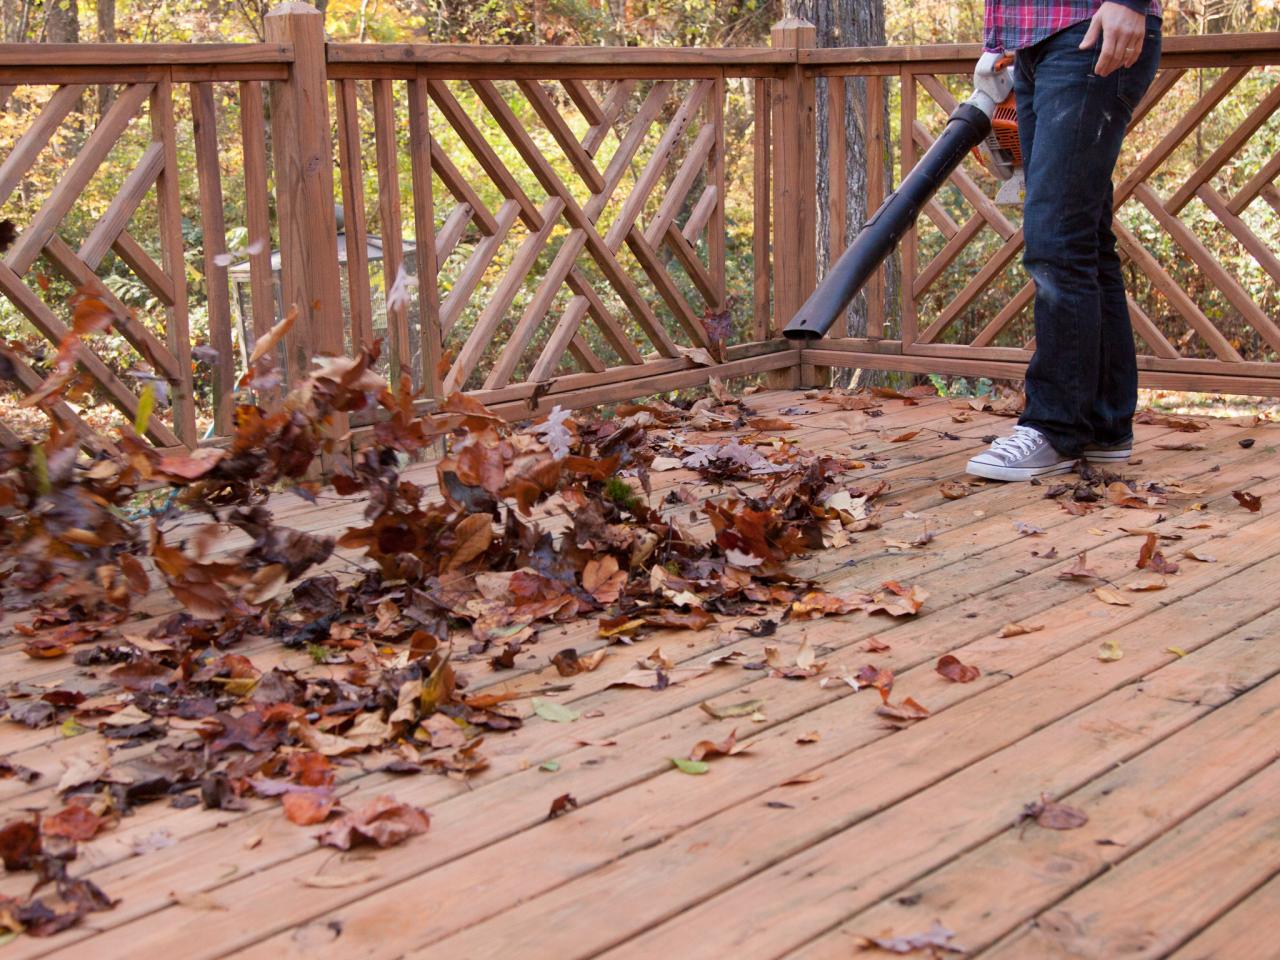
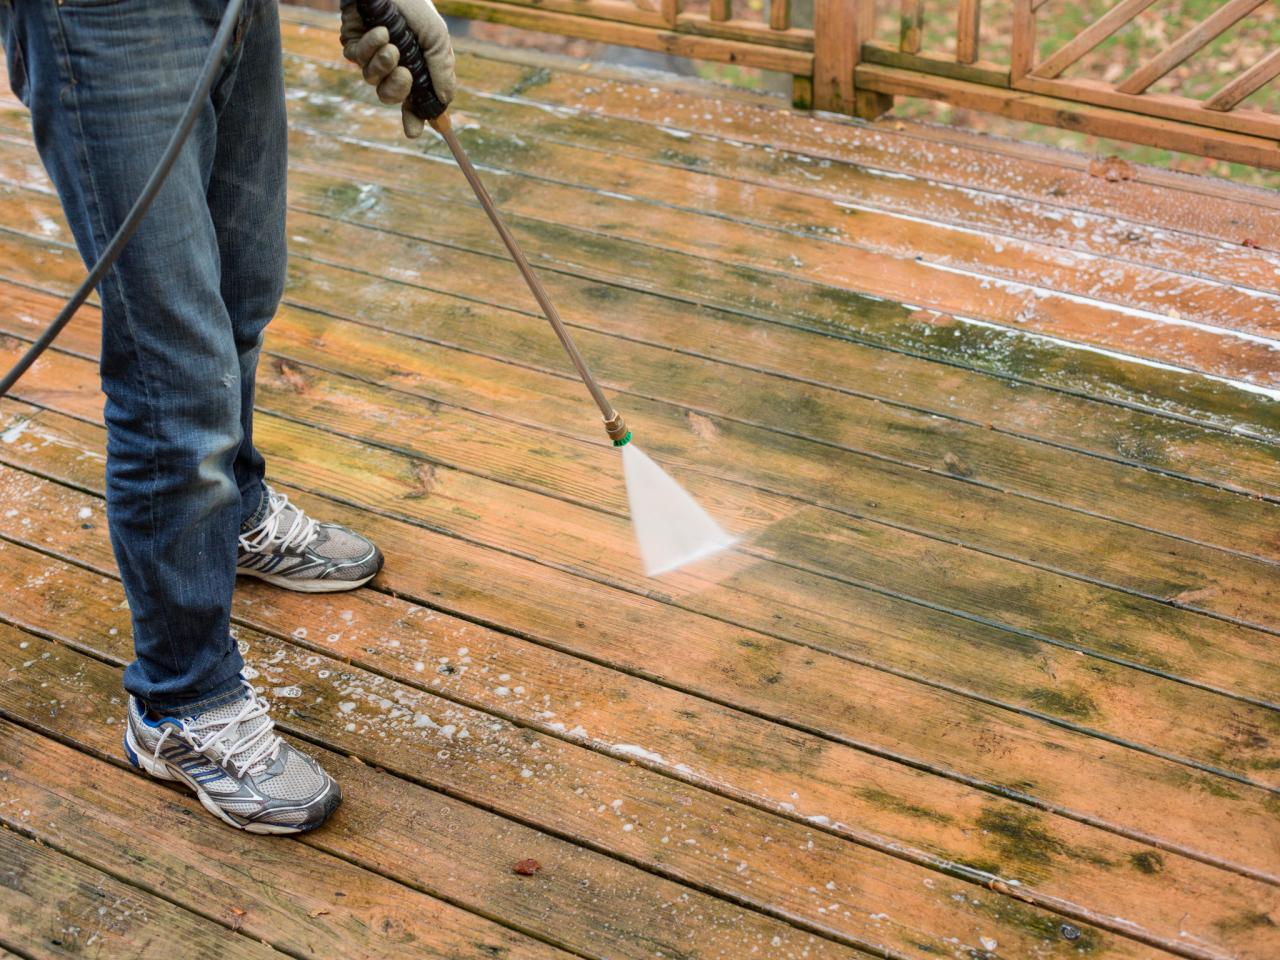
Clean Deck
Use a broom or leaf blower to clear any leaves, dust, branches or dust from deck (Image 1). Remove any top layer of grime, mildew or moss from surface of decking using a pressure washer (Image 2).


Select a Pattern
Decide on the best pattern for your deck based on layout, scale and proportion. Small patterns will require more painting time and work best for small decks. When applied on large decks, small patterns lose their impact and come across busy or cluttered. Medium patterns are ideal for small, medium and large decks, while large patterns work best on big decks.
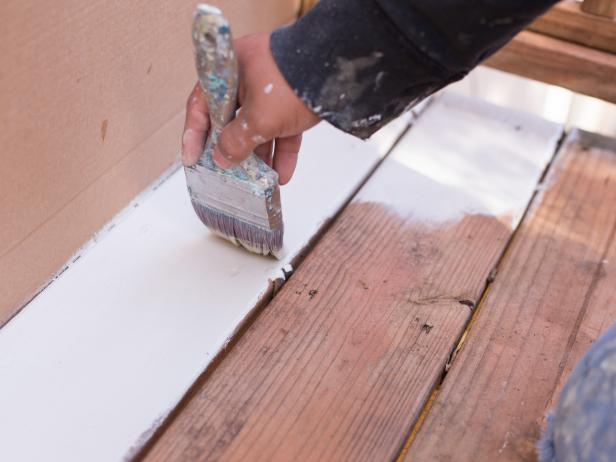
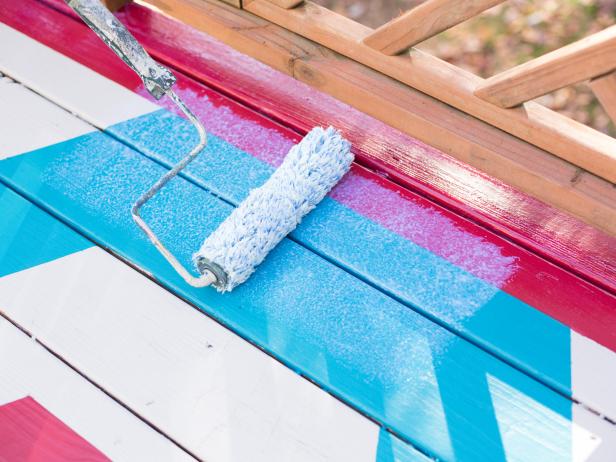
Apply Background Color
The background color is the quickest to paint and will have a large impact on the accent colors. To create cohesiveness between the exterior of the home and the deck, consider using a background color similar to the home's exterior walls. Add paint directly to the surface of the deck, first cutting in between the cracks of each board with a 3-inch angled paintbrush (Image 1), then covering the surface of all boards using a roller and extender pole (Image 2).

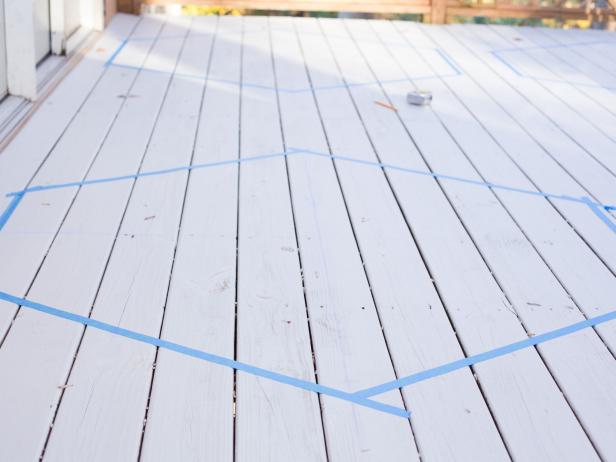
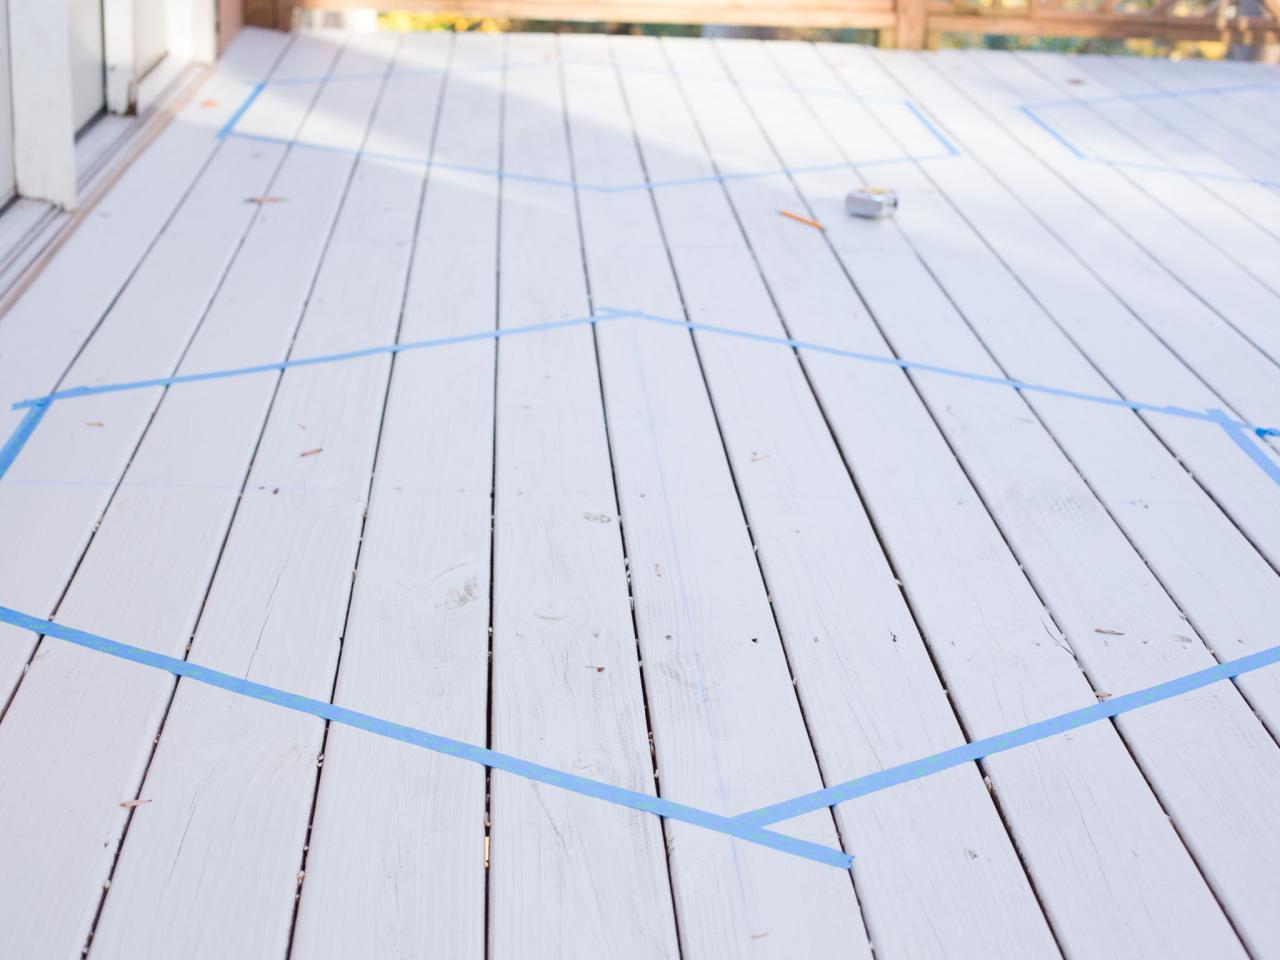
Start Pattern in Center
Determine the center point of the deck using measuring tape, and mark it with a pencil. Next, tape off the pattern with painter's tape, ensuring proper scale. Tip: To determine the best scale and proportion for the geometric pattern in relation to the deck, tape it off, then stand at least 8 feet back to make sure it reads appropriately. If it's too small or too big, adjust the scale until the overall intended look is achieved.

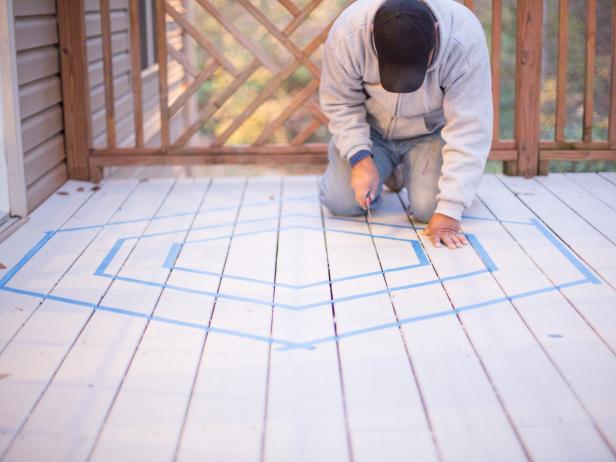
Tape Off Layers of Large and Detail Patterns
Continue taping off the largest shape of each pattern, using measuring tape to keep the width and length consistent (Image 1). Referring to your inspiration image and ensuring proper scale and proportion, continue to use painter's tape to complete the smaller layers of the pattern (Image 2).
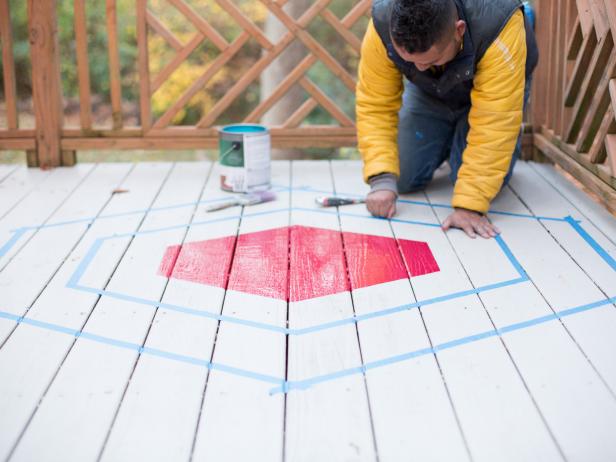
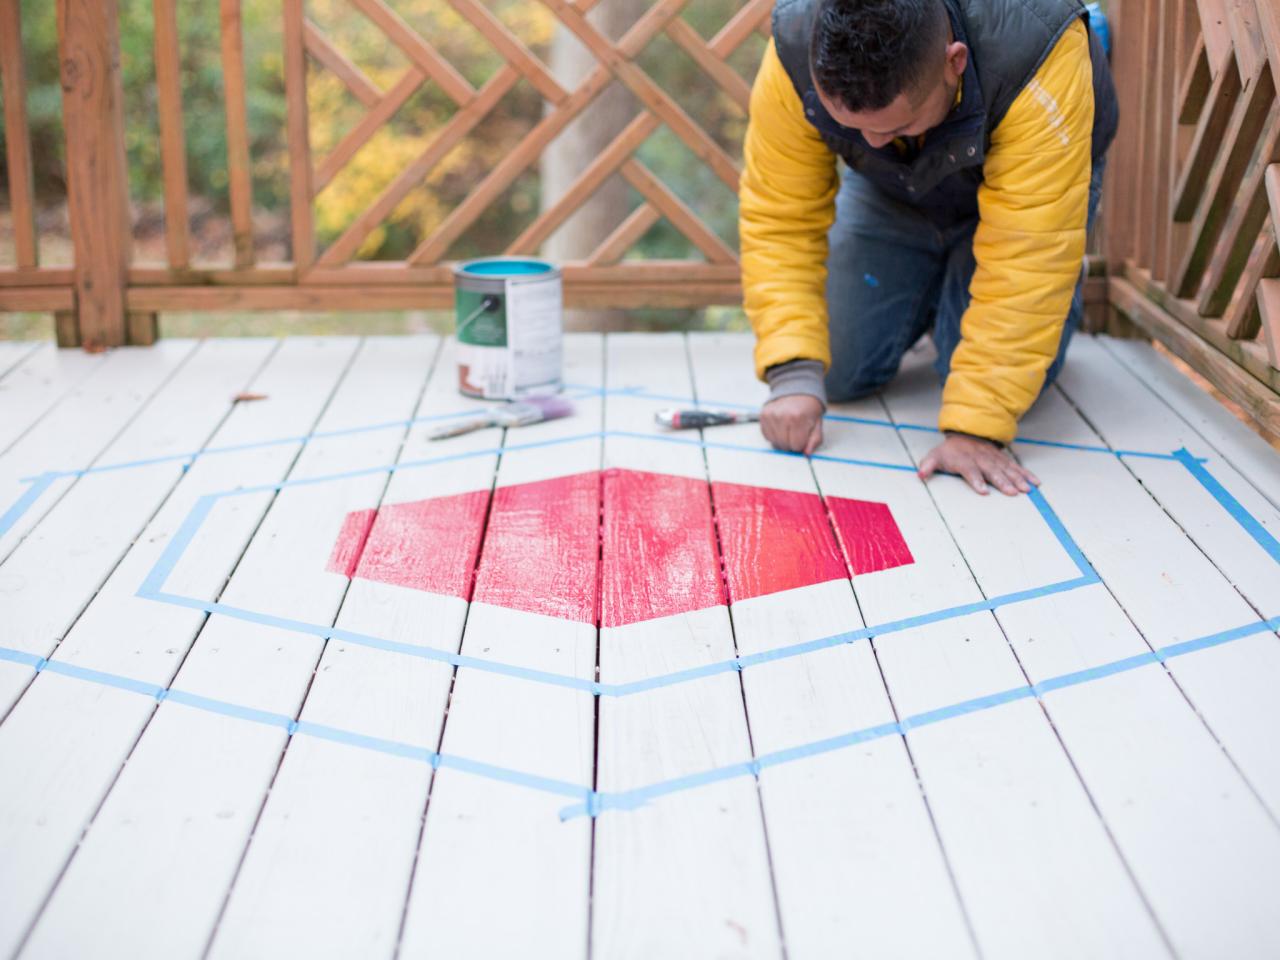
Paint Accent Colors
Once the tape is applied to all large and detail layers of geometric pattern, apply accent colors using a 3-inch angled paintbrush or roller (Image 1). Once two coats of accent paint have dried, remove painter's tape from large layers and detail layers (Image 2).

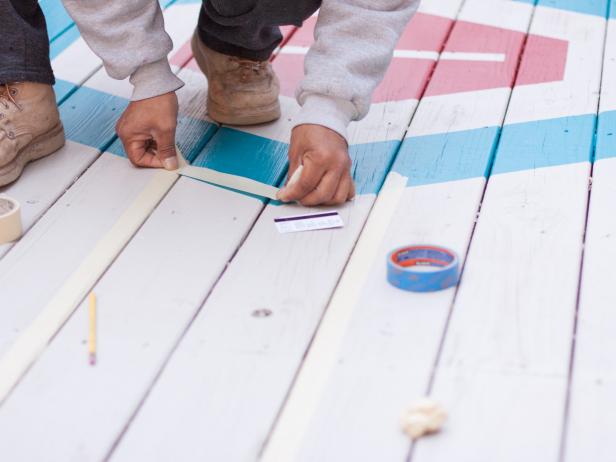
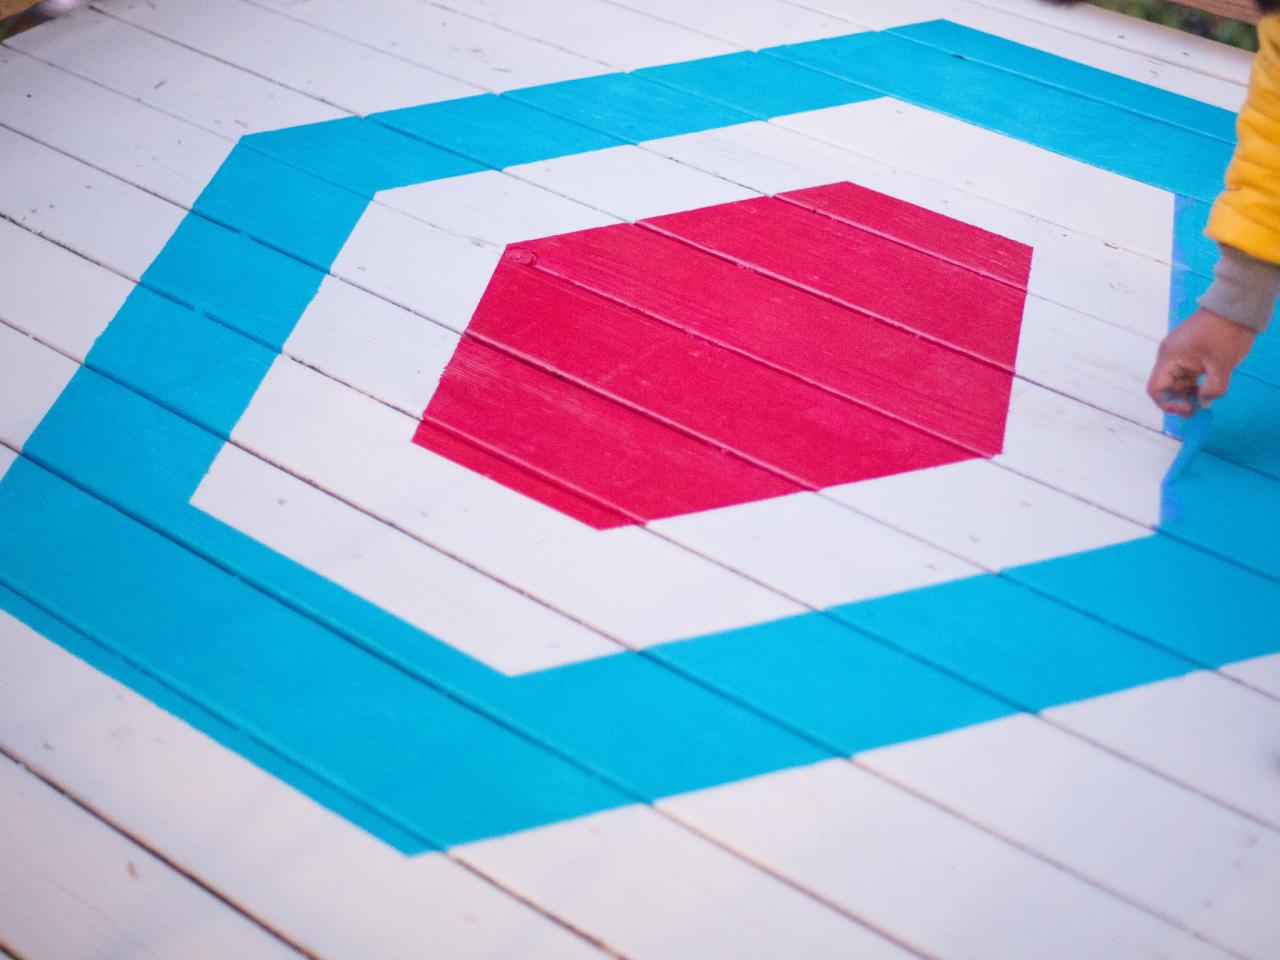
Tape Off Additional Layers
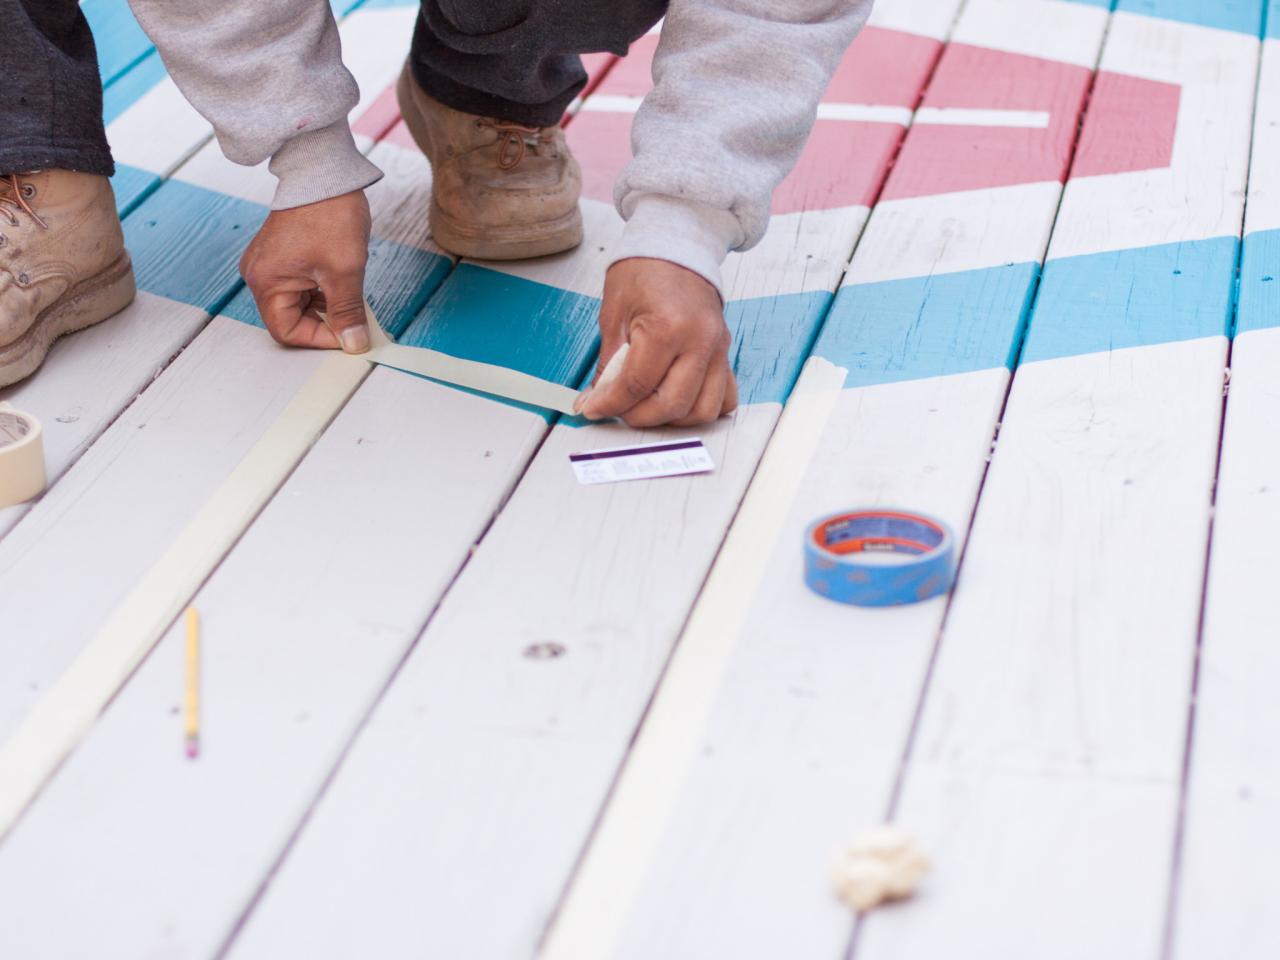
While some geometric patterns stand alone, others are connected through lines or shapes. For patterns involving shapes and lines connecting to one another, additional layers will need to be taped off and painted. Use painter's tape to properly mark layers, pressing the tape firmly against the recently painted patterns with a credit card or burnisher to prevent bleeding (Images 1 and 2).

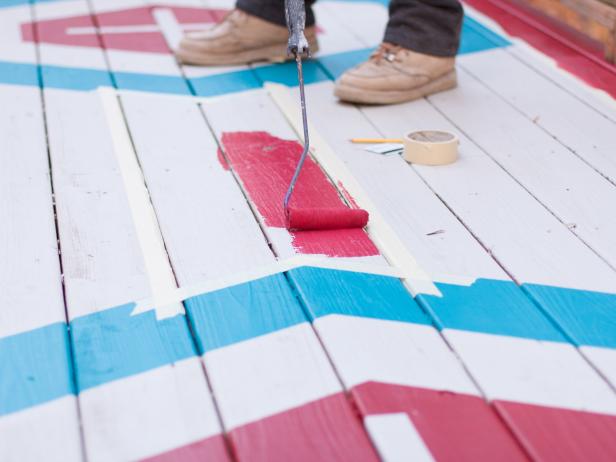
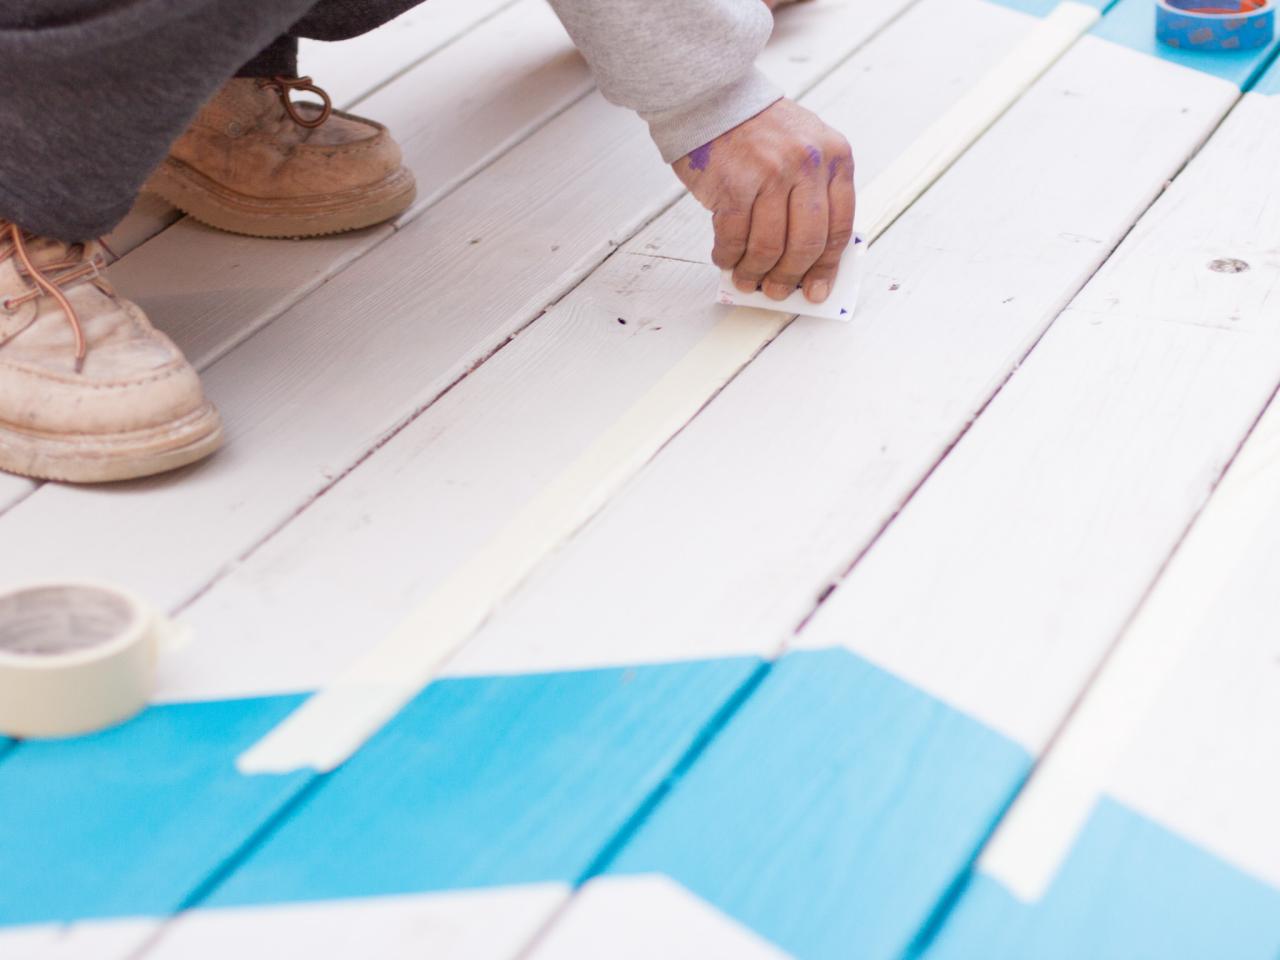
Paint Additional Layers
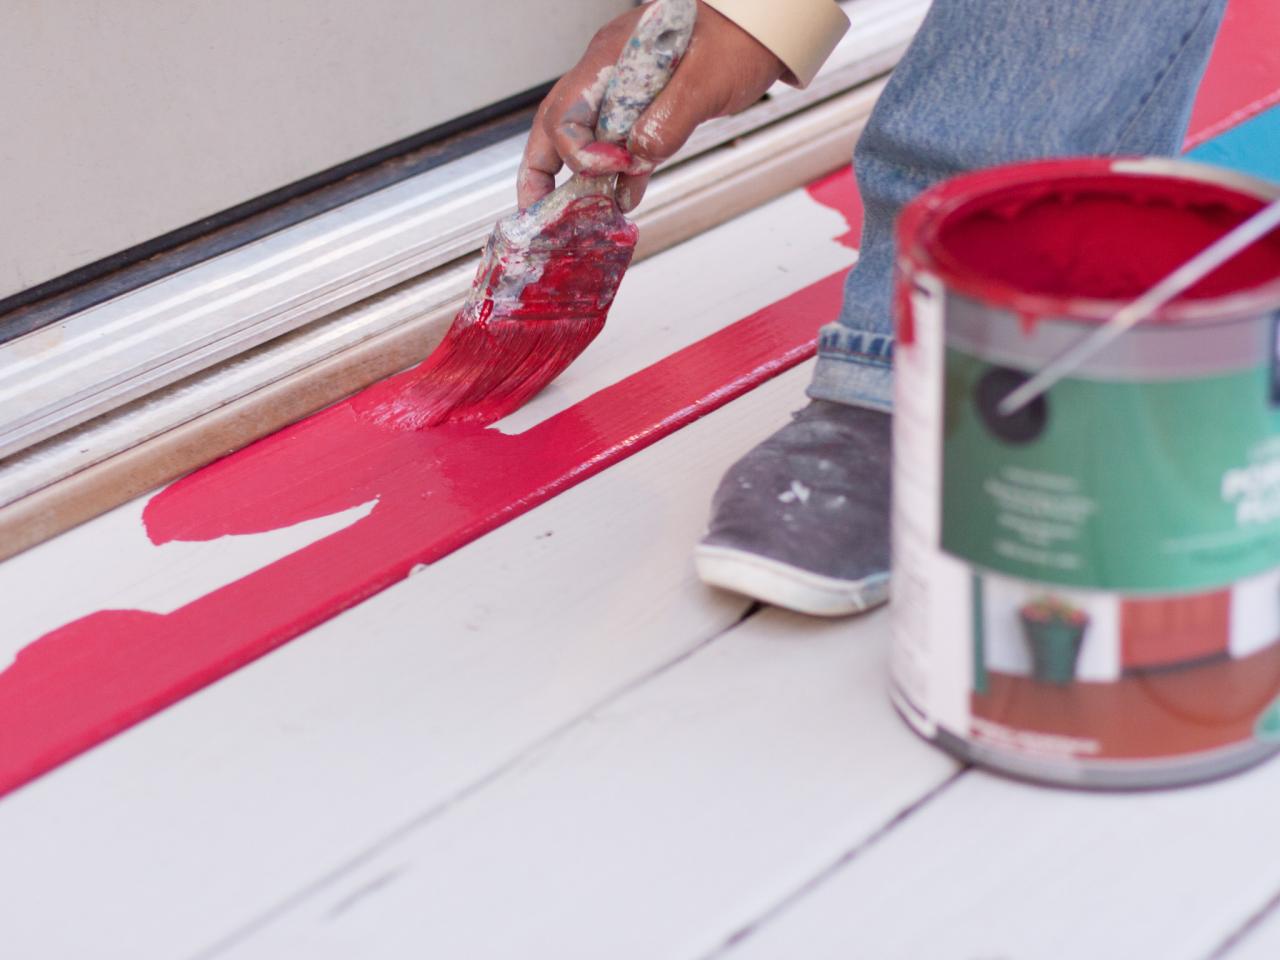
Fill in the taped-off areas with an accent color using a roller (Image 1). Use a 3-inch angled paintbrush to paint the edges and in between cracks (Image 2).

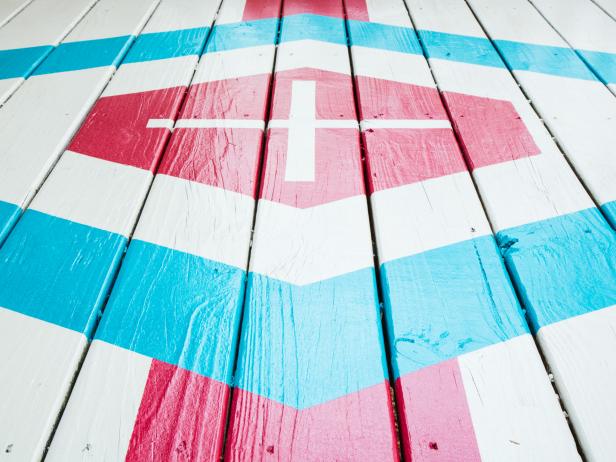
Remove Tape and Seal
Once additional layers have dried, remove the painter's tape. Next, protect the painted pattern by rolling waterproof sealant over entire surface of deck using a roller and extender pole.


