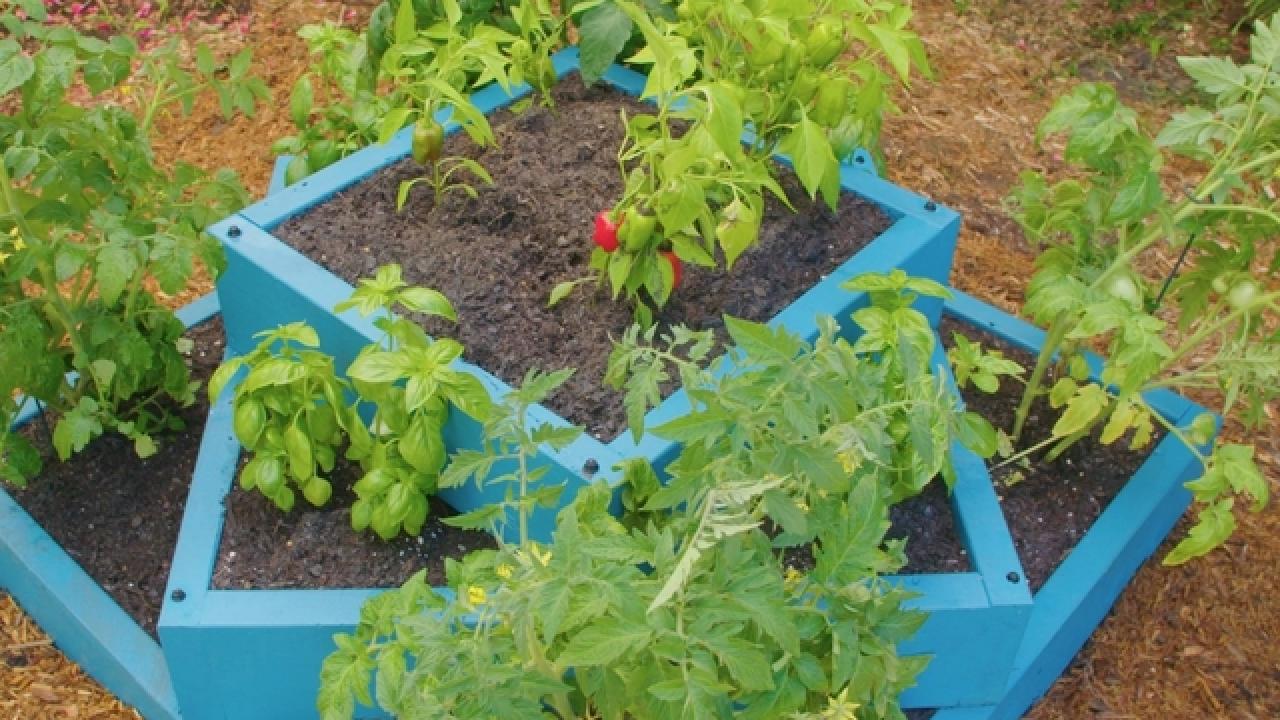
How to Build an Architectural Raised Bed
This easy-to-construct design raises your garden to new heights. Paint it a fun color or leave the wood bare for a natural look.
Materials and Tools
For top box: (2) 17-inch 2x6 boards and (2) 20-inch 2x6 boards
For middle box: (2) 25-1/4-inch 2x6 boards and (2) 28-1/4-inch 2x6 boards
For bottom box: (2) 37-inch 2x6 boards and (2) 40-inch 2x6 boards
2x3” decking screws
drill/driver
paint and paintbrush (optional)
landscape fabric and pins
garden soil and compost
10” timber screws
plants
Make Square Boxes
Drill pilot holes and attach boards using decking screws to create three square boxes. The top will be 20 inches square, the middle will be 33 inches, and the bottom will be 40 inches. Paint or stain boxes, if desired. Allow to dry.
Prepare Bottom Layer
Check the ground for level and level if needed. Then place the bottom square on the ground, line with landscape fabric and pin in place. Fill with garden soil or a mix of soil and compost.
Stack and Fill Layers
Place the middle box on top at a 45-degree angle. Drill pilot holes at corners and secure to the bottom box with timber screws in all four corners. Add soil. Then place the top box in alignment with the bottom box, creating a staggered effect. Secure with timber screws. Add soil.
Plant Raised Garden
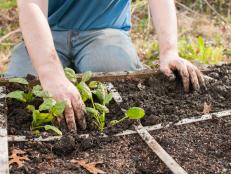
Plant available space and layers, considering the habit of each plant, whether trailing, spiky, or mounding, to create a balanced design. Plants with deeper roots, like tomatoes, may grow better in the middle or top boxes where they can easily access more loose soil.