


Christmas Kids' Craft: Make Easy DIY String Art Ornaments
String art is not just an adult DIY project. With a little help kids can make their own mini versions. Parents hammer the nails, kids do the stringing and your Christmas tree gets added crafty awesome-ness!

Jennifer Perkins

Materials Needed
- 3"- 4" wooden rounds
- hammer
- pipe cleaners
- hot glue gun and glue sticks
- scissors
- embroidery floss
- snowflake stickers
- 1" nails
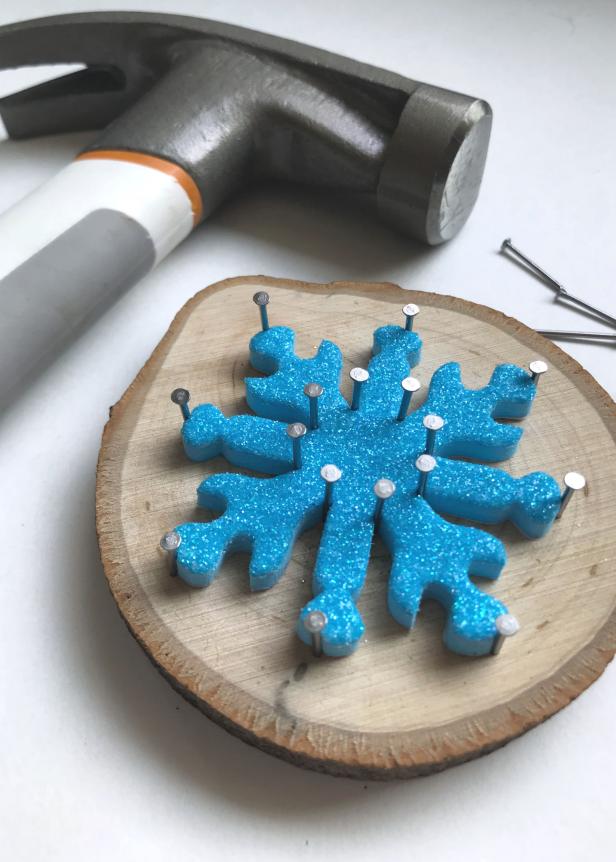
Create Outline
Apply snowflake stickers to wooden discs (Image 1). The simpler the design, the better. You can always freehand a design as well. Hammer nails into wooden discs in each corner of the snowflake sticker (Image 2). Just enough so that they stay put, but not all the way through.

Jennifer Perkins
Jennifer Perkins
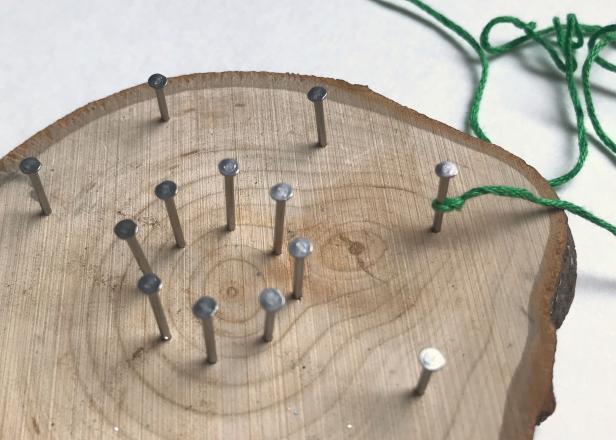
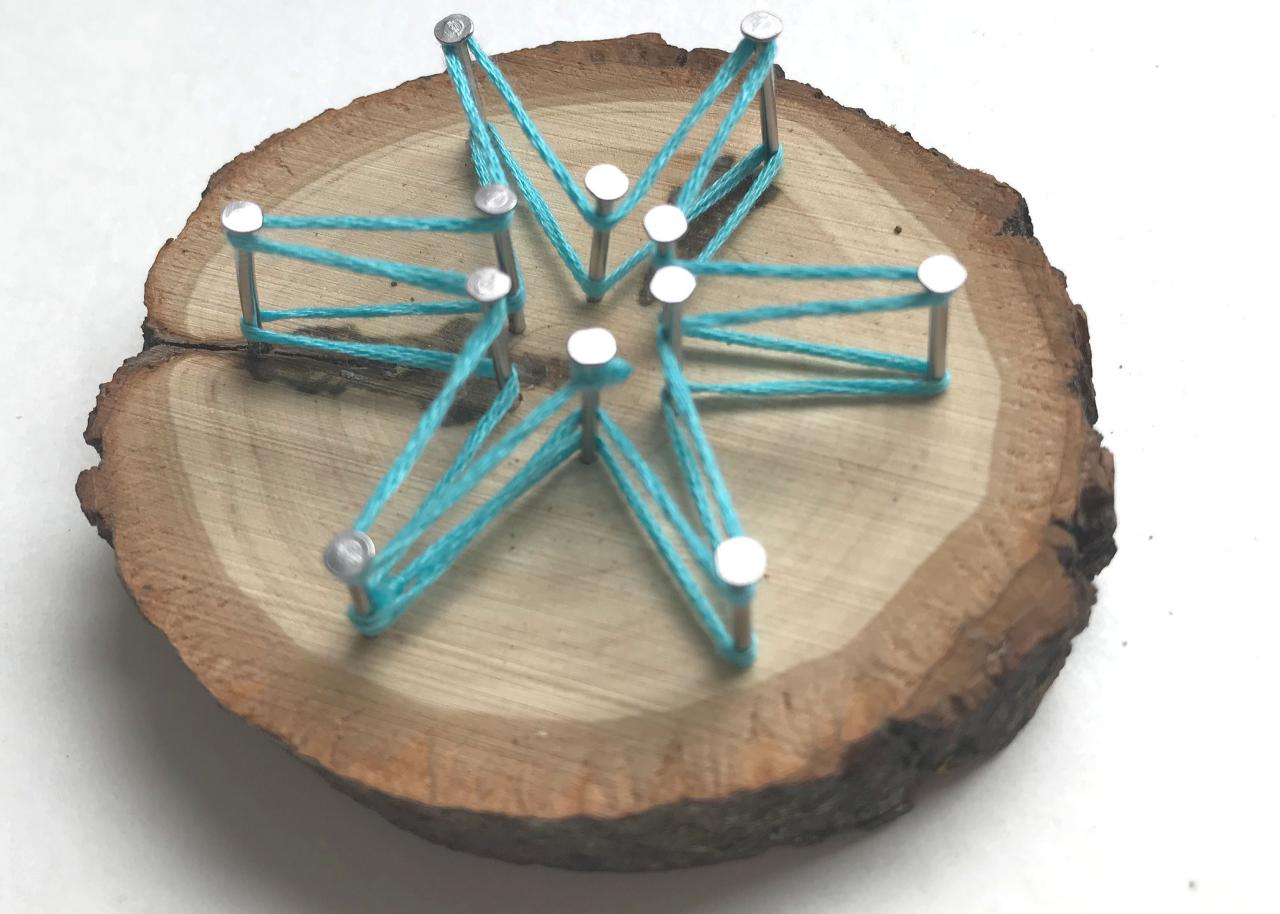
Add String
Remove the sticker and attach embroidery floss to one of the nails (Image 1). Begin wrapping the snowflake design. Start by wrapping diagonally across from beginning nail and moving counter-clockwise to create a snowflake pattern (Image 2).
Jennifer Perkins

Jennifer Perkins
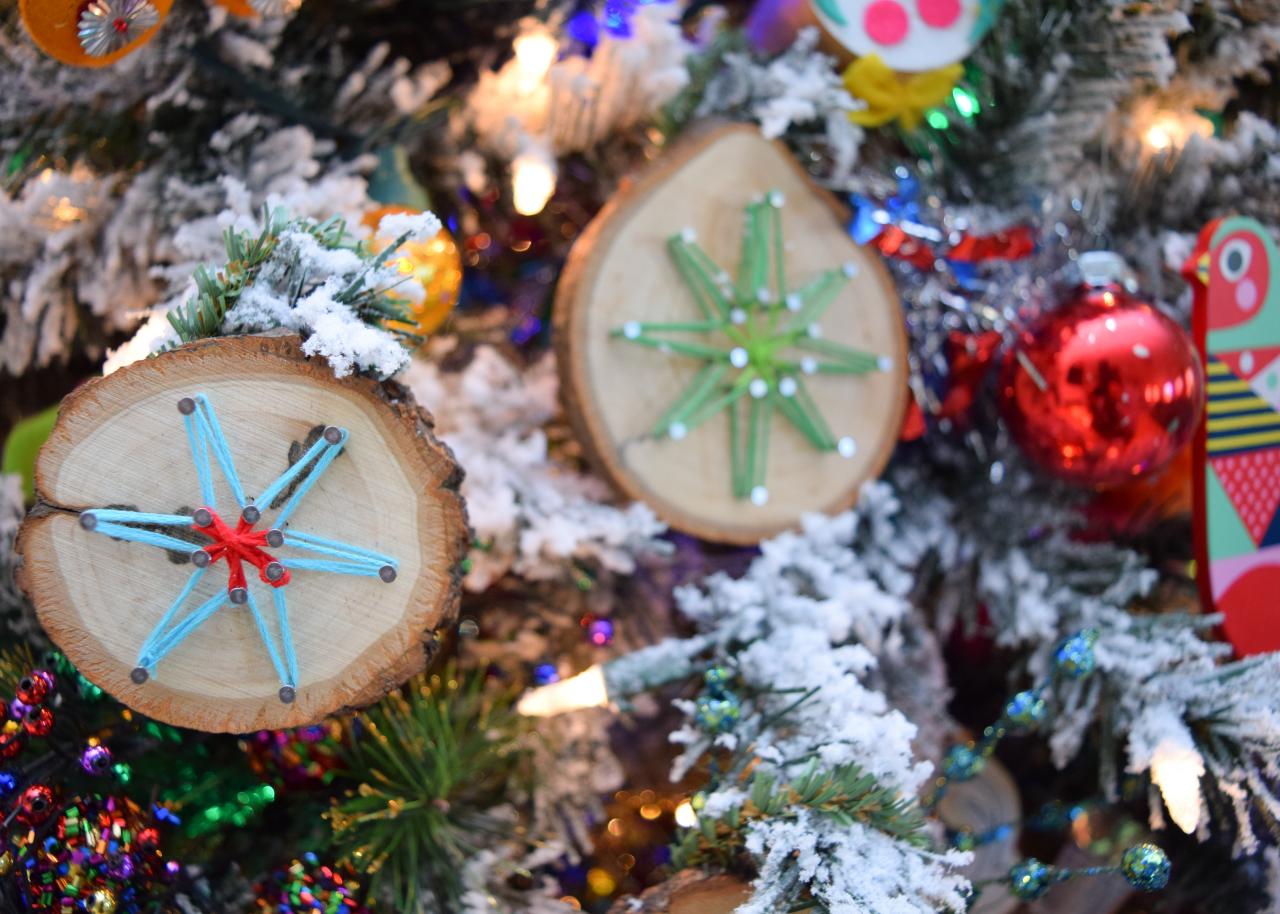
Add Hanger and Display on Tree
Attach a pipe cleaner to the back of the ornament as a hanger (Image 1). Tip: Feel free to use multiple colors of embroidery floss — one color for the inner pattern and another for the outer pattern works well (Image 2). Embellishments like pompoms can be added with hot glue (Image 3). Experiment with a variety of colors to make your ornaments pop (Image 4).

Jennifer Perkins
Jennifer Perkins

Jennifer Perkins

Jennifer Perkins


