


Easy Halloween Spook-Up: Transform a Fern Into an Alien
Hanging Boston ferns are a front porch staple that are easy to transform into hovering aliens in time for Halloween. Our tutorial will help you inexpensively magic up a googly-eyed alien in a flash.


Photo by: Cassidy Garcia; Styling by H. Camille Smith
Cassidy Garcia; Styling by H. Camille Smith
Materials Needed
- hanging Boston fern
- purple sparkly plastic streamers or tinsel
- wood dowels
- small and medium foam spheres
- purple sparkly self-adhesive craft foam
- scissors
- pencil sharpener
- thin, flexible wire or leftover bread ties
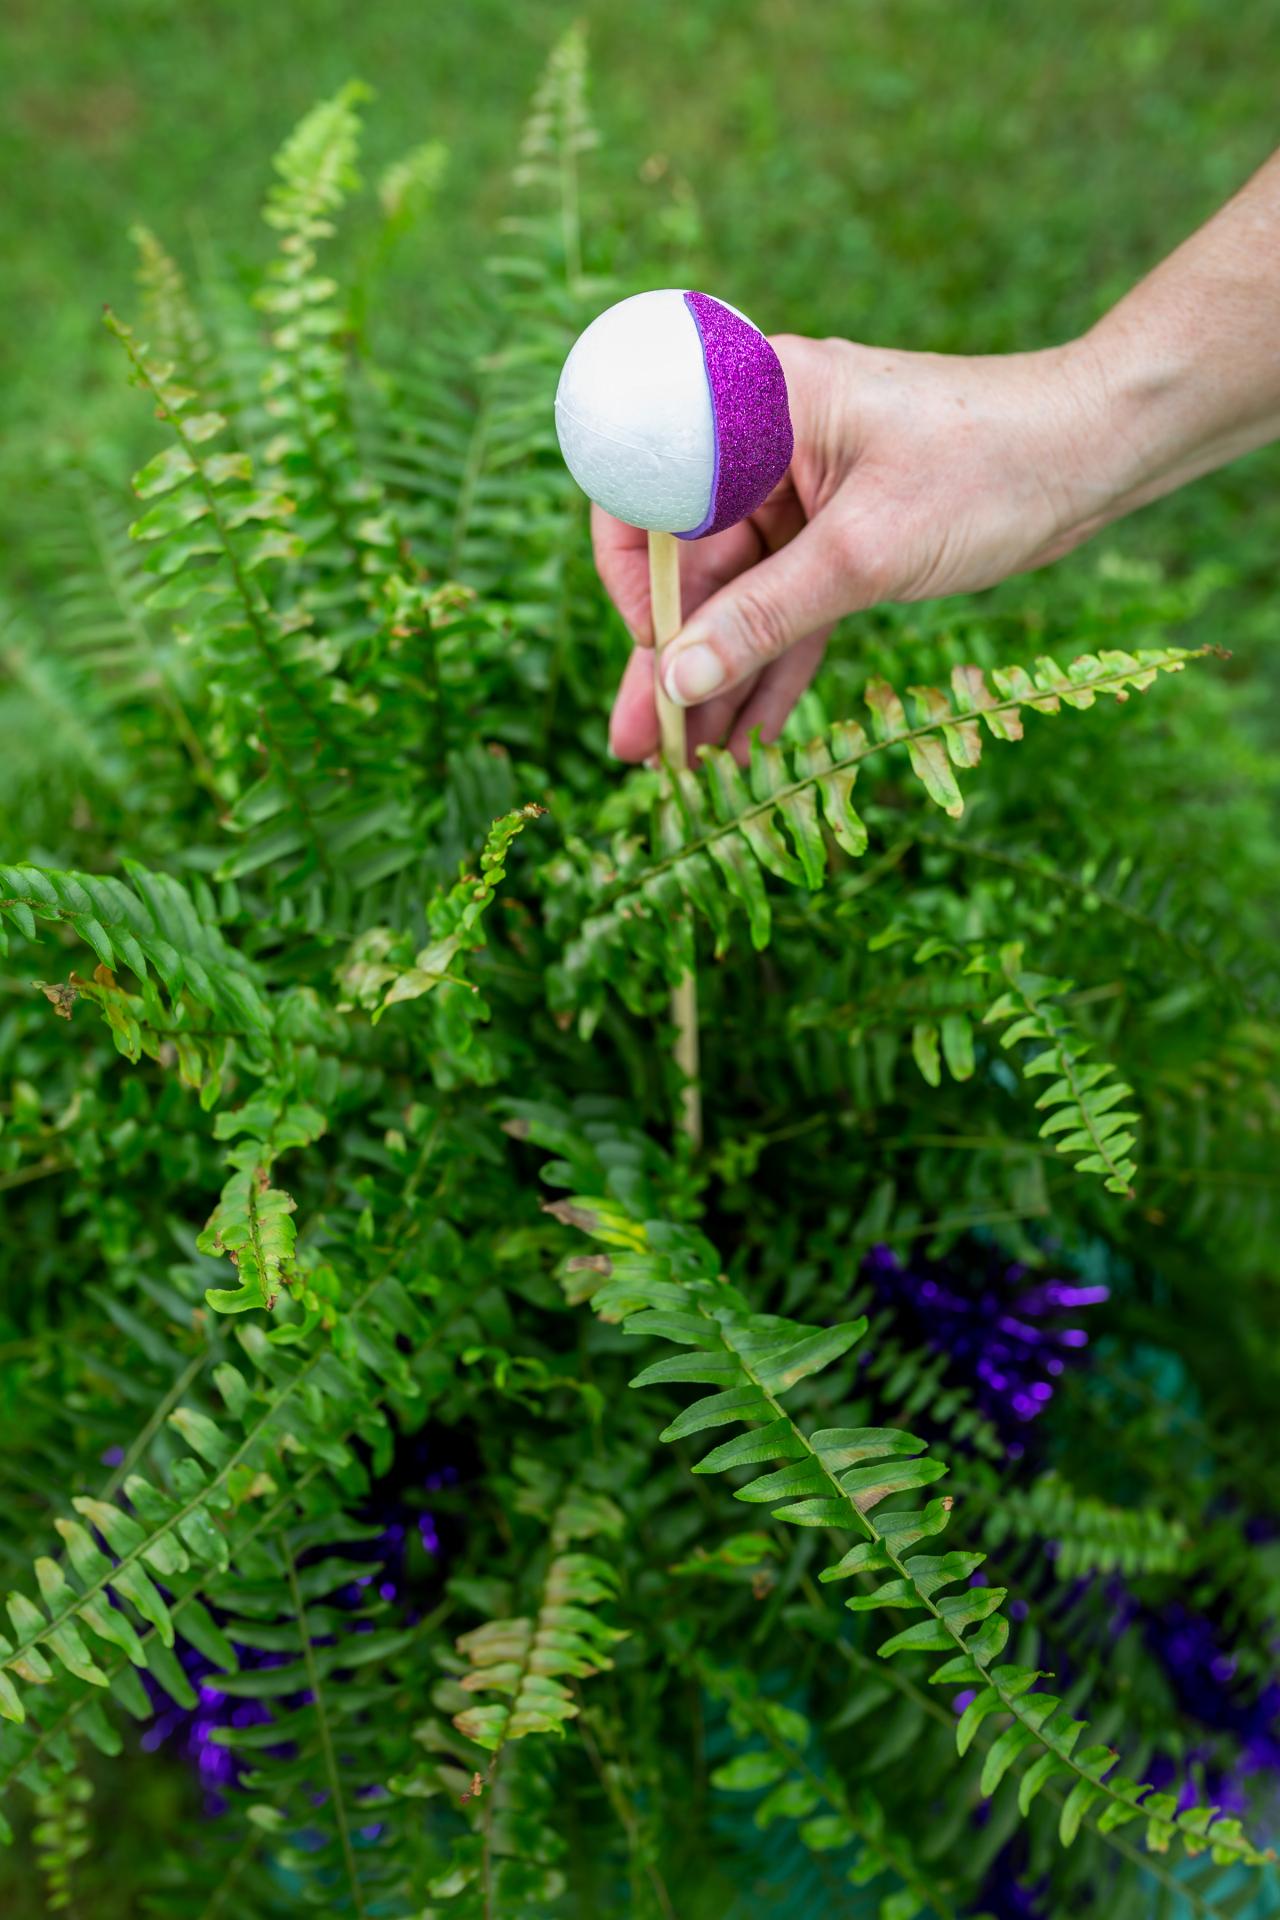
Create Eye Stalks
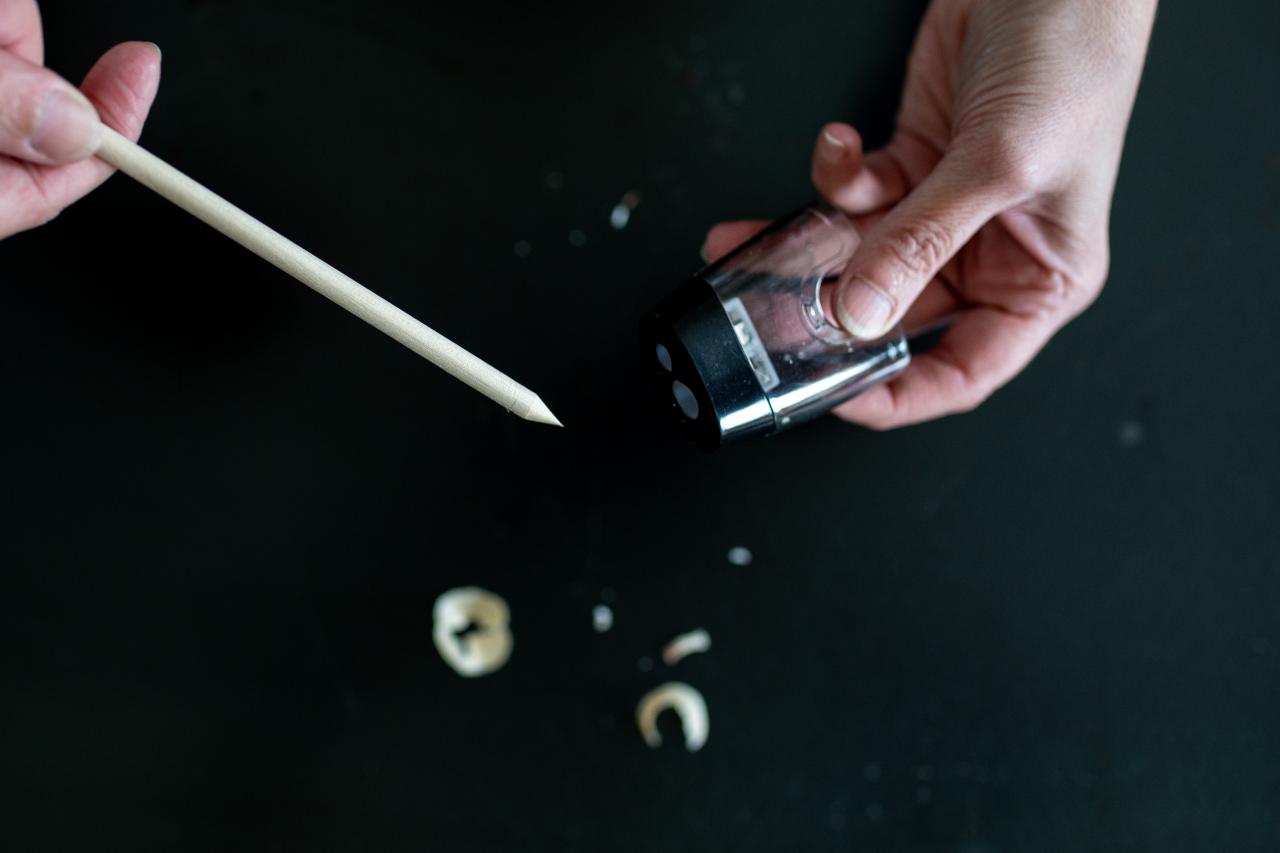
Fold purple self-adhesive craft foam in half and cut out several long slit shapes, one for each alien's eye. Note: Your alien can have as many or as few eyes as you'd like; ours has six. Use a pencil sharpener to sharpen one end of the dowel (Image 1) and insert it into a foam ball to create an eye stalk. Remove the craft foam's paper backing and attach the sparkly slit to the front of each eye (Image 2).

Cassidy Garcia

Cassidy Garcia
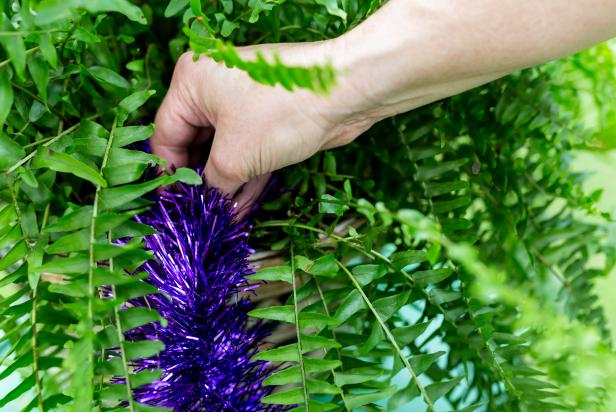
Add Sparkly 'Legs'
Cut the purple streamers into several 3' - 4' lengths (depending on how far you want them to dangle). Wrap a leftover bread tie or small bit of flexible wire around one end of the streamer (Image 1). Insert the wired end into the fern, next to the roots, and gently twist the wire around the base of a fern frond to secure it (Image 2).

Cassidy Garcia
Cassidy Garcia
Insert Eyes
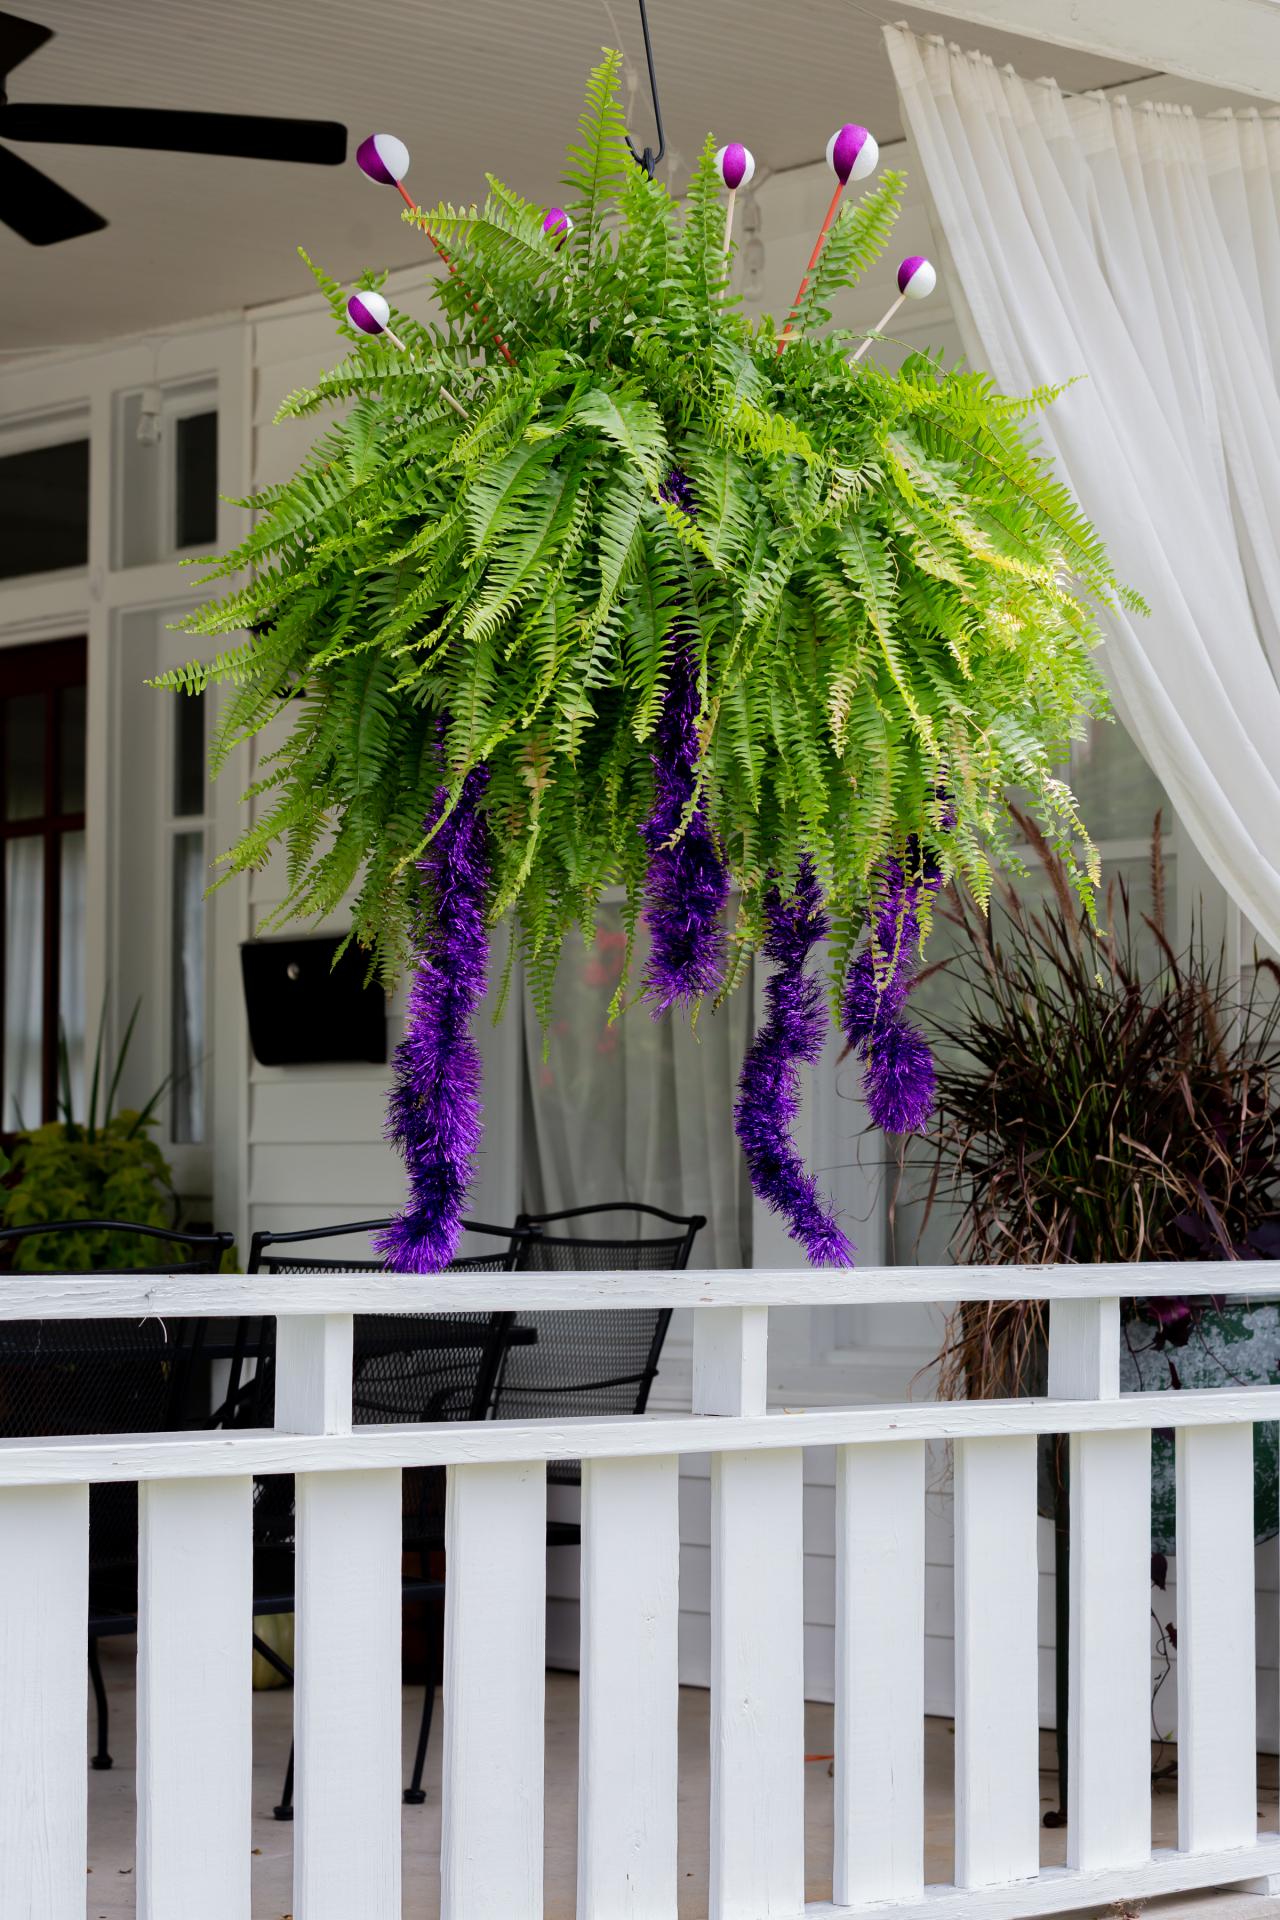
Using the pencil sharpener, sharpen the end of each eye stalk to make them easier to insert into the fern's pot. Carefully move a few fronds out of the way and securely insert the eye stalks into the upper portion of the fern, varying their placement to give the appearance of a many-eyed alien.

Cassidy Garcia
Halloween and Beyond
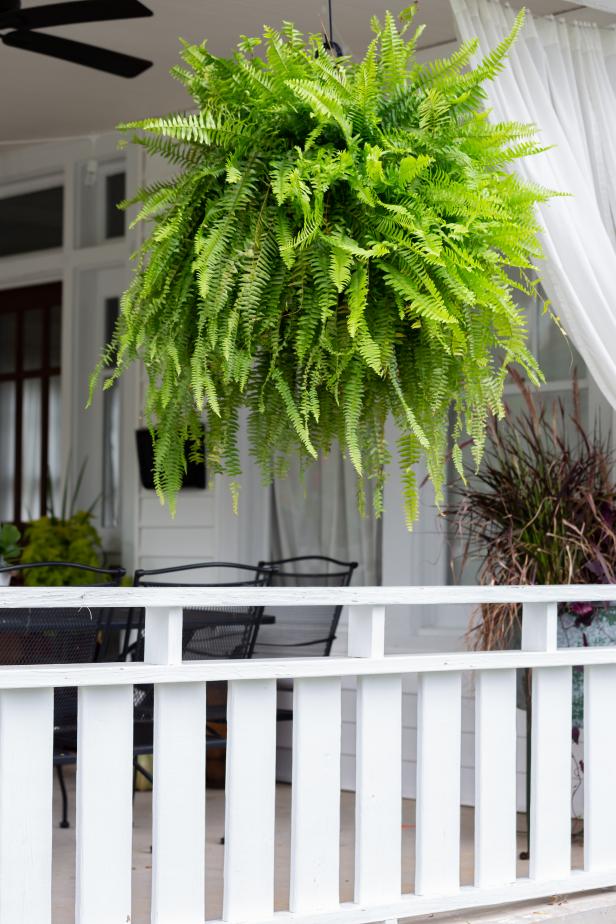
Continue watering and caring for your alien fern as usual; the plastic streamers and wood dowels can stand up to regular waterings. Enjoy your alien fern (Image 1), then after Halloween, remove the alien's legs and eye stalks for a beautiful Boston fern that can stay outside till the arrival of consistently colder temps (Image 2).
Cassidy Garcia; Styling by H. Camille Smith
Cassidy Garcia
Photo By: Cassidy Garcia; Styling by H. Camille Smith


