


How to Make a Giant Cinnamon Stick Snowflake
Incorporate natural cinnamon sticks into your decor by making a handmade snowflake. Hang it in your home, or in your entryway, and enjoy the sweet scent it delivers throughout the holiday season.

How to Make a Cinnamon Stick Snowflake
Learn how to make a cinnamon stick snowflake as an entryway aromatic.

Photo by: Emily Fazio
Emily Fazio
Materials Needed
- cinnamon sticks in varying sizes
- assorted winter berries, and pine accents
- hot glue gun and glue sticks
- wood glue
- drill with 1/16" annd 1/4” drill bits
- 1-1/2” brad nail
- cotton balls
Select Pieces of Cinnamon
Choose three 10” lengths of cinnamon and a variety of smaller pieces that will layer to compose your snowflake. If you’re able to find cinnamon longer than 10”, don’t pass it by! Choose nice, chunky pieces, rather than brittle lengths of cinnamon. I'm showing my picks below, with a penny for scale.

Emily Fazio
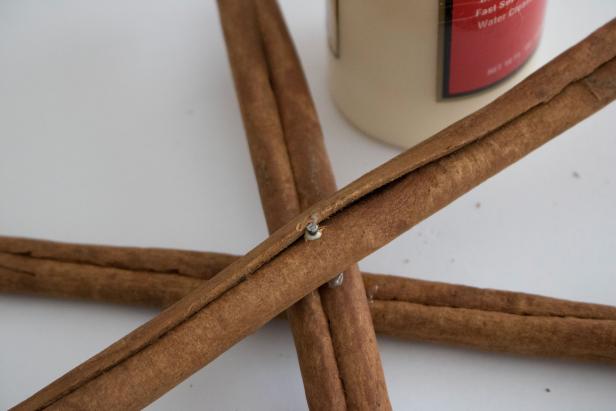
Glue Snowflake Structure
Begin by using hot glue to assemble the three 10” lengths together, positioned to form a 6-point snowflake. The glue is helpful at this stage for aligning the pieces before you drill in the next step.

Emily Fazio
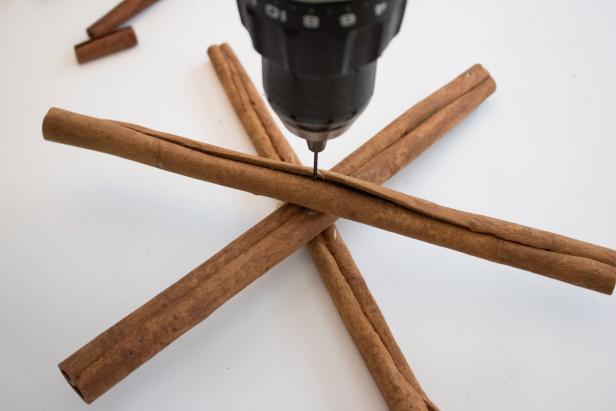
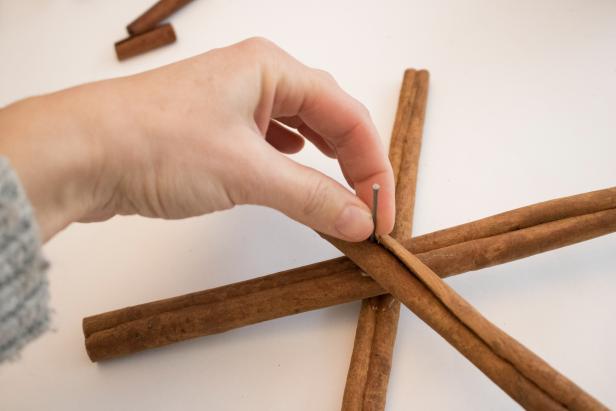
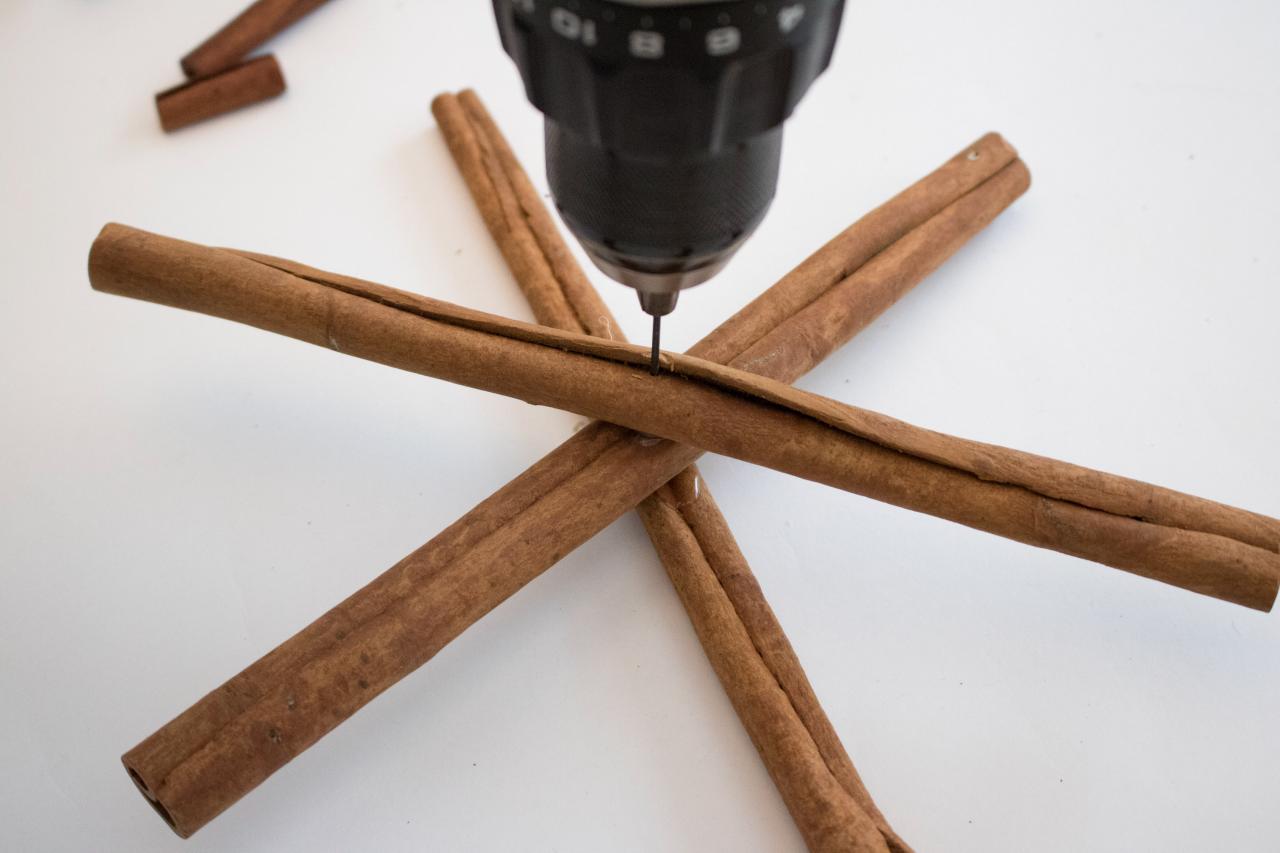
Drill and Nail to Reinforce Structure
Pre-drilling a 1/16” hole through the back of the snowflake (without going through the front) makes it easier to pin the brad nail through the back of the snowflake. Avoid using a hammer by choosing a nail that matches the 1/16" hole, and also cover the nail with wood glue prior to inserting it so that it works to reinforce the connection. Tip: The nail, supplemented with the wood glue and the hot glue, will prevent the snowflake from falling apart under its own weight.
Emily Fazio
Emily Fazio
Emily Fazio
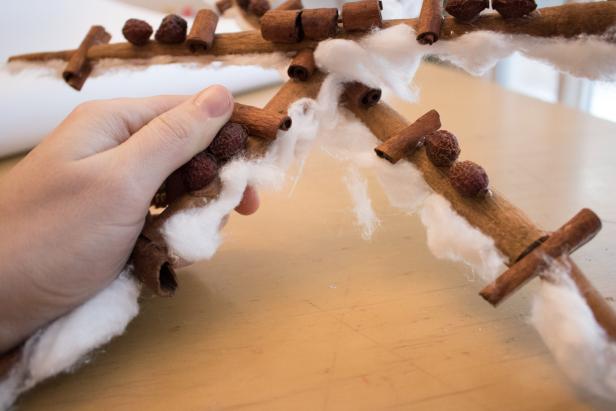
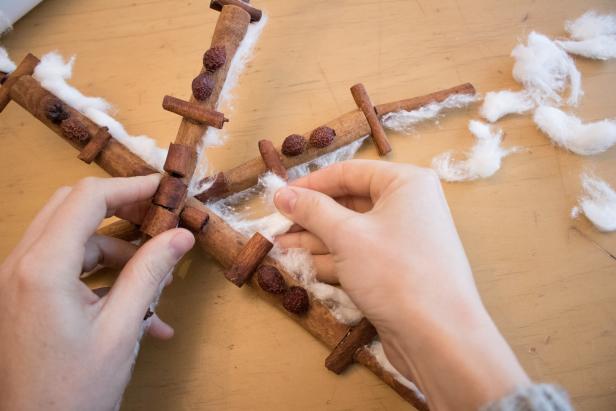
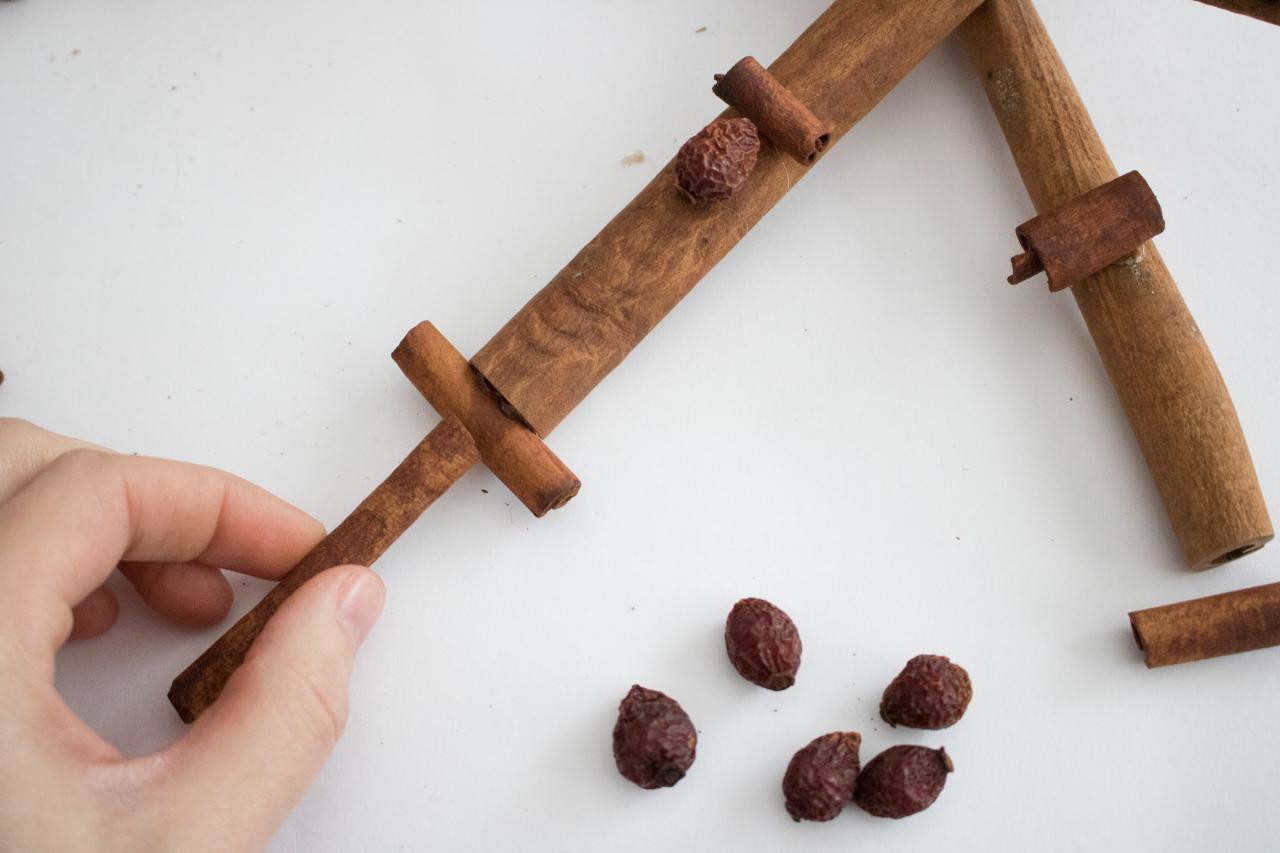
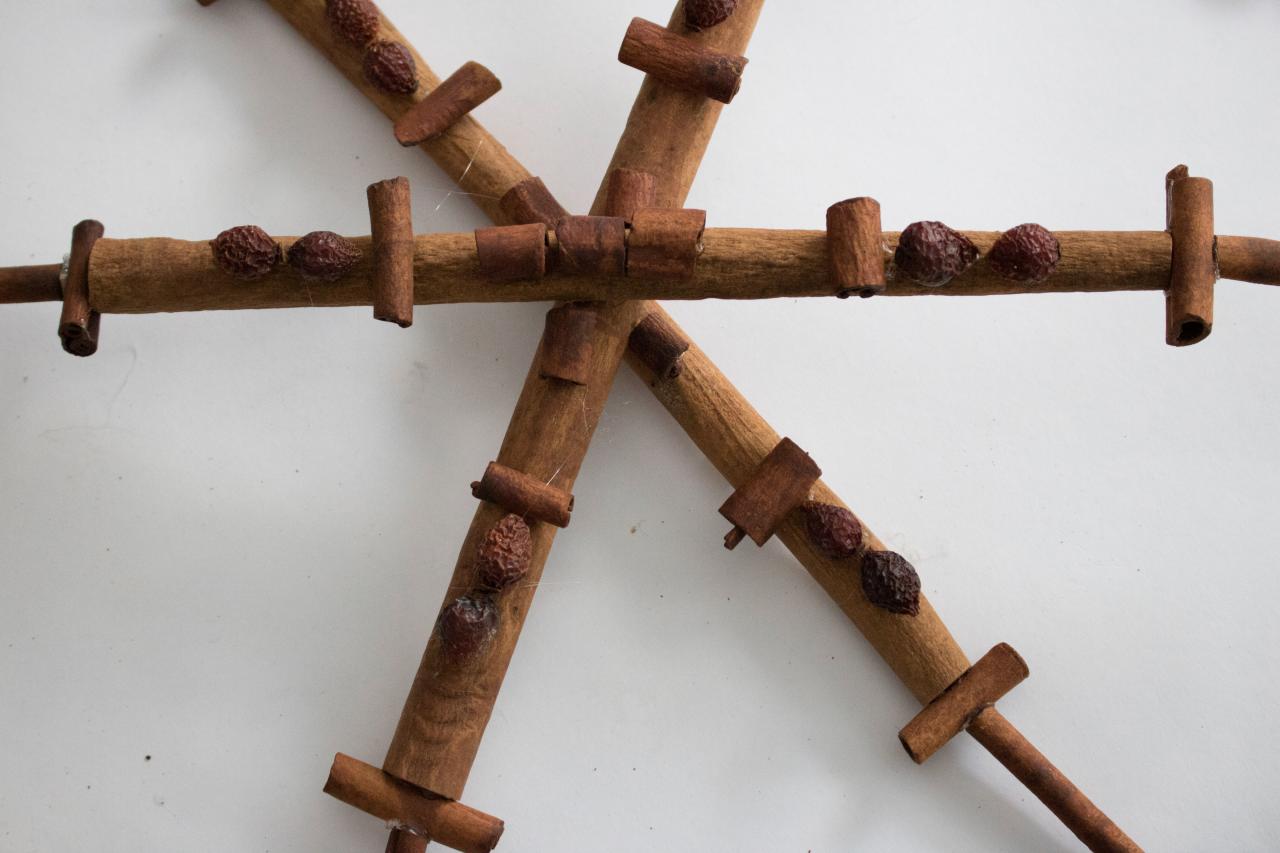
Add Smaller Details + Textures
Add the smaller pieces of cinnamon to the front of the snowflake wherever you'd like. To extend the points of the snowflake further, you can layer pieces end-to-end; I added 8” in width to my snowflake this way, making it a total of 18” wide.

Emily Fazio
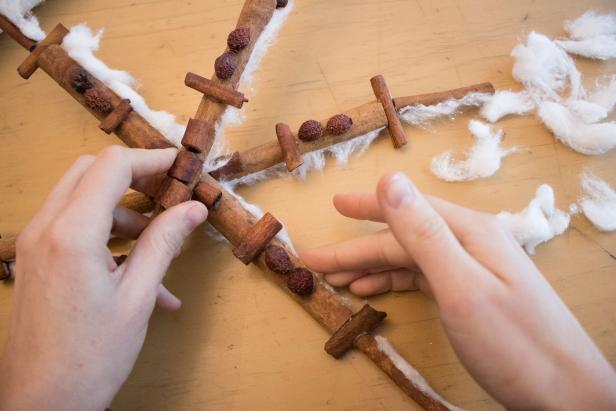
Bearing in mind that idyllic snowflakes are symmetrical, layer on cinnamon and other accents, such as dried berries, holly branches, or pine branches to build upon the concept and make the snowflake truly one-of-a-kind.

Emily Fazio
To make your snowflake “snowy,” rely on cotton balls and hot glue. Determine the orientation that your snowflake will hang on the wall or door, and line the top edge of each branch with a bead of hot glue. Put cotton balls directly onto the glue and allow the glue to dry. Once it has dried, peel back the excess cotton, leaving only a “dusting” on the cinnamon.
Emily Fazio
Emily Fazio
Emily Fazio
Hot glue can be used to position branches against the backside of the snowflake, too. The natural elements are optional, of course, but we like how they add a little contrast to the design.

Emily Fazio
Hang Your Snowflake to Display
At this point, you’ll have to choose the best way to hang it. Temporary wall-mounted hooks work great, as the snowflake is still very lightweight. Our front door is home to a nail on which we hang seasonal accessories, so I pre-drilled a 1/16” hole near the center of the snowflake, and then widened the hole with a 1/4” drill bit to make it wide enough to fit over the nail. Pre-drilling the hole first works to prevent the cinnamon from splintering with the wider bit. Hang in your home, and revel in the sweet aroma it brings to your space!

Emily Fazio


