


Edible Christmas Ornament Cookie Pops
Festive and oh-so-tasty, these colorful ornament cookie pops are almost too pretty to eat -- almost!

Ornament Cookie Pops
These cookie pops disguised as festive ornaments are the perfect holiday treat.

Photo by: Heather Baird
Heather Baird
Materials Needed
16 ounces (1 package) cream-filled sandwich cookies, crushed to fine crumbs
8 ounces (1 package) cream cheese, at room temperature
24 ounces blue candy coating
24 ounces white candy coating
24 lollipop sticks
1/2 cup white nonpareils
48 candy necklace beads (about 2 necklaces)
clear vanilla extract
gold luster dust (can be found at most craft stores and cake specialty shops)
artist’s brush
small cellophane bags
ribbon and gift tags
Yield: about 2 dozen pops
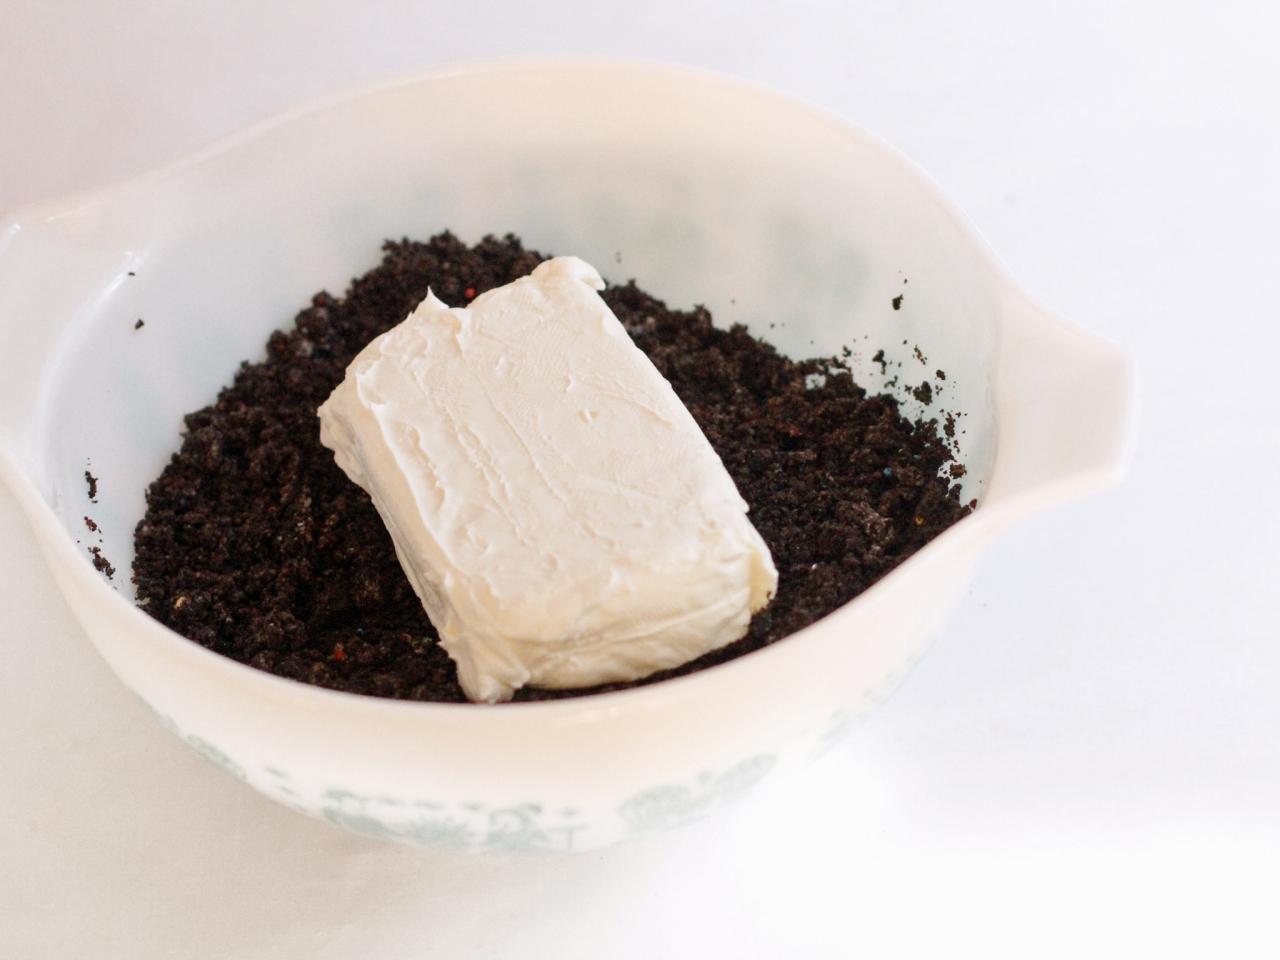
Create Cookie Balls
Combine the cookie crumbs and cream cheese in a large bowl (Image 1). Mix them together using a large wooden spoon at first, then knead the mixture together with your hands. Roll level tablespoons-full of mixture between your palms and place the balls on a parchment-lined cookie sheet (Image 2). Refrigerate the cookie balls until firm, about 30 minutes. When the balls are well chilled, roll them again briefly between your palms to make them more perfectly round.

Heather Baird

Heather Baird
Insert Lollipop Sticks
Melt 2 ounces white candy coating in the microwave at 100% until it can be stirred smooth, about 30 seconds. Dip one end of a lollipop stick in the candy and then insert it into the cookie balls. Repeat with remaining lollipop sticks and cookie balls. Let stand until set, about 3-5 minutes.

Heather Baird
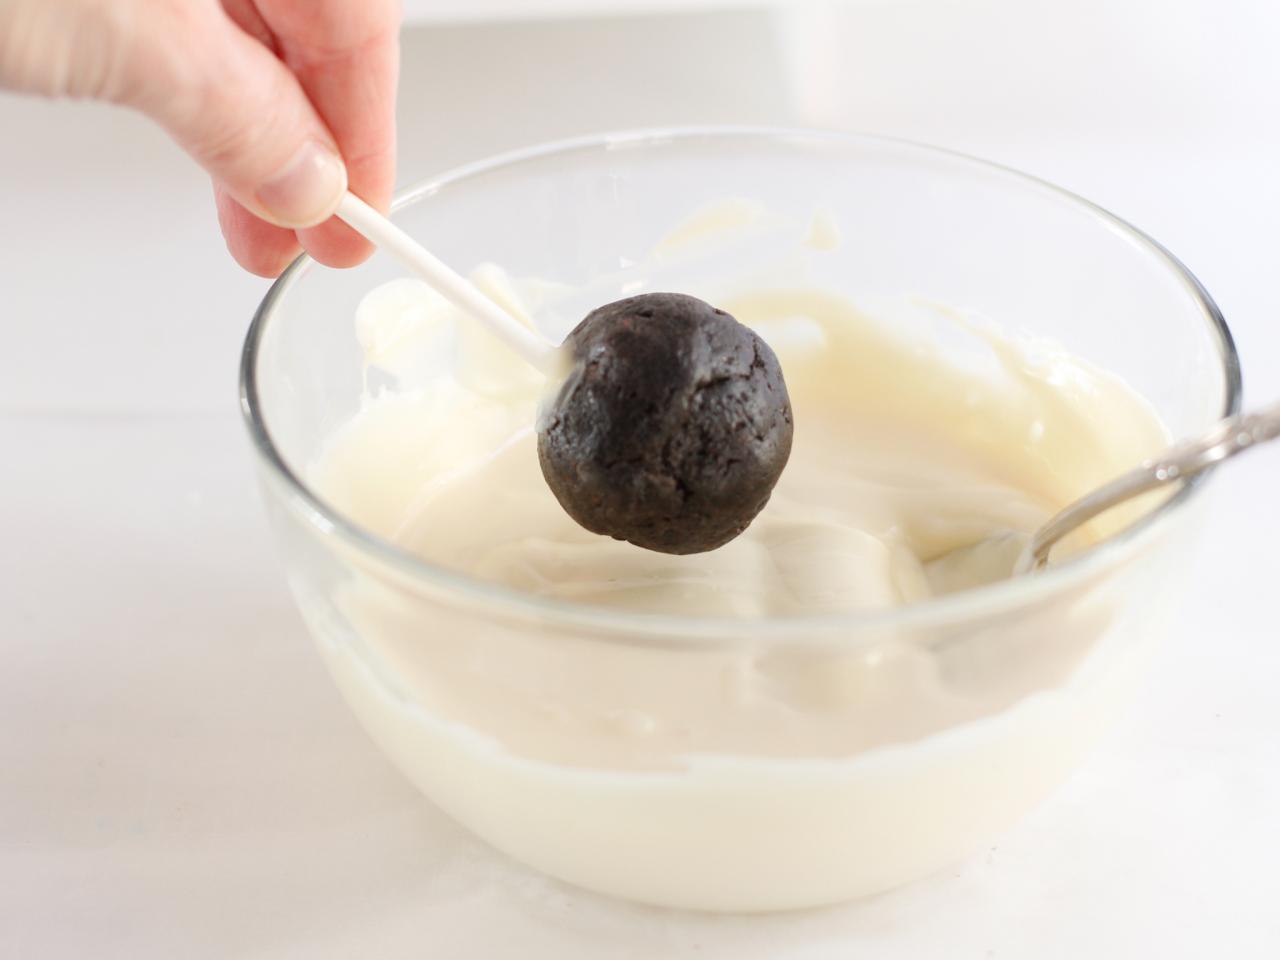
Add Candy Coating
Working with one color of candy coating at a time (either blue or white), melt 12 ounces of candy in the microwave at 100 percent power, stirring at 30 second intervals until the candy is melted and smooth. Dip the cookie pops into the candy coating (Image 1) and twist them by the lollipop stick so that the entire pop is covered with candy (Image 2). Let the pop set standing upright in a lollipop holder or in a heavy-bottomed glass tumbler. Repeat with remaining cookie balls and with each color of candy.

Heather Baird

Heather Baird
Create Ornament Tops
Melt 3 ounces of candy that corresponds to the color of pop you’re decorating (blue candy for blue pops) and transfer it to a disposable piping bag (or zip-top bag). Snip a small opening in the tip. Pipe a dot of candy on top of a pop and place a candy bead flat on top. Pipe another dot of candy on top of the bead and place a second candy bead upright in the center. Let stand until set.

Heather Baird
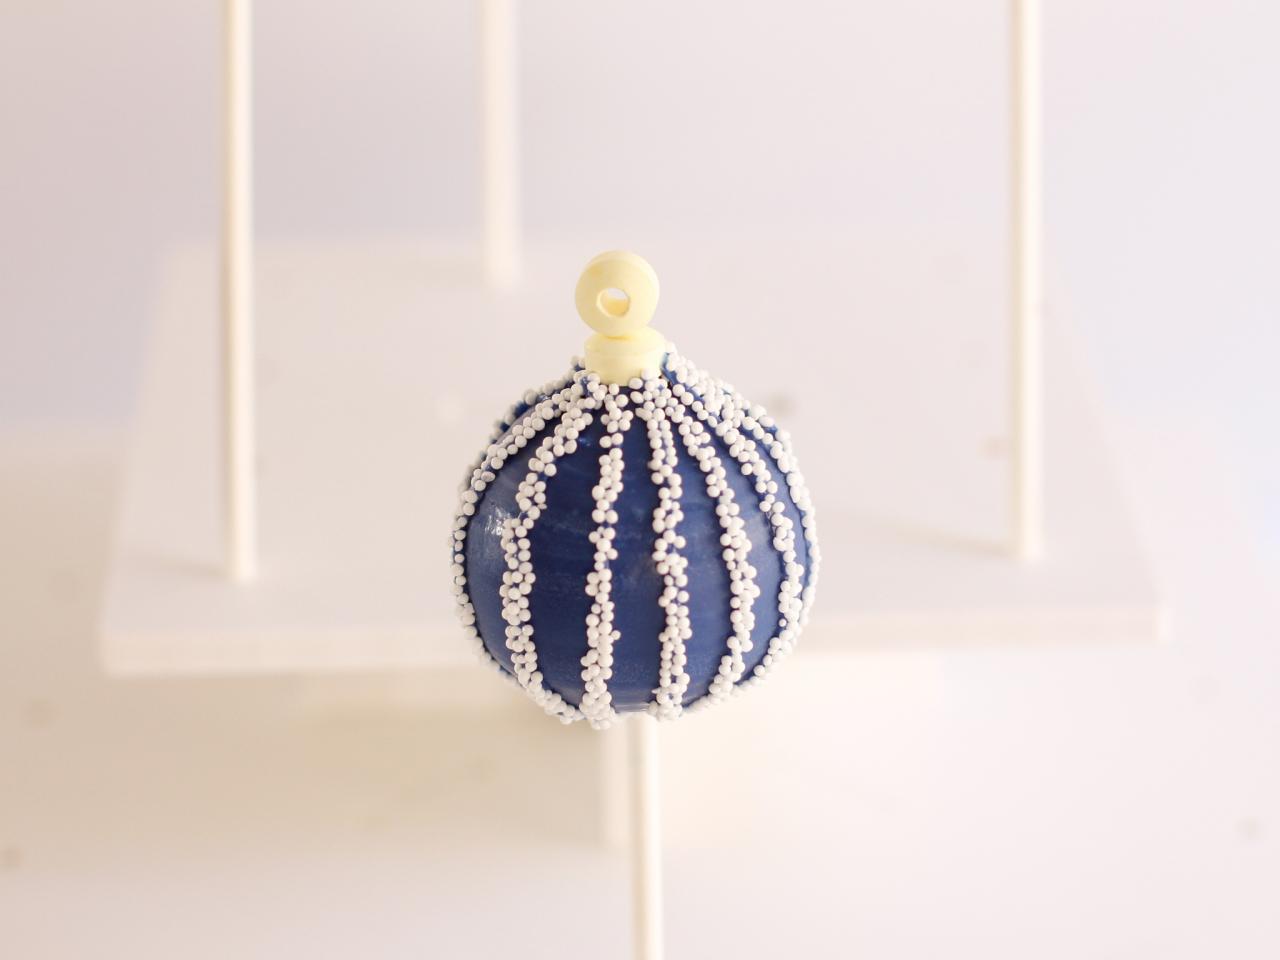
Embellish Ornaments
Place the nonpareils in a small bowl. Use the piping bag to draw designs on the pops (Images 1 and 2). Dip the pops in the white nonpareils to reveal the designs (Image 3) and let stand until dry (Image 4).

Heather Baird

Heather Baird

Heather Baird

Heather Baird
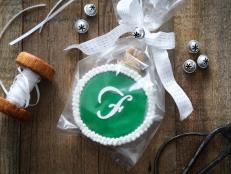
Finishing Touches
On a small plate, combine a drop of clear vanilla and a little luster dust to create edible gold paint (Image 1). Using an artist’s brush, paint the mixture onto the candy beads on top of each ornament (Image 2). Let dry 5-10 minutes before packaging completed pops in a clear cellophane treat bag, tied with festive ribbon and a gift tag (Image 3).

Heather Baird

Heather Baird
Heather Baird
Ornament Cookie Pops
These cookie pops disguised as festive ornaments are the perfect holiday treat.
Photo By: Heather Baird


