


Poured Fondant Honey Cupcakes with Chocolate "Wax" Seals Recipe


Yield: 16 cupcakes
Ingredients
For the Honey Cupcakes:
1 1/4 cups plus 2 tbsp. all-purpose flour
3/4 teaspoon baking powder
1/4 tablespoon salt
1/4 cup sour cream
3 tablespoons milk
Zest of 1 lemon
2 tablespoons lemon juice
6 tablespoons unsalted butter, softened
1/4 cup plus 2 tablespoons honey
2 tablespoons sugar
1 large egg
For the Poured Fondant:
1/2 cup water
2 1/2 cups sugar
1/4 cup honey
For the Chocolate "Wax" Seals:
2/3 cup semisweet chocolate chips
Parchment paper
Cup filled with crushed ice
Metal wax seal stamps

Directions
For the Honey Cupcakes:
1. Preheat oven to 350 degrees F. Line a cupcake tin with paper liners. (This recipe makes about 16 cupcakes so if you have two tins, line four additional cups with liners.)
2. In a medium bowl, whisk together flour, baking powder and salt.
3. Whisk sour cream, milk, lemon zest and juice in a small bowl until thoroughly combined.
4. Beat butter, honey and sugar in a large bowl with a mixer until light and fluffy. Beat in egg.
5. Turn off mixer and add half of flour, combine on low until just mixed. Add the sour cream mixture and beat again. Add remaining flour and beat until well combined.
6. Spoon 2 1/2 level tablespoons of batter into each cupcake liner. Bake for about 18 minutes. Cakes should rise up to just below the top edge of the cupcake liner. Let cool completely (Image 1).
For the Poured Fondant:
1. Stir all the ingredients together in a medium saucepan and place over high heat. Insert a candy thermometer into the mixture and bring to a hard boil. Boil to a temperature of 238 degrees F.
2. Immediately pour the syrup into a food processor fitted with a steel blade.
Let mixture stand uncovered in the food processor until the temperature cools to 140 degrees, about 25-30 minutes.
3. Attach the lid of the food processor to the bowl and remove the small feed tube. Process for 2-5 minutes or until the liquid is pale and opaque.
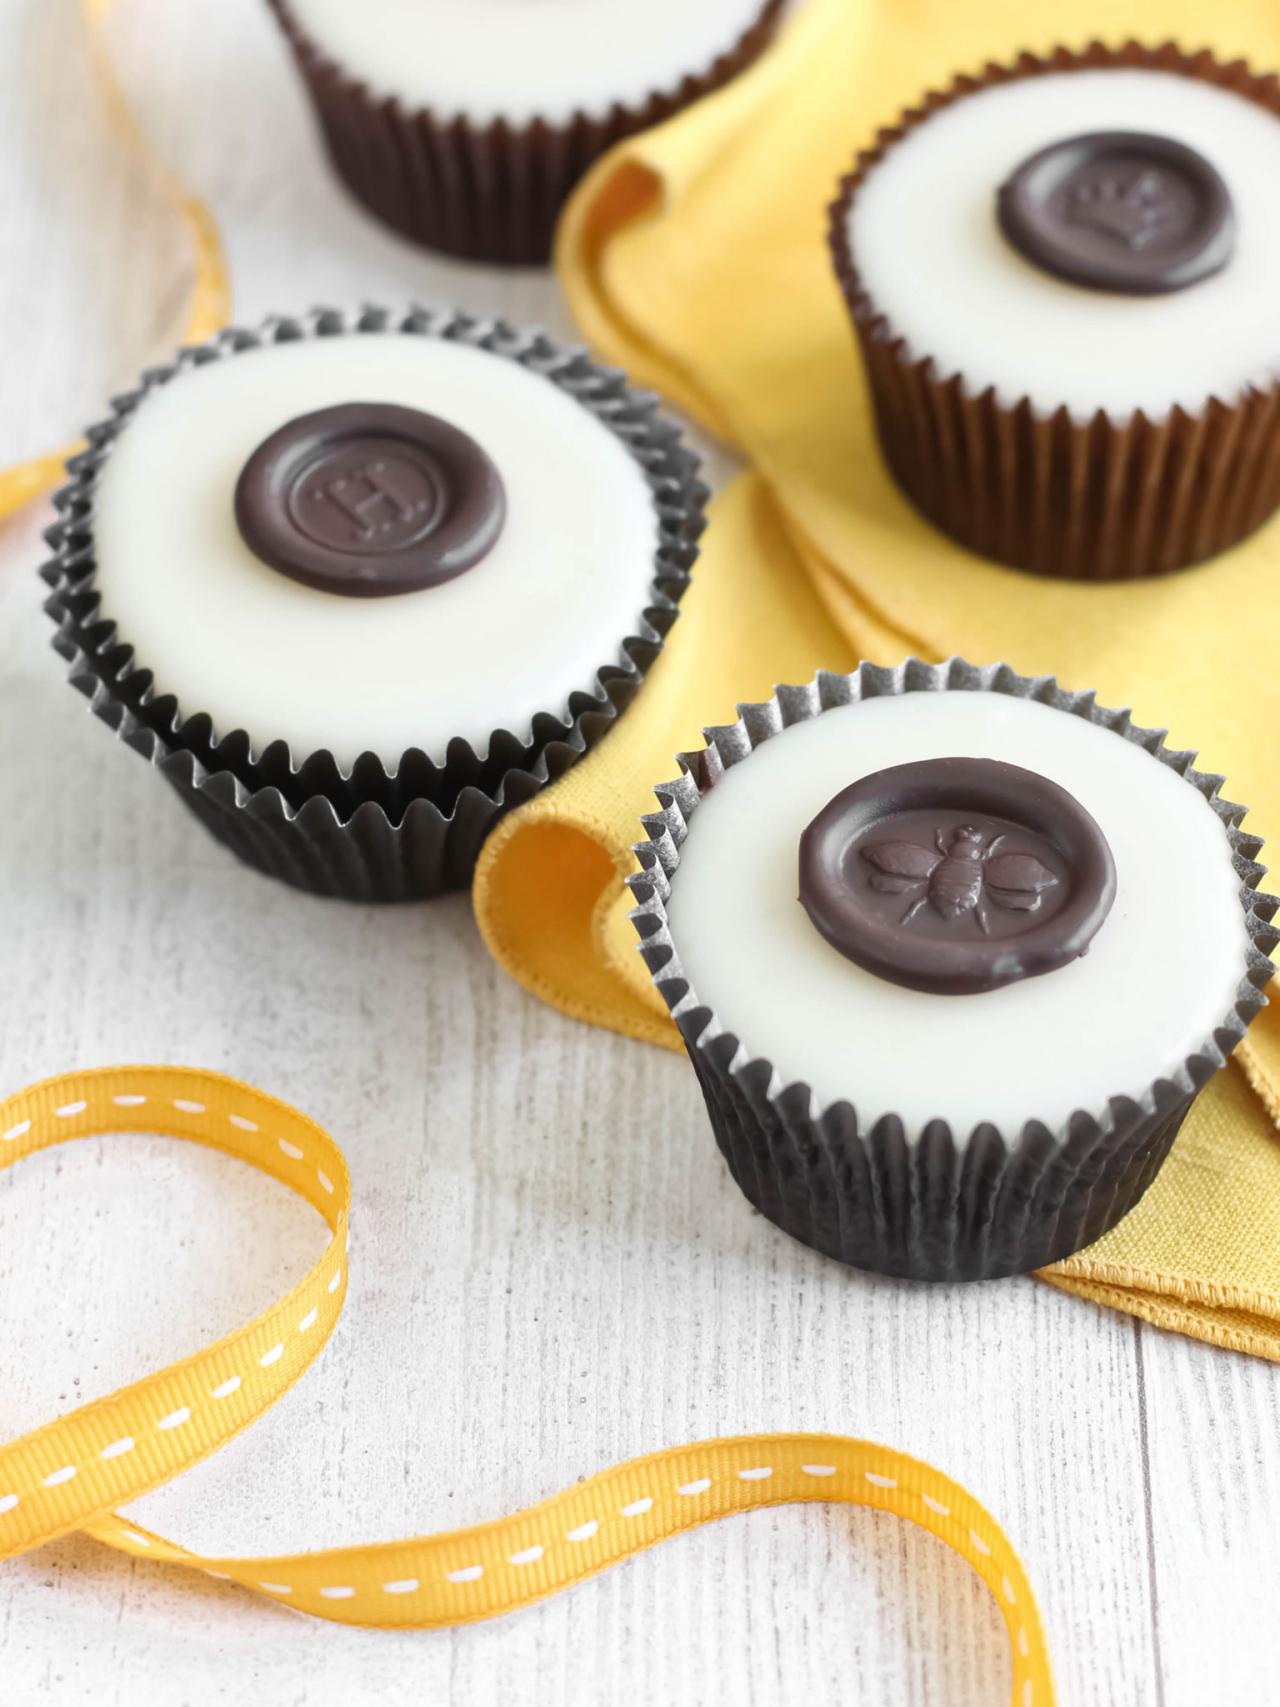
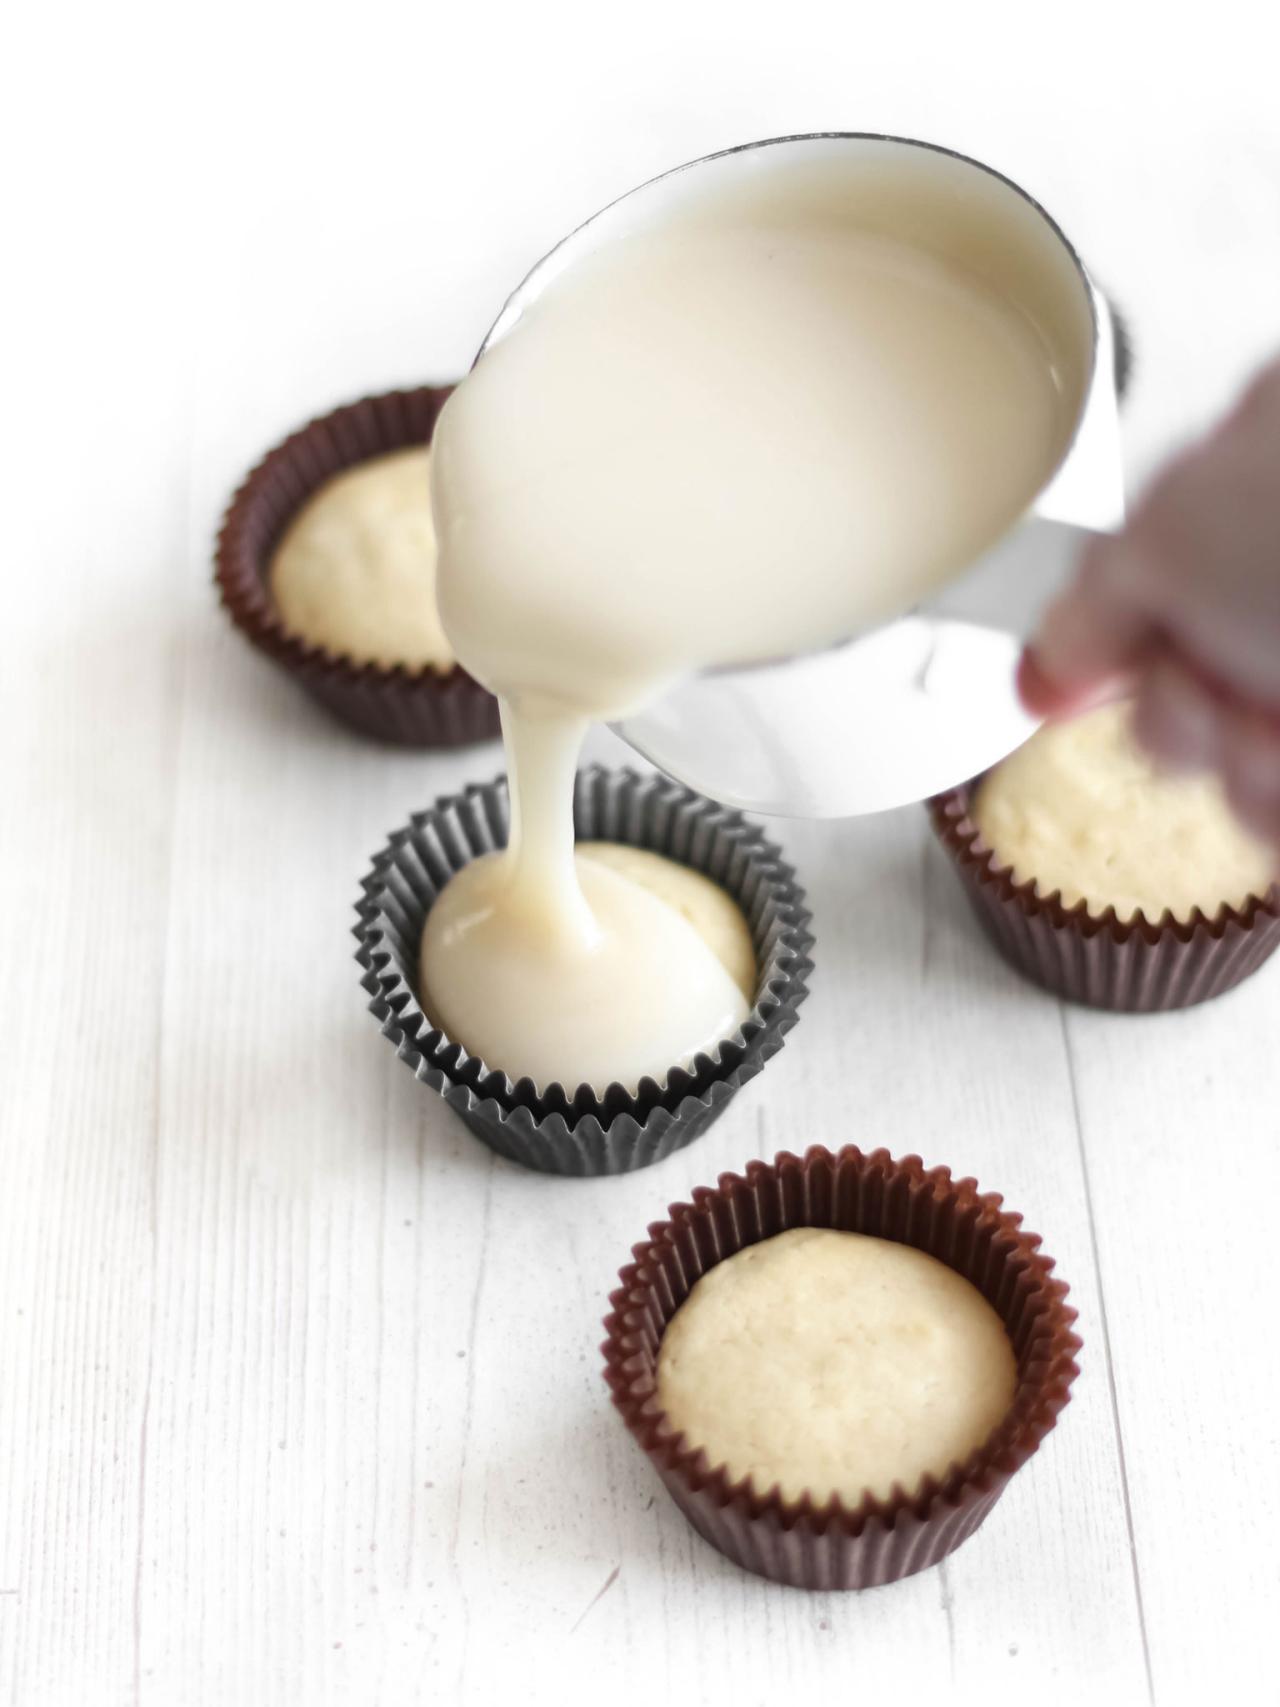
4. Immediately pour fondant over cupcakes and fill to the top of the cupcake liner (Image 2). Let stand until set and completely cooled (Image 3).
For the Chocolate "Wax" Seals:
1. Gently heat chocolate in a double boiler or in the microwave at 30-second intervals; be careful to not overheat. Stir smooth.
2. Transfer chocolate to a clean bowl. Let it stand 3-5 minutes or until it's barely warm to the touch. Tip: It's important the chocolate is not too hot when you make an impression with the stamp. The heat from the chocolate will warm the metal stamp and it will cause the chocolate to smear.
3. Place metal wax seal stamps in the cup filled with crushed ice. The stamp bottoms need to be thoroughly chilled.
4. Line a baking sheet with parchment paper. Drop dime-sized amounts of chocolate onto the parchment paper.
5. Remove a stamp from the ice and quickly wipe it free of water droplets with a towel. Place the stamp onto a mound of chocolate, press down gently then release. Let the stamp stand pressed in the chocolate for 3-5 seconds. Press down again very gently but firmly once more before you lift the stamp (see instructional video for clear visual). You should be left with a clear impression in the chocolate (Image 4).
6. Replace metal wax stamp into the crushed ice until it is thoroughly chilled and repeat with remaining melted chocolate.
7. Refrigerate finished chocolate seals until firm (Image 5).
8. Place a dot of melted chocolate or honey on the center of the set cupcakes. Use a spatula to transfer the seals onto the cupcake tops; press gently to adhere.


